Tag: limes
-
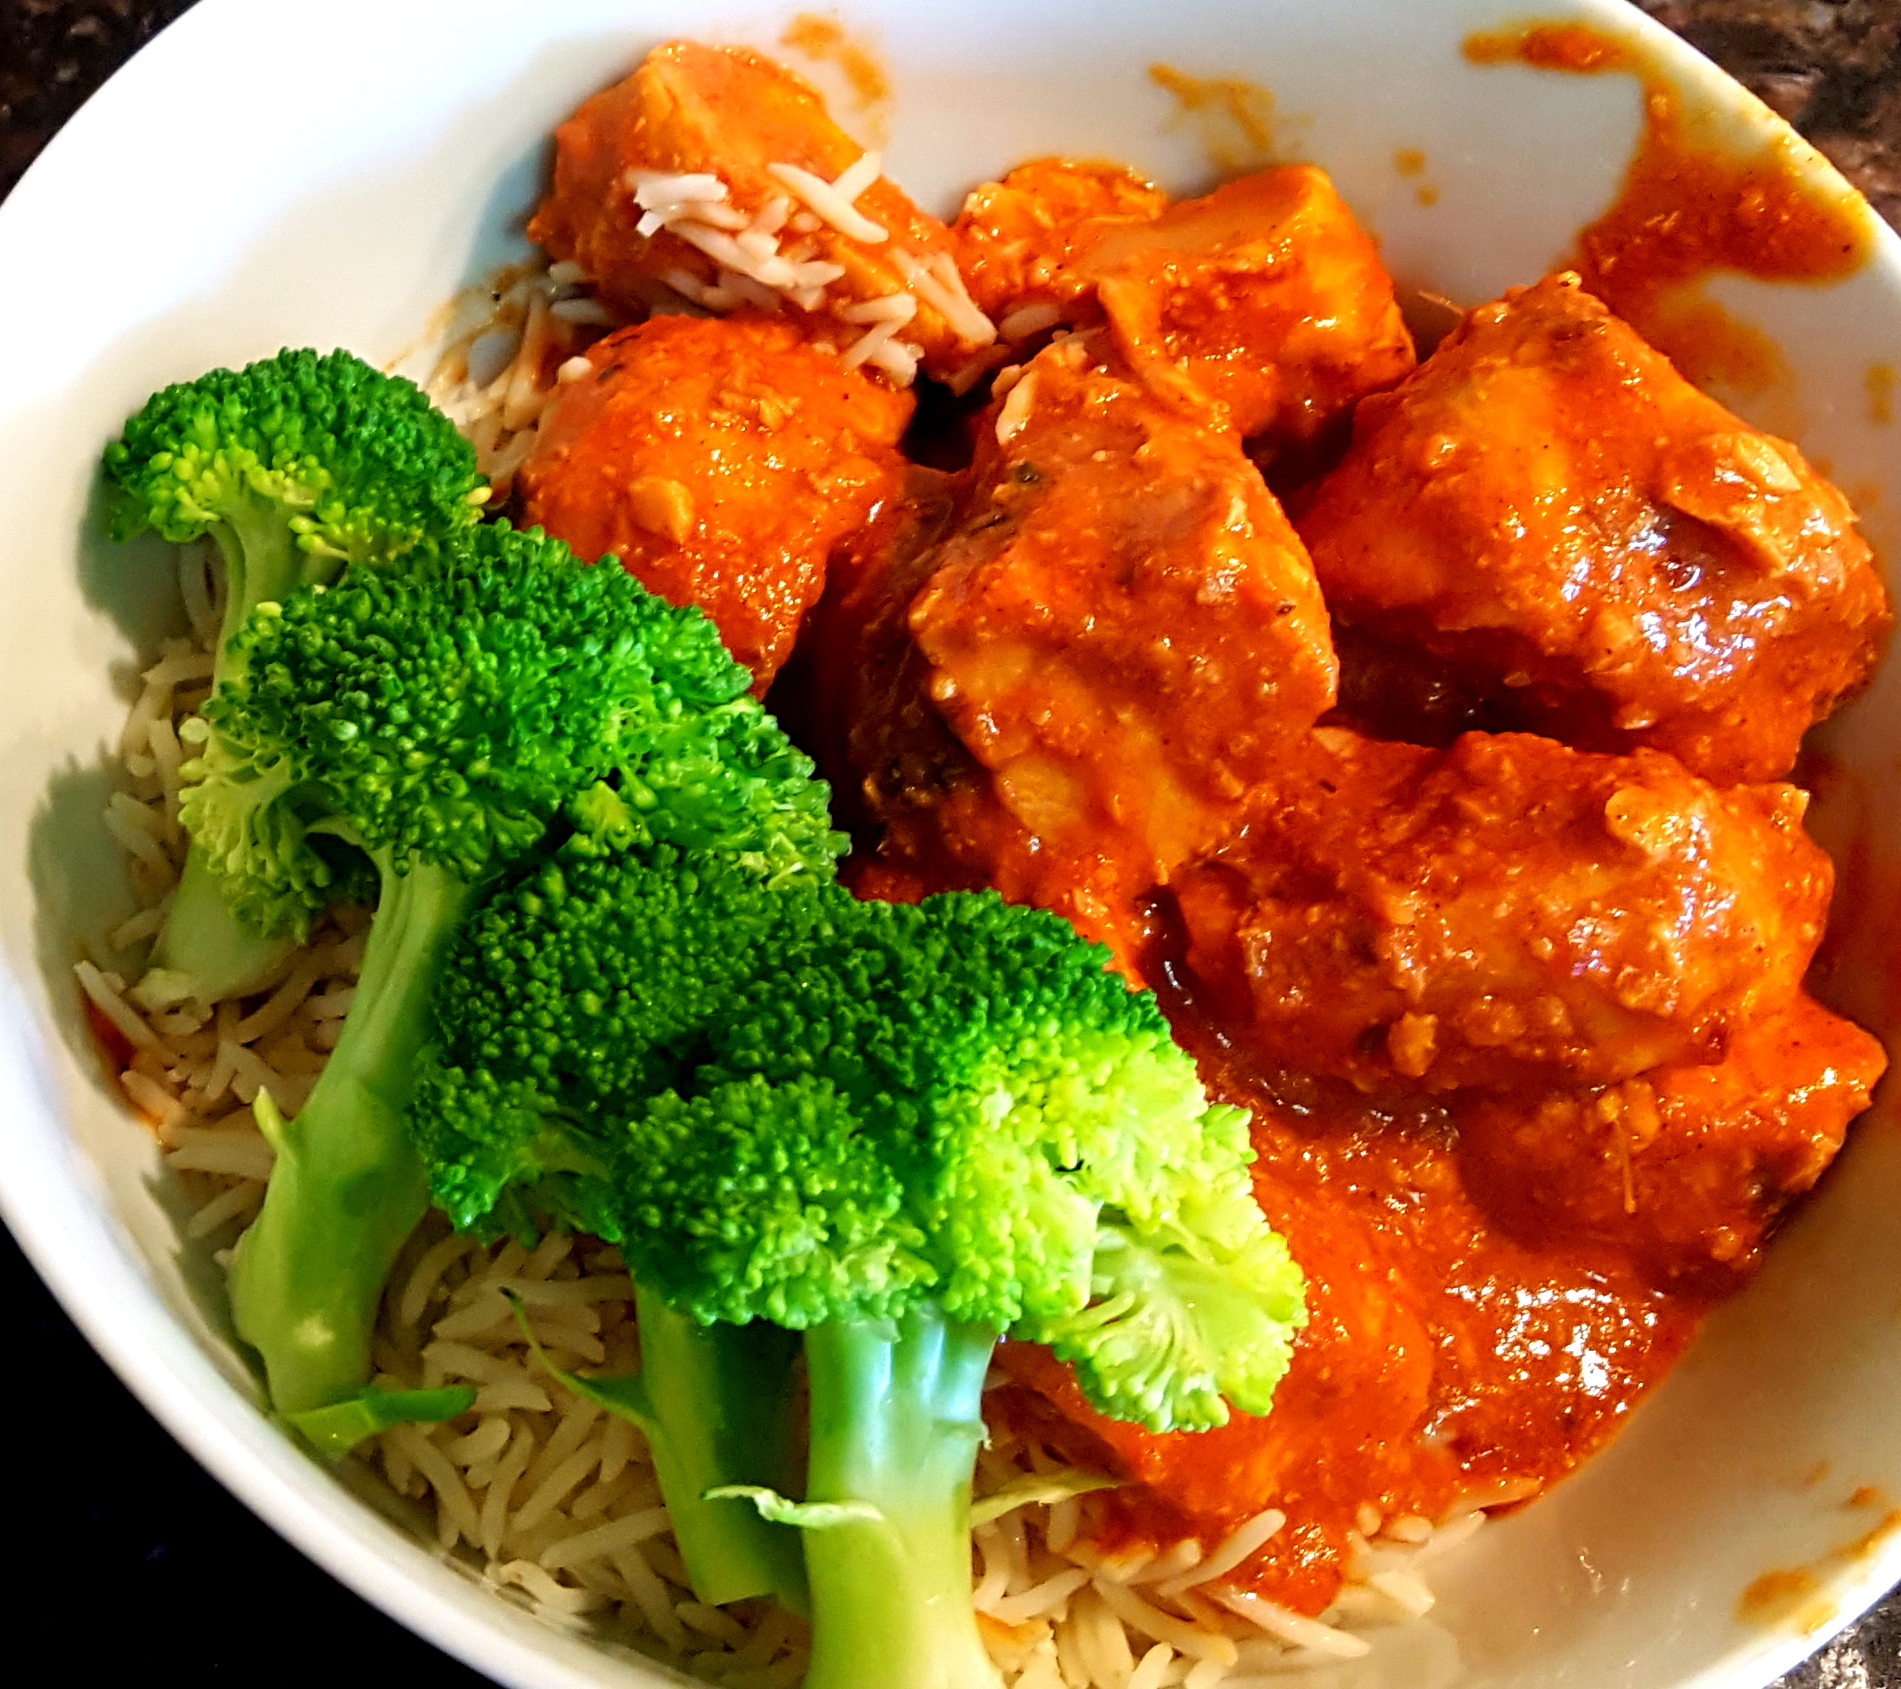
How To Make Rick Stein’s Butter Chicken
You simply can’t get this dish’s depth of flavours using a store bought Butter Chicken paste or simmer sauce. The result is the most succulent chicken in a creamy, nutty, tomato based sauce.
I won’t lie to you though. This is one of the trickier recipes on the blog.
Notes:
- I hope to char grill the chicken better next time but oh my it was amazing anyway. I think I might hit them with a chef’s torch for a bit.
- I also didn’t sprinkle it with Rick’s Chat masala at serving and want to do that next time.
Steps
- Marinating the chicken in marinade 1 for one hour
- Marinating the chicken in marinade 2 for four hours
- Charring the chicken pieces
- Making the sauce
- Serving
Ingredients
- 4 large chicken breasts, skinned and deboned
- Marinade 1
- The juice of 2 limes
- 1 tsp Kashmiri chili powder
- 1 tsp table salt
- Marinade 2
- 50g plain yoghurt
- 50g double cream
- 4 garlic cloves, diced
- 5cm ginger, roughly chopped
- 1 tsp Garam masala
- 1 tsp ground turmeric
- 3/4 tsp ground cumin
- 1/2 tsp beetroot powder (for color)
- The sauce
- 50g ghee
- 5 garlic cloves, diced
- 5cm ginger, diced
- 400g tomato passata
- 1/2 tsp Kashmiri chili powder
- 1/2 tsp ground cumin
- 1/2 tsp ground coriander seeds
- 1/2 tsp ground cinnamon
- 1/2 tsp Garam masala
- 1 tsp dessicated coconut
- 1.5 tsp table salt
- 200ml water
- 25g cashew nuts
- 25g pumpkin seeds
- 2 Tbsp boiling water
- 1 Tbsp fenugreek leaves
- 1/2 tsp caster sugar
- 45ml double cream
Equipment
- 1 chef’s knife
- 1 chopping board
- 1 wooden spoon
- 1 mixing bowl
- 1 bowl or dish for marinading
- 1 wet mixer/blender (used twice so you will need to clean it)
- 1 large heavy based saucepan
- Several skewers
Marinating the chicken in marinade 1 for one hour
- Cut each breast into 3 pieces.
- In a large bowl mix the:
- Two limes worth of juice
- 1 tsp Kashmiri chili powder
- 1 tsp table salt.
- Put the chicken pieces in the marinade and mix to coat.
- Pop the bowl in the fridge for 1 hour.

Marinating the chicken in marinade 2 for four hours
- In your wet mixer/food processor add the:
- 50g plain yoghurt
- 50g double cream
- 4 garlic cloves, diced
- 5cm ginger, roughly chopped
- 1 tsp Garam masala
- 1 tsp ground turmeric
- 3/4 tsp ground cumin
- 1/2 tsp beetroot powder (for color).
- Blend until smooth and add to the chicken making sure every knook and cranny is coated.
- Marinate for 4 hours in the fridge.

Charring the chicken pieces
- Preheat your fan forced oven to 240C.
- Thread the chicken pieces on either oiled metal skewers or pre-soaked (in water to stop them burning) wooden ones.
- Roast for 15-20 minutes aiming for slightly charred but not cooked fully through just yet.
- Start the next step while the chicken is roasting.

Making the sauce
- Grind, dice and chop the sauces ingredients.
- Heat the 50g ghee in the saucepan over a medium heat.
- Add the 5 diced garlic cloves and diced ginger and fry for a minute.
- Stir in the 400g tomato passata and simmer for 5 minutes.
- Stir in the:
- Simmer for another 10 minutes while you do the next step.
- In your wet mixer/food processor blend into a paste the:
- 25g cashew nuts
- 25g pumpkin seeds
- 2 Tbsp boiling water
- Stir the paste into the passata sauce and the rest of the water.
- Add the chicken to the sauce and gently mix everything.
- Simmer for 10 minutes and then stir in the:
- 1 Tbsp fenugreek leaves
- 1/2 tsp caster sugar
- 45ml double cream


Serving
I served this dish over a bed of basmati rice with some steamed vegetables and a plate of pappadums to share.
Spoon the chicken pieces onto the rice using a slotted spoon and then add as much sauce as the person likes.
Rick Stein says to garnish with some torn fresh coriander leaves, shredded ginger and a sprinkle of chat masala.

Enjoy,
PK
YOU MIGHT ALSO LIKE
INDIAN CUISINE
CURRIES GALORE
MORE CHICKEN DISHES
MORE RICK STEIN
Please consider subscribing to a weekly email summary of our posts or check us out on Facebook @growitcatchitcookit.
[mc4wp_form id=”15771″]
Written by
·
-
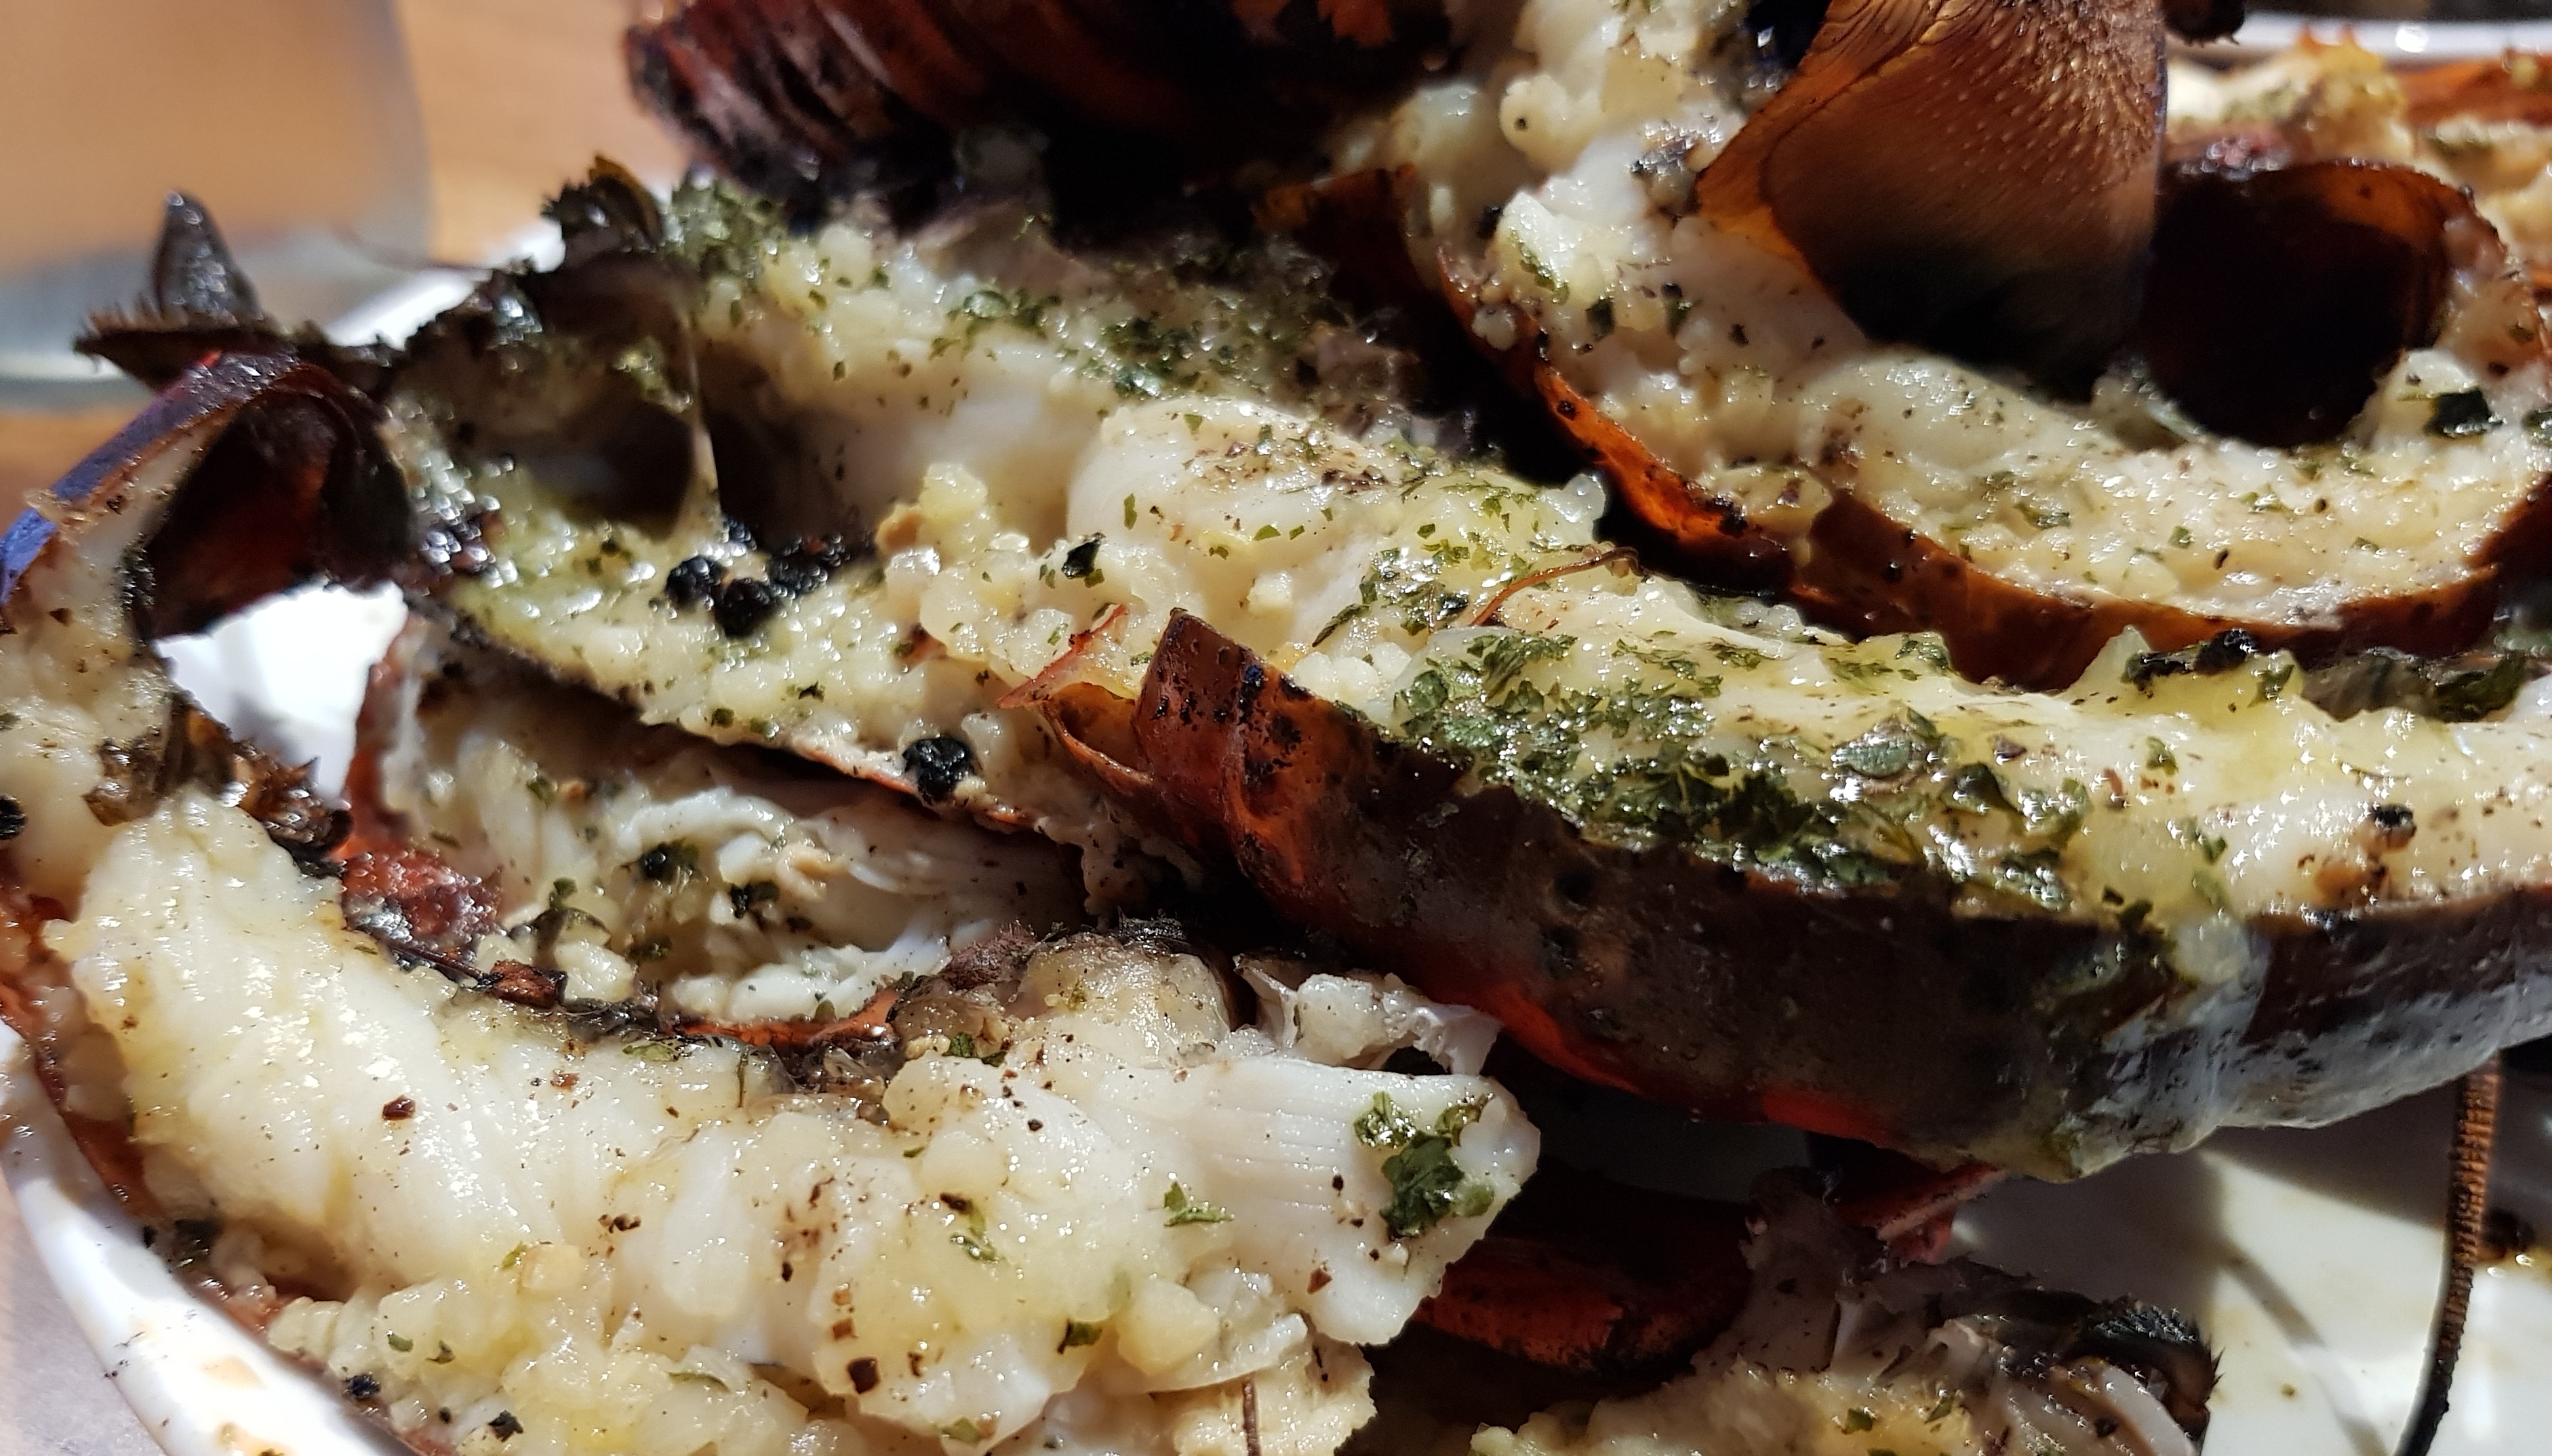
Craigo’s BBQ Marron With Lime, Chile And Sesame Oil
PK boiled his marron and it was amazing (see Marron In Browned Butter Sauce) but I prefer mine halved and cooked on the barbie.
It couldn’t be easier
Whip up a batch of Garlic Butter and halve your freshly caught marron (see marroning tips here and how to halve crayfish here).


Drizzle the halves with sesame oil and lime juice. Add slices of chili and lather the garlic butter all over.


Barbecue briefly until the meat turns opaque.

Serve with your favourite salads and give each guest wedges of limes.

Fish on,
Craigo
Related Links:
Please consider subscribing to get a weekly email summary of our posts.
[mc4wp_form id=”15771″]
Written by
·
-
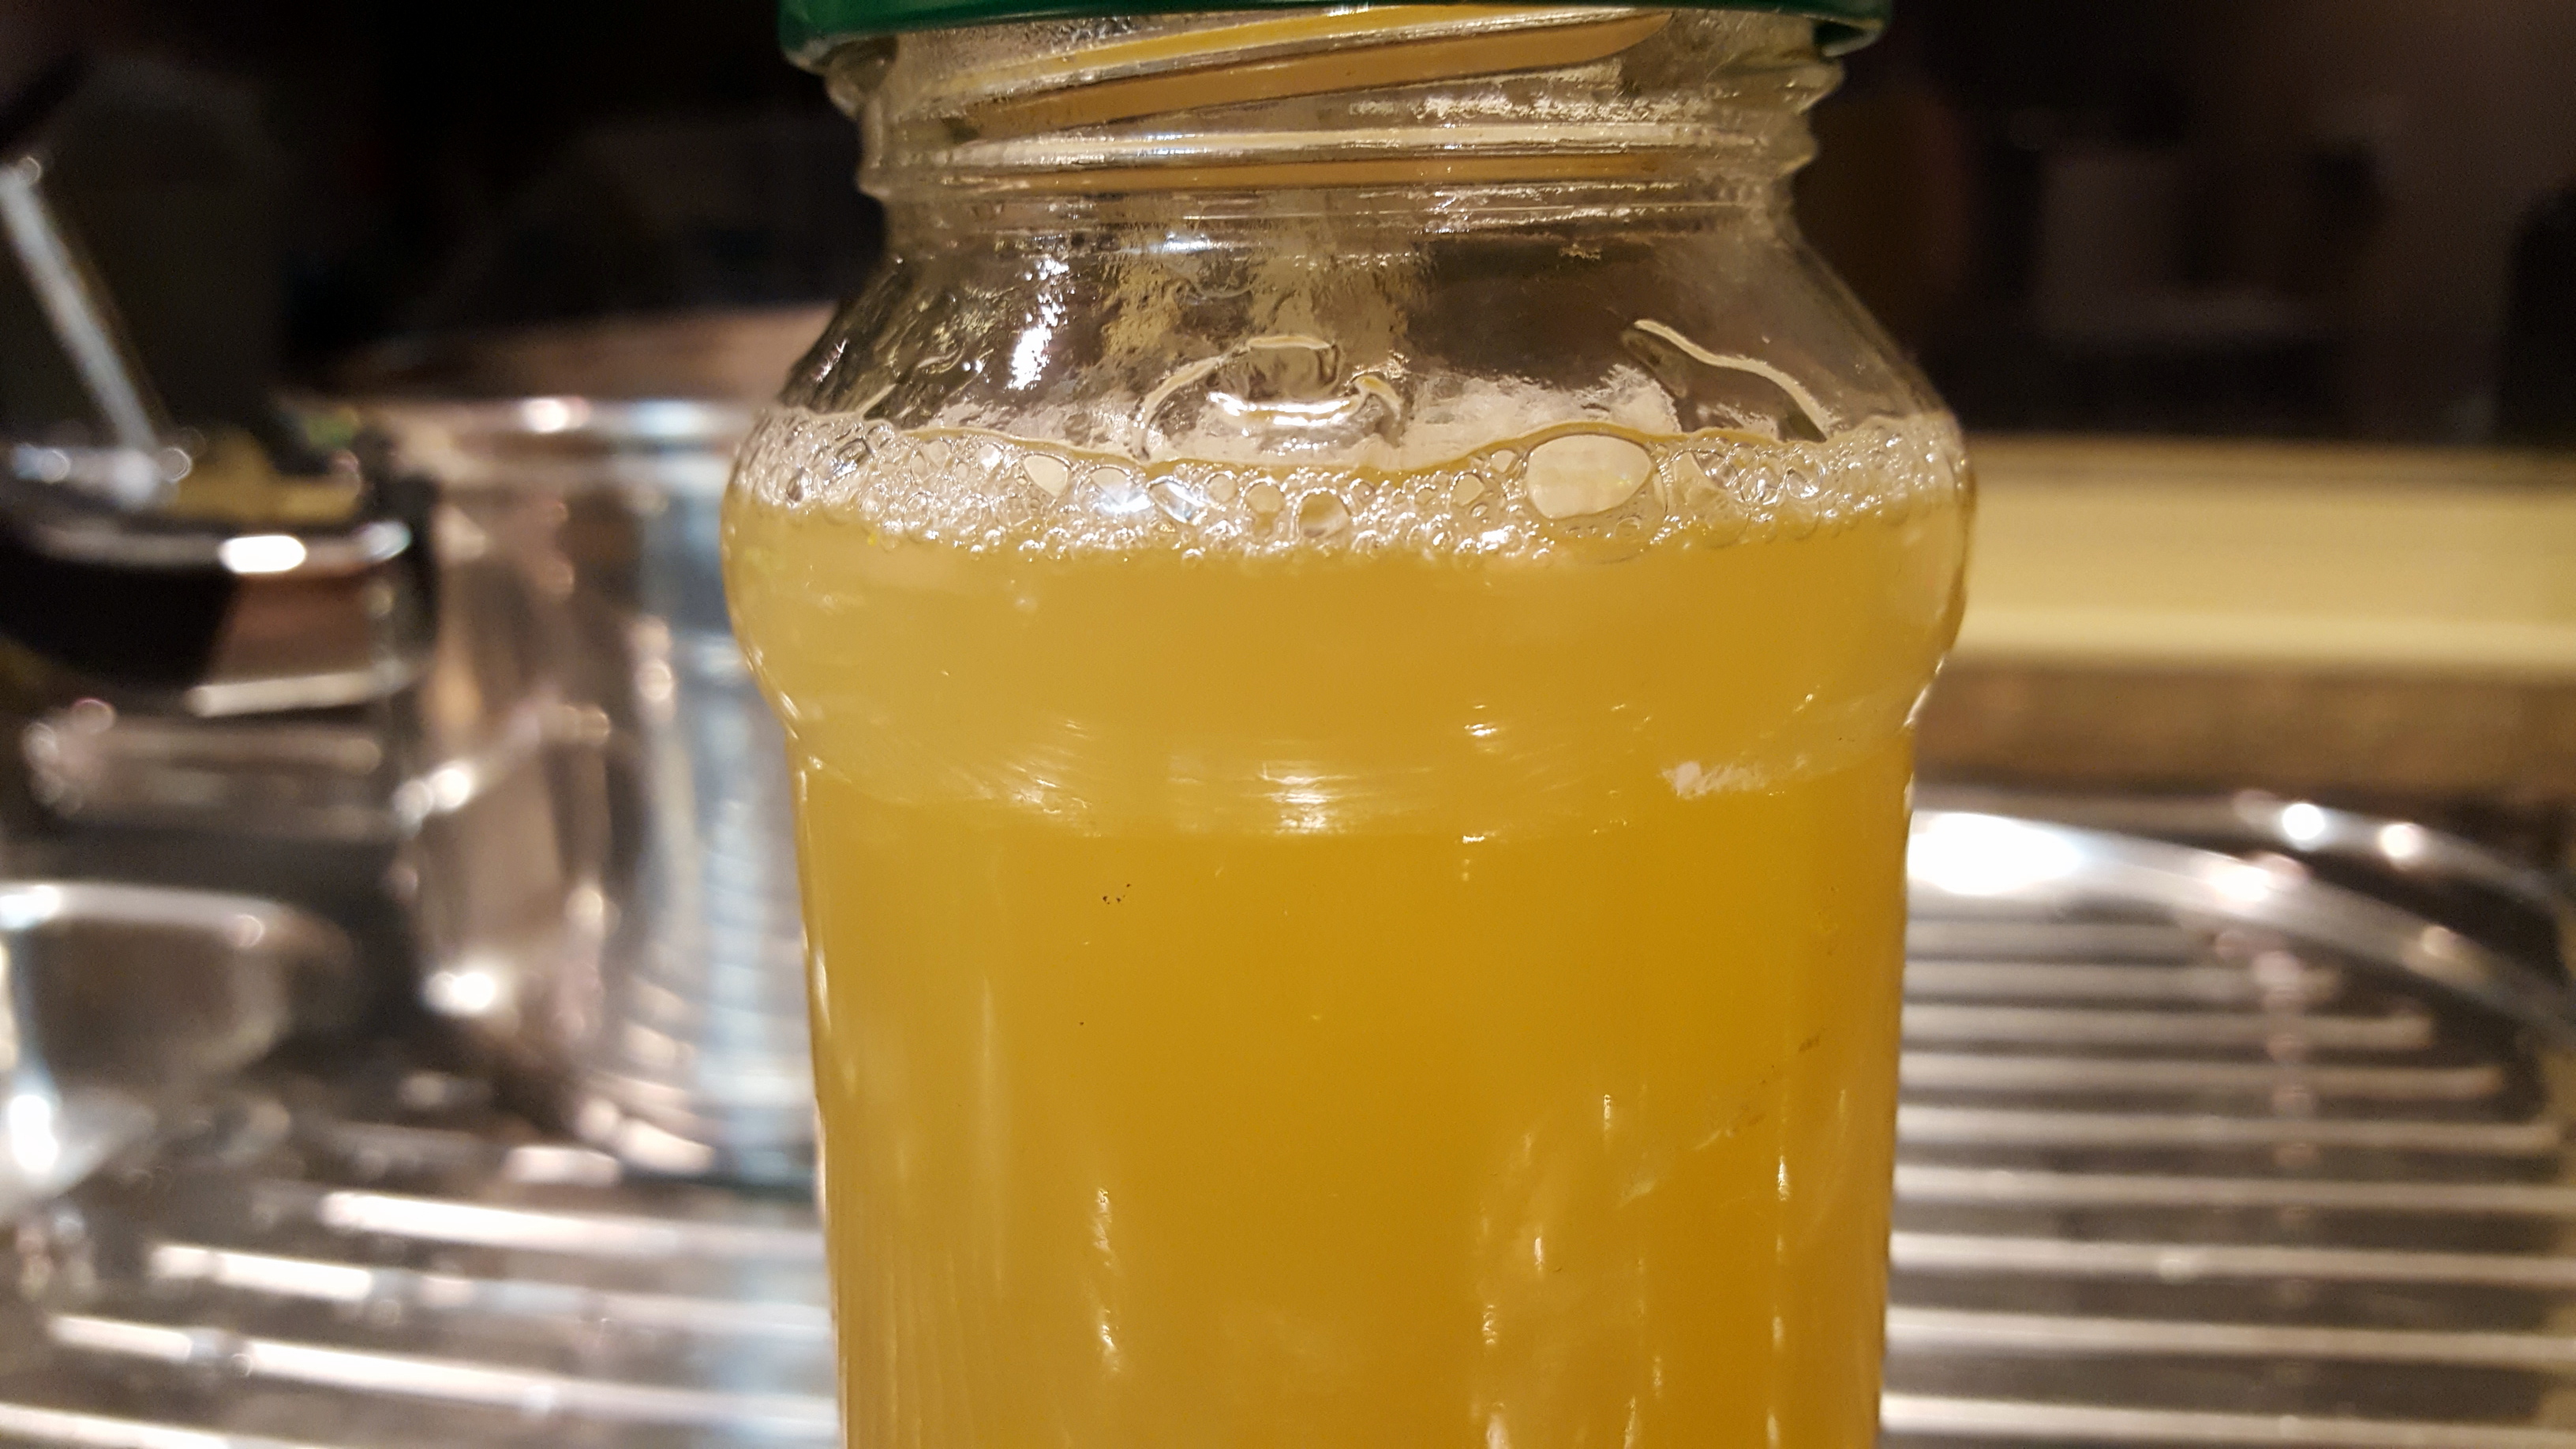
PK’s Easy Lemon Citrus Cordial
It is still winter in Perth and our citrus plants are producing loads of fruit. You know I hate to waste any precious harvest so here is another way to make citrus last.
This cordial (I used lemons and limes) is super tasty and will last for ages in the fridge. 🙂
I simply work on a 2 cups of sugar to 500mls of fresh juice and 500mls of water ratio.
Steps:
- Take a couple of the lemons and or limes and zest them.
- Juice the rest.
- Chuck the zest into a saucepan along with the freshly squeezed juice, water and sugar.
- Slowly bring everything to a gentle boil, stiring often to make sure the sugar is dissolved.
- Take it off the heat as soon as it boils and pour into pre-sterilised jars, straining as you go.
- Let the jars cool before you put the lids on!
Enjoy,
PK
YOU MIGHT ALSO LIKE
PRESERVE YOUR HARVEST
MORE NORECIPE GOODNESS
Please consider subscribing to a weekly email summary of our posts or check us out on Facebook @growitcatchitcookit.
[mc4wp_form id=”15771″]
Written by
·
-
PK’s NoRecipe Lemon Cordial
It is still winter in Perth and our citrus plants are still producing loads of fruit. You know I hate to waste any precious harvest so here is another method of preserving citrus.
This cordial (I used lemons and limes) is super tasty and will last for ages in the fridge 🙂
I simply work on a 2 cups of sugar to 500mls of fresh juice and 500mls of water ratio.
Steps:
- Take a couple of the lemons and or limes and zest them.
- Juice the rest.
- Chuck the zest into a saucepan along with the freshly squeezed juice, water and sugar.
- Bring everything to a gentle boil but do it very slowly and stir often to make sure the sugar is dissolved.
- Take it off the heat as soon as it boils and pour into pre-sterilised jars, straining as you go.
- Let the jars cool before you put the lids on!
Enjoy,
PK
Related Links:
- See more preserving ideas here
Written by
·
-

PK’s Easy Pho Ga
When someone mentions Vietnamese cuisine I immediately think of the famous Vietnamese noodle dish called Pho.
Pho (pronounced like ‘fur’ but without the hard r) is a modern take on more traditional dishes. The Vietnamese people rapidly took to this healthy “fast food” and then spread it around the globe.
I imagine everyone has their own favourite style of Pho. Mine is a sweet and sour broth with some lightly poached chicken, lots of vegetables and tons of rice noodles. Simply multiply the ingredients below for each person you are serving.
I go light on the chili factor (even none at all for my family) and then I use Sriracha hot sauce in my bowl to add some heat.
Tip: Make the fried shallots ahead of time using my method here. They are an optional garnish but I feel they really “make” this dish.
You will be:
- Building the broth
- Poaching the chicken
- Serving.
You will need:
- Ingredients:
- Broth for one:
- 3 cups homemade chicken stock
- a splash of fresh lime juice
- 1.5 Tbsp fish sauce
- a small chunk galangal (galanga)
- a small chunk ginger
- 1/2 cinnamon stick
- 1 star anise
- 1 tsp raw sugar
- black peppercorns to taste, ground
- 1 coriander root
- Bowl for one:
- 250g chicken tenderloins, sliced
- 250g rice noodles, pre-softened in boiling water
- a handful of torn coriander leaves
- a handful of mung bean sprouts
- a few sprigs of vietnamese coriander
- 2 spring onions, white parts, sliced on an angle
- jalepenos , sliced, to taste
- 1/2 a lime (for people to adjust the fish sauce/lime juice balance)
- fried shallots and garlic slices
- A handful of chopped mushrooms like shitake or enoki
- Broth for one:
- Equipment:
- a long sharp knife
- a chopping board
- a grater
- a large saucepan
- a serving bowl
Building the broth
I use my home-made chicken stock because it starts you off with a broth that has been built up with chicken bones, vegetables and garlic.
Making a starter broth this way allows you to subsequently build dish specific flavours on top of it and this is what we will do now.
- Add the 3 cups of chicken stock to the saucepan.
- Peel a chunk of galangal and a chunk of ginger and throw them into the pan whole.
- Add the:
- splash of fresh lime juice
- 1.5 Tbsp fish sauce
- 1/2 cinnamon stick
- 1 star anise
- 1 tsp raw sugar
- ground black peppercorns
- 1 coriander root
- Let everything sit for 5 minutes, to infuse, if you have time.
- Put the saucepan on low heat and then gently simmer for about 10 minutes.
Poaching the chicken
- Add the 250g of sliced chicken tenderloins to the gently simmering pan of broth.
- Allow the chicken to cook for 5 minutes and then remove the pan from the heat (by this stage everything is cooked and you don’t want the chicken to overcook as it will go leathery).

Serving
Serve the broth over the rice noodles and vegetables. Garnish with slices of chili, fried shallots and even omelette and peanuts.
Have in easy reach extra fish sauce, lime wedges and of course Sriracha sauce so you and your guests can adjust the taste to suit.


Enjoy,
PK
YOU MIGHT ALSO LIKE
VIETNAMESE CUISINE
NOODLE DISHES
BROWSE INGREDIENTS POSTS
THE FULL GICICI INGREDIENTS LIST
Please consider subscribing to a weekly email summary of our posts or check us out on Facebook @growitcatchitcookit.
[mc4wp_form id=”15771″]
Written by
·
-
PK’s Cheaters Pho Ga For One
When someone mentions Vietnamese cuisine I immediately think of the famous Vietnamese noodle dish called Pho.
Pho (pronounced ‘fur’ but without the hard r) is a modern take on more traditional dishes but the Vietnamese people rapidly took to this healthy “fast food” and then spread it around the globe.
I imagine everyone has their own favourite style of Pho. Mine is a sweet and sour broth with some lightly poached chicken, lots of vegetables and tons of rice noodles. Simply multiply the ingredients below for each person you are serving.
I go light on the chili factor (even none at all for my family) and then I use Sriracha hot sauce in my bowl to add some heat.
Tip: Make the fried shallots ahead of time using my method here. They are an optional garnish but I feel they really “upgrade” this dish.
You will be:
- Building the broth
- Poaching the chicken
- Serving.
You will need:
- Ingredients:
- Broth for one:
- 3 cups homemade chicken stock
- a splash of fresh lime juice
- 1.5 Tbsp fish sauce
- a small chunk galangal (galanga)
- a small chunk ginger
- 1/2 cinnamon stick
- 1 star anise
- 1 tsp raw sugar
- black peppercorns to taste, ground
- 1 coriander root
- Bowl for one:
- 250g chicken tenderloins, sliced
- 250g rice noodles, pre-softened in boiling water
- a handful of torn coriander leaves
- a handful of mung bean sprouts
- a few sprigs of vietnamese coriander
- 2 spring onions, white parts, sliced on an angle
- jalepenos , sliced, to taste
- 1/2 a lime (for people to adjust the fish sauce/lime juice balance)
- fried shallots and garlic slices
- Broth for one:
- Equipment:
- a long sharp knife
- a chopping board
- a grater
- a large saucepan
- a serving bowl
Building the broth
I use my home-made chicken stock because it starts you off with a broth that has been built up with chicken bones, vegetables and garlic.
Making a starter broth this way allows you to subsequently build dish specific flavours on top of it and this is what we will do now.
- Add the 3 cups of chicken stock to the saucepan.
- Peel a chunk of galangal and a chunk of ginger and throw them into the pan whole.
- Add the:
- splash of fresh lime juice
- 1.5 Tbsp fish sauce
- 1/2 cinnamon stick
- 1 star anise
- 1 tsp raw sugar
- ground black peppercorns
- 1 coriander root
- Let everything sit for 5 minutes, to infuse, if you have time.
- Put the saucepan on low heat and then gently simmer for about 10 minutes.
Poaching the chicken
- Add the 250g of sliced chicken tenderloins to the gently simmering pan of broth.
- Allow the chicken to cook for 5 minutes and then remove the pan from the heat (by this stage everything is cooked and you don’t want the chicken to overcook as it will go leathery).

Serving
Serve the broth over the rice noodles and vegetables. Garnish with slices of chili, fried shallots and even omelette and peanuts.
Have in easy reach extra fish sauce, lime wedges and of course Sriracha sauce so you and your guests can adjust the taste to suit.


Enjoy,
PK
Written by
·
-

PK Cooks Sticky Poached Asian Chicken Thighs
I saw this recipe online here http://www.taste.com.au/ and just had to try it. I also proved along the way that you don’t have to follow recipes exactly to get a great result. I did some steps out of order accidentally and had to rapidly reduce the sauce before everything went south.
Everything worked out well though and I hardly had enough left over for lunch the next day :).
The chicken was so tender and the sticky sauce had an amazing balance of citrus, salt and sugar. I will definitely be making this again but I intend to follow the instructions to the letter.

You will be:
- Preparing your ingredients.
- Poaching the chicken
- Grilling the chicken and reducing the sauce
- Serving.
You will need:
- Ingredients:
- 1kg boneless chicken thighs
- 1 cup chicken stock (see PK’s Slow Cooker Chicken Stock)
- a few slugs of olive oil
- 1 Tbsp fish sauce
- 1/4 cup raw sugar
- 3 garlic cloves, finely diced
- 2cm fresh ginger root, grated (or 1 tsp store bought minced ginger)
- 1 stalk lemongrass, grated
- the rind from 1 lime, finely grated
- 2 Tbsp (or more) lime juice
- Equipment:
- a long sharp knife
- a chopping board
- a grater
- a citrus juicer
- a mixing jug
- a whisk or fork
- an oven dish
- a large strainer
- a medium saucepan
Prepare your ingredients
- Lay the 1kg boneless chicken thighs out in an oven proof dish.
- Peel and dice the 3 garlic cloves, add to the mixing jug along with the 1 cup chicken stock.
- Finely grate the 2cm of ginger and add to the jug.
- Finely grate the 1 lemongrass stem (use the tender parts only and not the thick outer leaves) and add to the jug.
- Grate the rind from a single lime and squeeze 2 Tbsp of lime juice (I used my frozen lime cubes from last season). Add both to the jug.
- Add the 1 Tbsp fish sauce to the jug.
- Add the 1/4 cup of raw sugar to the mixing jug and give everything a good mix (make sure the sugar has dissolved fully).


Poaching the chicken
- Pour the liquid mixture over the chicken and cook for an hour in a fan-foced oven pre-heated to 180C.
- Turn the chicken half way.


Grilling the chicken and reducing the sauce
- Strain the sauce into a saucepan and start reducing it.
- Return the chicken to the oven tray and turn on the grill to brown the chicken.
- When the sauce is very reduced, pour it back onto the chicken a grill for a little bit longer.


Serving
Serve with your favourite rice, some fresh spinach (the heat of the meal will blanch them) or some asian vegetables and a few sprigs of coriander.
Enjoy,
PK
Written by
·
-
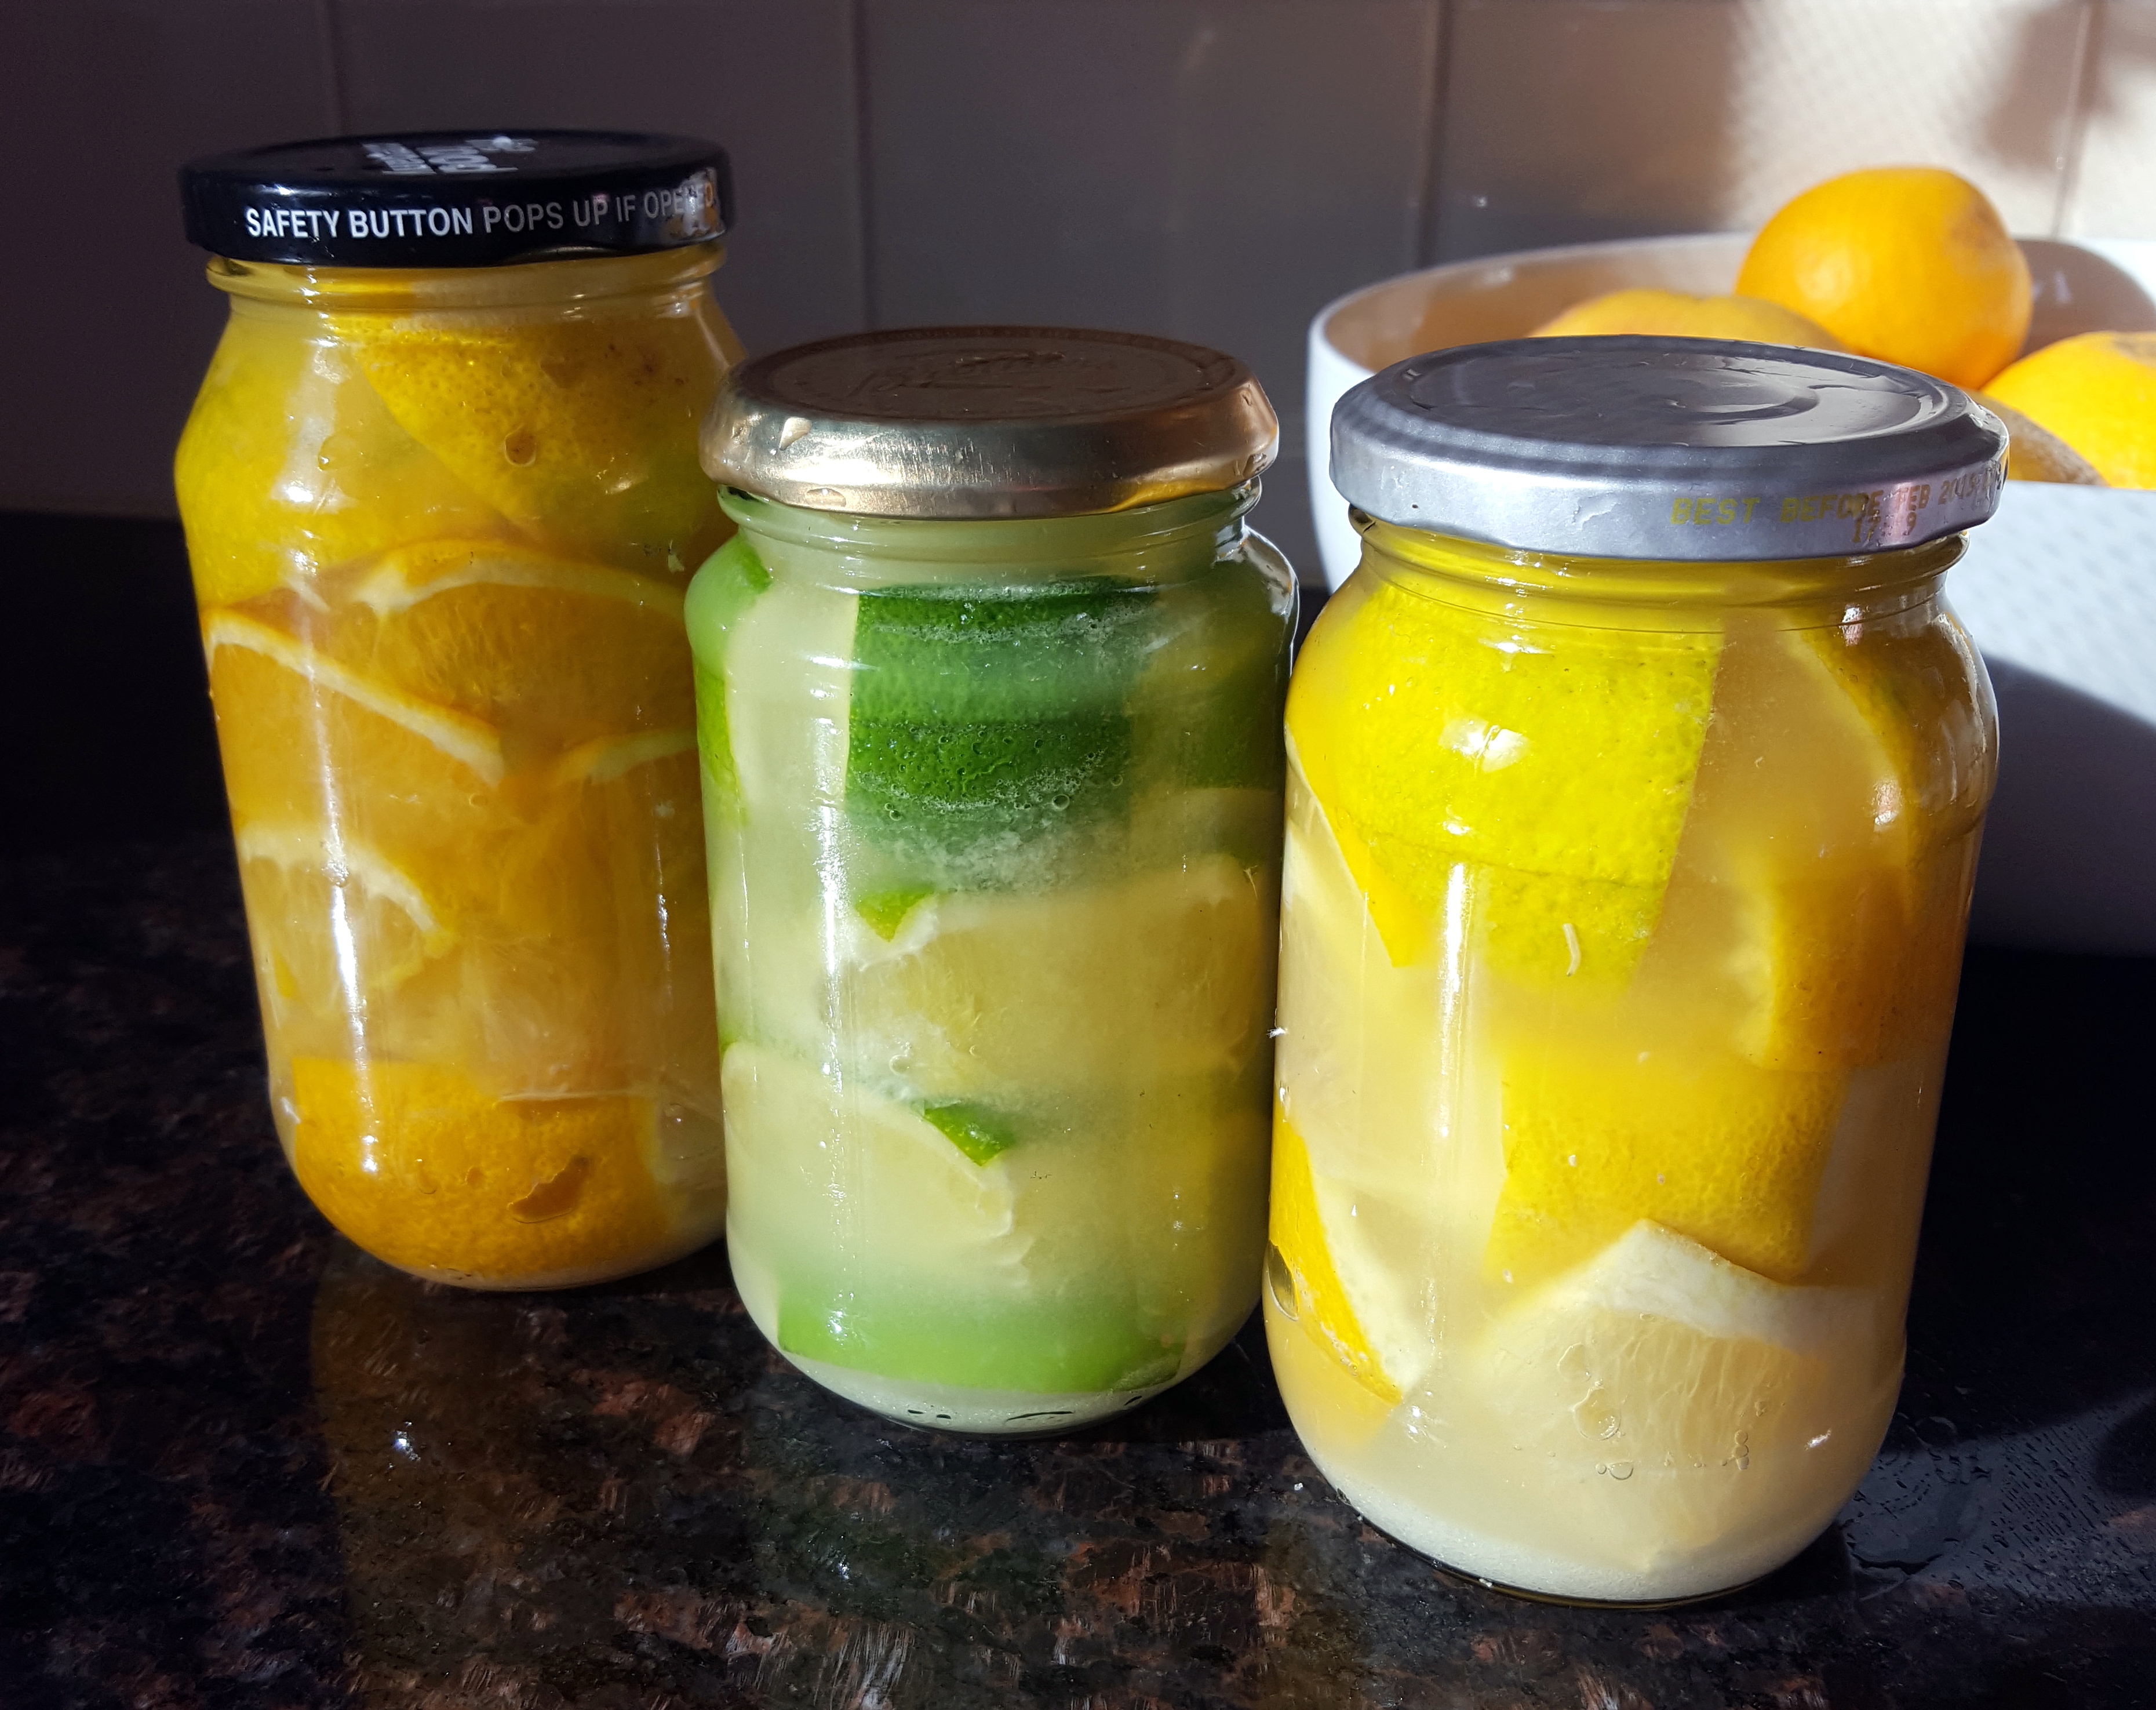
How To Make Preserved Citrus
It’s winter in Perth, Western Australia and this year we are having a really good lemon and orange harvest. I am always on a look for ways to preserve any surplus and a good friend of mine suggested I try making preserved lemons. She won me over with ‘they go great in Tagines’ but she didn’t mention how amazing they look in the jars.
I used lots of salt but I am still going to chuck them in the fridge it after they sit in a cool, dry cupboard for a a few months.
Note: Follow your nose, if it smells bad don’t eat them.

Here are the steps I took:
- I cleaned my chosen citrus with a scourer and rinsed them off (I used the last of the limes, some fresh lemons and a mix of lemons and oranges to make three jars respectively).
- I then took each piece of fruit, cut the ends off and quartered them (large fruit got cut in half again).
- I put 1/2 Tbsp of table salt in the bottom of each of my jars (pre-sterilised with boiling water), put a layer of fruit, pushed that down with a wooden spoon and then added another 1/2 Tbsp salt.
- I repeated the fruit, press and salt cycle until the jar was full to the brim.
- I then added freshly squeezed juice to the jar, added 1 Tbsp salt and popped on a sterilised lid.
- A few taps on the kitchen bench to get all the air bubbles to the top and I moved onto the next type of citrus.
- Then all the jars went into a cupboard for a few months. I haven’t had any jars explode on me but putting them in a cupboard or box stops an entire room being coated in glass and rotten food.
I will let you know how they go 🙂
(update: they were amazing and I even gave a few jars away)
(update 2: I couldn’t point you at a better website for how to use your preserved citrus then this https://www.bonappetit.com/recipes/slideshow/preserved-lemon-slideshow
Enjoy,
PK
Here are more preserving food ideas and uses for citrus:
Written by
·
-
PK’s NoRecipe Preserved Citrus
It’s winter in Perth, Western Australia and this year we are having a really good lemon and orange harvest. I am always on a look for ways to preserve surplus harvest and a good friend of mine suggested I try making preserved lemons. She won me over with ‘they go great in Tagines’ but she didn’t mention how amazing they look in the jars :).
I used lots of salt but I am still going to chuck them in the fridge after a couple of weeks of them sitting sitting in a cool, dry cupboard for a few weeks.

Here are the steps I took:
- I cleaned my chosen citrus with a scourer and rinsed them off (I used the last of the limes, some fresh lemons and a mix of lemons and oranges to make three jars respectively).
- I then took each piece of fruit, cut the ends off and quartered them (large fruit got cut in half again).
- I put 1/2 Tbsp of table salt in the bottom of each of my jars (pre-sterilised with boiling water), put a layer of fruit, pushed that down with a wooden spoon and then added another 1/2 Tbsp salt.
- I repeated the fruit, press and salt cycle until the jar was full to the brim.
- I then added freshly squeezed juice to the jar, added 1 Tbsp salt and popped on a sterilised lid.
- A few taps on the kitchen bench to get all the air bubbles to the top and I moved onto the next type of citrus.
- Then all the jars went into a cupboard for a few weeks.
I will let you know how they go 🙂
(update: they were amazing and I even gave a few jars away)
PK
Related Links:
- See more citrus preserving ideas here
Written by
·
-
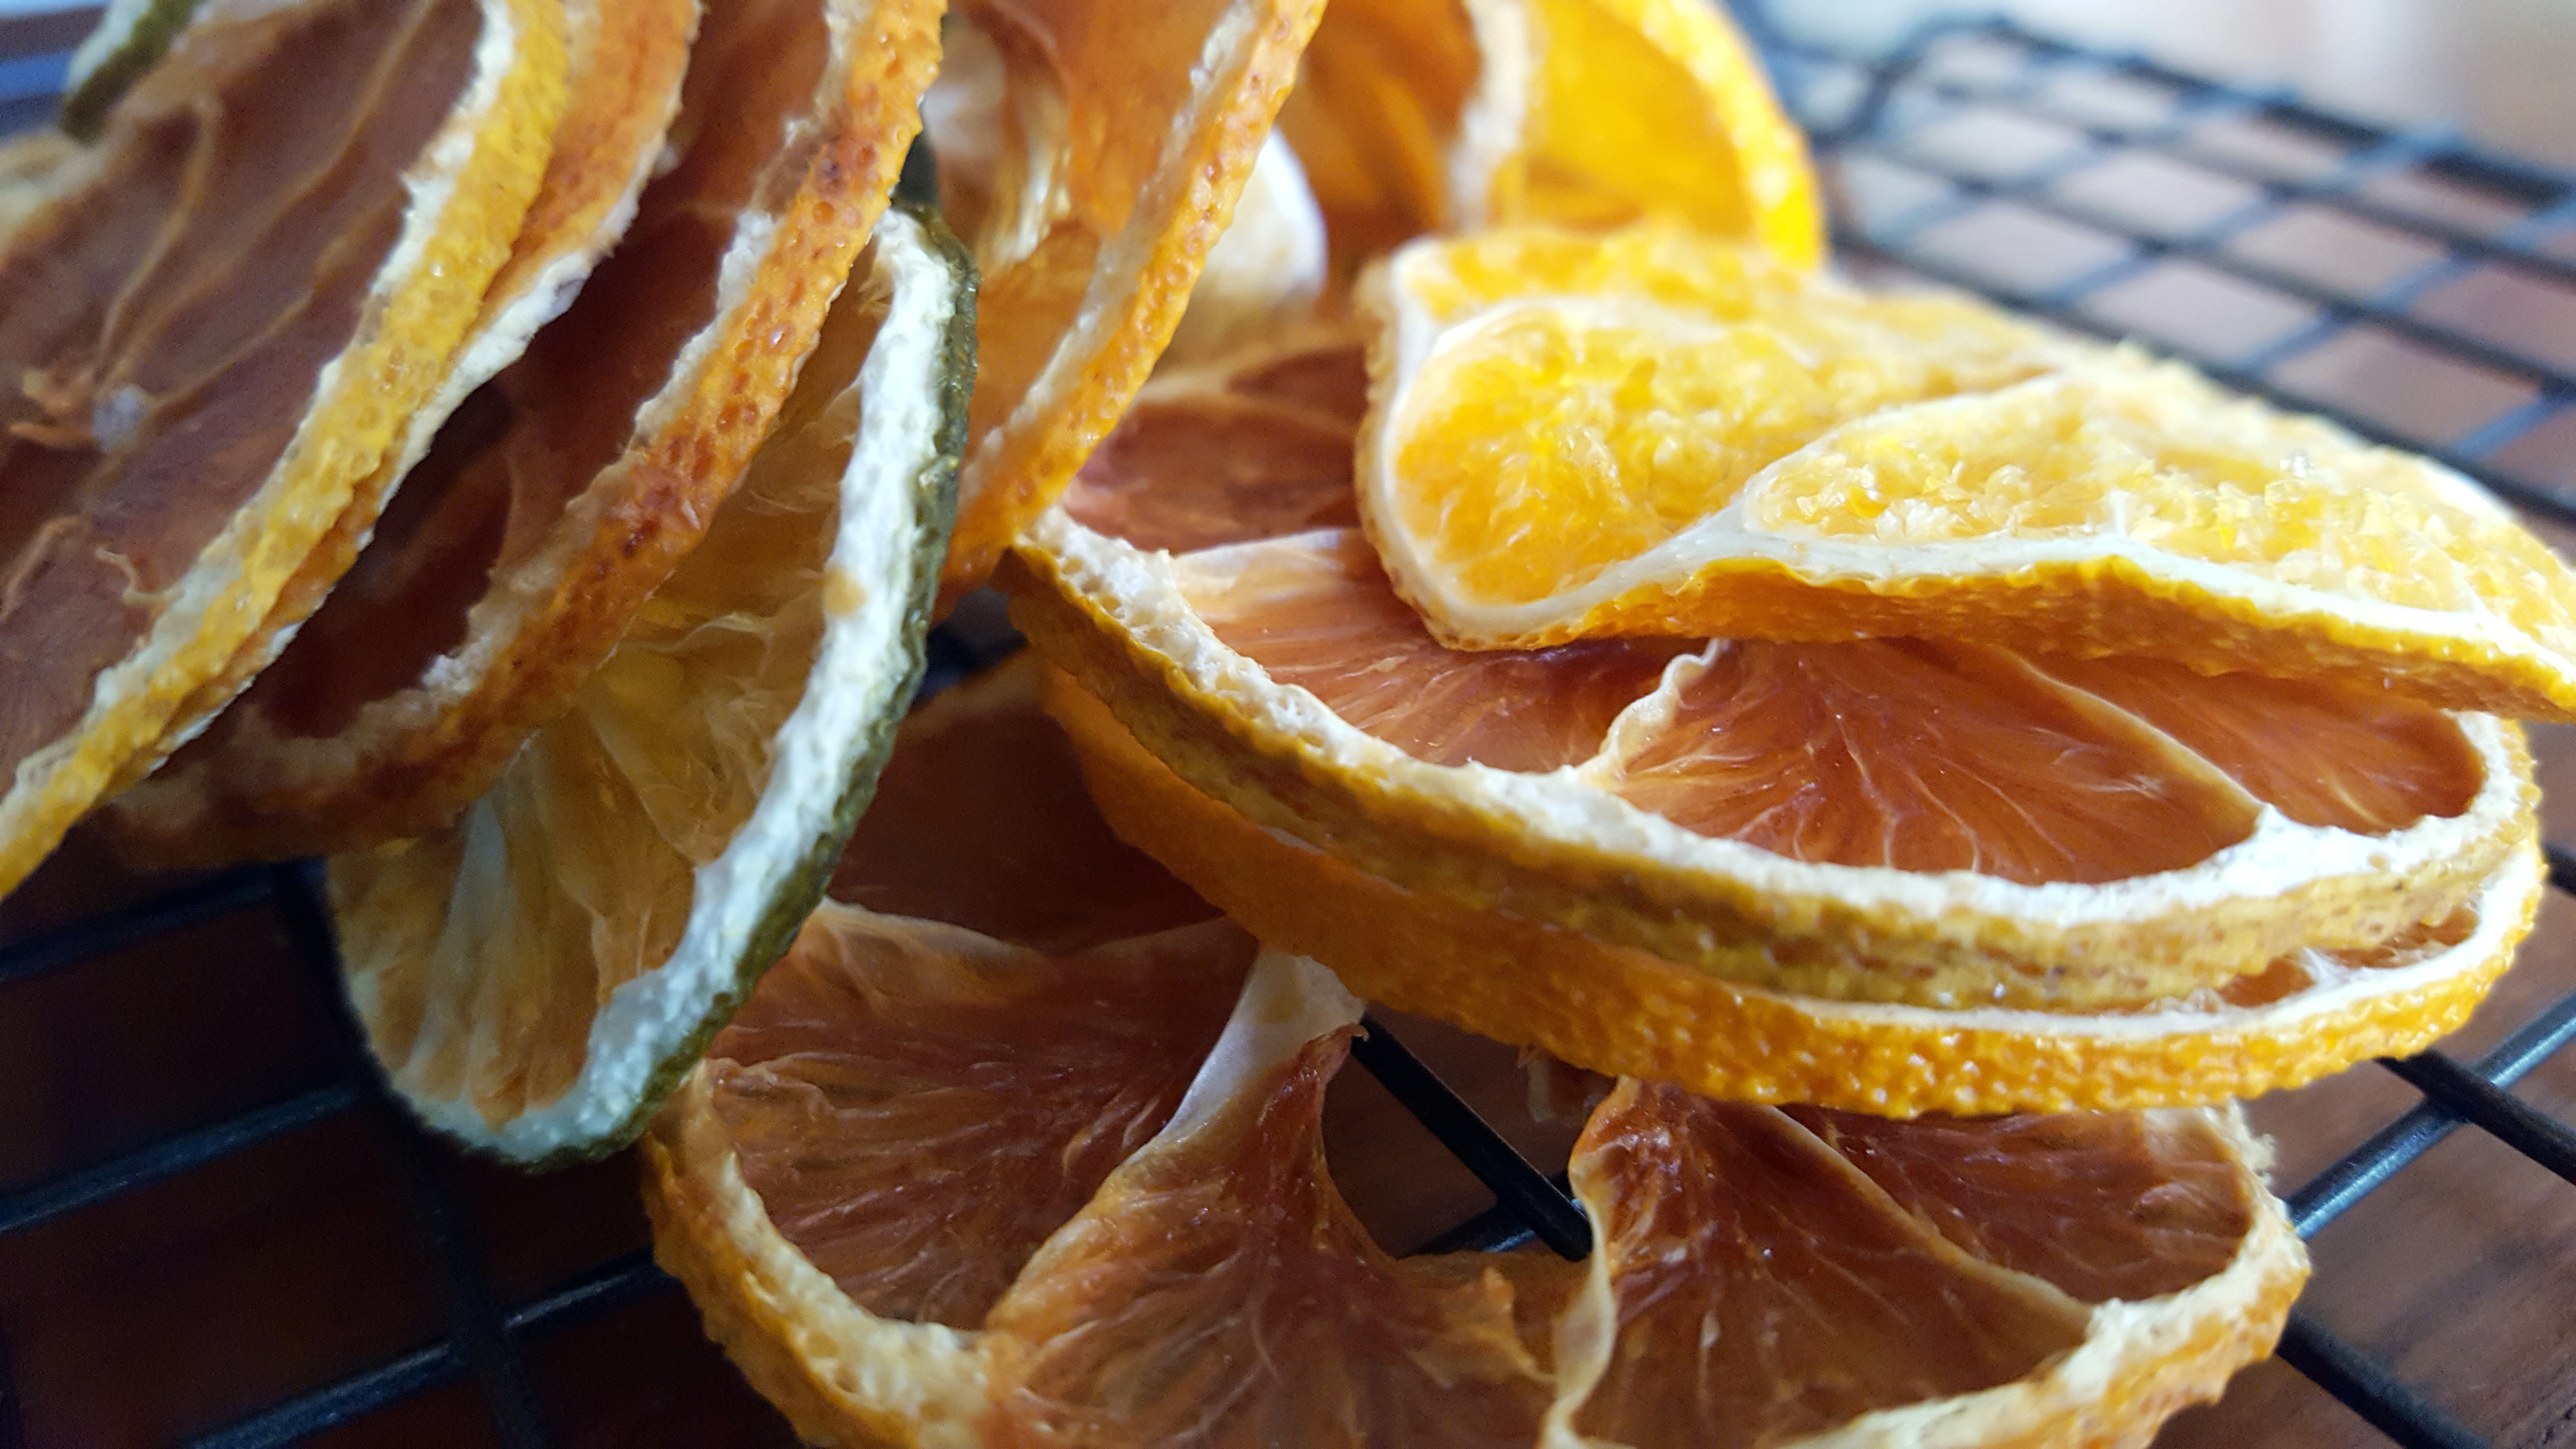
PK’s Dried Citrus Slices
I love preserving food as much as I like growing it (and talking about it). So I did some googling on ways to preserve citrus after my lemon tree decided to try and bury me in fruit :).
My lime tree is a heavy cropper too but in Perth it is not hard to find people willing to take them off your hands :).
Dried citrus can be used for a wide range of things like:
- flavouring jugs/cups of water.
- flavouring your teas.
- adding to smoothies.
- cooking mediterranean and middle-eastern dishes.
- cleaning your kettle of scale (wow).
Simply cut your chosen citrus (I used lemons, limes and oranges) into thin slices.

Pop them on a tray or (my preference) a rack and into an 80C fan-forced oven for 4 to 6 hours. I made sure they were very dry before I took them out and whilst the rind is brittle there is a bit of play in the flesh.
Enjoy,
PK
Written by
·