Tag: preserving
-
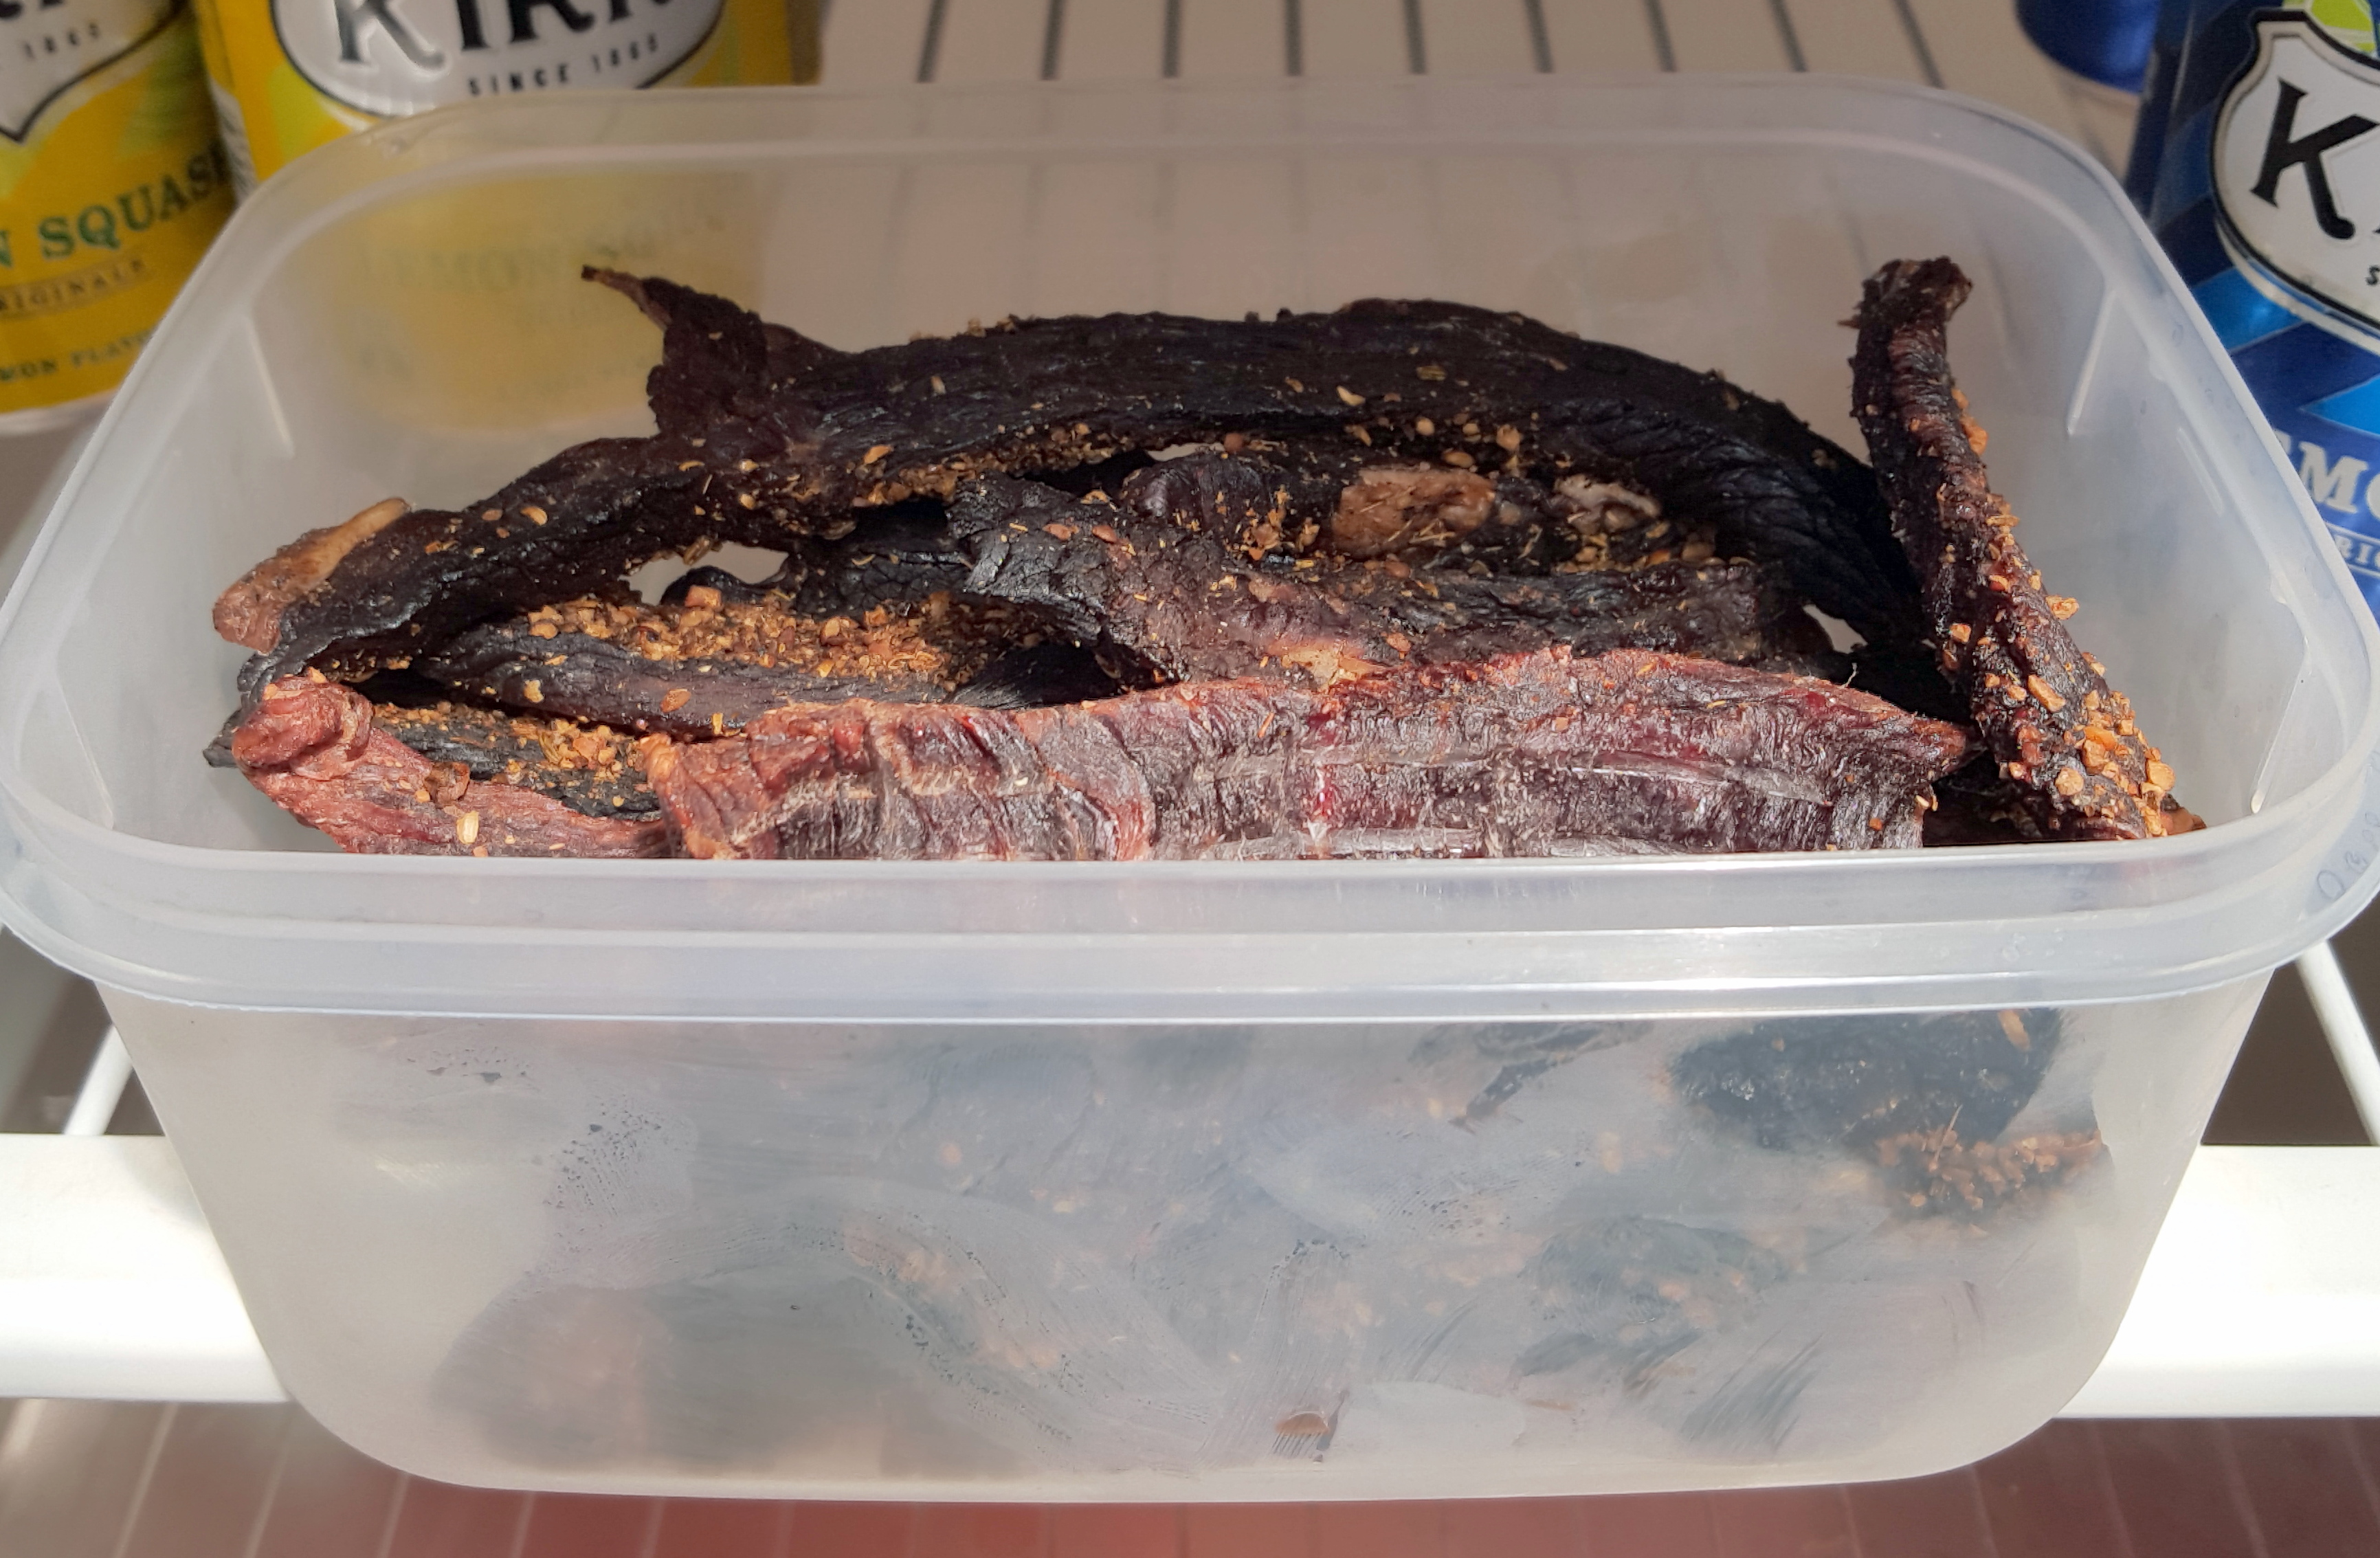
How Do You Make Beef Jerky At Home?
Beef Jerky is a great way to preserve meat. Making it at home you can save money and take control of the ingredients.
We have several recipies on the blog for you to try.
PK’s Beef Jerky #1
Using corned beef and featuring fennel and coriander seeds, this recipe is great for first timers or if you are in a hurry.

PK’s Beef Jerky #2
Also using corned beef (silverside) this recipe features onion, garlic and worchestershire sauce.

Ben’s Beef Jerky
By far the best jerky recipe on the blog, Ben’s method allows you to use any cut of meat. He even suggests using a light box for a slower drying process.


Here are some additional preserving food ideas and beef recipes:
Written by
·
-

How To Steam And Pickle Artichoke Hearts
Artichokes have a mild earthy taste and intriguing texture that pairs well with meat, cheese and crispy vegetables. They are a common occurrence on anitpasti tasting plates and pizza.
My preferred method of preparing and preserving artichokes is to steam them and then drowning them in white wine vinegar or apple cider vinegar.
Steaming the artichokes
I take each artichoke, they are beautiful to look at aren’t they, remove the stem and chop the top off.

I then steam them with water that has a good slug of lemon juice in it for 30 – 40 minutes. The outer leaves should pull off easily at this stage. Prolong the process if not.

Looking good:

I then remove the outer leaves one by one until I get to the soft tender heart.
The inner heart, is then sliced cross-wise.

Pickling and storing the artichokes
You can serve them now or pickle the hearts in a vinegar solution.
Sanitise a glass jar and lid by submersing them in boiling water. Layer the artichoke heart slices in the jar along with some black peppercorns.
Fill the jar with your favourite vinegar. Use slices of onions if need be to bulk up the jar and to keep the artichokes down in the vinegar solution.

They will last several months in the fridge but use your best judgement.
Enjoy,
PK
Here are some more posts about preserving food and antipasti:
Written by
·
-

How To Pickle Oyster Mushrooms
If I am not using my mushrooms super fresh I prefer to preserve them. One of my favourite ways is pickling them in apple cider vinegar.
Simply clean your mushrooms and put them in a sterilised jar. If you want to keep them down in the vinegar solution you can use a layer of apple slices. This works great if you dont have enough mushrooms for the jar.
I also added black peppercorns and a few cloves of garlic. Slices of chili would also go a treat.


I had these set aside for two and a half months and they are amazing. They have a subtle nutty apple flavour with a bit of a zing and soft texture.

Enjoy,
PK
YOU MIGHT ALSO LIKE
USING OYSTER MUSHROOMS
MUSHROOM DISHES
GROWING MUSHROOMS
PRESERVING YOUR HARVEST
Please consider subscribing to a weekly email summary of our posts or check us out on Facebook @growitcatchitcookit.
[mc4wp_form id=”15771″]
Written by
·
-
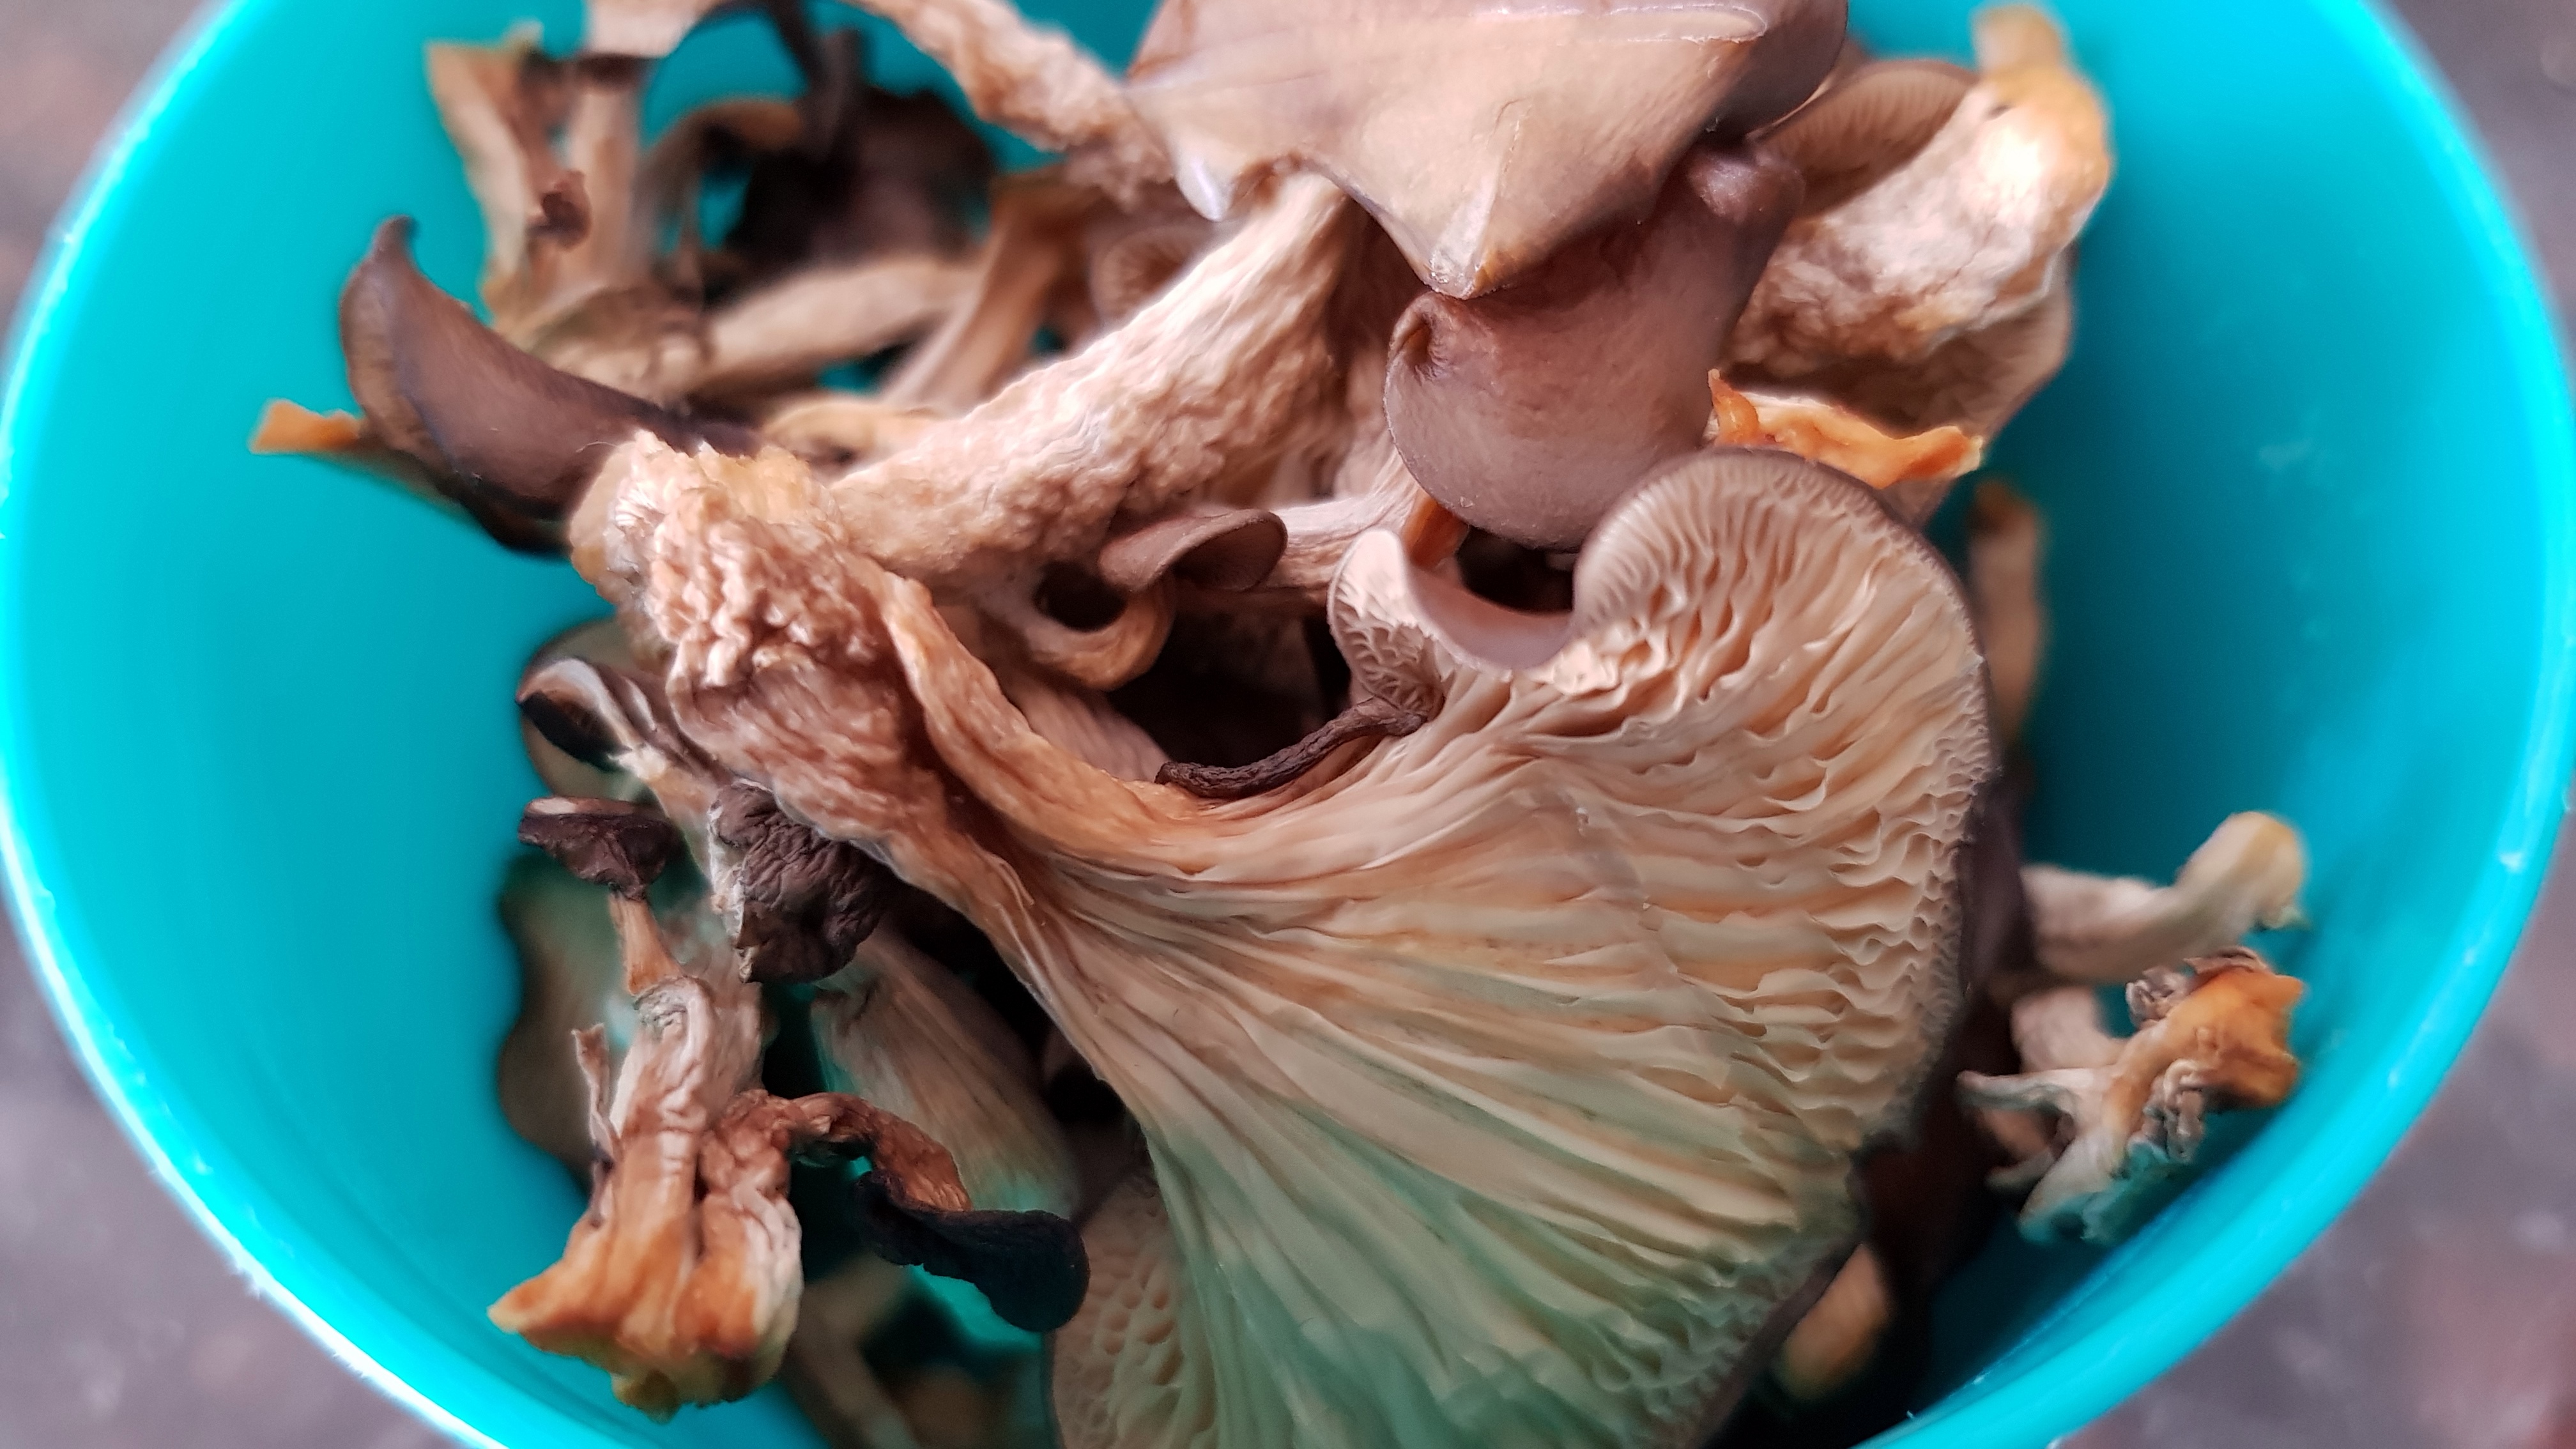
How To Dry Oyster Mushrooms
If I am not using my mushrooms super fresh I prefer to dry them. Dried they really transform slow cooked broths, stocks and casseroles.
I love Growing Oyster Mushrooms At Home but they go gangbusters from nothing to massive in no time. This means lots of mushrooms in a hurry.
If you want to see my fresh mushroom recipes click here but read on to see how I dry and store them.
Chuck the mushies on a cooling rack and set your fan forced oven to 50 degrees C.


Keep drying them until they feel dry to the touch. Then store them in an airtight container. They should last for several months this way.

Enjoy,
PK
YOU MIGHT ALSO LIKE
USING OYSTER MUSHROOMS
MUSHROOM DISHES
GROWING MUSHROOMS
PRESERVING YOUR HARVEST
Please consider subscribing to a weekly email summary of our posts or check us out on Facebook @growitcatchitcookit.
[mc4wp_form id=”15771″]
Written by
·
-
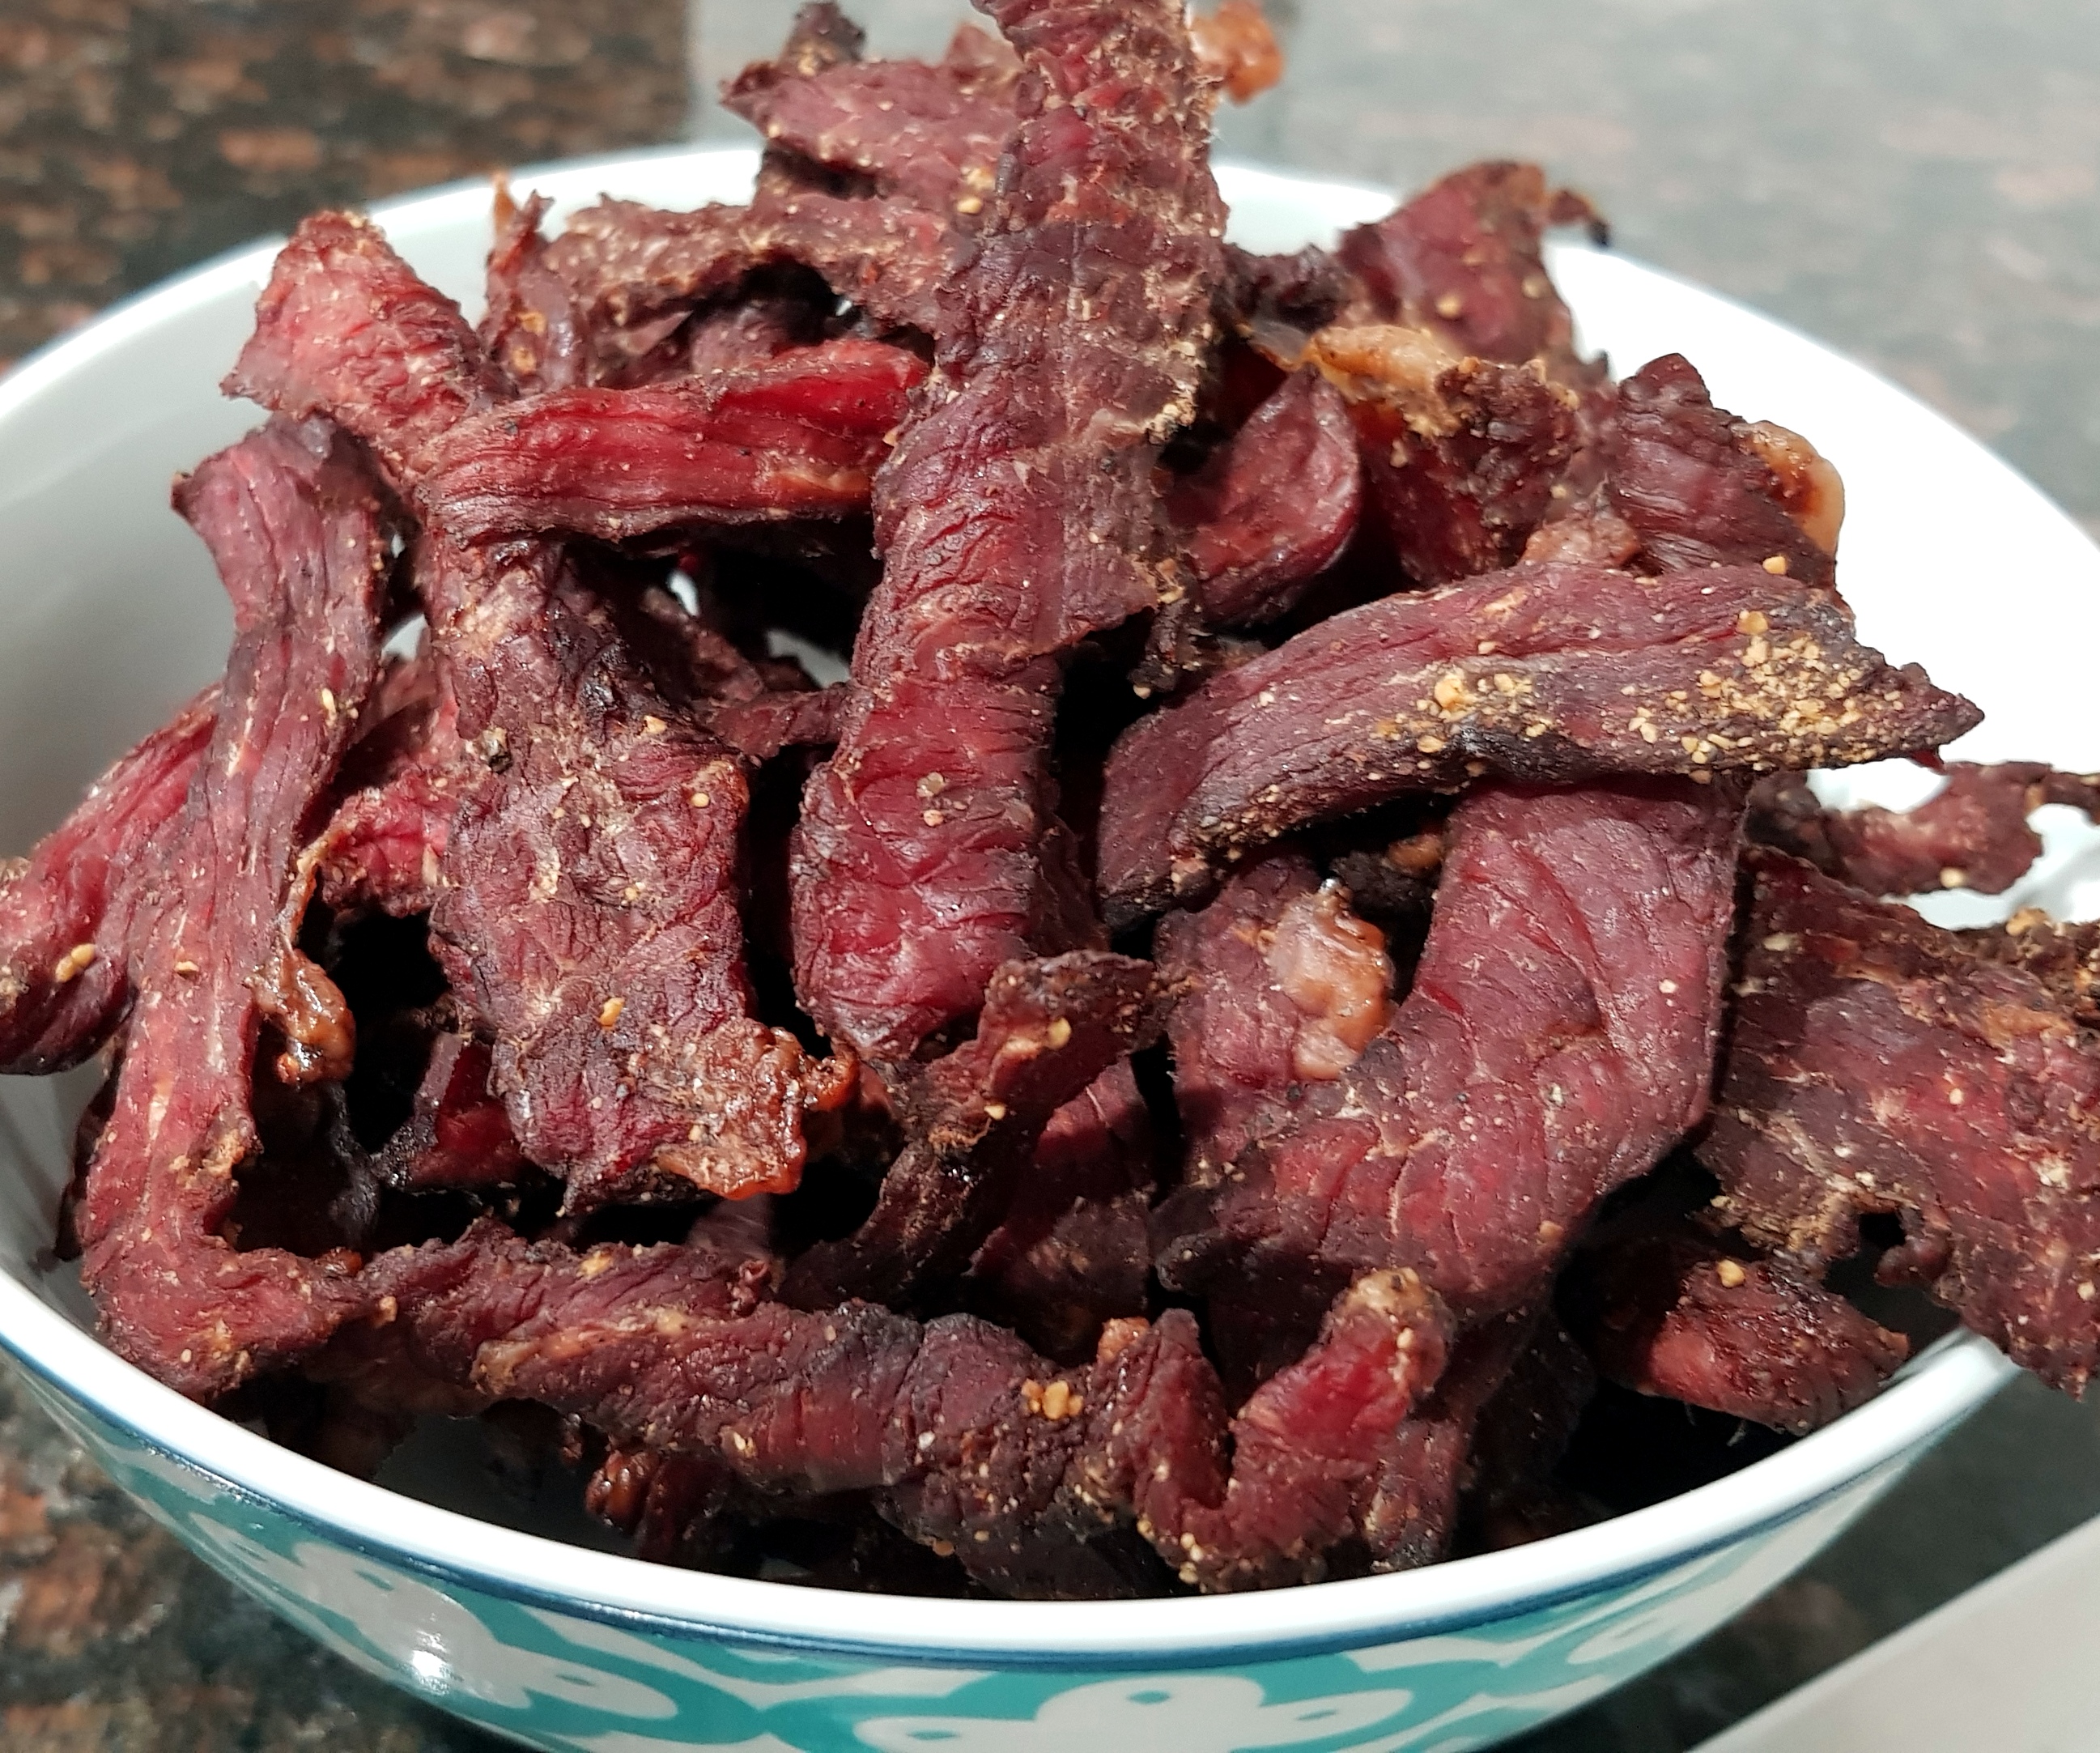
PK’s Beef Jerky #2
I use a couple of different recipes for making beef jerky. This is my second recipe and it uses the same marinading, drying and storing techniques as PK’s Beef Jerky Recipe #1. To that end I am only going to keep this post short.
I am already drooling 🙂
Note: I use corned beef and soy sauce and don’t use much in the way of additional salt. If you are using non-brined cured beef you will need to increase the salt content of the marinade.
Ingredients
- 1.5kg corned beef
- 1 Tbsp black peppercorns, coarsely cracked
- 1 Tbsp dried onion flakes (or onion powder), ground
- 1 tsp table salt
- 1 tsp dried garlic flakes (or garlic powder), ground
- 1/2 cup soy sauce
- 2 Tbsp Worcestershire sauce
- 1/4 tsp liquid smoke
Simply
Combine everything but the beef in a bowl and mix.
Cut the meat into hand length ribbons/strips and submerge in the marinade. Pop the whole lot into the fridge and marinade overnight.
Drain away the marinade, then arrange the strips in your dehydrator. On low or medium heat, thoroughly dry the meat.
I store my beef jerky uncovered in the fridge. This continues the drying process and lets me sneak a piece every time I go in there. 🙂

Enjoy,
PK
Here are some additional preserving food ideas and beef recipes:
Written by
·
-
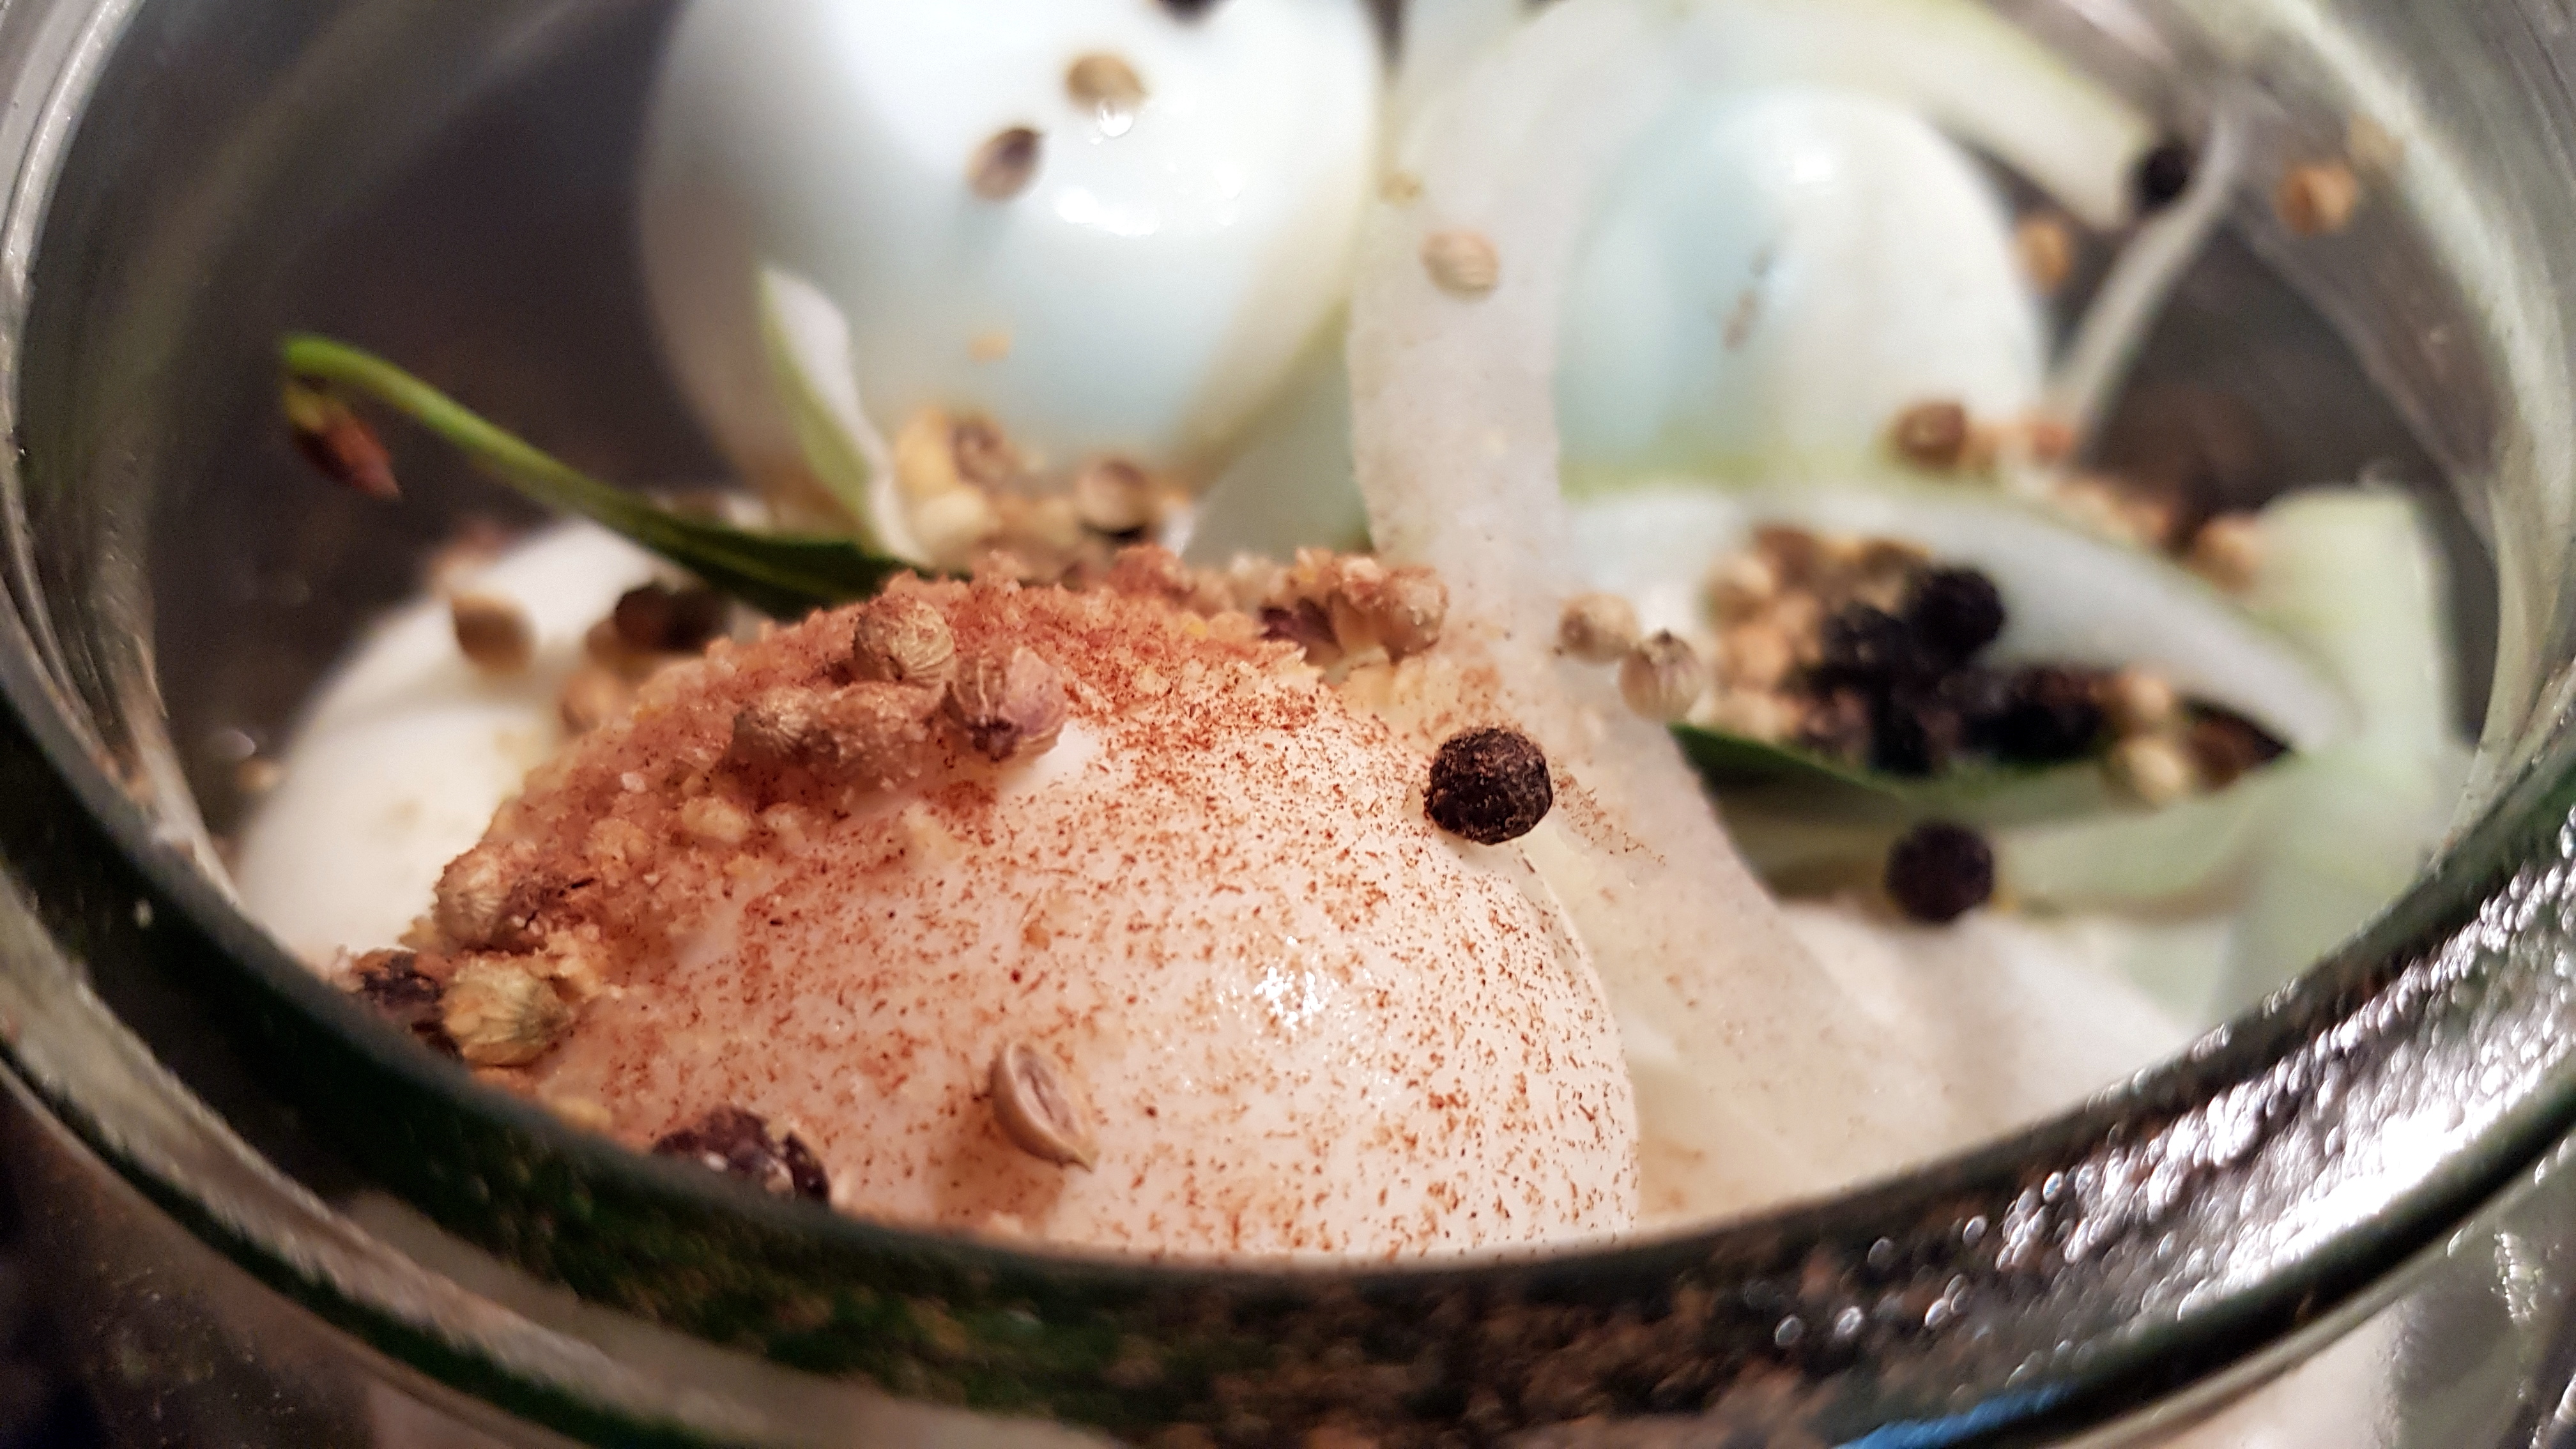
PK’s Pickled Eggs
I got a great deal on 24 eggs at the FarmersMarket: Manning – Perth the other day and have been putting them to good use. I wanted to preserve the last dozen or so and turned to a childhood favourite, the humble pickled egg. 🙂
Note: these will last for ages in the fridge unless I am near by!

You will be:
- Preparing everything
- Boiling the eggs
- Layering the jar
- Storing
You will need:
- Ingredients:
- a dozen or so fresh eggs
- 1 large brown onion, sliced
- enough white wine vinegar to cover the eggs (any vinegar will do so use your favourite)
- pickling spices
- 2 tsp whole black peppercorns
- 2 tsp whole coriander seeds
- 1 tsp ground cinnamon or a small stick
- 4 tsp dried garlic or 4 fresh cloves
- a chunk of ginger or galangal
- 2 bay leaves
- whole chili peppers to taste
- Equipment:
- a long sharp knife
- a chopping board
- a pan to cook the eggs
- a large glass jar with a lid that seals well
Preparing everything
- Sterilise the glass jar (I use boiling water).
- Slice the single large brown onion.
- Bring together the:
- 2 tsp whole black peppercorns
- 2 tsp whole coriander seeds
- 1 tsp ground cinnamon or a small stick
- 4 tsp dried garlic or 4 fresh garlic cloves
- a chunk of ginger or galangal
- 2 bay leaves
- whole chili peppers to taste

Boiling the eggs
- Heat a large pot of water.
- Hard boil the 12 eggs (see PK’s NoRecipe Perfect Hard Boiled Eggs).
- Allow them to cool somewhat and then peel them.

Layering the jar
- Add layers of onion, pickle mixs and eggs until you get towards the top of the jar.
- Slowly add vinegar to the jar until all eggs are covered.


Storing
I leave them out overnight for everything to settle and then pop the jar in the fridge to help them last longer.
They are ready to eat after that first night but do get better with age.

Enjoy,
PK
Related Links:
- See more cooking with egg posts here.
- See more preserving posts here.
- Read about the farm (Gale Force Farm) where I get my eggs here.
Please consider subscribing to get a weekly email summary of our posts.
[mc4wp_form id=”15771″]
Written by
·
-
Dried Garlic
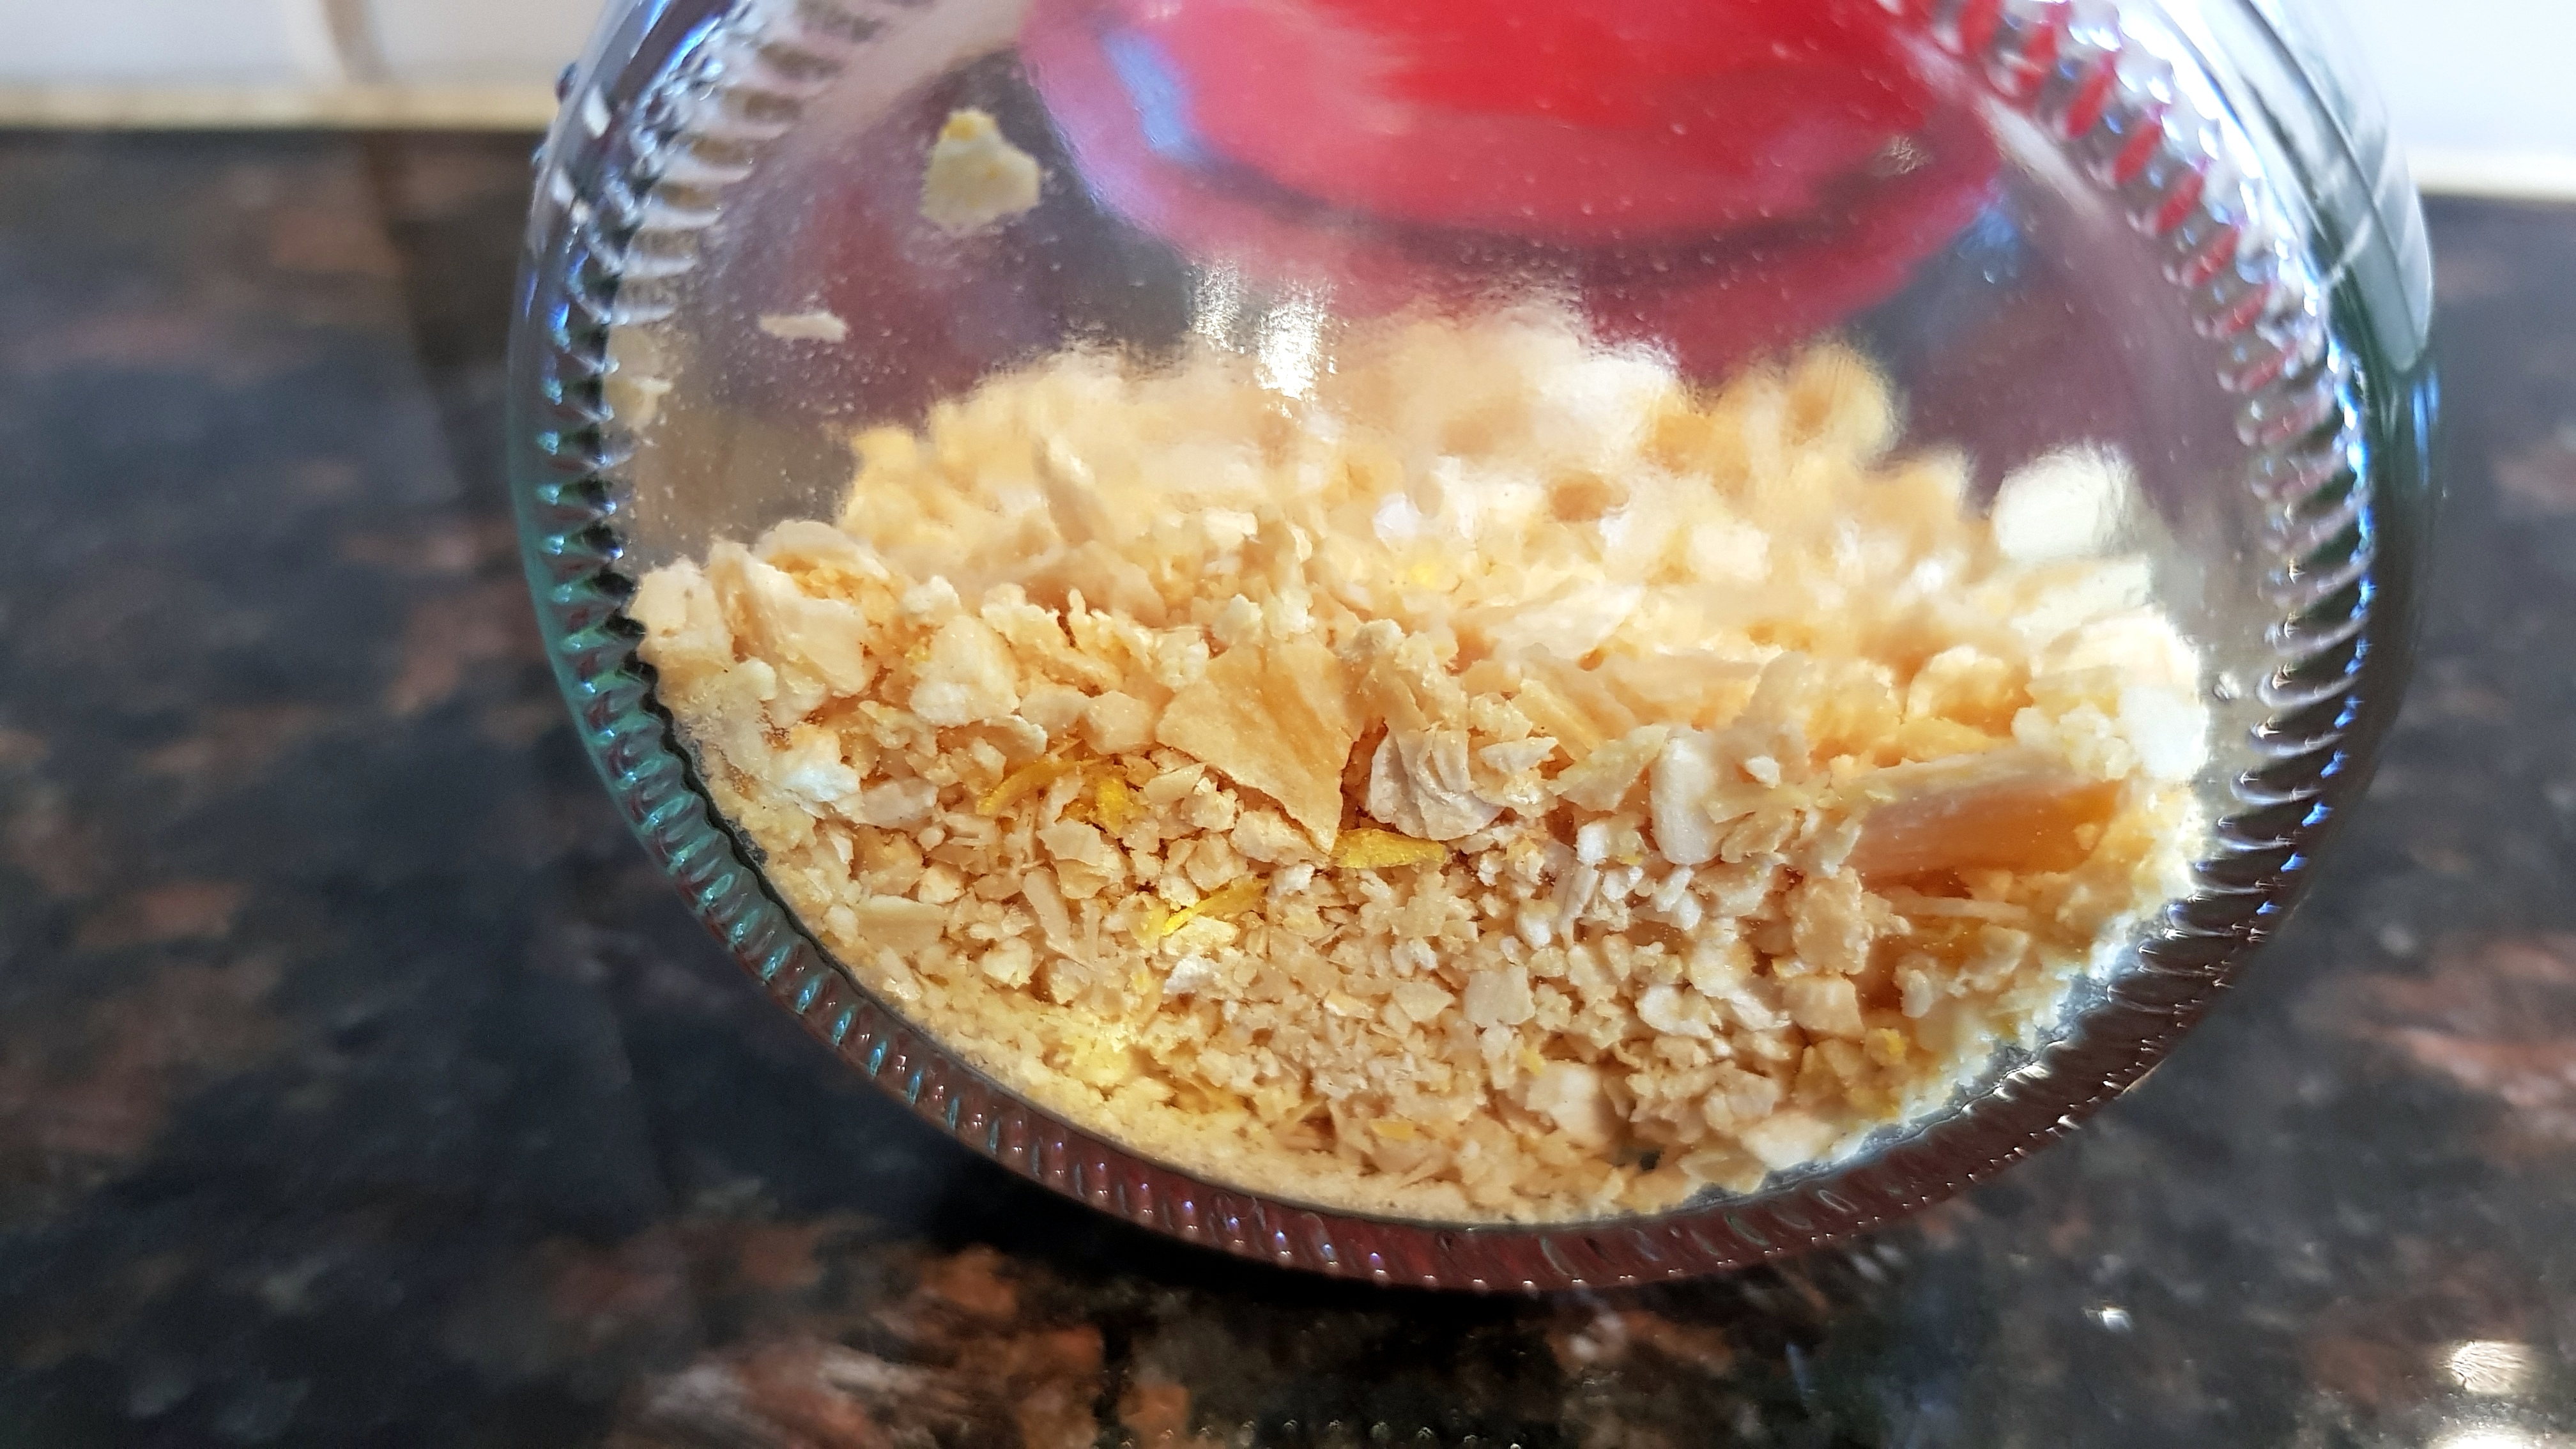
A great way to preserve your garlic crop is to dry them. You will get just shy of a tsp of garlic flakes per clove. 🙂
Note: This method is great for drying onions too. See Dried Onions.
Simply peel the cloves and then throw them in your dehydrator or on an oven tray.

Dry them until they are very crisp and crack in your hand. Be careful of leaving the inside still moist.

A quick pulse in the dry mixer and into a glass jar with a good seal.

Enjoy,
PK
Related Links:
- see more cooking with garlic posts here
- See more dehydrator posts here
- See more preserving posts here
- go to all meal ingredients here
Please consider subscribing to get a weekly email summary of our posts.
[mc4wp_form id=”15771″]
Written by
·
-

Dried Onions
A great way to preserve your onion crop (or in my case a bunch of onions on special) is to dice them and dry them. I quite often freeze onion slices too but I found both my cupboard and freezer devoid of onions 🙂 .
Note: This method is great for drying garlic too (see Dried Garlic).
Simply dice your onions. I am using brown ones here.

Dry them in a dehydrator until they have lost all of their water content. It was humid and rained a bit the day I did it so they took overnight.

On a sunny day I leave the trays out in the sunshine with some netting on, using the dehydrator only at night. It made my shed smell amazing.

Store them in a glass container with a good seal and you will have onions any time you need them.

Use them as is in soups and stews etc. For curries and stir fries etc you will want to re-hydrate them with a bit of warm water first.
Enjoy,
PK
Related Links:
- See recipes using onions here
- See more dehydrator posts here
- See more preserving posts here
- go to all meal ingredients here
Please consider subscribing to get a weekly email summary of our posts.
[mc4wp_form id=”15771″]
Written by
·
-

PK’s Small Batch Hard Cider
Not much tops a nice cold glass of home made hard apple cider on a hot Perth summers day. In this recipe I use a small 2L fermenting jar with a built in one way airlock. It makes just the right amount to share with a few friends over Sunday lunch.
As with my hard apple cider method, in a 5L demijohn, I don’t do a secondary fermentation and that means a flat beverage. I don’t mind and on the plus side I can simply take a jar that has been fermenting for about 4 weeks and chill it a few hours before I need it. No mess, no double handling and no decanting necessary.
Note: Please only follow this recipe if you are of a legal age to drink in your country. Don’t attempt this in an air tight glass jar, it will explode!
You will need:
- Ingredients:
- 4 apples (I use unpeeled apples that are passed their best)
- 1 small lemon or lime
- ~6 raisins (to add some wild yeasts to the mix)
- chilis to taste, sliced (optional)
- 1 teabag (to add some extra tannins to the mix)
- ~ half a sachet of yeast (I use bread yeast)
- 1 cup raw sugar
- boiling water (to sanitise everything)
- cooled boiled water
- Equipment
- a small bowl
- a fork
- a chopping board
- a long sharp knife
- a teacup
- a juicer for the lime
- a wet mixer
- a 2L fermenting jar with a built in one way airlock or similar
Steps:
- Sterilise everything with boiling water. I fill the fermenting jar with boiling water and let it sit while I prepare everything else. When it is cooled somewhat I empty half of it out. I also run boiling water over the fork, knife, measuring spoons etc.

- I also take some of the boiled water that has cooled to the point of being warm and get my yeast mix started. Bubbles let you know it is working.

- You can either puree the apples or chop them into chunks and then add to the jar. Try both methods and see which one you prefer 🙂 . I don’t use the cores but I do use the skins.

- Make a weak cup of tea and allow it to cool before adding to the jar.

- Juice your lemon or lime and add the juice to the jar.
- Add the 6 raisins, optional chilis and 1 cup raw sugar to the jar.

- Top up the fermenting jar with cooled pre-boiled water, leave a bit of room at the top though for the bubbles to come.
- Give it all a good stir with a fork and pop the lid down.

- Leave the fermenting jar somewhere out of the way until it starts bubbling well and then find a nice, dry dark place for it for about 4 weeks. In Perth you won’t have to worry about keeping it warm enough to keep the fermentation going. Most of the 4 weeks is about letting the flavours mature post fermentation really anyway.
If you ask me, cloudy is good 🙂.

Enjoy,
PK
YOU MIGHT ALSO LIKE
OUR OTHER HOME BREWING POSTS
GREAT WAYS TO PRESERVE YOUR HARVESTS
Please consider subscribing to a weekly email summary of our posts or check us out on Facebook @growitcatchitcookit.
[mc4wp_form id=”15771″]
Written by
·
- Ingredients:
-

5L Demijohn
A demijohn is a large glass flagon that is stoppered with a rubber or plastic bung and an airlock. They are used in the alcoholic fermentation of fruit and the like. They are also called carboys and come in a range of sizes.
My one has an old school s-type air bubble lock that after inserting in the bung I simply fill with boiling water (you only have to do this once) to keep every hygienic and the bugs out 🙂 . As the fermentation process slows, the pressure on the airlock reduces and a nice layer of carbon dioxide forms, in the demijohn, to preserve the contents.
I use it to make my hard apple ciders and ginger beers in larger quantities.
Tip: Never fill a cold glass vessel with boiling water without warming it in a bath of hot water from the tap. It will crack otherwise.
Enjoy,
PK
Related Links:
- see PK’s Small Batch Hard Ginger Beer
- see more preserving posts here
- see more equipment posts here
Please consider subscribing to get a weekly email summary of our posts.
[mc4wp_form id=”15771″]
Written by
·