Tag: preserving
-
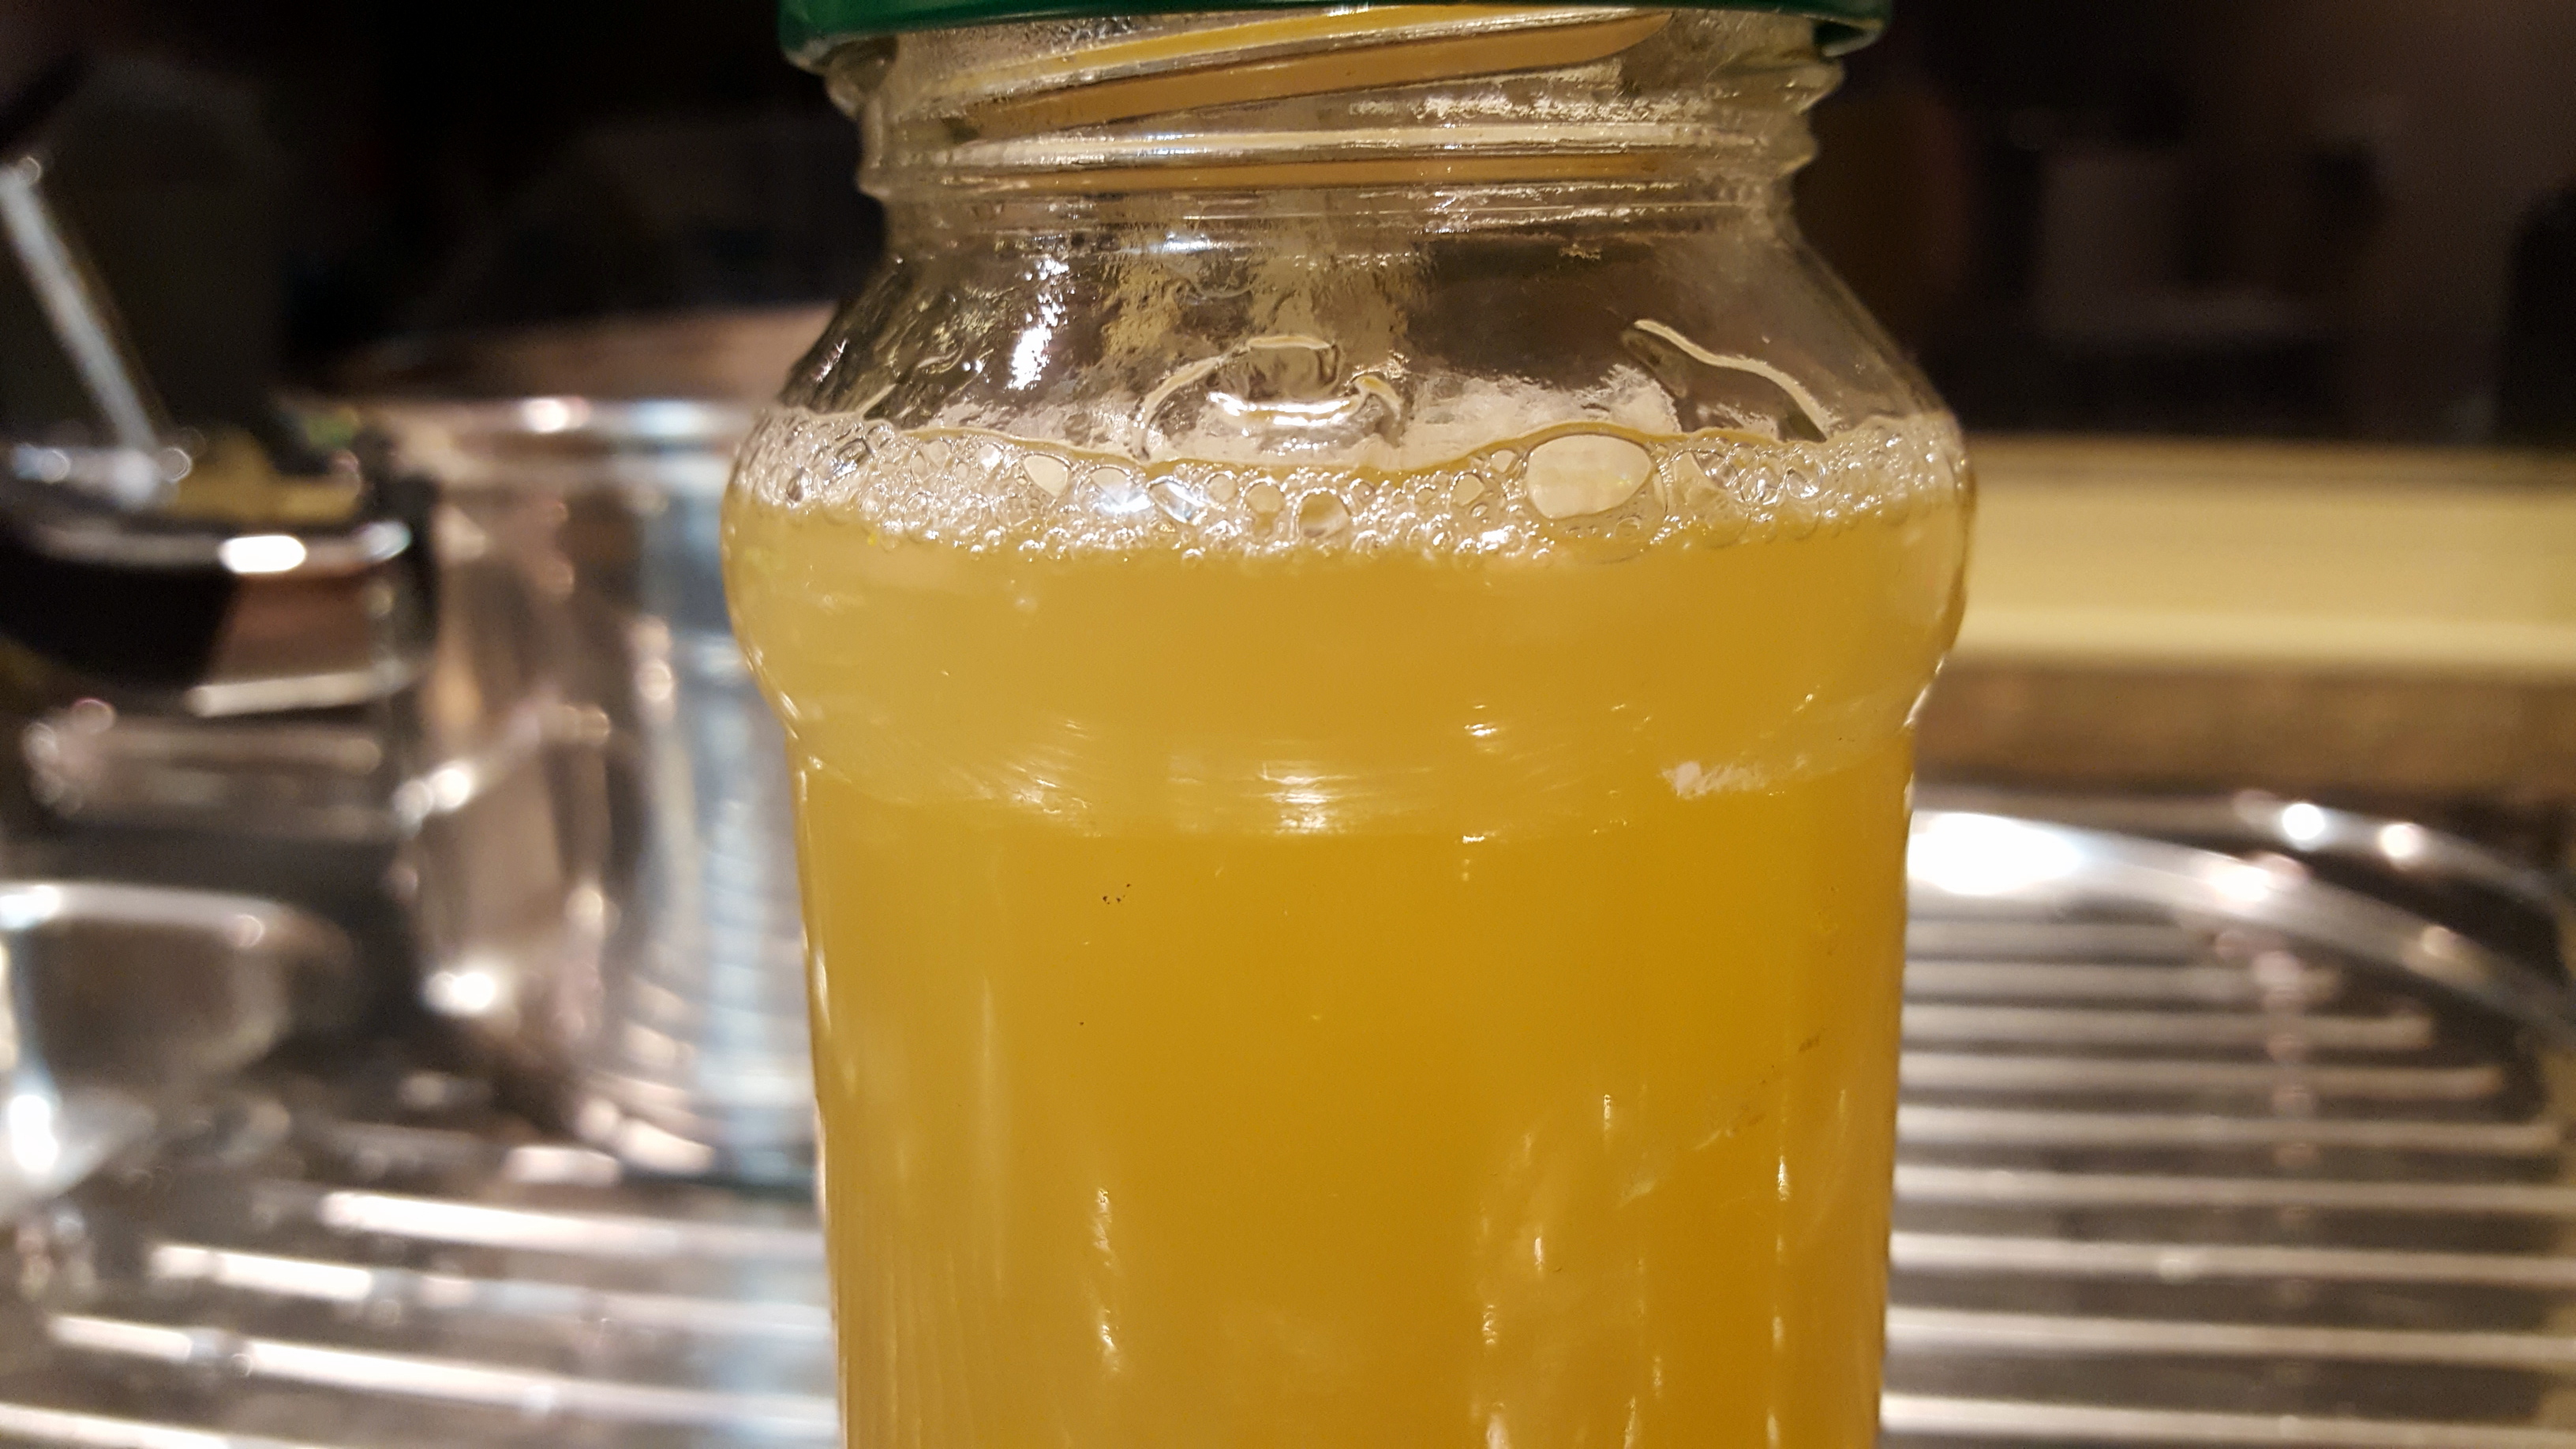
PK’s Easy Lemon Citrus Cordial
It is still winter in Perth and our citrus plants are producing loads of fruit. You know I hate to waste any precious harvest so here is another way to make citrus last.
This cordial (I used lemons and limes) is super tasty and will last for ages in the fridge. 🙂
I simply work on a 2 cups of sugar to 500mls of fresh juice and 500mls of water ratio.
Steps:
- Take a couple of the lemons and or limes and zest them.
- Juice the rest.
- Chuck the zest into a saucepan along with the freshly squeezed juice, water and sugar.
- Slowly bring everything to a gentle boil, stiring often to make sure the sugar is dissolved.
- Take it off the heat as soon as it boils and pour into pre-sterilised jars, straining as you go.
- Let the jars cool before you put the lids on!
Enjoy,
PK
YOU MIGHT ALSO LIKE
PRESERVE YOUR HARVEST
MORE NORECIPE GOODNESS
Please consider subscribing to a weekly email summary of our posts or check us out on Facebook @growitcatchitcookit.
[mc4wp_form id=”15771″]
Written by
·
-
PK’s NoRecipe Lemon Cordial
It is still winter in Perth and our citrus plants are still producing loads of fruit. You know I hate to waste any precious harvest so here is another method of preserving citrus.
This cordial (I used lemons and limes) is super tasty and will last for ages in the fridge 🙂
I simply work on a 2 cups of sugar to 500mls of fresh juice and 500mls of water ratio.
Steps:
- Take a couple of the lemons and or limes and zest them.
- Juice the rest.
- Chuck the zest into a saucepan along with the freshly squeezed juice, water and sugar.
- Bring everything to a gentle boil but do it very slowly and stir often to make sure the sugar is dissolved.
- Take it off the heat as soon as it boils and pour into pre-sterilised jars, straining as you go.
- Let the jars cool before you put the lids on!
Enjoy,
PK
Related Links:
- See more preserving ideas here
Written by
·
-
How To Make Preserved Citrus
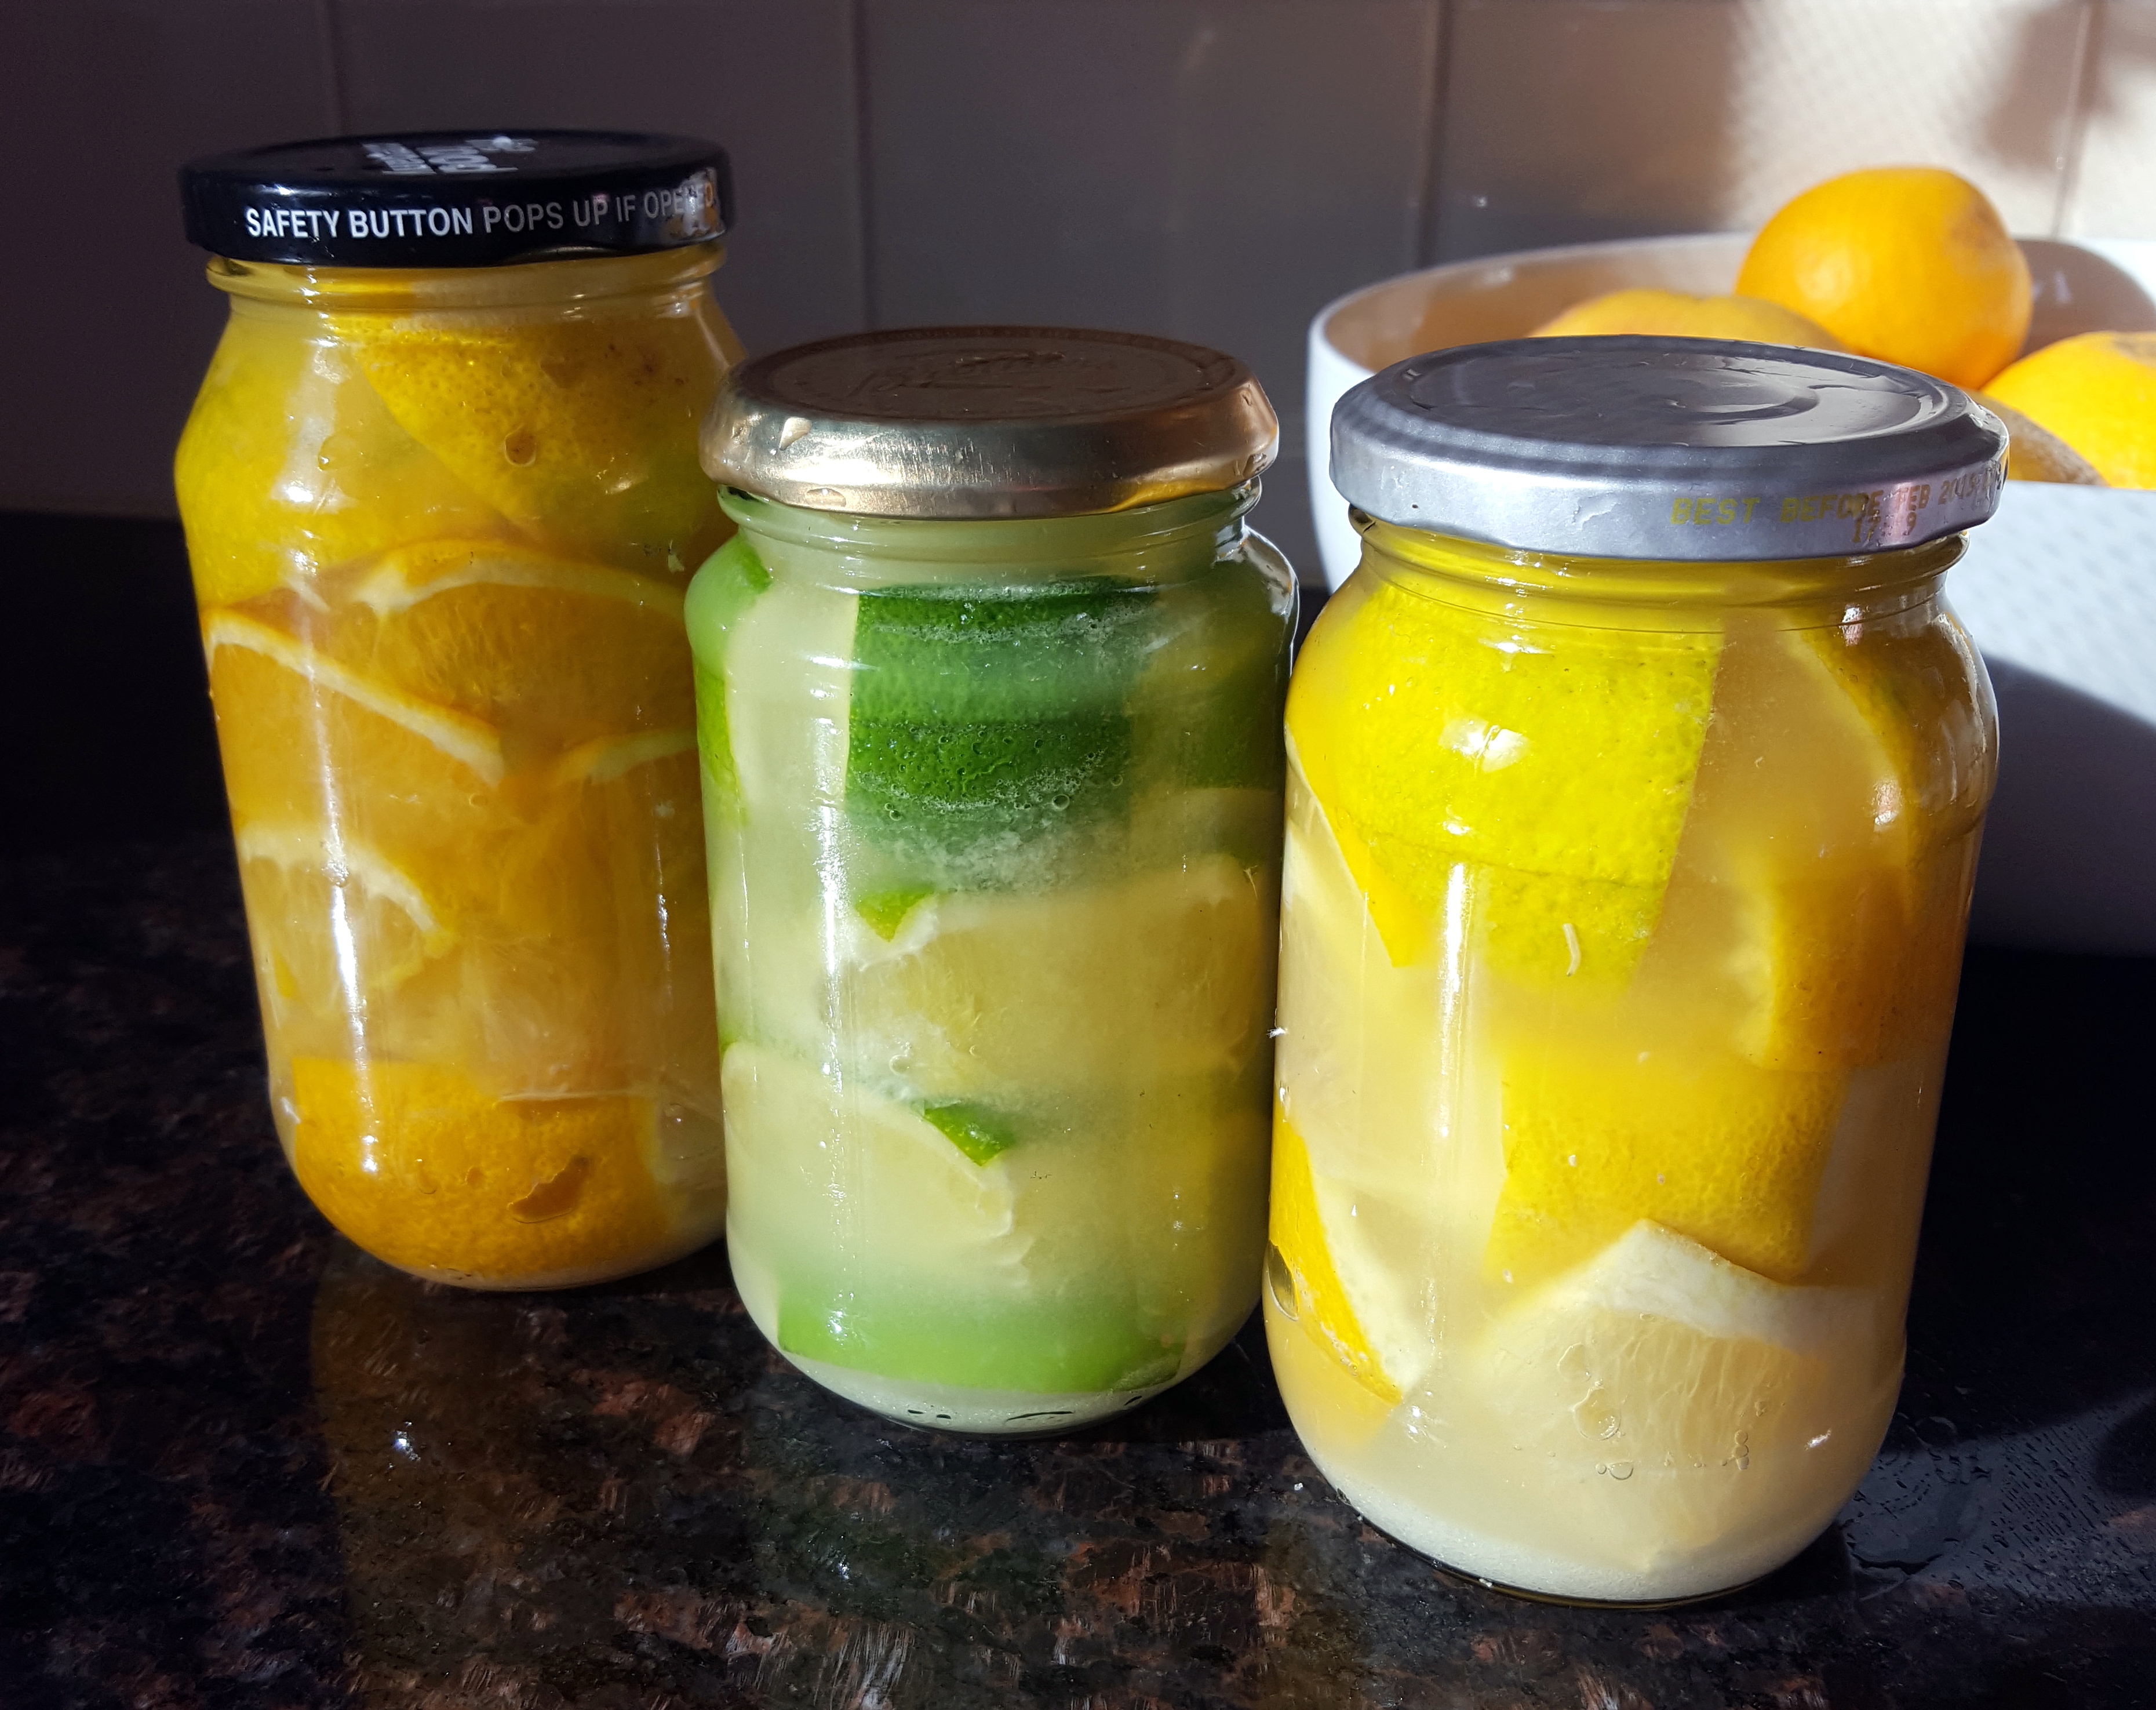
It’s winter in Perth, Western Australia and this year we are having a really good lemon and orange harvest. I am always on a look for ways to preserve any surplus and a good friend of mine suggested I try making preserved lemons. She won me over with ‘they go great in Tagines’ but she didn’t mention how amazing they look in the jars.
I used lots of salt but I am still going to chuck them in the fridge it after they sit in a cool, dry cupboard for a a few months.
Note: Follow your nose, if it smells bad don’t eat them.

Here are the steps I took:
- I cleaned my chosen citrus with a scourer and rinsed them off (I used the last of the limes, some fresh lemons and a mix of lemons and oranges to make three jars respectively).
- I then took each piece of fruit, cut the ends off and quartered them (large fruit got cut in half again).
- I put 1/2 Tbsp of table salt in the bottom of each of my jars (pre-sterilised with boiling water), put a layer of fruit, pushed that down with a wooden spoon and then added another 1/2 Tbsp salt.
- I repeated the fruit, press and salt cycle until the jar was full to the brim.
- I then added freshly squeezed juice to the jar, added 1 Tbsp salt and popped on a sterilised lid.
- A few taps on the kitchen bench to get all the air bubbles to the top and I moved onto the next type of citrus.
- Then all the jars went into a cupboard for a few months. I haven’t had any jars explode on me but putting them in a cupboard or box stops an entire room being coated in glass and rotten food.
I will let you know how they go 🙂
(update: they were amazing and I even gave a few jars away)
(update 2: I couldn’t point you at a better website for how to use your preserved citrus then this https://www.bonappetit.com/recipes/slideshow/preserved-lemon-slideshow
Enjoy,
PK
Here are more preserving food ideas and uses for citrus:
Written by
·
-
PK’s NoRecipe Preserved Citrus
It’s winter in Perth, Western Australia and this year we are having a really good lemon and orange harvest. I am always on a look for ways to preserve surplus harvest and a good friend of mine suggested I try making preserved lemons. She won me over with ‘they go great in Tagines’ but she didn’t mention how amazing they look in the jars :).
I used lots of salt but I am still going to chuck them in the fridge after a couple of weeks of them sitting sitting in a cool, dry cupboard for a few weeks.

Here are the steps I took:
- I cleaned my chosen citrus with a scourer and rinsed them off (I used the last of the limes, some fresh lemons and a mix of lemons and oranges to make three jars respectively).
- I then took each piece of fruit, cut the ends off and quartered them (large fruit got cut in half again).
- I put 1/2 Tbsp of table salt in the bottom of each of my jars (pre-sterilised with boiling water), put a layer of fruit, pushed that down with a wooden spoon and then added another 1/2 Tbsp salt.
- I repeated the fruit, press and salt cycle until the jar was full to the brim.
- I then added freshly squeezed juice to the jar, added 1 Tbsp salt and popped on a sterilised lid.
- A few taps on the kitchen bench to get all the air bubbles to the top and I moved onto the next type of citrus.
- Then all the jars went into a cupboard for a few weeks.
I will let you know how they go 🙂
(update: they were amazing and I even gave a few jars away)
PK
Related Links:
- See more citrus preserving ideas here
Written by
·
-
PK’s Dried Citrus Slices
I love preserving food as much as I like growing it (and talking about it). So I did some googling on ways to preserve citrus after my lemon tree decided to try and bury me in fruit :).
My lime tree is a heavy cropper too but in Perth it is not hard to find people willing to take them off your hands :).
Dried citrus can be used for a wide range of things like:
- flavouring jugs/cups of water.
- flavouring your teas.
- adding to smoothies.
- cooking mediterranean and middle-eastern dishes.
- cleaning your kettle of scale (wow).
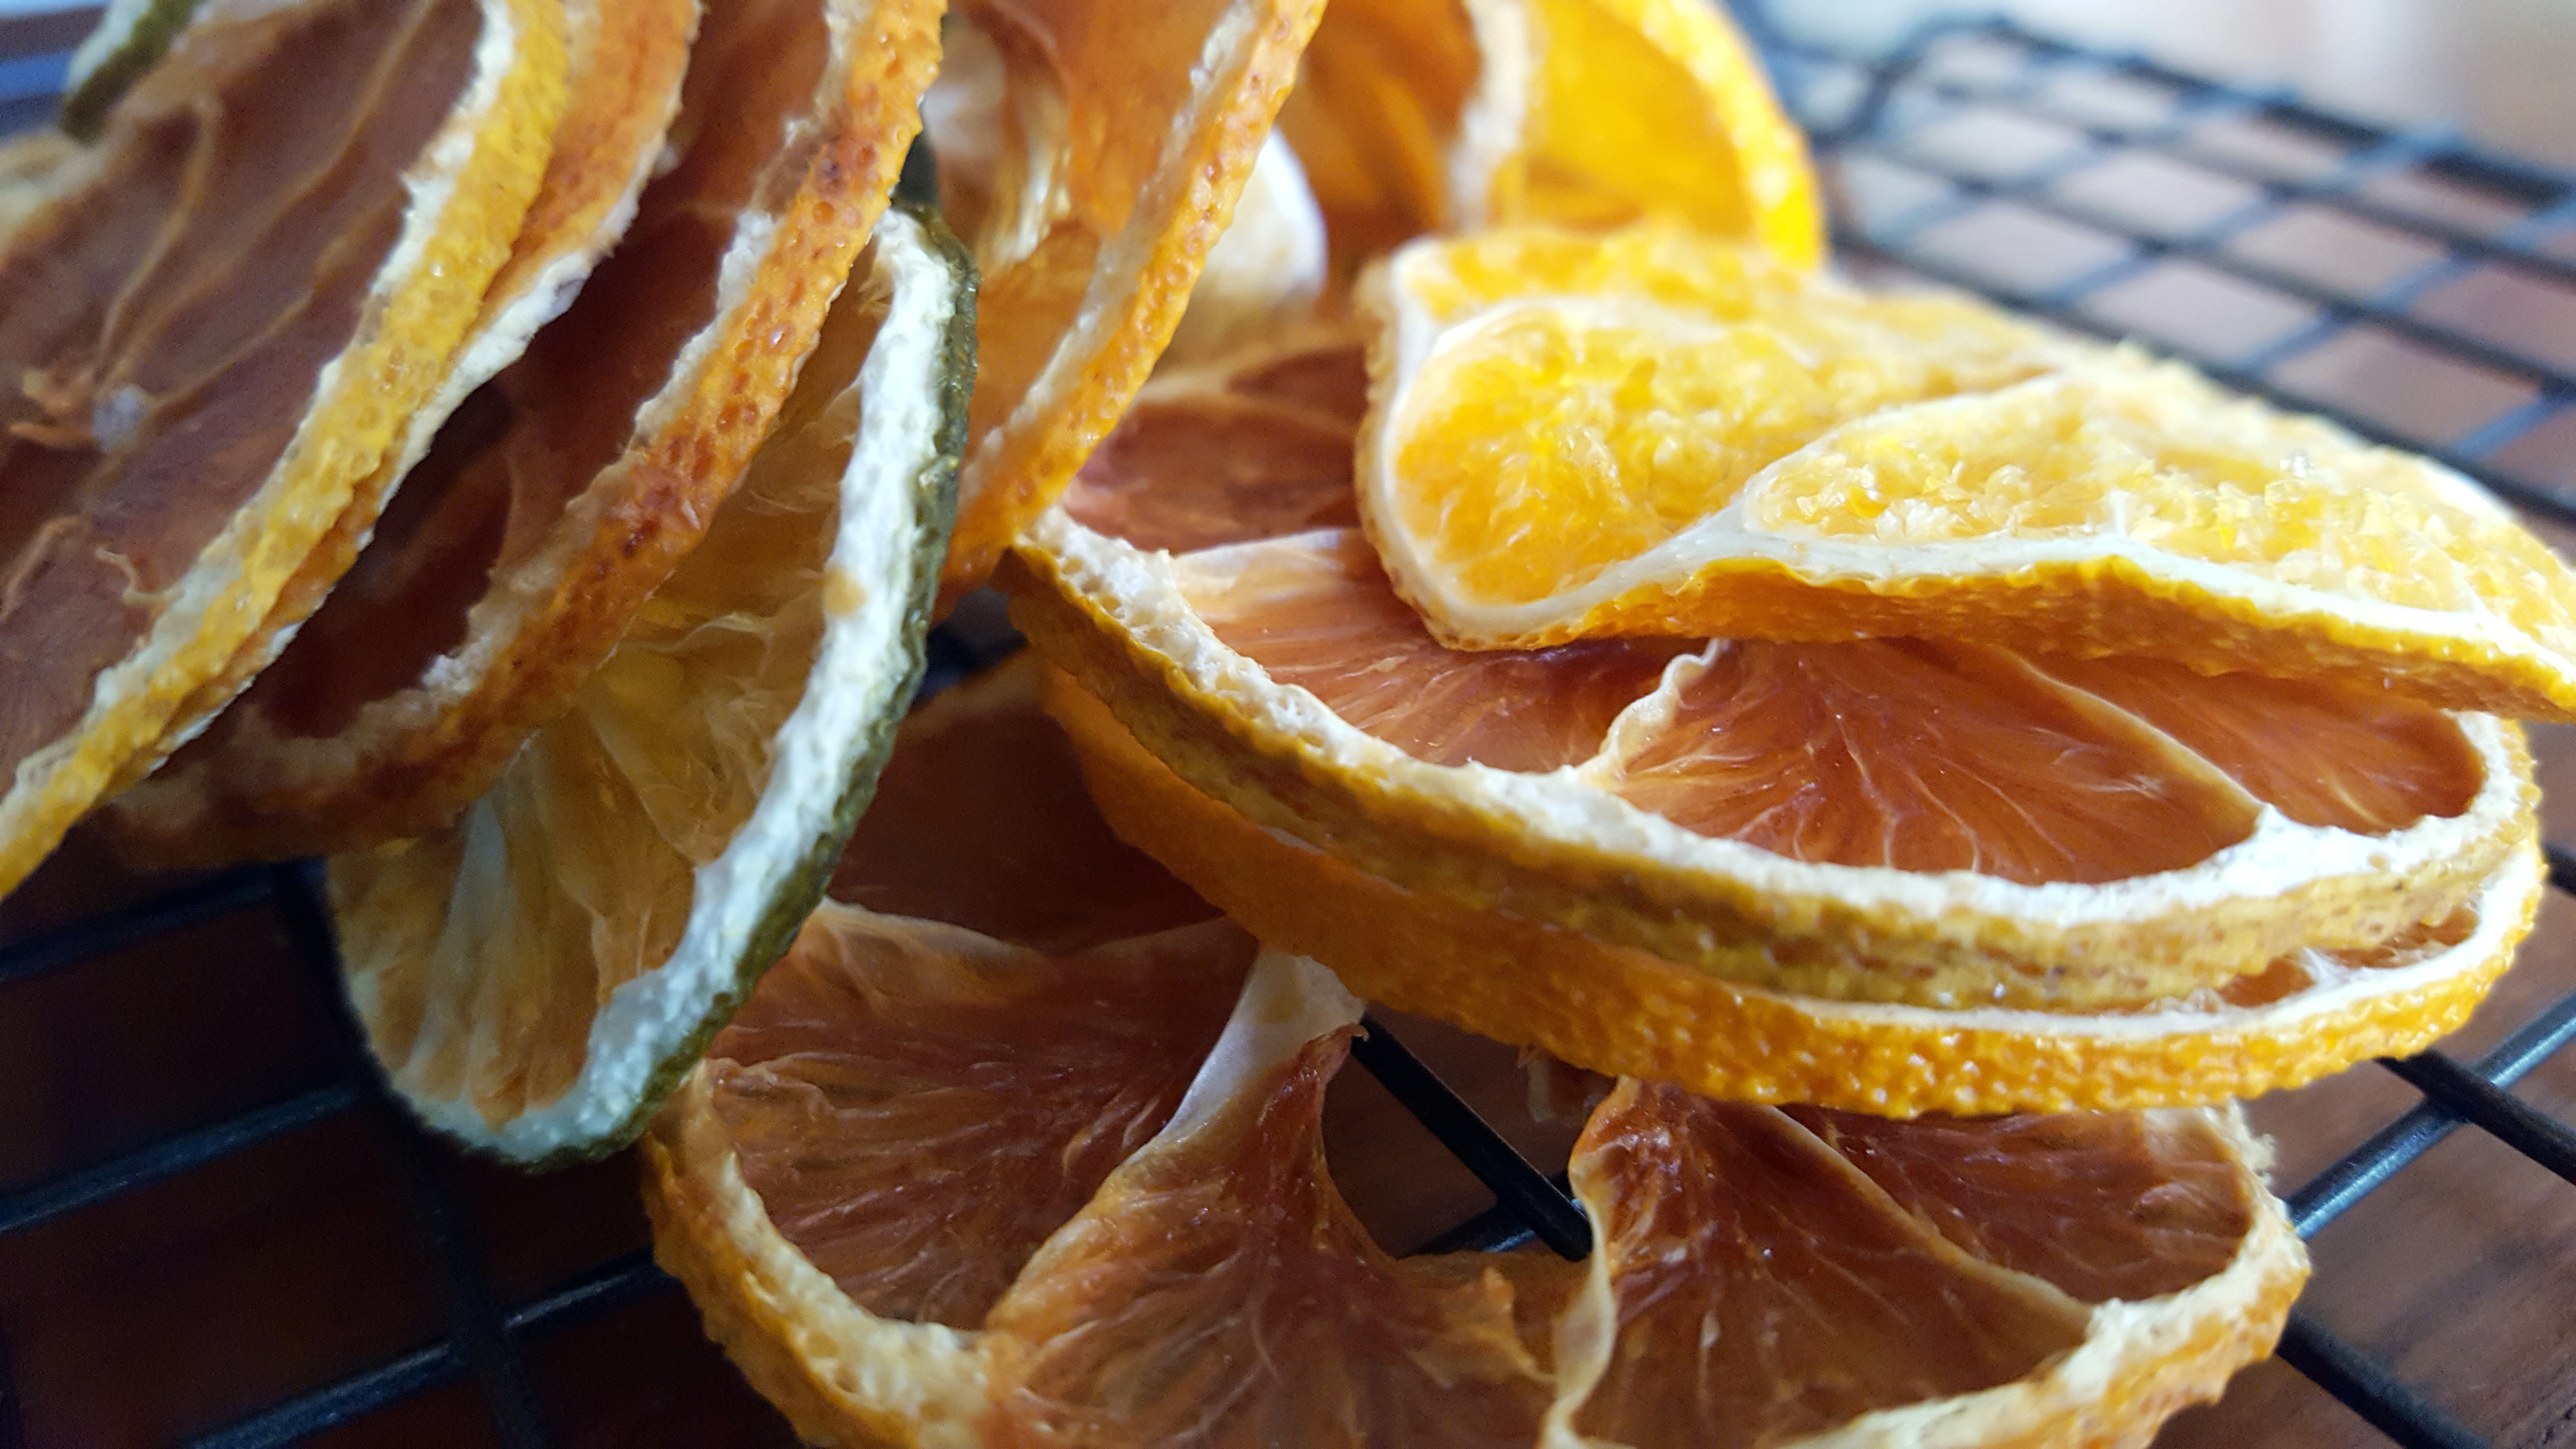
Simply cut your chosen citrus (I used lemons, limes and oranges) into thin slices.

Pop them on a tray or (my preference) a rack and into an 80C fan-forced oven for 4 to 6 hours. I made sure they were very dry before I took them out and whilst the rind is brittle there is a bit of play in the flesh.
Enjoy,
PK
Written by
·
-
PK’s NoRecipe Dried Citrus Slices
I love preserving food as much as I like growing it (and talking about it). So I did some googling on ways to preserve citrus after my lemon tree decided to try and bury me in fruit :).
My lime tree is a heavy cropper too but in Perth it is not hard to find people willing to take them off your hands :).
Dried citrus can be used for a wide range of things like:
- flavouring jugs/cups of water.
- flavouring your teas.
- adding to smoothies.
- cooking mediterranean and middle-eastern dishes.
- cleaning your kettle of scale (wow).
Simply cut your chosen citrus (I used lemons, limes and oranges) into thin slices.
Pop them on a tray or (my preference) a rack and into an 80C fan-forced oven for 4 to 6 hours. I made sure they were very dry before I took them out and whilst the rind is brittle there is a bit of play in the flesh.
Enjoy,
PK
Written by
·
-

Moosey’s Sunny Tommies
Ben’s better half is a gardener and cook in her own right. This is her first post on the blog. Thanks and welcome to Moosey.
She writes:
Ever have the problem of too many tomatoes? Sick of Bruschetta but don’t want to let your hard grown fruit go to waste? “sun drying” tomatoes is a great way of storing excess fruit for a later date.
Steps:
Firstly, collect as many tomatoes as possible. We don’t let any, including fallen ones, go to waste. Of course, any with rot, disease or pest should go into the compost. For this recipe, the riper the tomatoes the better.
Wash tomatoes in a light vinegar solution to get rid of any nasties, and then let them dry. Larger tomatoes are sliced or halved, and smaller and cherry tomatoes just slit to allow the juice to escape. You may also wish to core larger tomatoes.
Gently squeeze the majority of the juice and seeds out. This is to help the drying process, and will speed it up. Once done, lay your tomatoes out in your dehydrator, sprinkle with salt and turn leave until they are nice and dry. Ours took ~36 hours because there was quite a few (and we forgot about them). Dried tomatoes will be reduced in size, shrivelled and leathery, but not tacky
Sterilise a jar (or jars) by boiling in water, and once dry fill tightly with your tomatoes. Now, add some flavour. I suggest garlic, thyme, oregano (all home grown of course) but really it’s up to you. Cover with a good olive oil, and pop into the fridge. Leave for a while, and enjoy on your next home made pizza, or as a snack during the day.
Kate Moosey

Related Links:
Please consider subscribing to get a weekly email summary of our posts.
[mc4wp_form id=”15771″]
Written by
·
-

Beetroot Powder
I looked everywhere and couldn’t find the beetroot powder in the shops that I needed for a butter chicken. I was in my local grocery store looking for it and about to give up when on the way out I saw some fresh beetroot.
So I made my own dried beetroot to get the powder and along the way got lots of yummy beetroot crisps too.
Steps:
Take a fresh beetroot and peel it.
Cut it into really thin slices as this will aid the drying process.

I then used my oven, as it was already on from cooking the previous dish and cooling down, to slowly dry the slices out.
You can use a dehydrator if you have one.


Keep the crisps whole in an airtight bag. You can then munch or grind them as needed.
Enjoy,
PK
Links:
- see more beetroot posts here
- go to all ingredients
Written by
·
-

Ben’s Beef Jerky
Beef jerky is a great snack.
Its healthy, flavoursome, and gives you a little burst of energy. I never follow a recipe, so everything is quantity based and taste based. I use a dehydrator to dry the beef, however a light box will be just as good (if not better), it just takes longer.
If I had to roughly write down what I do, this would be it:
- Put into a bowl ~2 tbsp each of Soy sauce and Worcestershire sauce. Add in ~1 tsp malt or brown vinegar, and ~3 tbsp sugar. Mix till dissolved, taste and adjust as necessary until you have a nice flavour.

- Add in any other flavours you like. I will usually add a combination of chilli, smoked paprika, smoke water, coriander seeds (ground), onion or garlic powder.
- Cut ~1 -1.5 kg beef (try to get a topside or silverside) into strips ~1x1cm, as long as you like.
- Trim any fat off.
- Soak the beef in the sauce for 2-3 hours, making sure it is all well mixed.
- Place beef into dehydrator/light box, turn on and leave until you are happy with the toughness of the jerky (I like it tough, so ~24 -36 hours in the dehydrator). Also make sure it is preserved well enough to avoid food poisoning.
Couldn’t be easier,
Ben
Here are some additional Jerky recipes and more from Ben:
Written by
·
- Put into a bowl ~2 tbsp each of Soy sauce and Worcestershire sauce. Add in ~1 tsp malt or brown vinegar, and ~3 tbsp sugar. Mix till dissolved, taste and adjust as necessary until you have a nice flavour.
-

PK’s Small Batch Hard Ginger Beer
Not much tops a nice cold glass of home made ginger beer on a hot Perth summers day. In this recipe I use a small 2L fermenting jar with a built in one way airlock. It makes just the right amount to share with a few friends over lunch.
As with my hard apple cider I don’t do a secondary fermentation and that means a flat beverage. I don’t mind and on the plus side I can simply take a jar that has been fermenting for about 4 weeks and chill it a few hours before I need it. No mess, no double handling and no decanting necessary.
The amount of ginger you add is entirely up to you so add more if you crave that ginger kick. I keep getting accused of under doing it by my family :).
Note: Please only follow this recipe if you are of a legal age to drink in your country. Don’t attempt this in an air tight glass jar, it will explode!
You will need:
- Ingredients:
- 2 Tbsp of finely grated or chopped fresh root ginger (add more for an increased kick!)
- 1 small lemon or lime
- 1 Tbsp honey
- ~6 raisins (to add some wild yeasts to the mix)
- 1 teabag (to add some extra tannins to the mix)
- ~ half a sachet of yeast (I use whatever is available, in this case bakers yeast)
- 1 cup raw sugar
- chili powder or chopped fresh chili to taste (optional)
- boiling water (to sanitise everything)
- cooled boiled water
- Equipment
- a small bowl
- a fork
- a chopping board
- a long sharp knife
- a teacup
- a juicer for the lime
- a 2L fermenting jar with a built in one way airlock or similar
Steps:
- Sterilise everything with boiling water. I fill the fermenting jar with boiling water an let it sit while I prepare everything else. When it is cooled somewhat I empty it out. I also run boiling water over the fork, knife, measuring spoons etc.
- I also take some of the boiled water that has cooled to the point of being warm and get my yeast mix started. Bubbles let you know it is working.

- Finely chop the ginger root and add to your now sterilised fermenting jar. I used about 2 Tbsp but you add lots more.

- Make a weak cup of tea and allow it to cool before adding to the jar.

- Juice your lemon or lime and add the juice to the jar.
- Add the 6 raisins, 1 Tbsp honey, 1 cup raw sugar and chili (optional) to the jar.

- Fill with the fermenting jar with the now cooled boiled water, leave a bit of room at the top. Give it all a good stir with a fork.
- Leave the fermenting jar somewhere out of the way, after the first night mine was outside in the shed for a month.

If you ask me, cloudy is good 🙂

Enjoy,
PK
YOU MIGHT ALSO LIKE
OUR OTHER HOME BREWING POSTS
GREAT WAYS TO PRESERVE YOUR HARVESTS
Please consider subscribing to a weekly email summary of our posts or check us out on Facebook @growitcatchitcookit.
[mc4wp_form id=”15771″]
Written by
·
- Ingredients: