Category: growing
-

Bish Is Rocketing Along
Bish writes:
I am a persistent casual gardener, in that I keep trying but due to work and life I don’t spend as much time as I should on maintenance and the like. My garden’s nothing like Ben’s! Anyway, now that the team are testing out some of the Mr Fothergill’s planters, I thought I’d chip in with my own story about using their products.
I had a burst of energy the other day and decided that I would clean up the little herb beds that we have out the back. These are really productive little raised beds, and I think because we have good drainage and they get the morning sun, they are especially so in winter. Anyway, I removed a bunch of mint, an old sage plant that was starting to struggle (after three years of providing us with plenty of leaves for burnt sage butter, yum), an old thyme plant and some old oregano stragglers. I ended up still having a bunch of space left in one of them.
I had started to organise my seed collection (I usually let one of my crop go to seed so that I have some seeds to play with next time) I found a five year old packet of Mr Fothergill’s seeds, this one containing Rocket. I figured after that long these were probably not too viable, so I just scattered the seeds across the empty space in my herb bed and raked it through just to cover the seeds, and thought no more about it.

As you can see in the picture, here we are a few weeks later and pretty much all of them have germinated and I am going to be faced with a massive oversupply of Rocket in the near future, so looks like we’ll be making pesto or something with it all! It certainly says something about the viability of seeds and how they are able to persist in many situations – and the way they’re treated by Mr. Fothergill’s!I’ll keep an eye out for some good pesto recipes but if anyone else knows some please send them in!
Bish
Related Links:
- see more of Bish’s posts here
Please consider subscribing to get a weekly email summary of our posts.
[mc4wp_form id=”15771″]
Written by
·
-

Galangal (Alpinia galanga)
I was first introduced this root (from the ginger family) when I fell in love with and started cooking Tom yum goong. Tom yum is a Thai soup with a, hard to perfect, balance of hot and sour flavours and is exceptionally high in aromatic and visual appeal. I grow a lot of the ingredients for these soups in my kitchen garden, I like it that much :).

However, I generally buy the whole root (pickled) from my local Asian grocer. In Australia it is often called Galanga. It is also commonly available sliced and vacuum packed in the frozen section.I used to buy Galangal 🙂 now I grow it myself in pots rich in organics and in full sun. When you want to harvest it, pull a chunk out, cut what you want and slap the rest back under the soil. Be as rough as you want, this plant can take it!
I then use it in one of two ways:
- For soups I add it whole (see the picture above) but I bruise it with a rolling pin or score it with a knife to release the flavour. When the soup is done, I chuck the root into the compost bin.
- In pastes I slice it finely first (it is a very hard root and may make the wet blender wobble) and then blend it into the paste.
- Young leaves can be eaten too.
It is true what they say about regular ginger root being a poor substitute as it is much stronger flavoured in my opinion.
From Wikipedia:
Alpinia galanga, (also Languas galanga), a plant in the ginger family, is an herb used in cooking, especially in Indonesian and Thai cuisines. It is one of four plants known as galangal, and is differentiated from the others with the common name greater galangal (or simply Thai galangal).
An example of a live plant in my garden:

The flower is a beauty too:

So easy to split and regrow:

Enjoy,
PK
Related Links:
Please consider subscribing to get a weekly email summary of our posts.
[mc4wp_form id=”15771″]
Written by
·
-
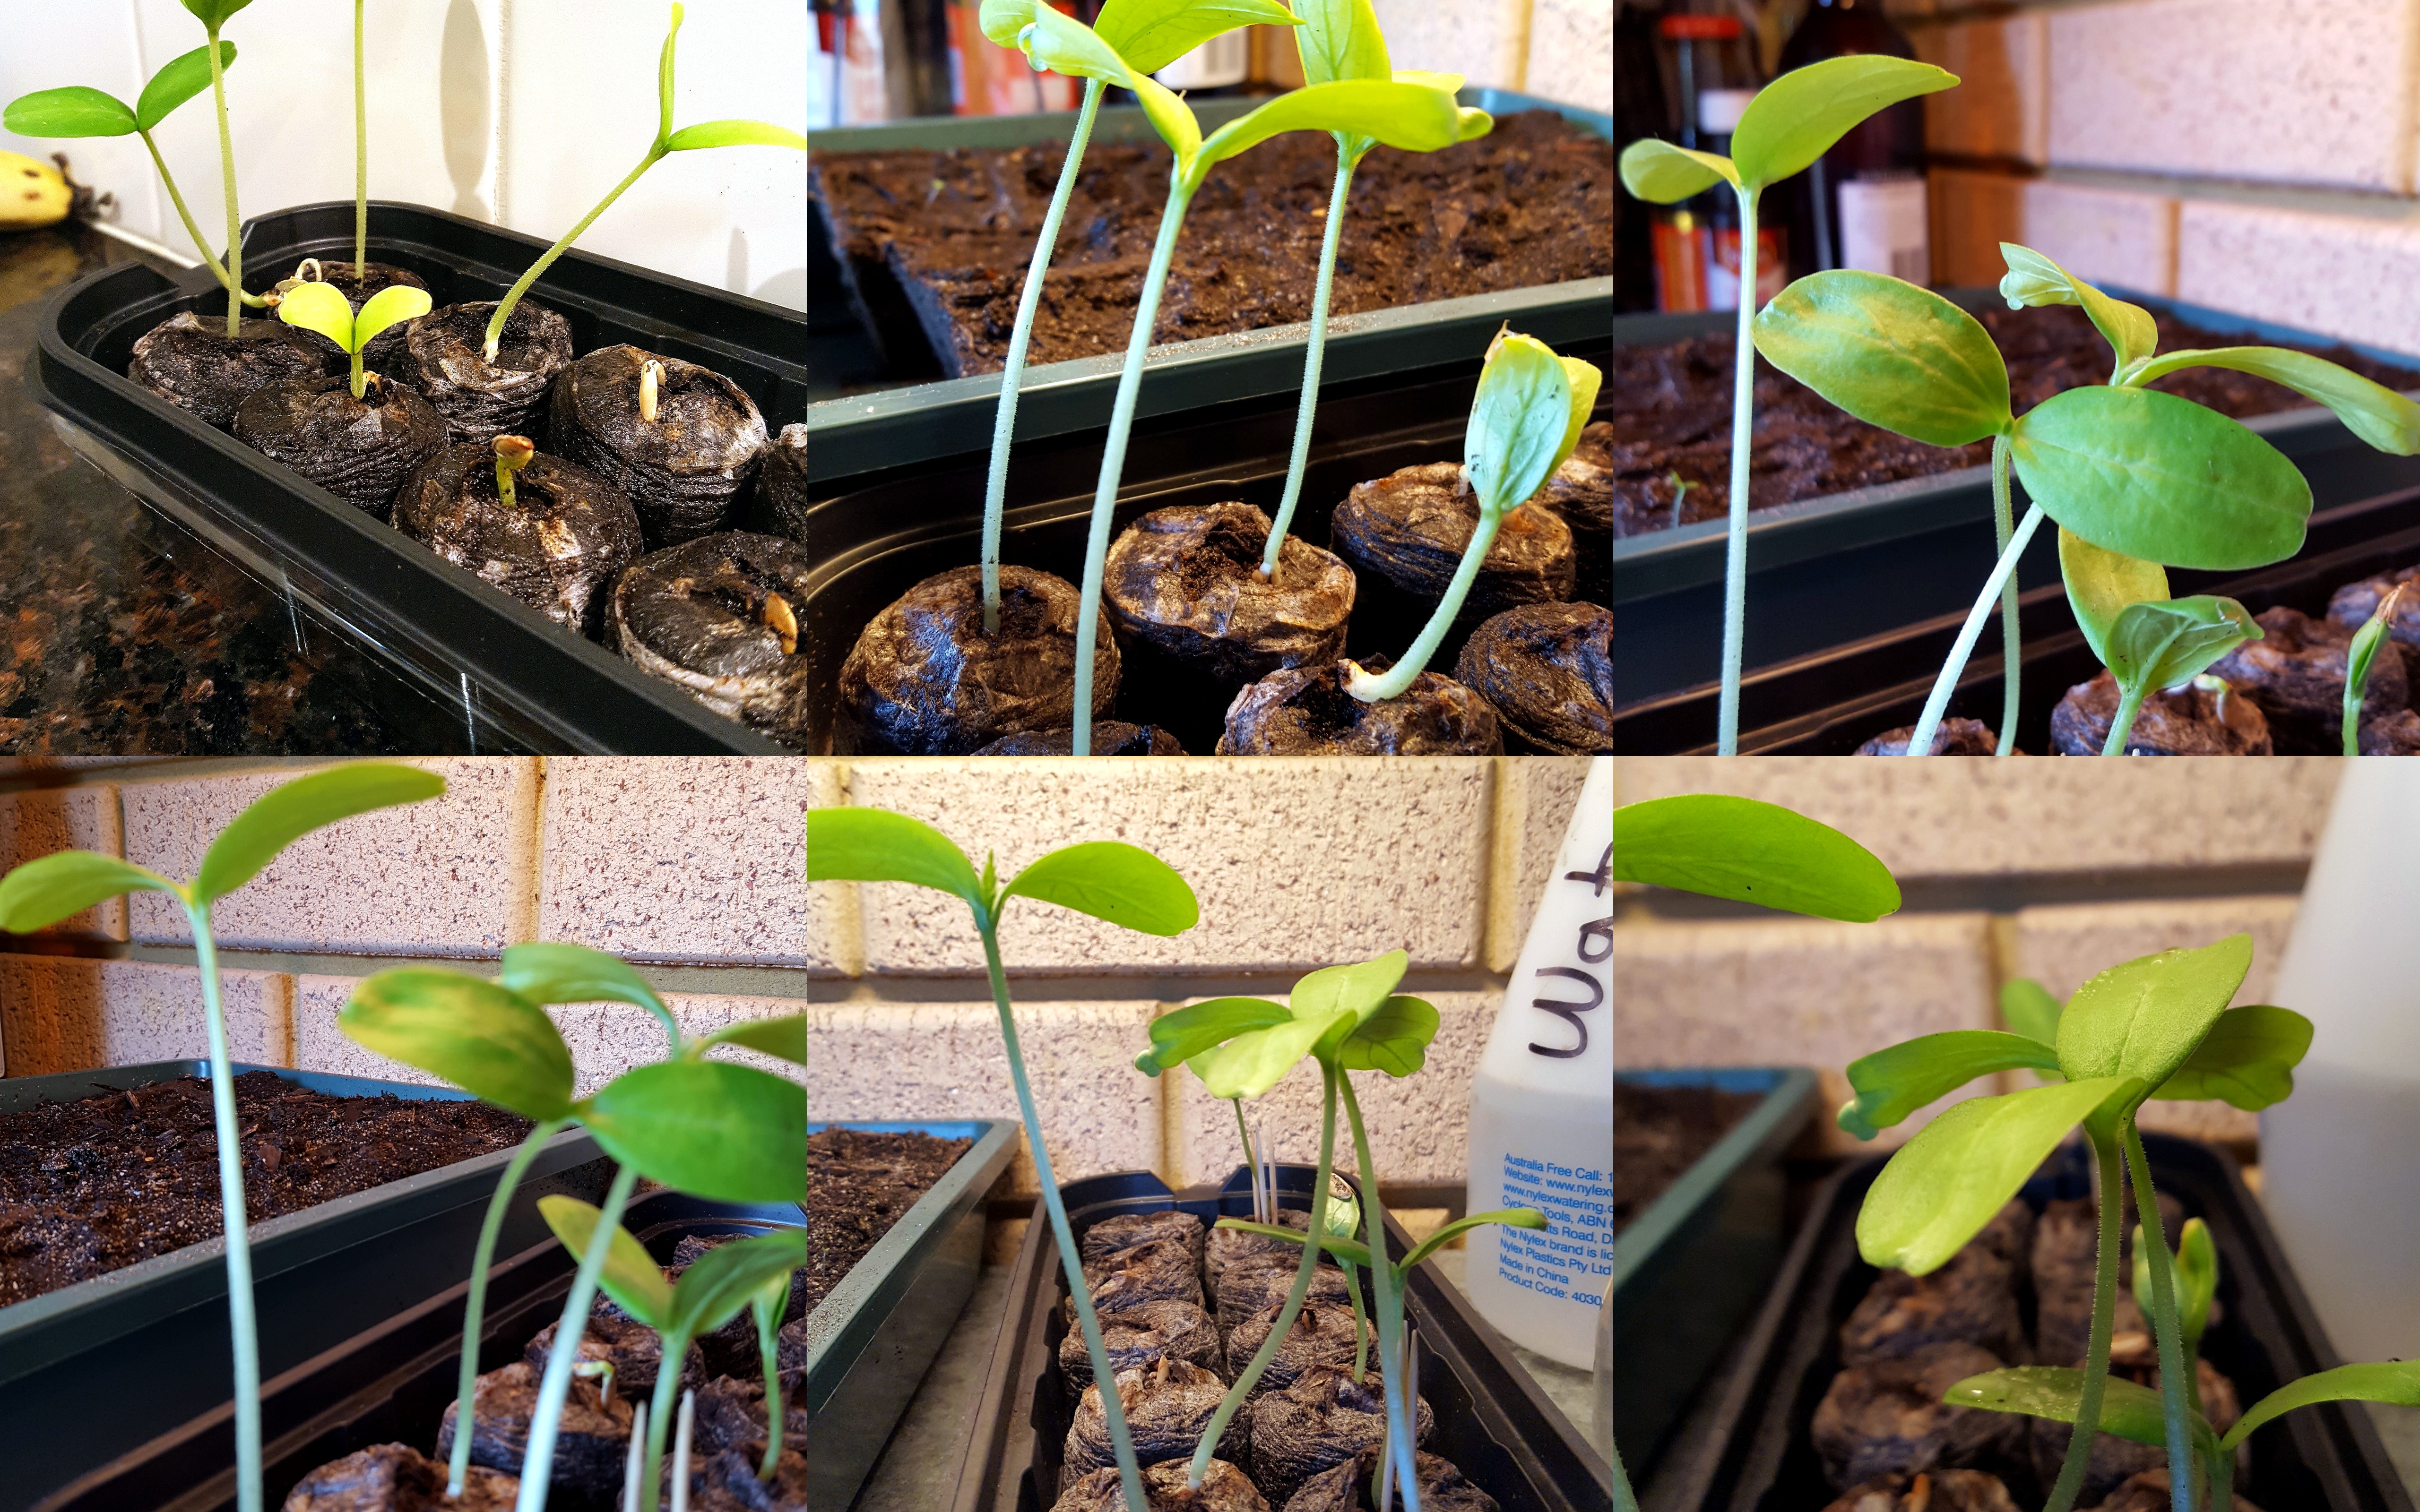
PK Reviews: Mr Fothergill’s Cucumber Windowsill Greenhouse Kit – Daily Updates
So on the 16th of July 2016 I ‘unboxed’ one of the Mr Fothergill’s Windowsill Greenhouse Kits. Check out that post here.
I will be updating this post with the latest snaps and observations.
Finally it is planting time (25/08/2016:)

Today (20/08/2016) the seedlings have gotten large enough for me to start making them sun tolerant. I did this by exposing them to slightly longer periods of direct sunlight each day.

The last 7 days of growth (03/08/2016), almost all the seeds have germinated:

Day 13: Most of the seeds have germinated. Not all as the same rate but I am happy 🙂

Day 6: Morning and then night, go guys go 🙂

Day 3: First signs of germination so I cracked the lid slightly after taking this snap :).

Written by
·
-
PK Reviews: Mr Fothergill’s Windowsill Greenhouse Kits
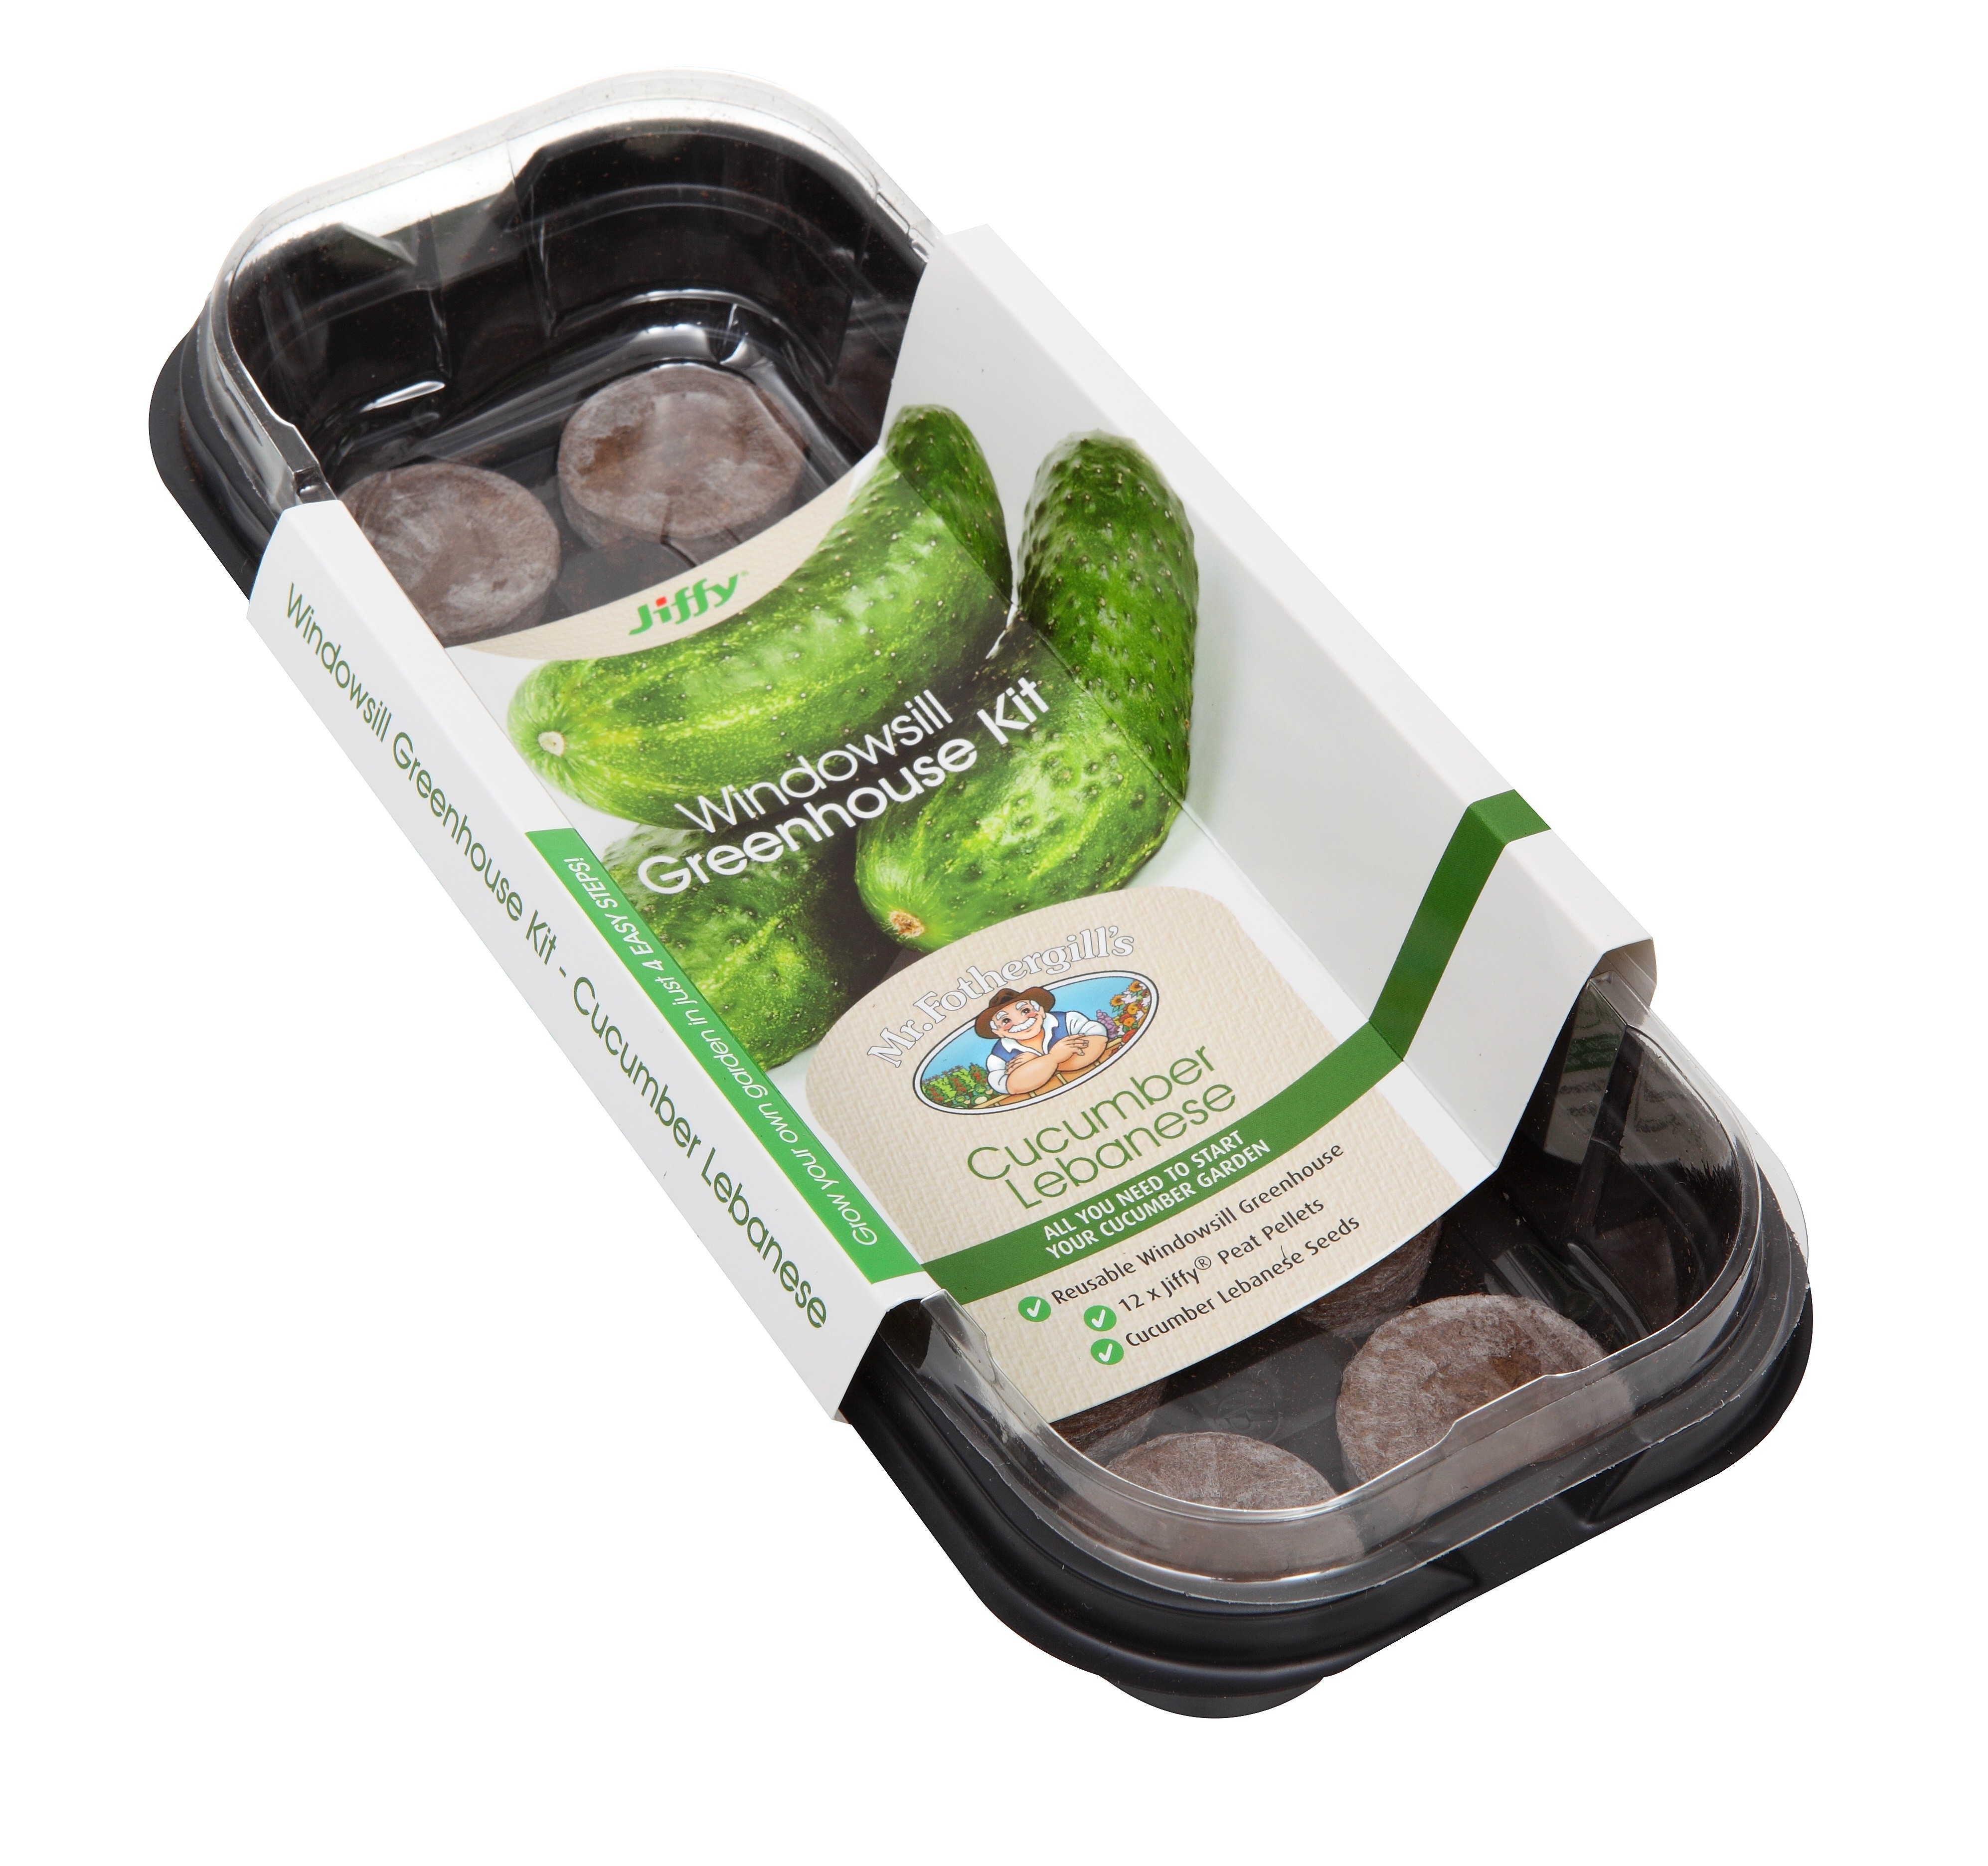
The lovely people at Mr Fothergill’s (Australia) have sent me out four of their Windowsill greenhouse kits to review. I am reviewing the Lebanese Cucumber kit here and I have asked three of my friends to trial the others.

I simply love this company’s ethos and focus on consistently delivering a good product. Although not a small business I feel like they are eager to carry on the support and engagement even after you purchase their products. Anything that gets people interested in growing their own vegetables gets my respect.
You have to have a number of strategies to do this, not everyone has a large garden (or a garden at all) and Mr Fothergill’s ‘all in one propagation’ line might be the key to unlocking their passion.
Two other big things to note. Firstly, and this might be very important to you, none of the seeds in any range sold by Mr Fothergill’s are Genetically Modified. Secondly, although a large amount of this product is plastic, they are fully reusable. You just replace the peat pellets, buy some more seeds and you are good to go.
Ok, unboxing time 🙂
The kits retail for about $9 AUD and you can order them here online or at your local Bunnings.
This is what you get:
- A reusable Windowsill Greenhouse
- 12x Jiffy peat pellets
- A packet of Cucumber Lebanese seeds
I chose a spot in the kitchen close to the window that gets the morning sun but not any direct sunlight.
Next I added warm water and the result made my toddler’s eyes go wide as we watched together as the peat pellets expanded over about 5 minutes.

Then I worked the little hole on top of each pellet open a bit, added a seed to each one and gently pressed the lid on. You get a few extra seeds in the pack so some of the pellets got two.
When I start to see germination I will crack the lid a bit and when the seedlings are all underway I will remove the lid.
I can’t wait to transfer them to my garden as I have never grown cucumbers before. I had better look into what sort of trellis they need.
I will let you know how I get on :).
Thanks again to Mr Fothergill’s Seeds and Bulbs,
PK
Written by
·
-
Day 7 Life Cykel Home Grown Mushroom Box Side 2

This product truly is rewarding. This is what greeted me this morning.
You might recall that last week I harvested my first mushrooms from the starting side of my Life Cykel Home Grown Mushroom Box (Day 12 Life Cykel Home Grown Mushroom Box Side 1.
Since then I have:
- taken the bag out and cut it on the other side
- soaked it over night
- put it back in the box with the unharvested side visible in the window
- placed it back in kitchen (out of direct sunlight) and
- waited as patiently as I could :).
I can’t wait for my second crop.
Don’t forget about our competition to win one of these boxes (thanks to those who have already entered and to the generosity of the guys at Life Cykel) and see my other mushroom posts here.
Cheers,
PK
Written by
·
-

Coriander
If I could only choose one herb to cook with for the rest of my life, this would be it. Luckily I don’t have to choose :).
You can use the roots, stems, leaves and seeds in your cooking. Quite a claim to fame!
I want to show you a full life cycle from seed to seedling to harvest to seed and then back to seedling again. Initially I started with seeds from my favourite seed company, Mr Fothergills Australia. No I am not paid to say that :).
Now I have so many of my own seeds I can keep growing Coriander at no cost.
Here are the seeds:

Now for some secret seed raising tips that you can’t tell a soul:
- Fill a jam jar with warm water and soak the seeds overnight.
- Drain the water and then and sprinkle the seeds in rich, flat, well draining soil.
- Cover ever so slightly with more soil. If you can still see the odd part of a seed sticking out here you are on the right track.
- Keep the soil moist at all times until you see growth. Then water normally. I use a hand pump spray bottle every morning and evening to mist the area in that first stage.
Look at the amazing growth over 2 months:
After about 3 months of growth, July to September in Perth 2016, the plants themselves were about 30 to 40 cm tall. The mild winter (it was “very cold” in the mornings but rarely below 0°C) and their partial shade location stopped them bolting and flowering (until the last week of September). I harvested, used, froze and gave away the leaves and stems with a passion but was, happily, fighting a losing battle as there was just too much Coriander :).
Every now and then I pulled several of the taller specimens and after eating the leaves etc, I washed and froze the roots (about a third of the length of the complete plant is root).
Here is a prime example that went right into a curry paste:

Ultimately all good things come to an end and the plants started to flower then go to seed:
Once the seeds began to go brown and stop feeling waxy, I harvested them:
Then the whole cycle begins anew:

Enjoy,
PK
Links:
- see more coriander posts here.
- go to all meal ingredients
- go the Grow It Perth calendar
Written by
·
-

PK’s First Worm Farm Tray Change
Today I harvested my first lot of worm castings from my worm farm. It took about 6 months for this first batch but now the farm is cranking along. Even with all the vegetable waste the kitchen garden makes and scraps from the kitchen, I am only just keeping up with their appetite.
Just look at how many worms are exposed just turning over one small section of the active tray:
I had expected a lot fewer worms to be in the bottom tray as there is no food in there but I have read that they are mad keen explorers so I assume that is why.
The casings feel so earthy and rich with absolutely no smell of decomposition. I can’t wait to work it into my vegetable beds. Oh and a scoop for each of the pot plants too.
If you don’t have a worm farm what are you waiting for :),
PK
You can see my other worm posts here.
Written by
·
-
Day 12 Life Cykel Home Grown Mushroom Box Side 1
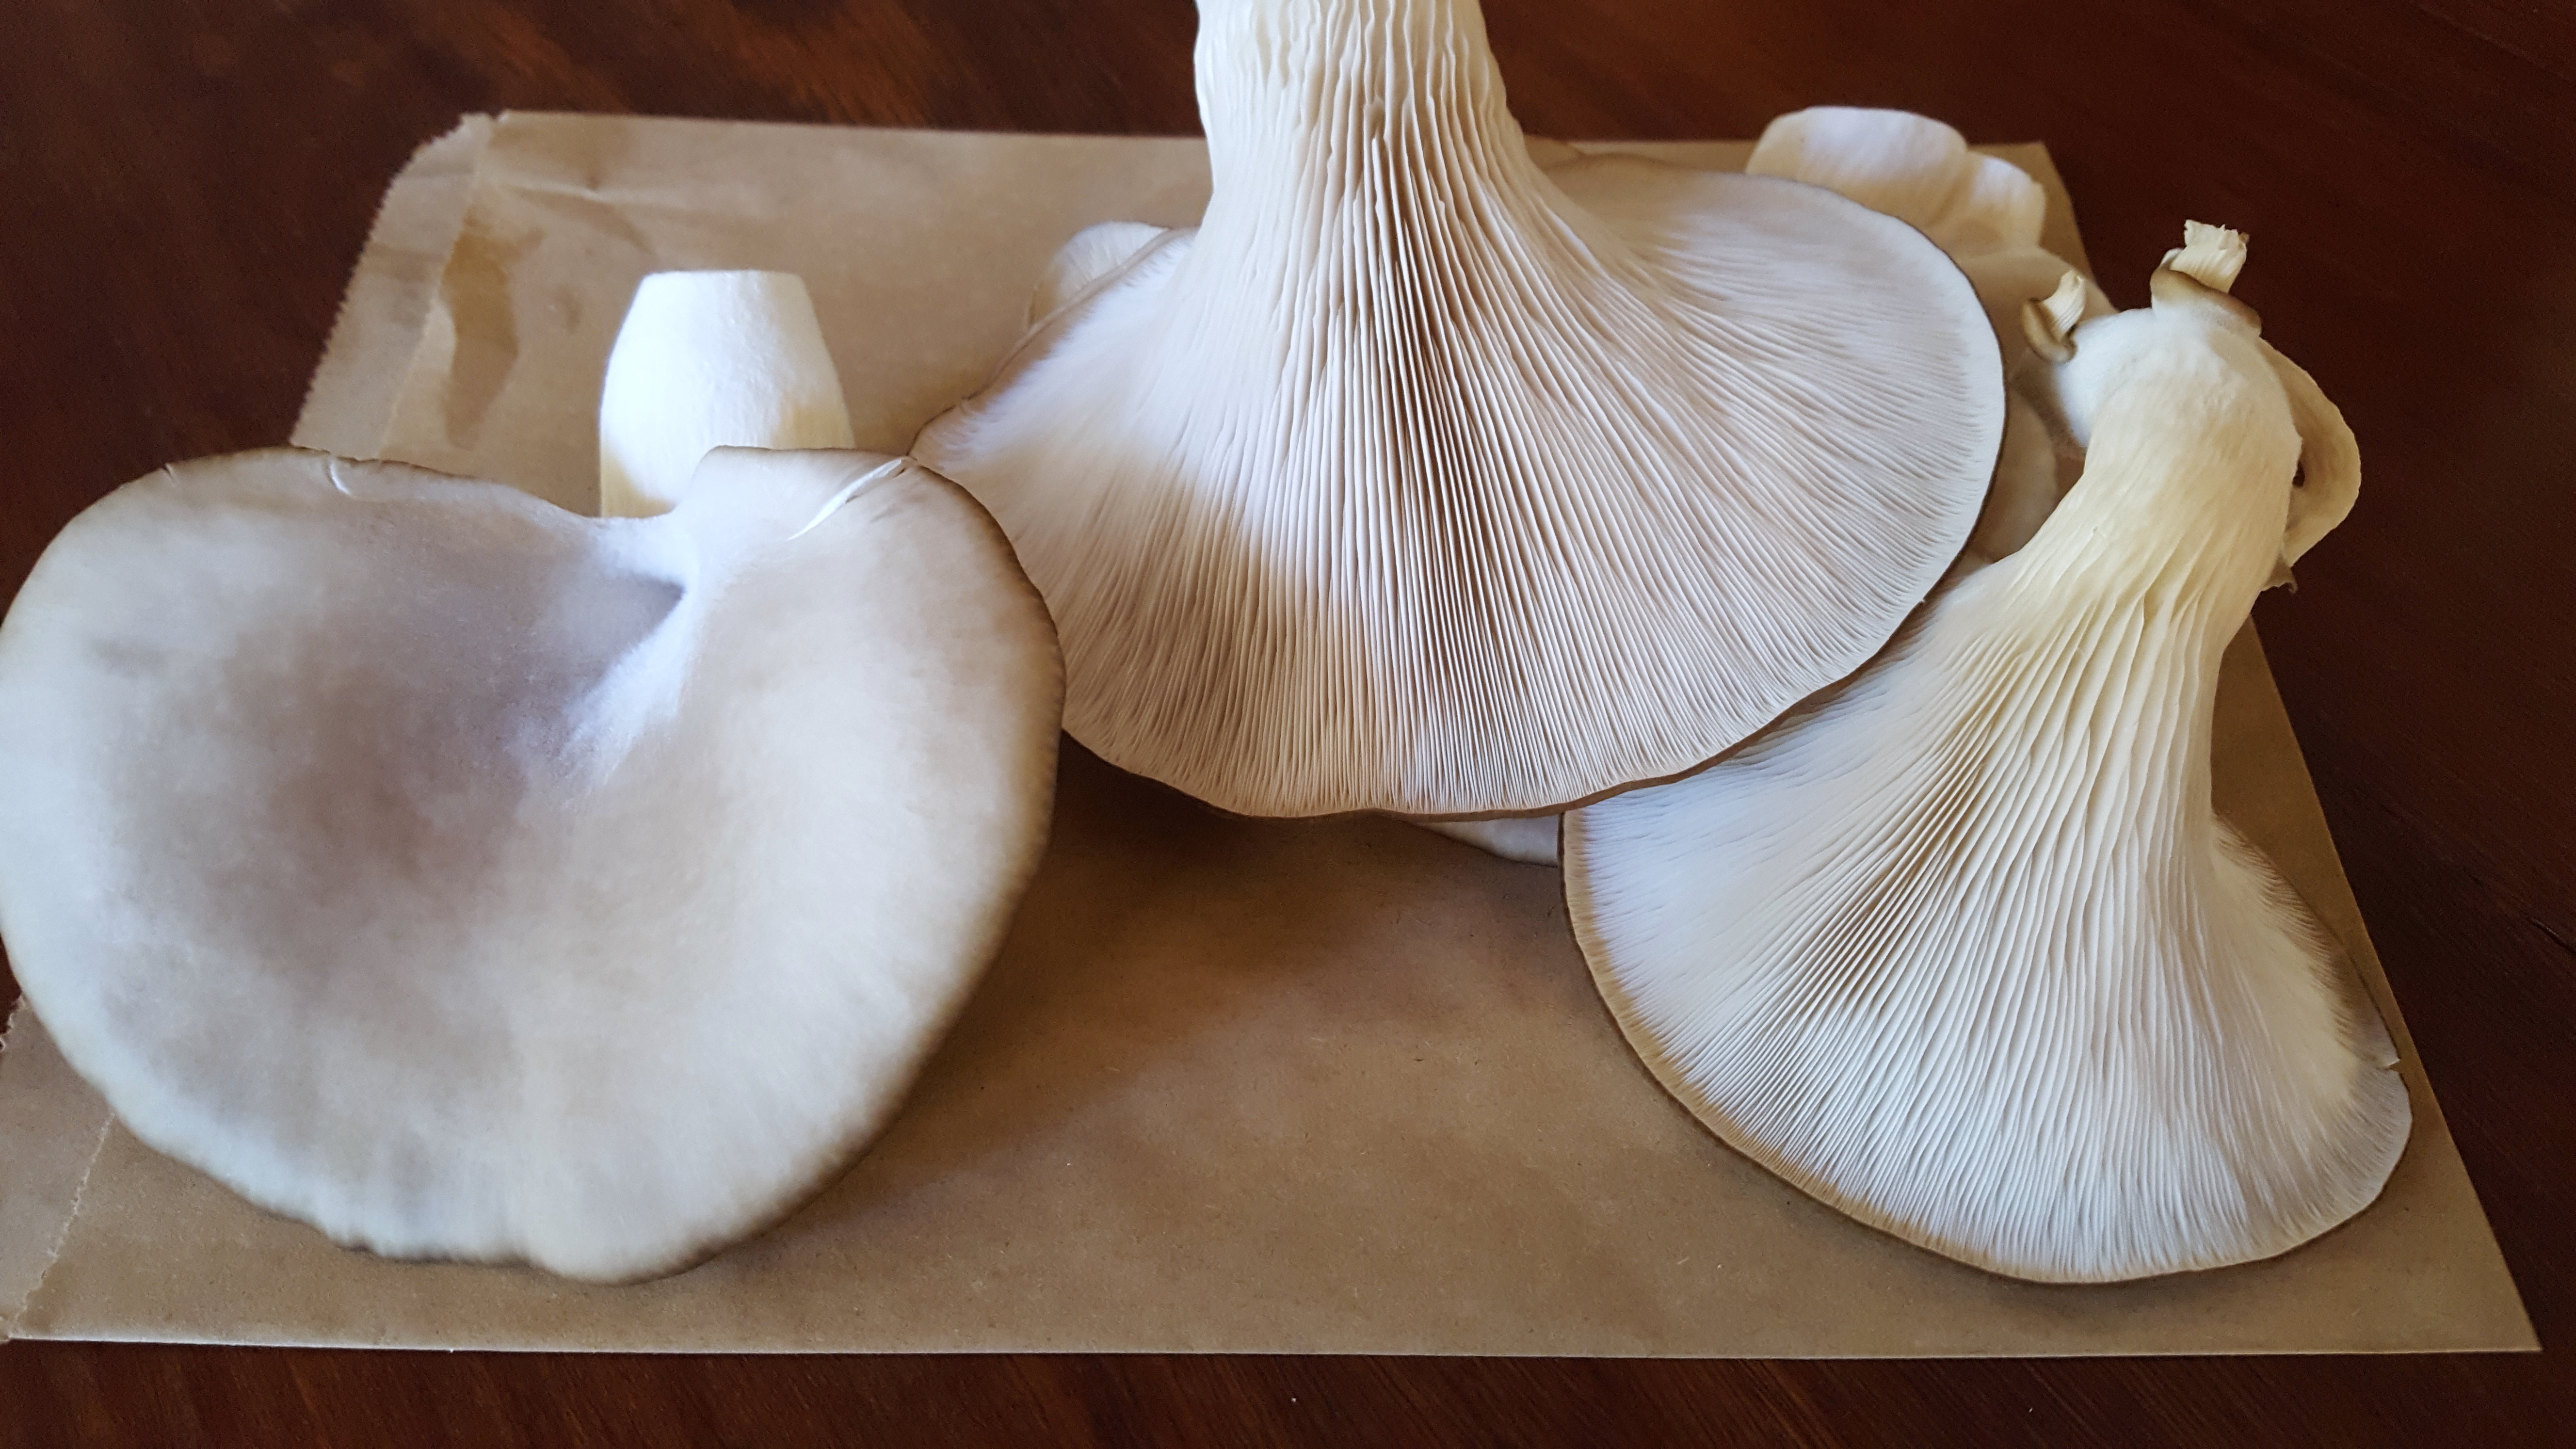
Yesterday my patience paid off when I got to harvest my first batch of mushrooms. I got almost 250 g (edit: I got almost 500g in the end of batch 1) and could have harvested a few more. I am leaving them to get bigger and I can already see new ones emerging. When they stop coming I can take the bag out, cut it on the other side, soak it over night and off we go again. See my post Life Cykel Home Grown Mushroom Box Unboxing for more information.
Post harvest pic:

I gave a large paper bag full of them to my mum in exchange for some baby sitting 🙂 and I also had enough left over to add to the green salad we had with some beef steaks for dinner. I just salt and peppered them and sliced them raw. They have an amazingly subtle nutty flavour and really complimented the steaks. Best of all, they had been harvested moments before. There is nothing better! Today I am going to use one of the big ones as a plate for a runny fried egg at lunch.
I thoroughly recommend this product. Check out my other Life Cykel posts here.
Here is a slideshow of the mushrooms’ amazing growth over the past 12 days:
Thanks again to the guys at Life Cykel for this amazing product,
PK
Written by
·
-
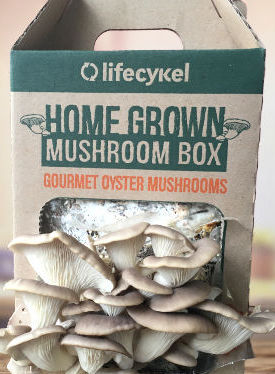
Day 6 Life Cykel Home Grown Mushroom Box
I was so ecstatic this morning when in a pre-coffee stupor I checked my Life Cykel Home Grown Mushroom Box. After 5 days of nothing I was rewarded with little baby mushrooms :).
Don’t forget our competition where you can win one of these boxes simply for submitting your favourite recipe that features mushrooms. See Want a free Life Cykel Home Grown Mushroom Box?

Can’t wait to grow more things in the kitchen with my two sons.
Thanks all,
PK
Written by
·