Category: growing
-
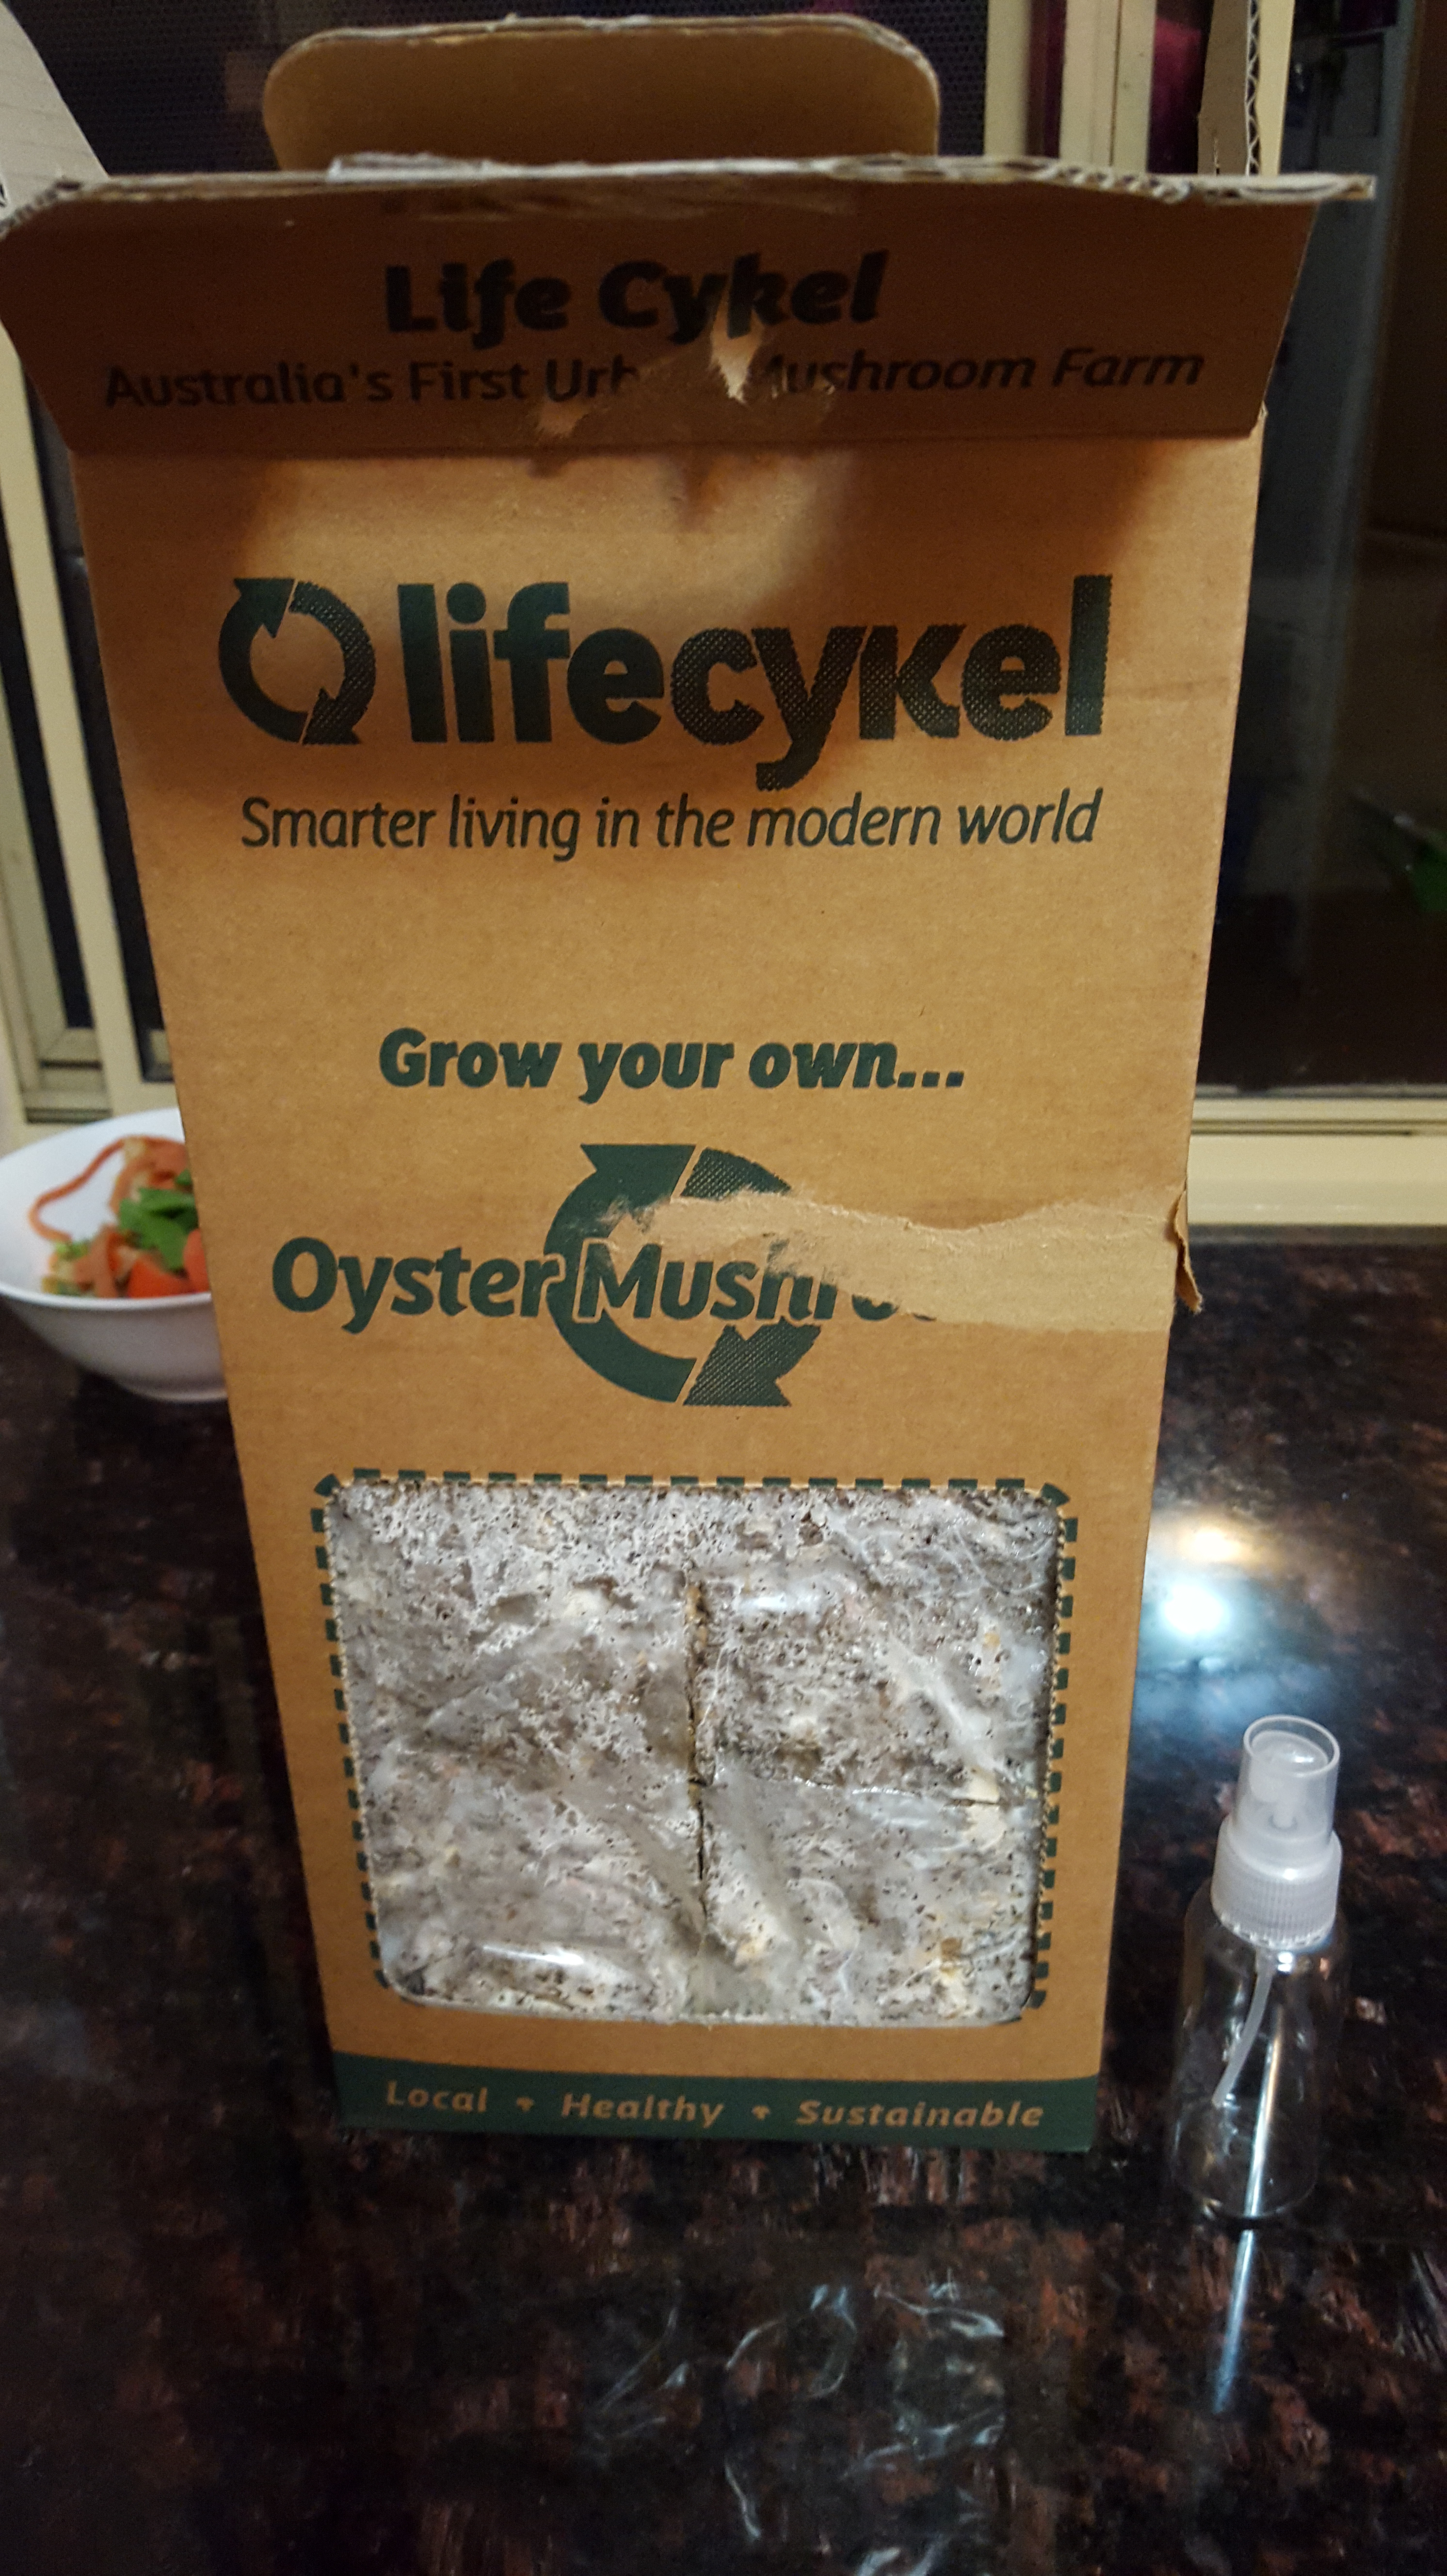
Want a free Life Cykel Home Grown Mushroom Box?
Well of course you do!

Life Cykel and growitcatchitcookit.com have a Home Grown Mushroom Box to give away to one lucky Western Australian resident.
Submit your favourite mushroom recipe for your chance to win.
Special guest blogger ‘Welchy’ is going to choose the winner on 20th June 2016.
I know she will be looking for recipes that use the freshest ingredients (that you may even have grown or caught yourself) and share your tips and tricks with the rest of us.
Click this link to go our Facebook page and submit your recipe 🙂
or
Please share this competition and view my Life Cykel Home Grown Mushroom Box posts here.
PK
Written by
·
-
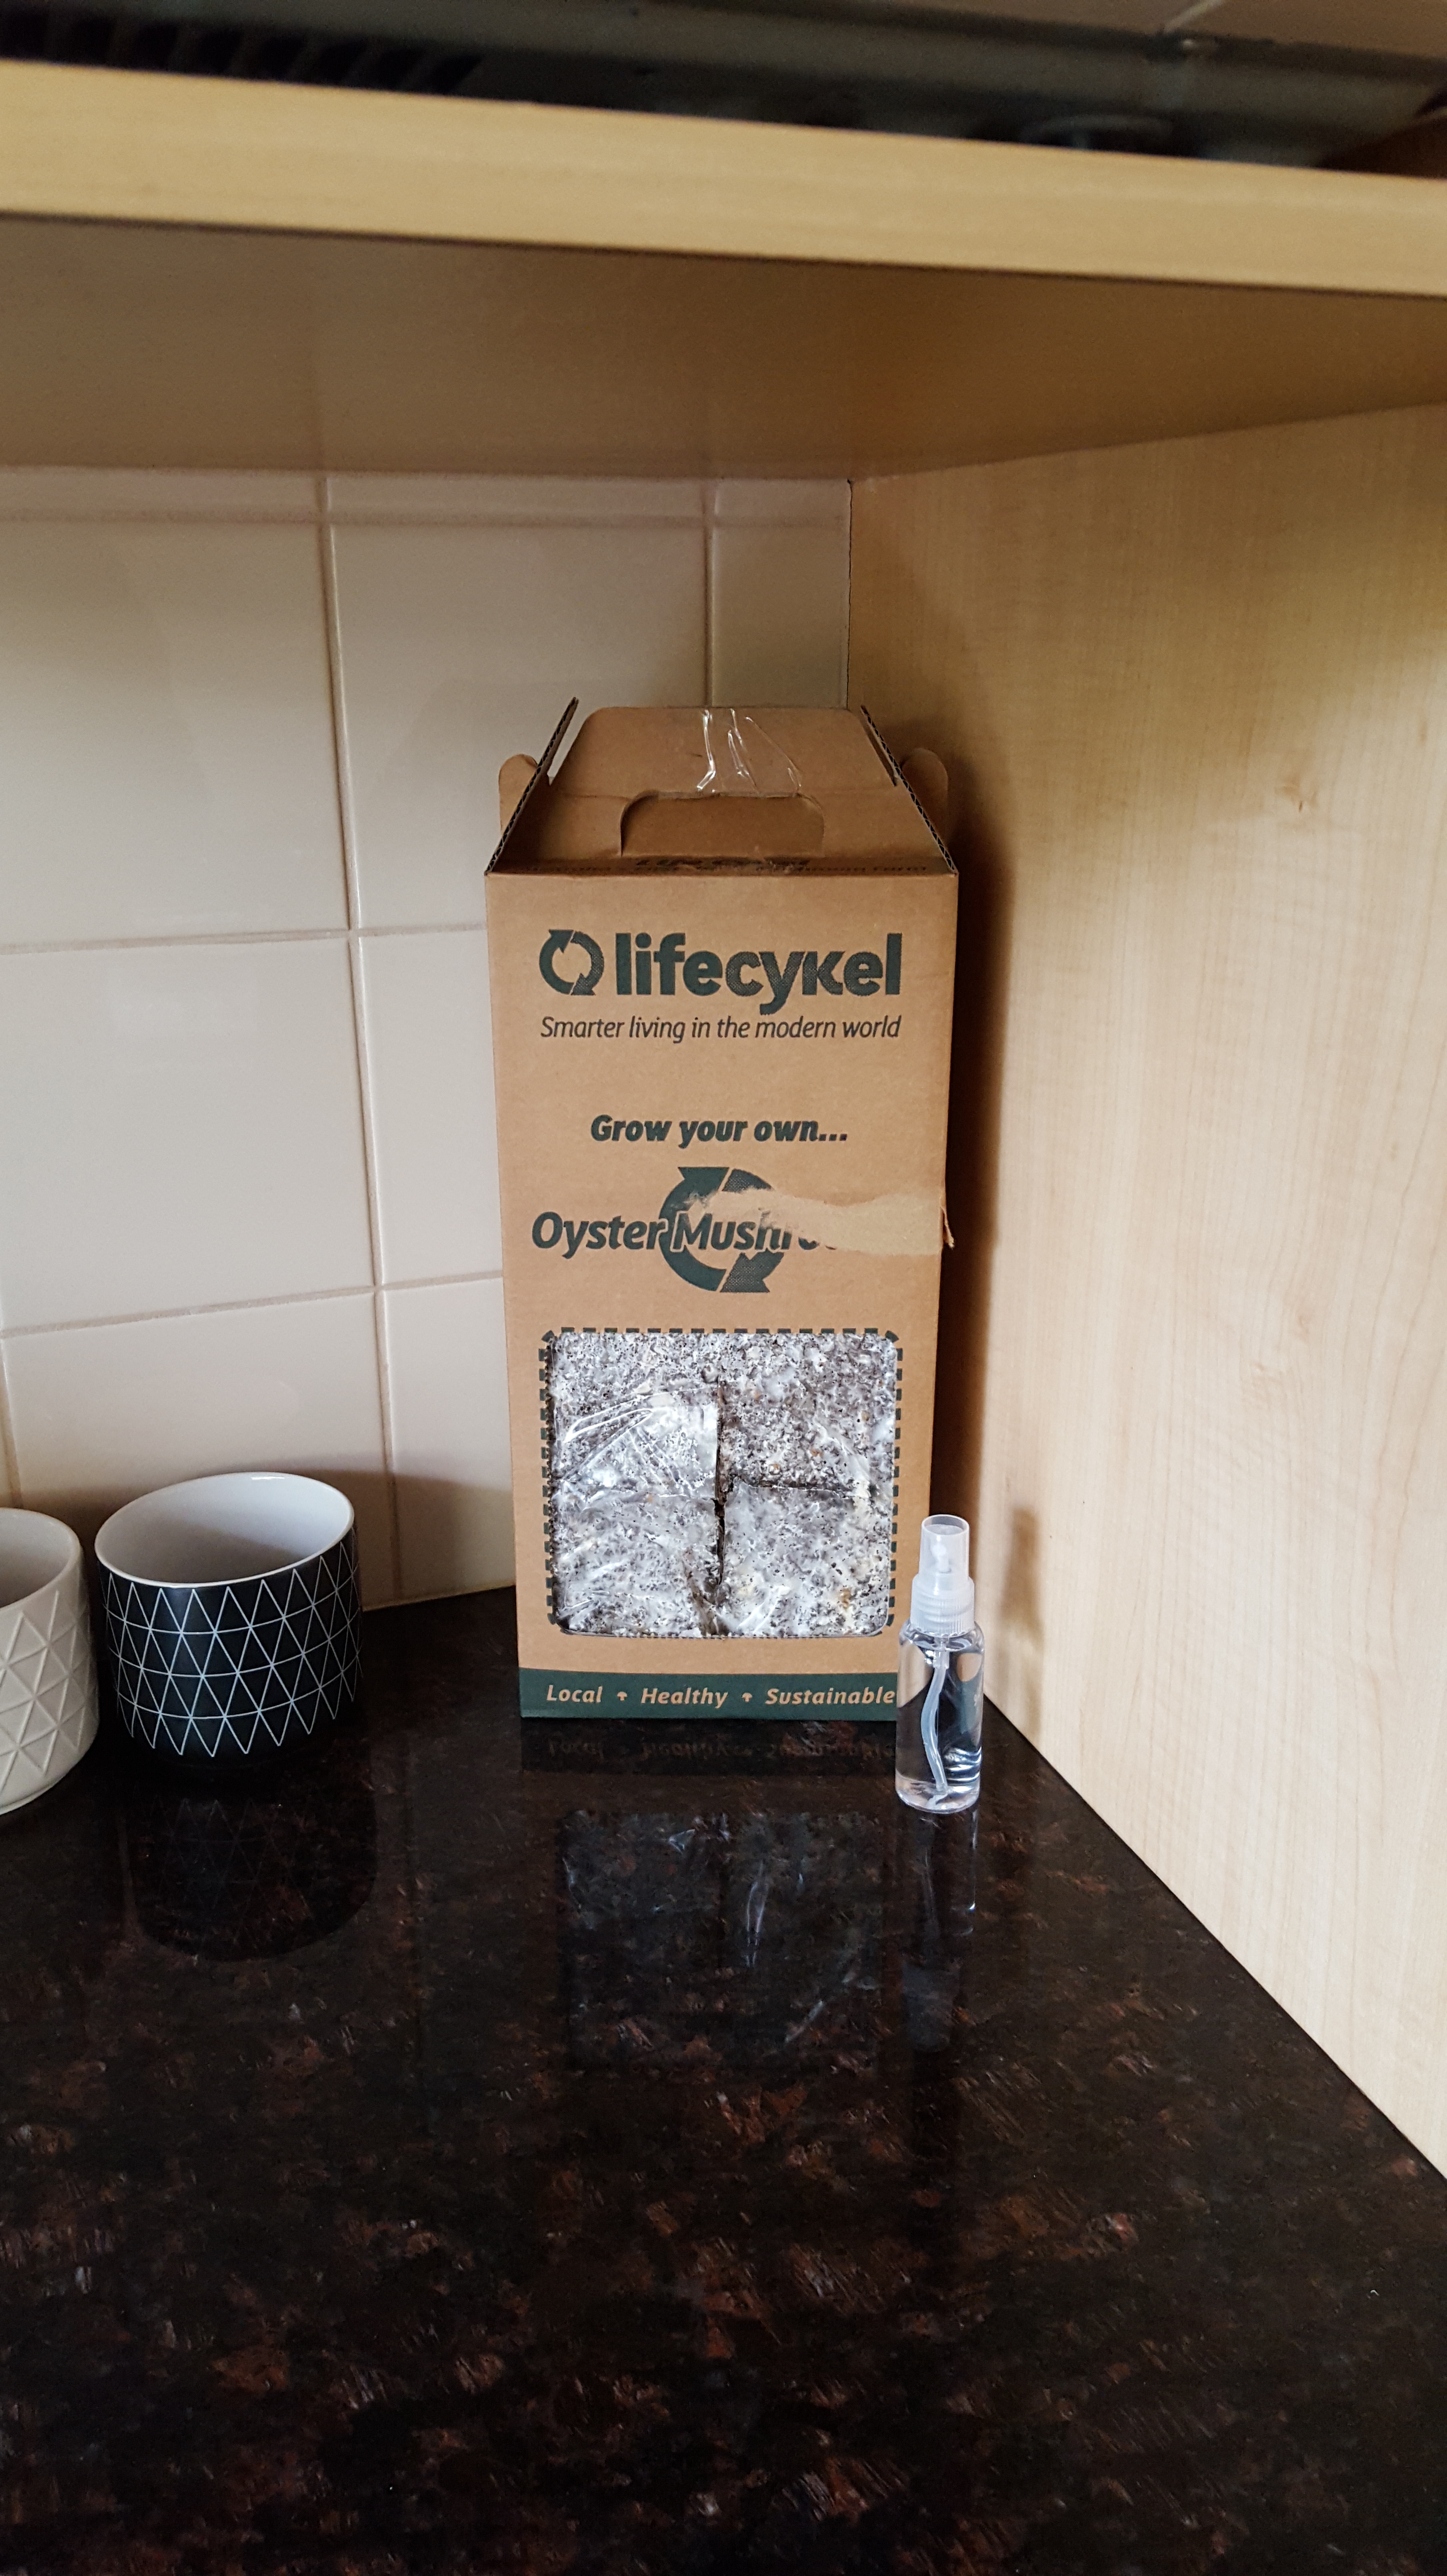
PK Reviews: Life Cykel Home Grown Mushroom Box
Julian Mitchell and Ryan Creed are doing amazing things over at LifeCykel. Based in Fremantle, Western Australia and with an ethos of growing food in a sustainable way, they have created the world’s first urban mushroom farm. The amazing thing is that their growing medium is coffee grounds collected from local businesses. They even go one step further and compost the growing medium once it has served its purpose.
Now the lads have a product that allows you to grow your own mushrooms at home whilst leveraging their sustainability efforts. Yesterday my Home Grown Mushroom Box arrived and I got straight into it after work.
I am going to post my progress every few days 🙂
It couldn’t be easier to get going:
- Choose a location out of direct sunlight and heat sources. I chose the bathroom.
- Relocate to the kitchen when your wife says no to the bathroom 🙂
- Remove the recipe panel at the front of the box and cut a cross through the plastic.
- Open the box and remove the free misting bottle and the bag.
- Soak the bag, cut side face down, for 8 to 10 hours. I left mine overnight.
- Drain the excess water and place it back in the box.
- Wait patiently.
Please see the rest of the Home Grown Mushroom Box posts here. Follow the guys on Facebook, Instagram and at https://lifecykel.com.au/.
Enjoy,
PK
Written by
·
-

Make Tea, Kill Weeds!
I just wanted to share a chemical free way of killing weeds. This tip is great for those tenacious weeds growing in brick paving or growing right next to another plant. I guess you just have to weigh up for yourself the cost to the planet to use and boil the water vs the chemicals, water, power and plastic in a bottle of weed spray. For some that might not be worth the cost and I get that.
If you have any boiled water leftover in the kettle, simply pour it on the weed until you see it blanch. This kills the weed and its roots outright and seems to inhibit the seeds too.
There is no need to pull the weed out as it will quickly turn into mulch. See I told you I am lazy :).

The effects are immediate.
Before:

After:

Written by
·
-

Curry Leaf Tree (Murraya koenigii)
I love this tree. The sight of it and the smell it releases when you brush past it make me smile. It can be hard to find in a nursery and they are not cheap. I got mine from Bunnings as a small seedling and resisting the temptation to harvest it too early took a lot of will power.
I am keeping it to less than two meters tall by harvesting the sprigs and the odd prune. The soil around it drains well and is about 6.5 to 7.0 pH. As you can see, I have removed the lower branches completely and planted other herbs around the base with no problems. I will try to propagate some of the berries (if I ever get any) so I can share some seedlings. I have read that this plant propagates from ripe fruit only though. I will let you know how I go.

I was a bit unsure myself what a sprig of curry leaves is as some of the recipes I use call for 10 sprigs. On the right of the plate below is about 5 sprigs, it seems a lot but trust me it is right. I am yet to ‘over do it’ on the curry leaf front ☺.
Strip the leaves off the twigs and add them as required to the dish. There is no need to take them out before eating so don’t worry.
Fresh is best, then refrigerated from your local Asian grocer, then and only then, dried.

Whenever I ask people if they want some fresh curry leaves from my kitchen garden they mostly ask what you can do with them. If you click on this link you will find a growing list of recipes that use curry leaves.
Enjoy,
PK
Links:
- see more curry leaf posts here
- go to all ingredients.
Written by
·
-
Curry Leaf Trees
I love curry leaf trees.
The sight and the aroma they release when you brush past them make me smile. They can be hard to find in a nursery and they are not cheap. I got mine from Bunnings as a small seedling.
I am keeping it to less than two meters tall through regular harvesting and pruning. The soil around it drains well and is about 6.5 to 7.0 pH. As you can see, I have removed the lower branches completely and planted other herbs around the base with no problems.
Occasionally, ripe fruit drops and successfully germinates. I transplant these into pots and give them away once they are matured enough.

Edit: I have had my first flowers (4 years in):

I was a bit unsure myself what a sprig of curry leaves is as some of the recipes I use call for 10 sprigs. On the right of the plate below is about 5 sprigs, it seems a lot but trust me it is right. I am yet to ‘over do it’ on the curry leaf front ☺.
Strip the leaves off the twigs and add them as required to the dish If you are wondering, the leaves are safe to eat.
Fresh is best, then refrigerated from your local Asian grocer, then and only then, dried leaves. 🙂

Whenever I ask people if they want some fresh curry leaves from my kitchen garden they mostly ask what you can do with them. If you click on this link you will find a growing list of recipes that use curry leaves.
Enjoy,
PK
Here are some curry leaf and general ingredients posts:
Written by
·
-
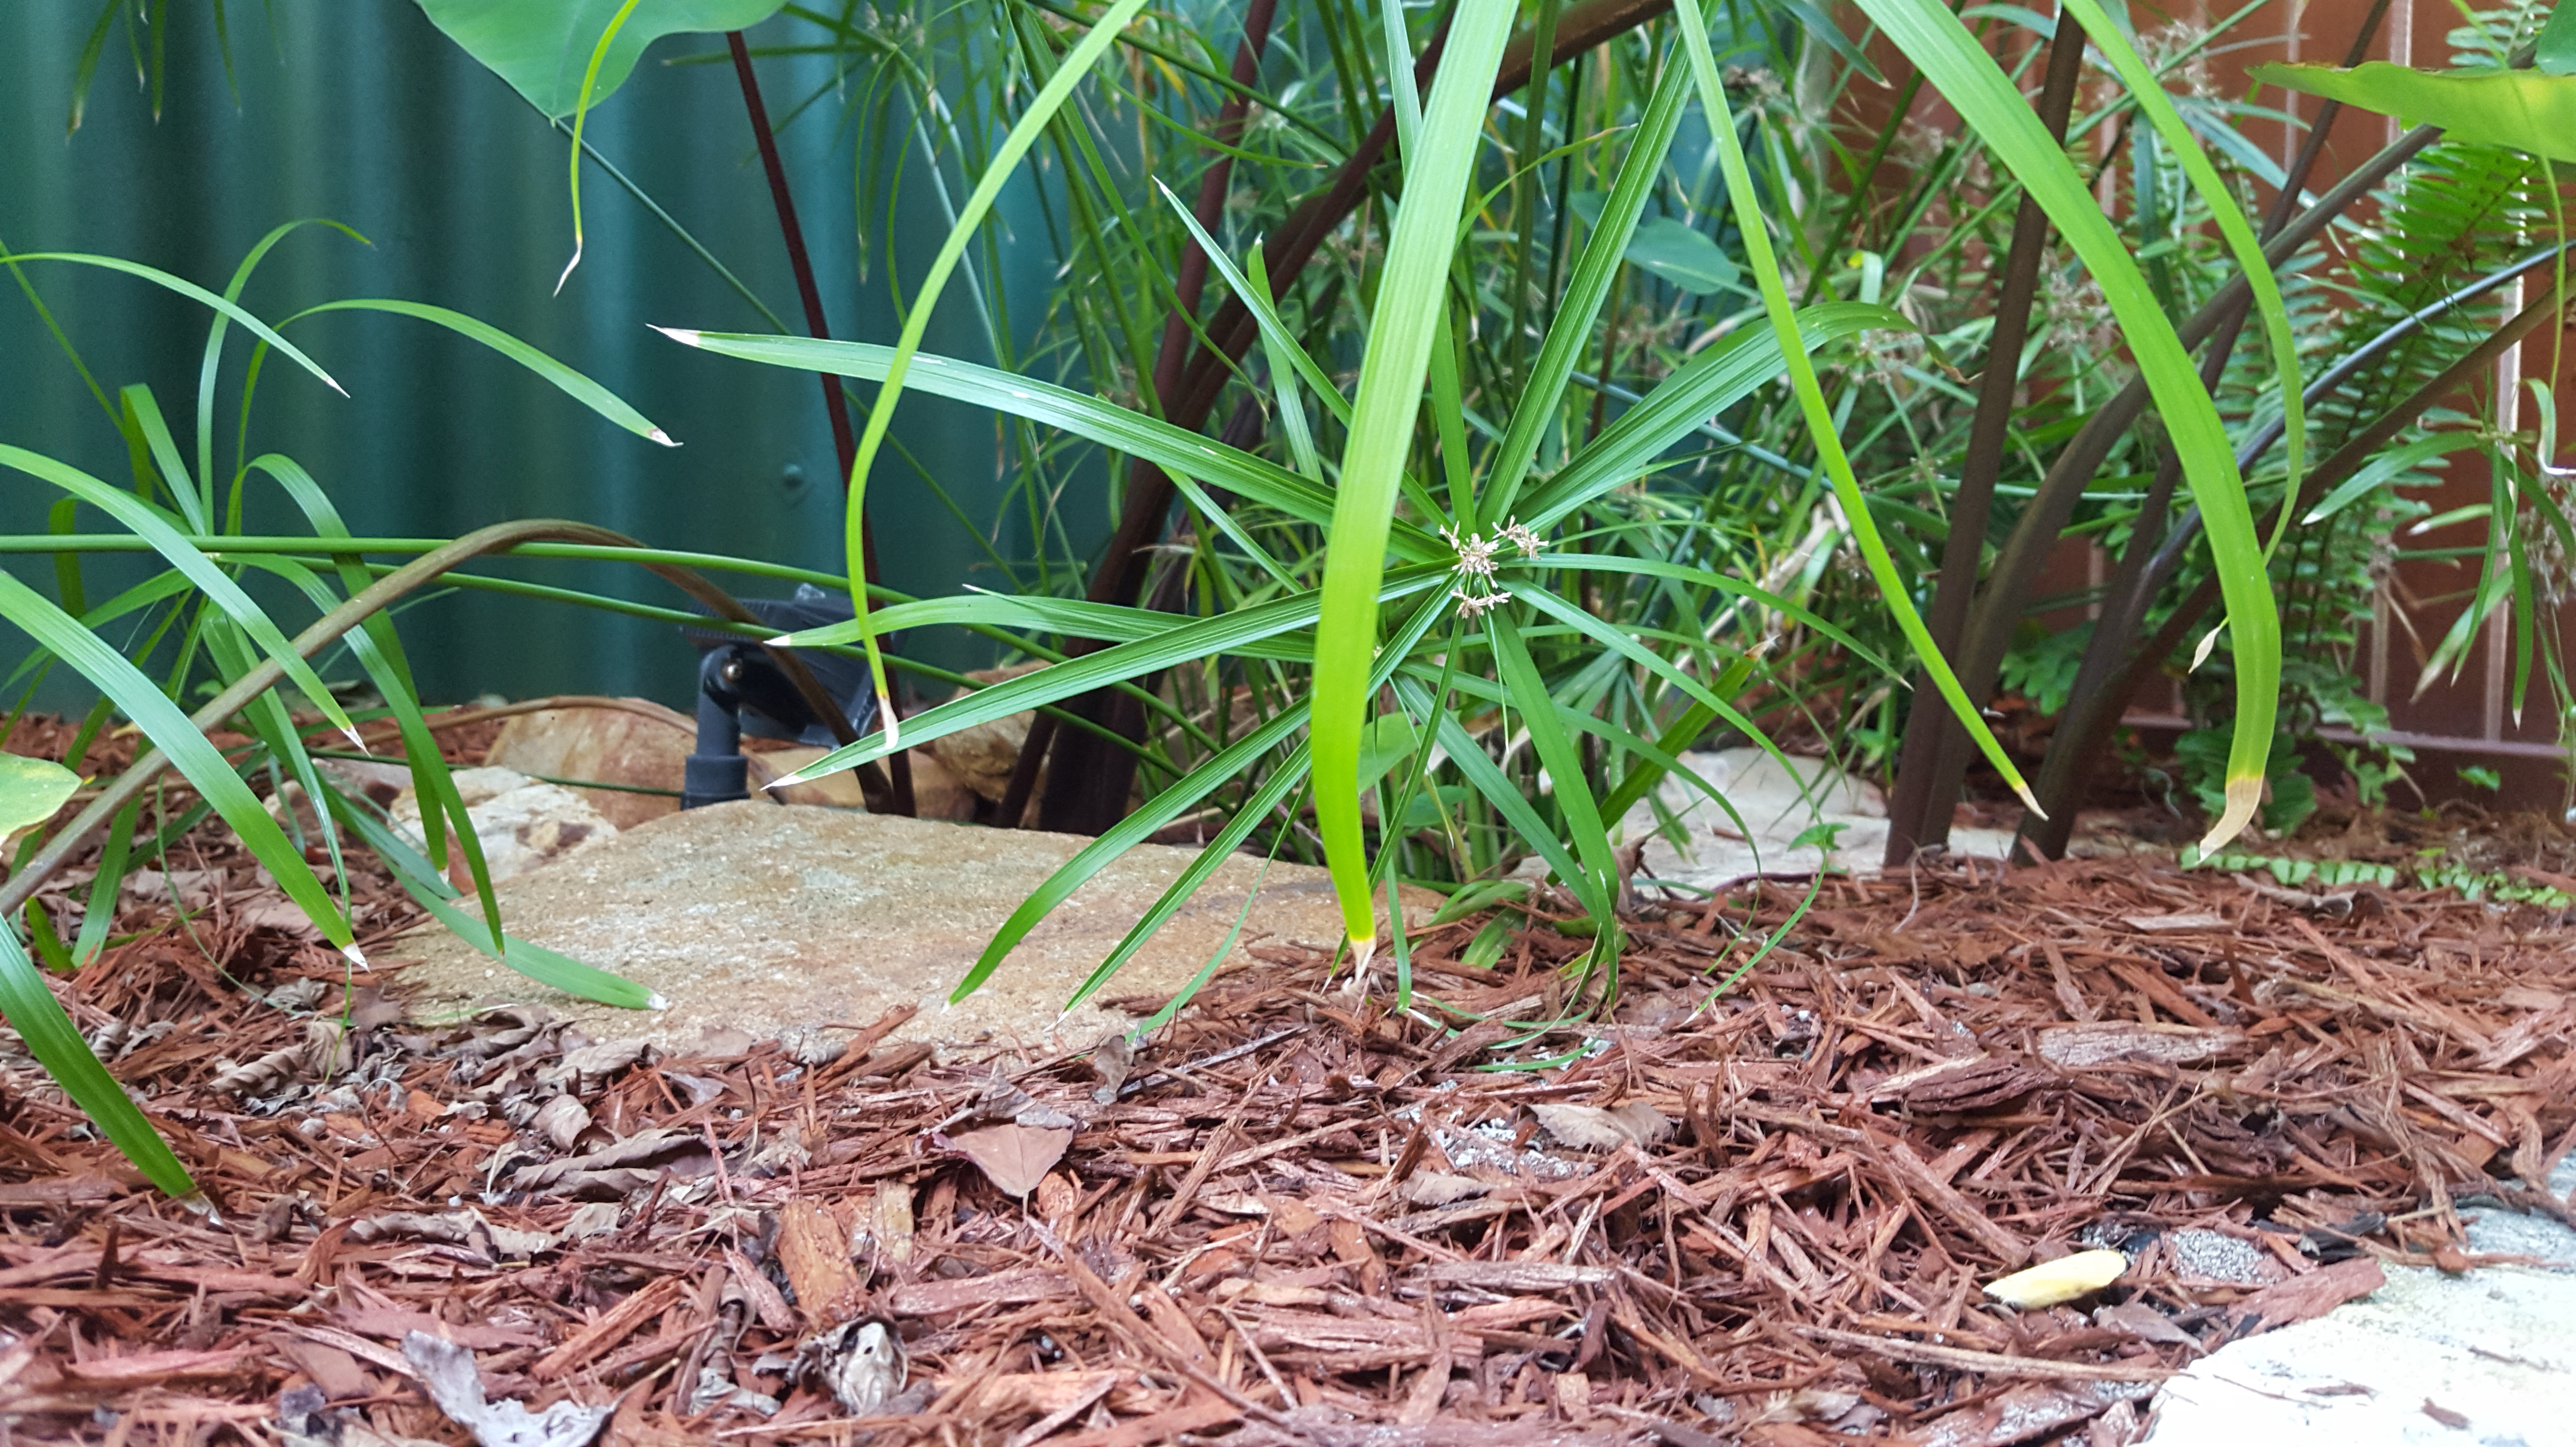
Bucket Pond Make And Manage
I just can’t bring myself to like mosquitoes. They suck your blood, make you itch and can give you some nasty diseases. Certainly entry grounds into my BadCritters club :).
So I take much pleasure in my bucket pond’s mosquito killing power. It was so easy and cheap to make. Maintenance varies from rarely to almost never but if you did do a water change you will get some nutrient rich water for your vegetable garden.
Here is how:
- Get two cheap round plastic pots (that are the same size and stackable) and some plastic pond lining from Bunnings or the like.
- Dig a hole and place one pot inside the other, making sure they are flush with the surrounding soil and level.
- Fold the liner over so it is double the thickness, then drape it over and into the top pot.
- Do a rough cut of the excess plastic now but not too much because when you add the water, the pond liner will flatten out and drop further into the pots. Besides, you will want some excess liner to sit under the rocks that you will add later for visual appeal.
- Slowly fill the bucket pond half full with water, letting the liner flatten and even out. You will get a fold, due to the square plastic sheet going into a round pond, so try and place it in a inconspicuous location. When the vegetation grows you won’t see it so don’t worry too much about it for now.
- Add several small water plants and some river stones into the pond’s base. The stones hold the plants in place and are an important part of the bacterial cycle that cleans the water.
- Place rocks around the edge and backfill with gravel, mulch or sand.
- Fill the bucket pond to the brim with water.
- Leave the water for several days or weeks until mosquito larvae are present. This indicates that the water is ready for fish to be added.
- Add cold water tolerant fish and watch as they smash the existing mosquito larvae.
I populated the bucket pond with White Cloud Mountain Minnows to eat any new mosquito eggs and to feed the pond plants with their waste.

They are a hardy fish regarding temperature and water conditions plus they swim on the surface. This is important because that is where the mosquito larvae live and the pond gets very little natural aeration. When I refill the bucket pond (in Perth evaporation can be severe so this action is every few days) I use a strong stream from the hose and make sure it aggressively breaks the water surface. That is all I do as far as re-oxygenation and water changes are concerned.
I don’t feed them as I want them to mostly eat mosquito larvae and the excess algae that grows during the summer months. There are visual signs that this system works. The water stays clear even in the sunny months and minnow fry can occasionally be seen swimming alongside their parents.
My pond also has a metal grill over the top to make it safe for small humans :).
Enjoy,
PK
Written by
·
-

Marjoram
Marjoram is a member of the same genus as Oregano and has a similar flavour but is milder. Like oregano it is easy to grow.
It is an ingredient in ‘Italian Herbs’ and ‘Herbes de Provence’, both popular spice mixes. I use it primarily in pasta sauces and sprinkled over pizzas.

If you are starting a herb garden from scratch this is a good choice. Both the leaves and the flowers are usable and it transplants easily. With Perth’s mild seasons it survives all year round.
Enjoy,
PK
Here are more herbs, spices and ingredients posts.
Written by
·
-

PK’s Working Garden
A working home garden (or kitchen garden) is one where the emphasis is on the growing of herbs, vegetables and fruit. There may also be areas for composting and hopefully a system of natural pest management aka insecticide free bug control.
They can be just as visually appealing as any other type of garden. However, their beauty may be more in the eye of the beholder and the smile on your kid’s face as you hunt for caterpillars together. If it was up to me I would have one giant vegetable garden, a few benches and a hammock :).
Indeed, it is becoming increasingly difficult, much to my wife’s dismay, to see where my kitchen garden stops and the “other” garden starts. For now I am getting away with it :).
There is something uplifting in getting an ingredient straight out of the garden as you cook. It is a great way to briefly slow down the pace set by modern life.
Enjoy,
PK
Here are a few photos:

Please consider subscribing to a weekly email summary of our posts or check us out on Facebook @growitcatchitcookit.
Written by
·
-

Lime Common
I love cooking with limes (and adding slices of them to Gin and Tonics) just as much as I do sharing limes from the tree in my kitchen garden. No one in Perth will turn down a home grown lime, they are that prized.
There is even a lime tree in my driveway ,that is constantly being cross pollinated with an adjacent lemon tree, that gives a slightly different flavour. Thank you bees :).
Here is what I have learnt about lime trees (in fact most citrus).
- You can’t over prune them. I love a good hedge and it keeps the fruit accessible.
- Feed them 3 times a year only (this might take some will power) with way more than you think you need of dynamic lifter (blood and bone) and a complete citrus fertiliser. Spread it to the edge of the canopy line, keep it away a bit from the trunk and water in well. I don’t bother mixing it into the soil.
- Water them daily during the hot months. Just like on a Passionfruit vine, outwardly nice looking fruit might be dry inside if you don’t. Worse still, you might get lots of flowers that then drop off and this is heart breaking to watch.
- Pee on surrounding soil (some wives’ tales are true) for soil acidity.
- Keep the soil slightly acidic if the tree is not naturally doing this (dropping leaves and fruit that compost naturally) or the above measures are not doing so. You could use some burnt wood ash if you are still worried but the slowly slowly natural approach is better in my opinion.
Oh and it doesn’t hurt to inherit an awesome tree :).

Enjoy,
PK
Related Links:
- see more lime posts here
- see more citrus posts here
- See citrus preserving ideas here
- go to all ingredients
Written by
·
-
Limes
I love cooking with Persian limes (these are a common cultivar in Australia) just as much as I do sharing limes from the tree in my kitchen garden. No one in Perth will turn down the offer of a bag of limes.
Fresh lime juice, zest and leaves are essential to southeast asian cooking so I will always grow them and their Kaffir lime cousins. I believe my friend Ben has a key lime tree that produces lovely yellow fruit for eating and pickling.
There is even a lime tree in my driveway that is constantly being cross pollinated with an adjacent lemon tree. It makes for fruit that are magically different again, thank you bees.
Here is what I have learned about lime trees (in fact most citrus).
- You can’t over prune them. I keep them low to keep the fruit accessible.
- Feed them 3 times a year only (this might take some will power) with way more than you think you need of dynamic lifter (blood and bone) and a complete citrus fertiliser. Spread it to the edge of the canopy line, keeping it away from the trunk somewhat and water in well. I don’t bother mixing it into the soil.
- Water them daily during the hot months.
Oh and it doesn’t hurt to inherit an awesome tree :).
Plant:

Flower:

Fruit:


Enjoy,
PK
To see all the ingredients on the blog click here.
Here are some recipes using limes and more ingredients:
Written by
·