Tag: seafood
-
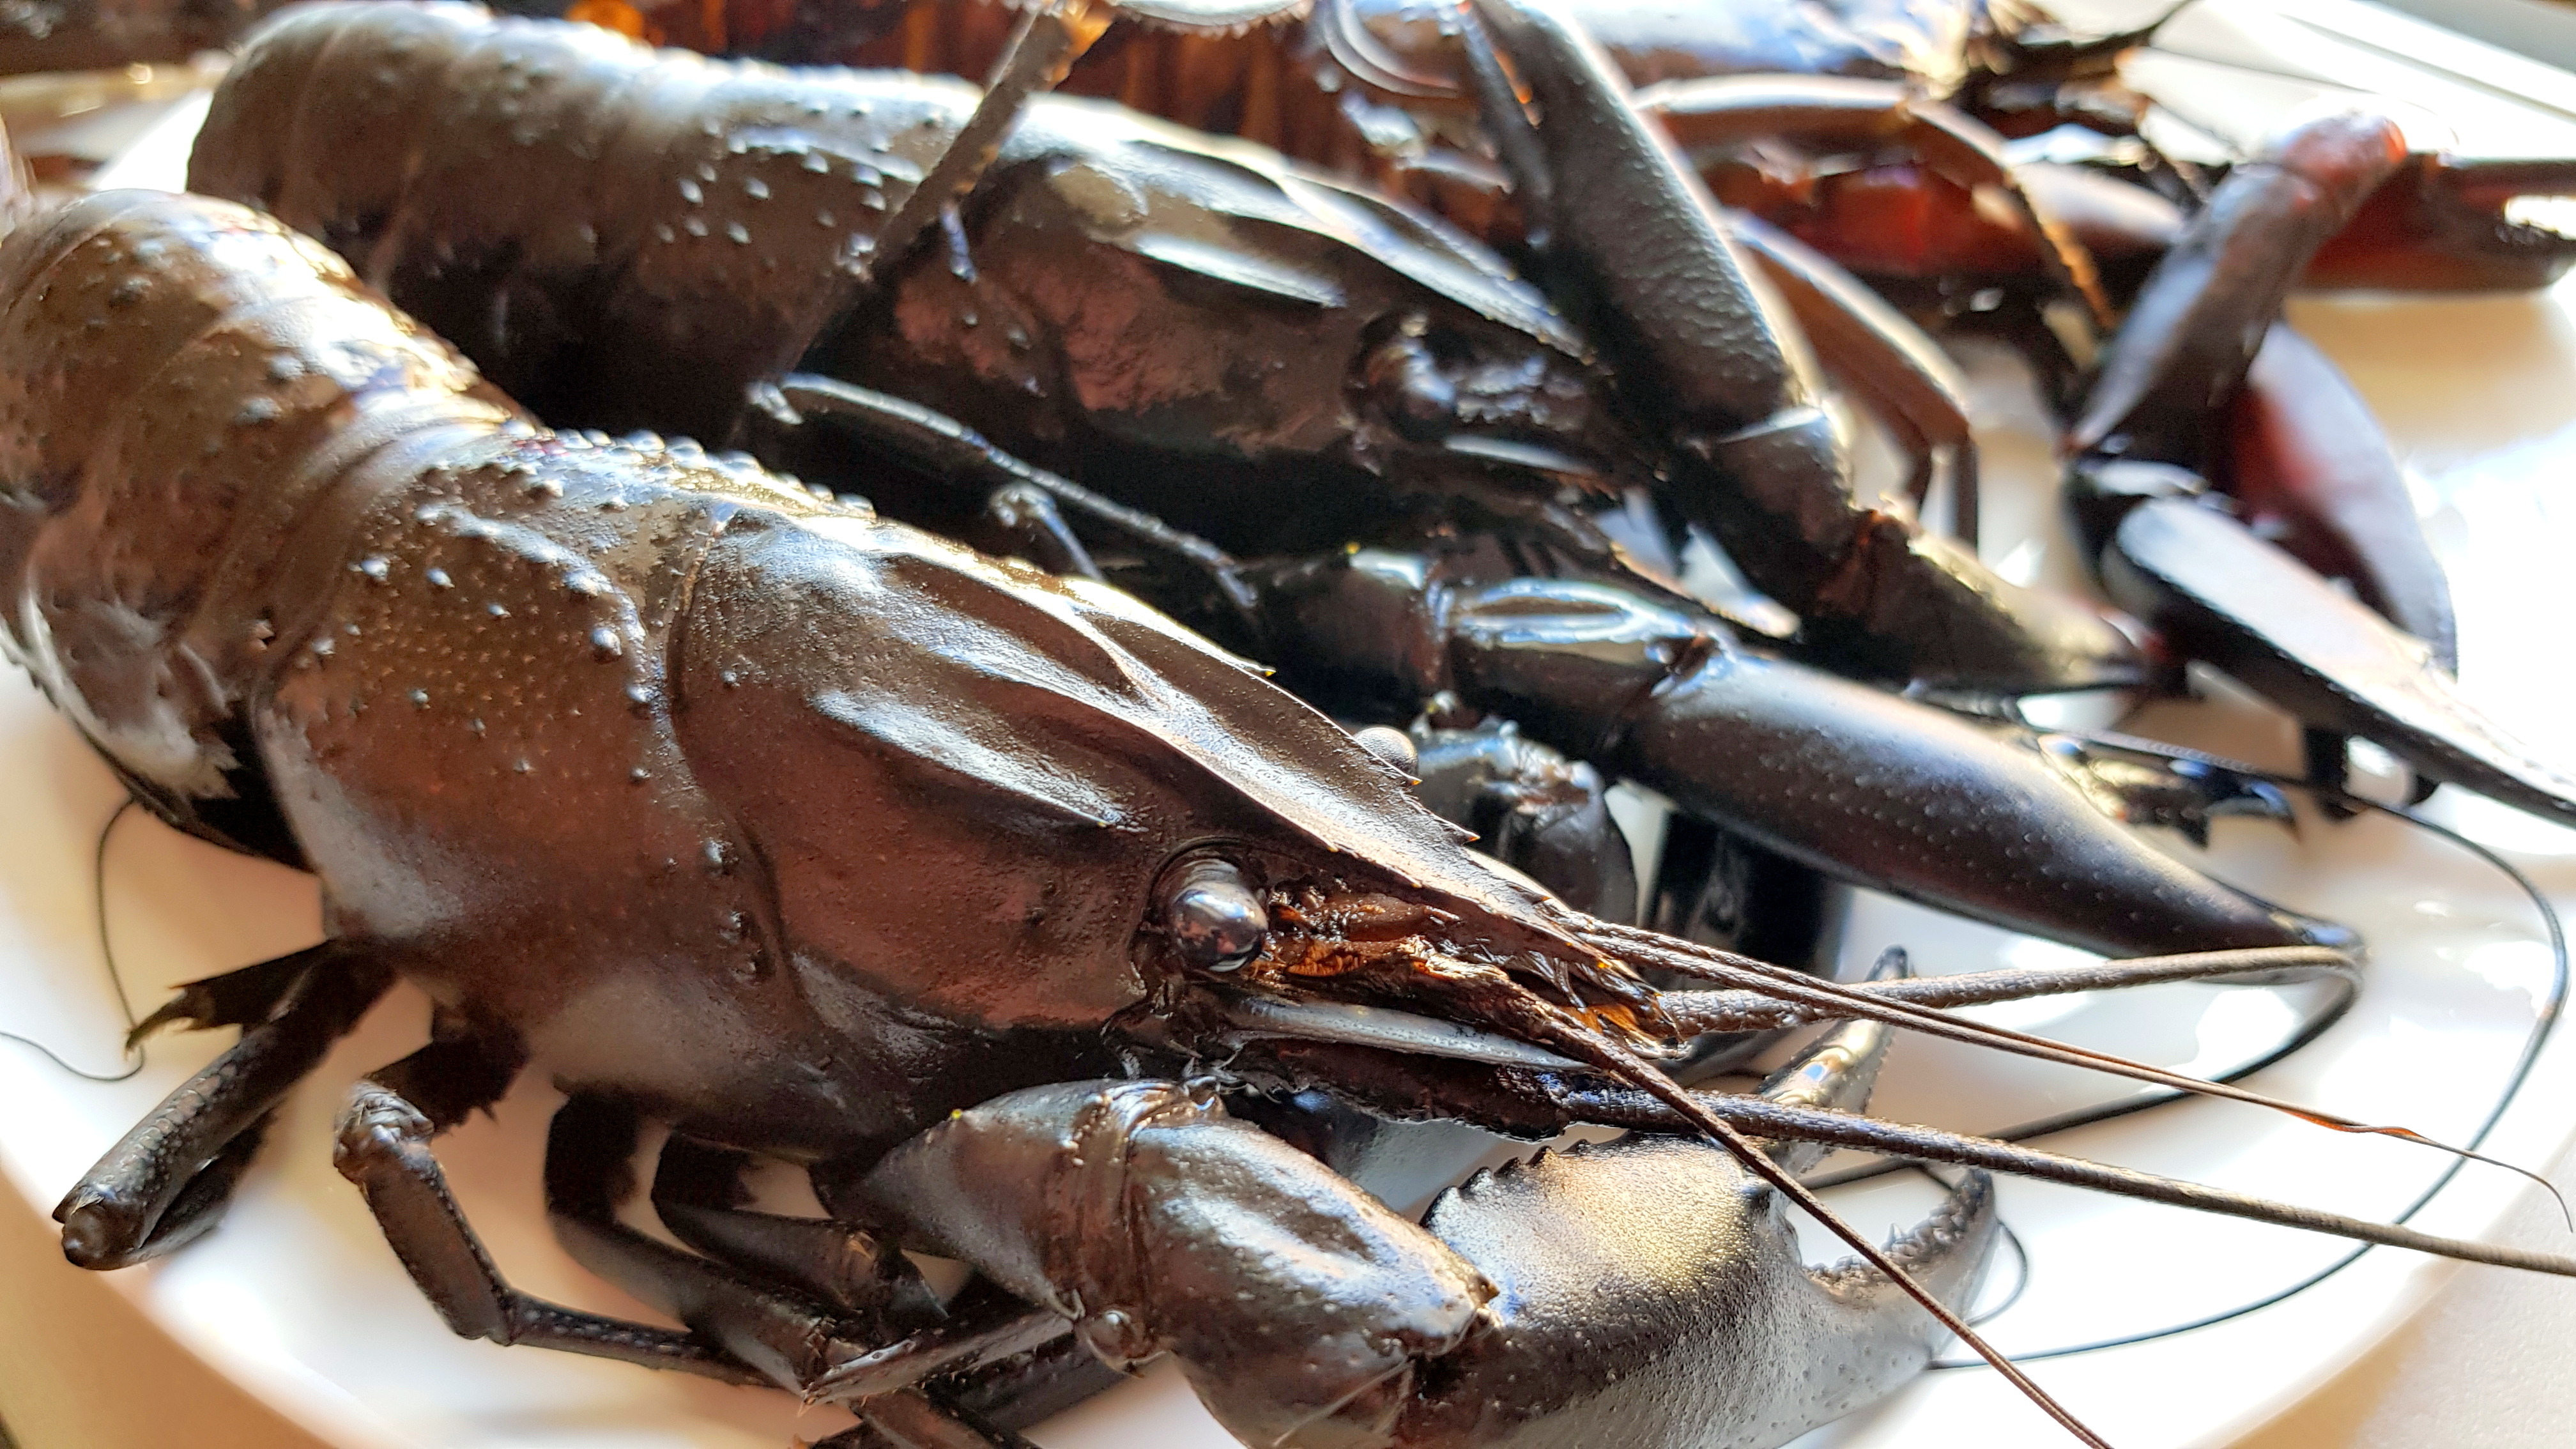
How To Catch Marron: Craigo From GICICI Shows You How
Marroning is a lot of fun and if you pick the right spot you should come home with a good feed. I want to share some tips with you.
Remember to:
- use legal pots.
- not take undersized marron.
- stick to your possession limit.
- buy a licence for the season and have it on you.
- visit the Department of Fisheries website for the latest rules http://www.fish.wa.gov.au
Marron Hunting Tips
Use the right bait. I use cheap dog food wrapped in old stockings. These I tie to the base of the pots.

Pick a spot that exhibits marron holes in the bank and if hunting during the day look for deep drop-offs that provide darker water.


Check your pots every 45 minutes or so. If you catch any make sure to measure the carapace and only keep those bigger than the minimum size.
Put your live catch on ice kill them humanely.
This guy was just short so he went back in.

That is better 🙂

Leave your spot as clean if not cleaner than when you arrived.

Fish on,
Craigo
Related Links:
- see all recipes using marron here
- see more seafood posts here
- see more meat posts here
- See more from Craigo here
Please consider subscribing to get a weekly email summary of our posts.
[mc4wp_form id=”15771″]
Written by
·
-
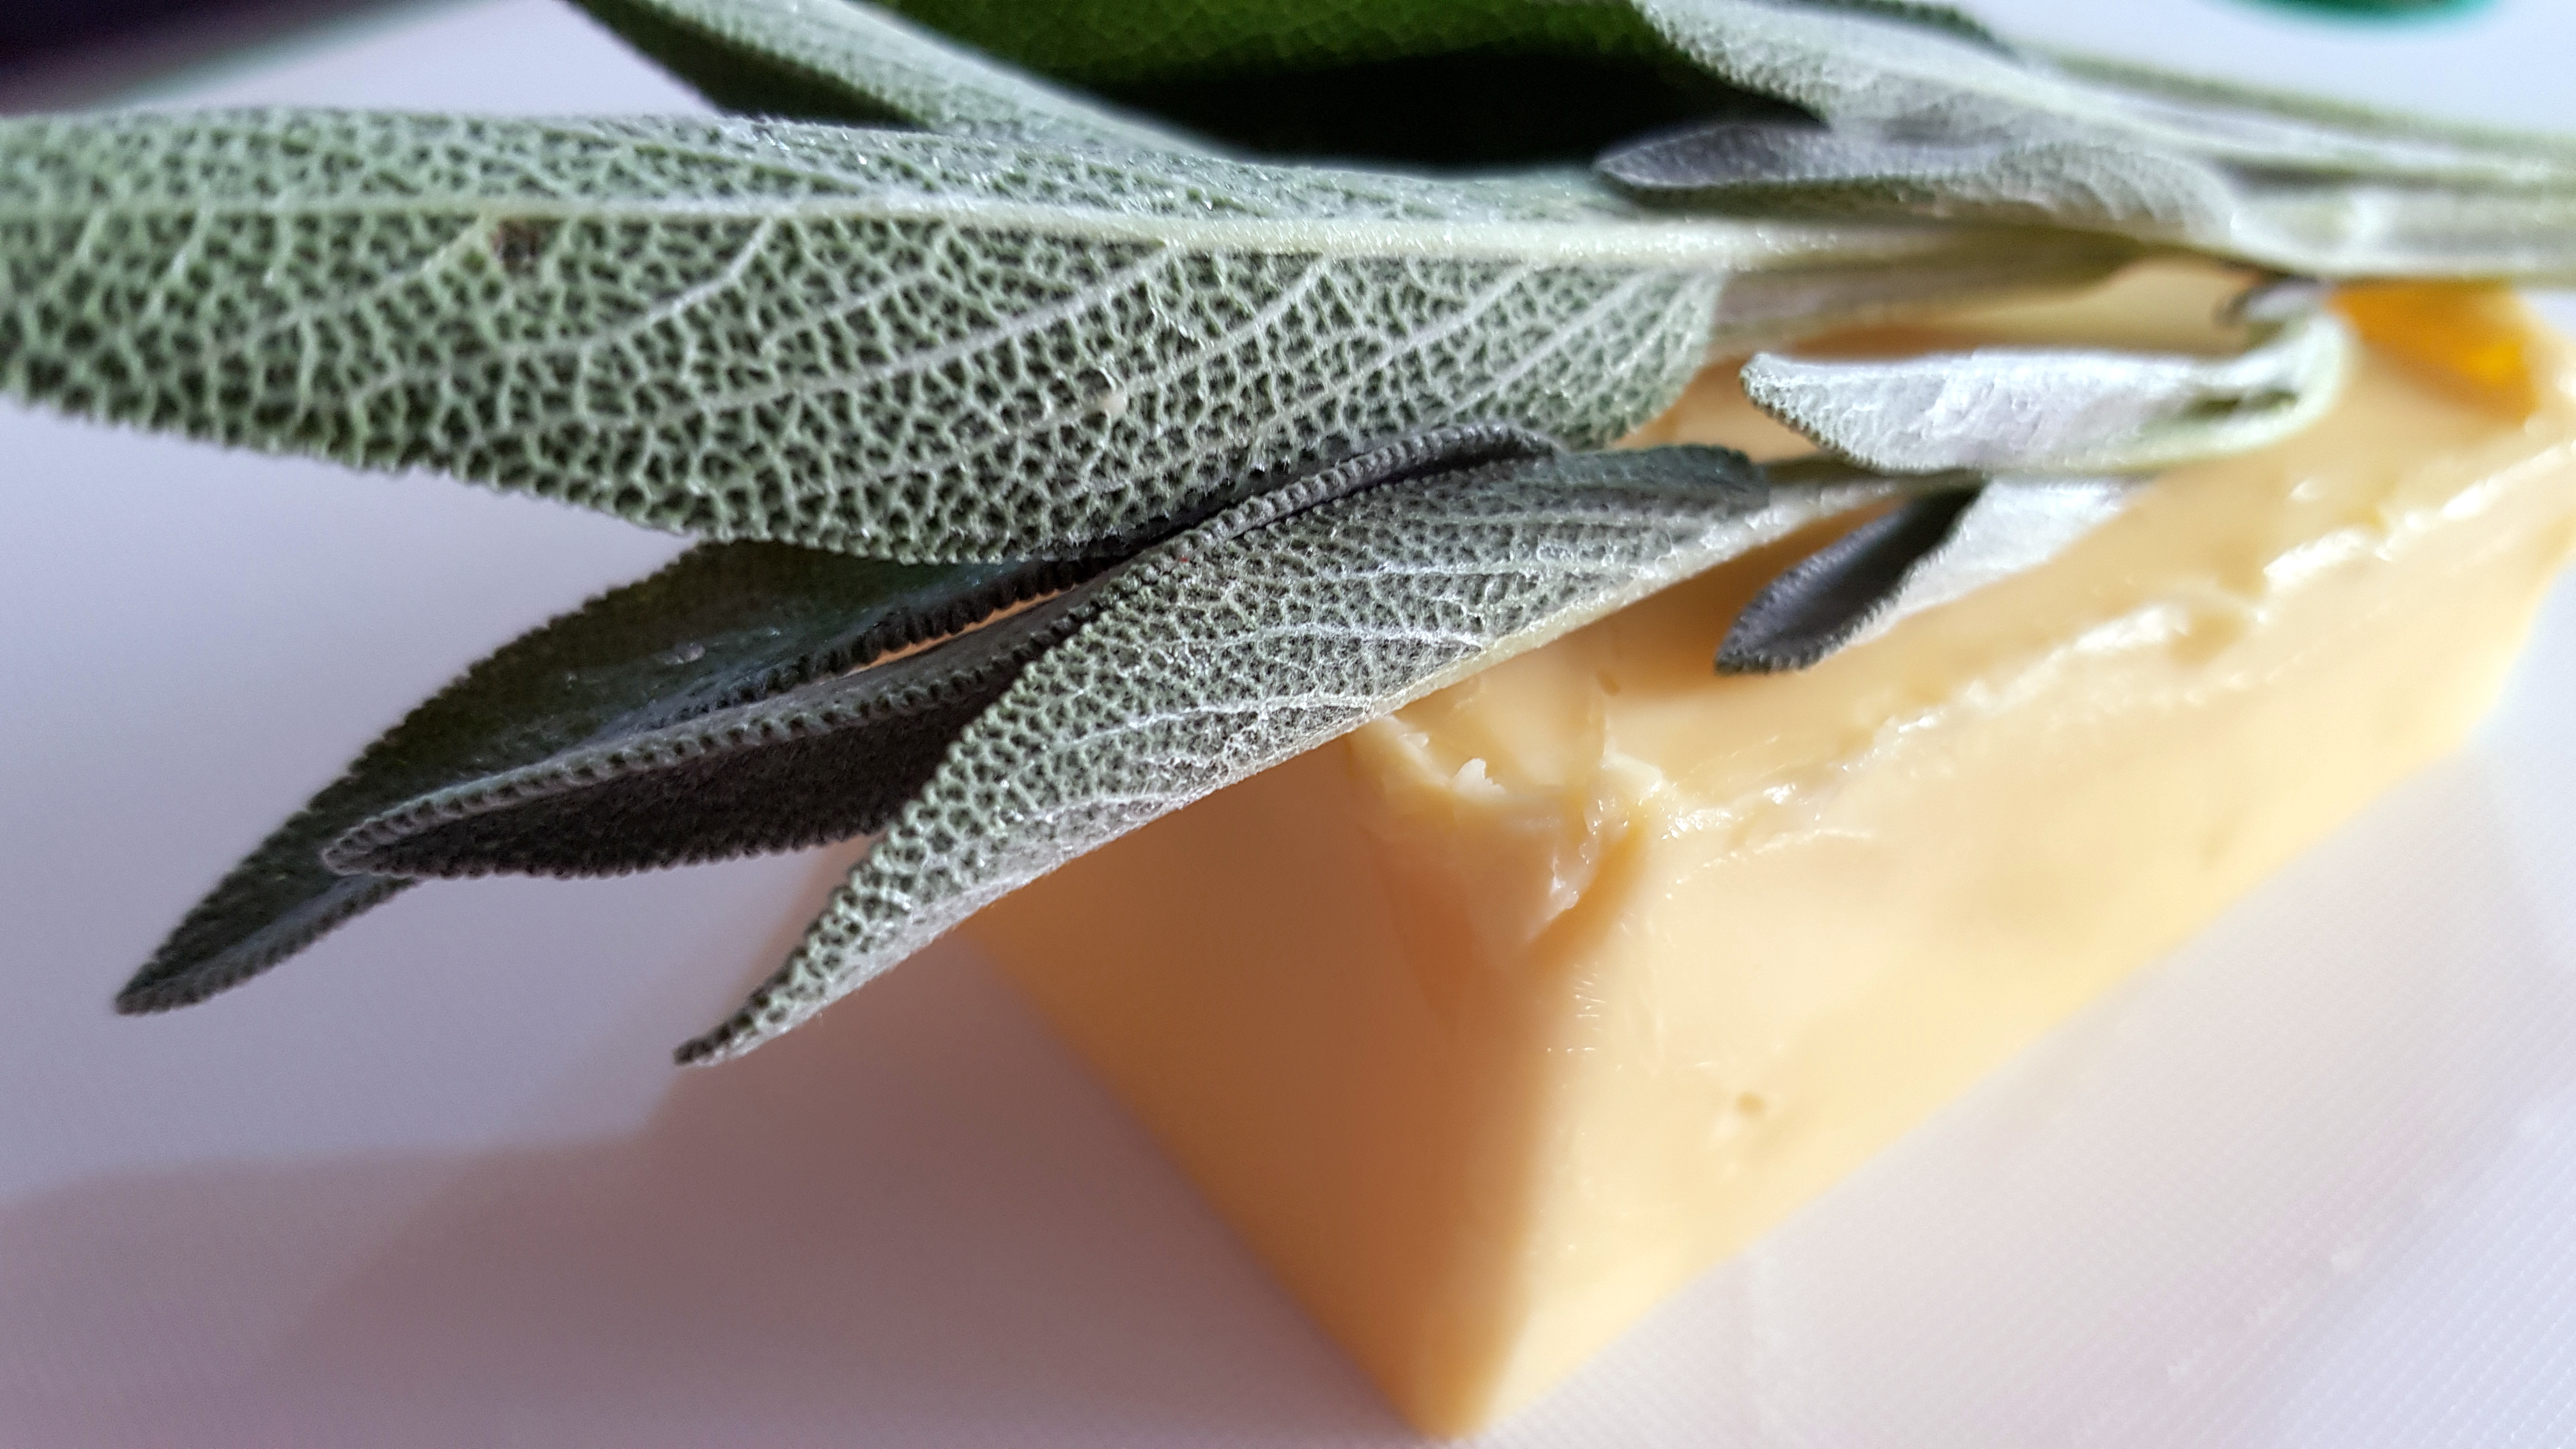
How To Make Browned Butter Sauce
Browned butter sauce has a caramel/nutty flavour and I think the addition of sage works just as well for seafood, pasta, chicken and beef.
The pleasure of watching and smelling this sauce cook is sublime. The stages are so clear that they belie the difficulty level. When you get it right for the first time you will be pretty chuffed with yourself.
🙂
Notes:
- It is so easy to burn this sauce so don’t get distracted like I do
- Keep the sauce moving slowly the whole time after the milk fats and proteins separate (see below)
- I make it ahead of schedule so I don’t have to stress
- You will quickly learn if you have cooked it too long and can adjust for next time
You will be:
- Heating on medium
- Heating on low
- Cooling
You will need:
- Ingredients:
- 200g of pure butter (ie not a blend)
- sage leaves to taste
- Equipment:
- a sauce pan
- a small whisk
Heating on medium
Start melting the butter on the hob over a medium heat.

You will start to see the milk proteins and fats make two distinct layers

Next, the water content of the butter will begin to boil away. Keep stirring slowly now.

This is what it looks like after that happens.

Heating on low
Now turn the hob down to low and add the sage leaves.

After a while parts of the sauce will start to brown. Keep stirring slowly.

You can test if it i ready by spooning some onto a white surface. Perfect 🙂

Cooling
I pour it into another vessel to cool down, stirring every now and again. At this point you can tell if it was on the heat too long and adjust accordingly next time you make the sauce. You want nutty not acrid.

Enjoy,
PK
Related Links:
- see all recipes using butter here
- see more sauces and condiment posts here
- see more French cooking posts here
Please consider subscribing to get a weekly email summary of our posts.
[mc4wp_form id=”15771″]
Written by
·
-
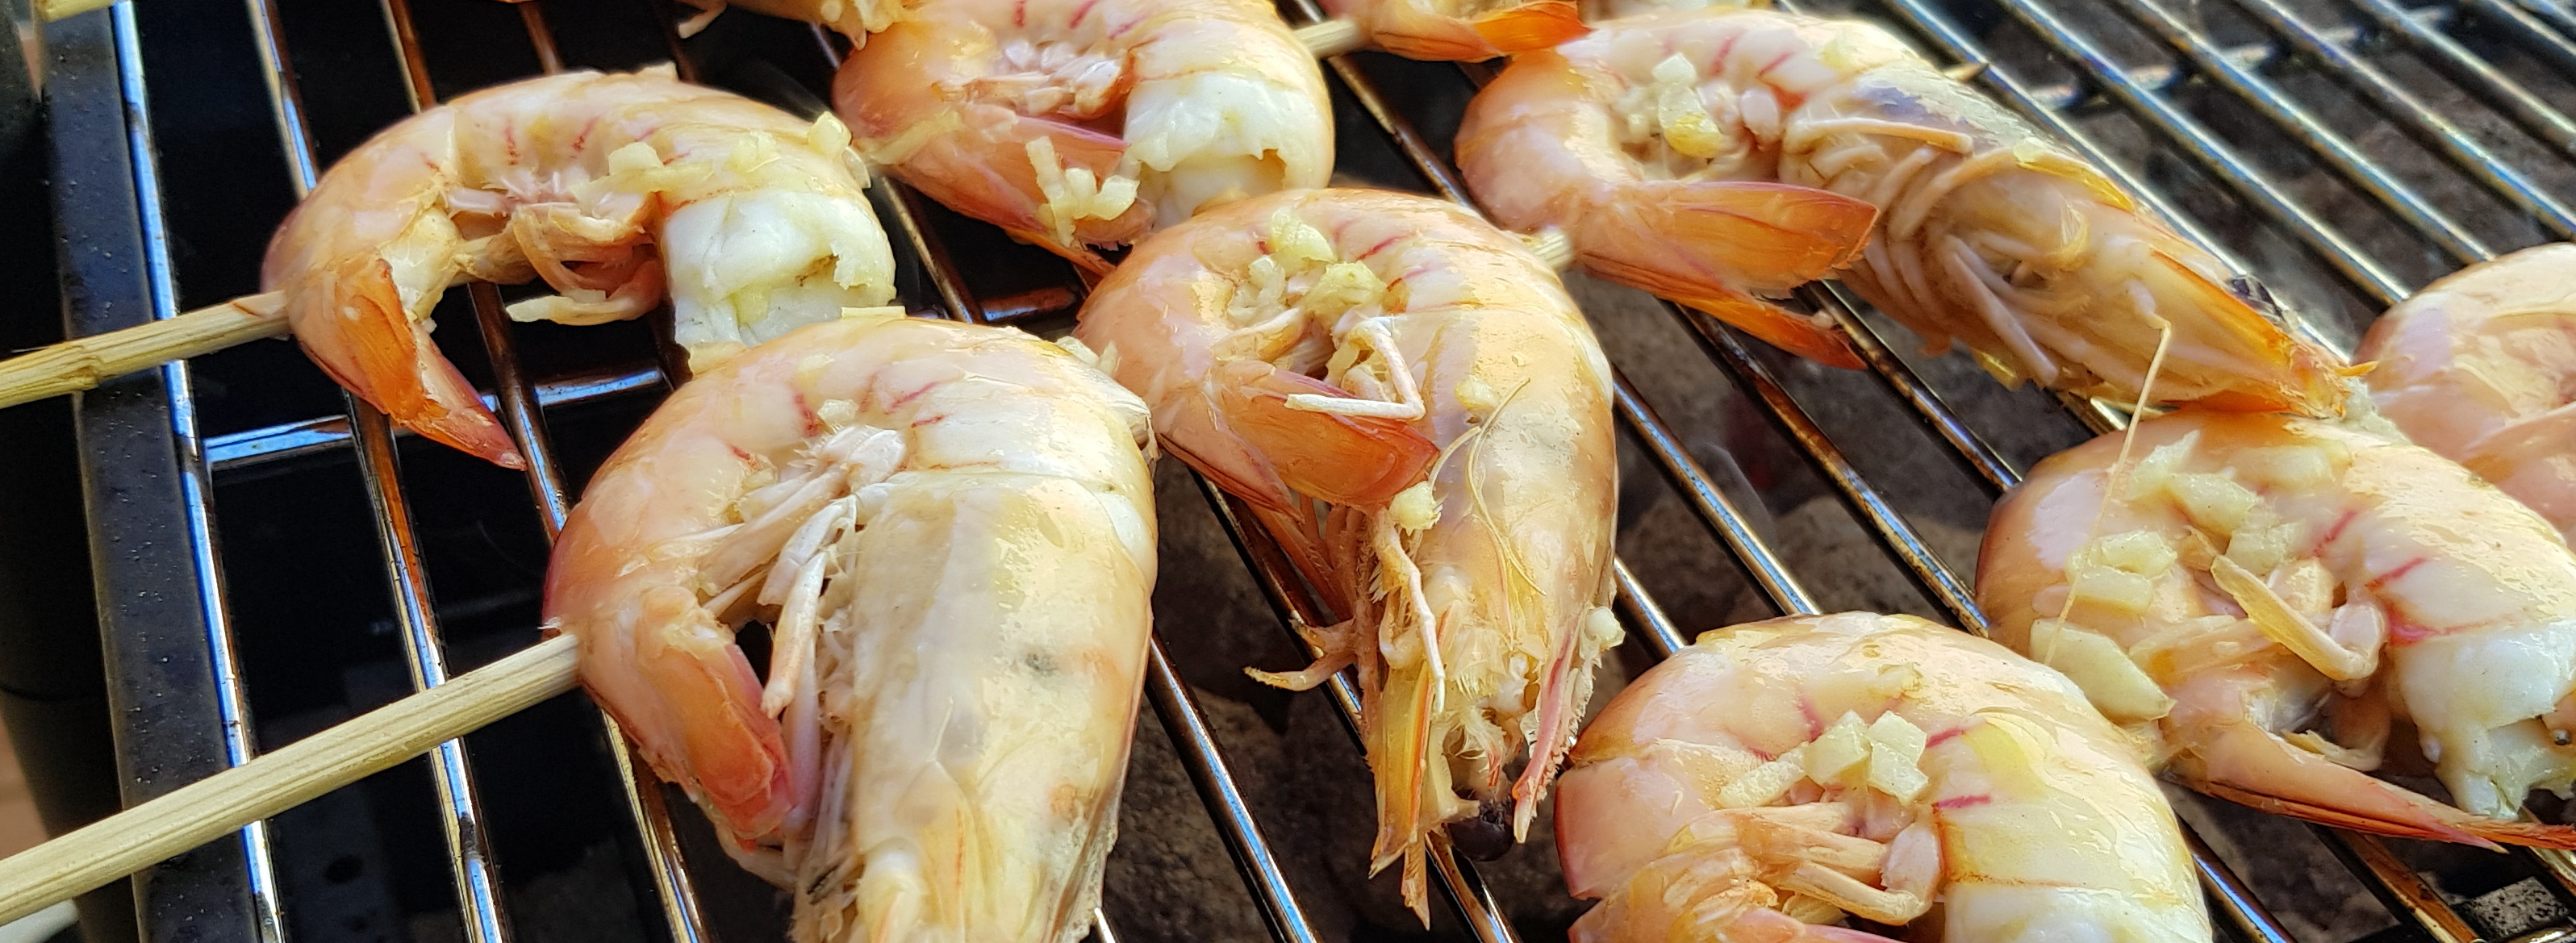
Craigo’s Easy BBQ Prawn Skewers
Throw another Aussie favourite on the barbie. 🙂
Simply skewer a few Tiger Prawns or the like and drizzle with butter and minced garlic. Chuck them into the fridge for a few hours.

Then throw them on the barbecue for a few minutes each side.


Then drown them in Thousand Island Dressing. 🙂
Fish on,
Craigo
Here are more posts by Craigo and more seafood ideas:
Written by
·
-
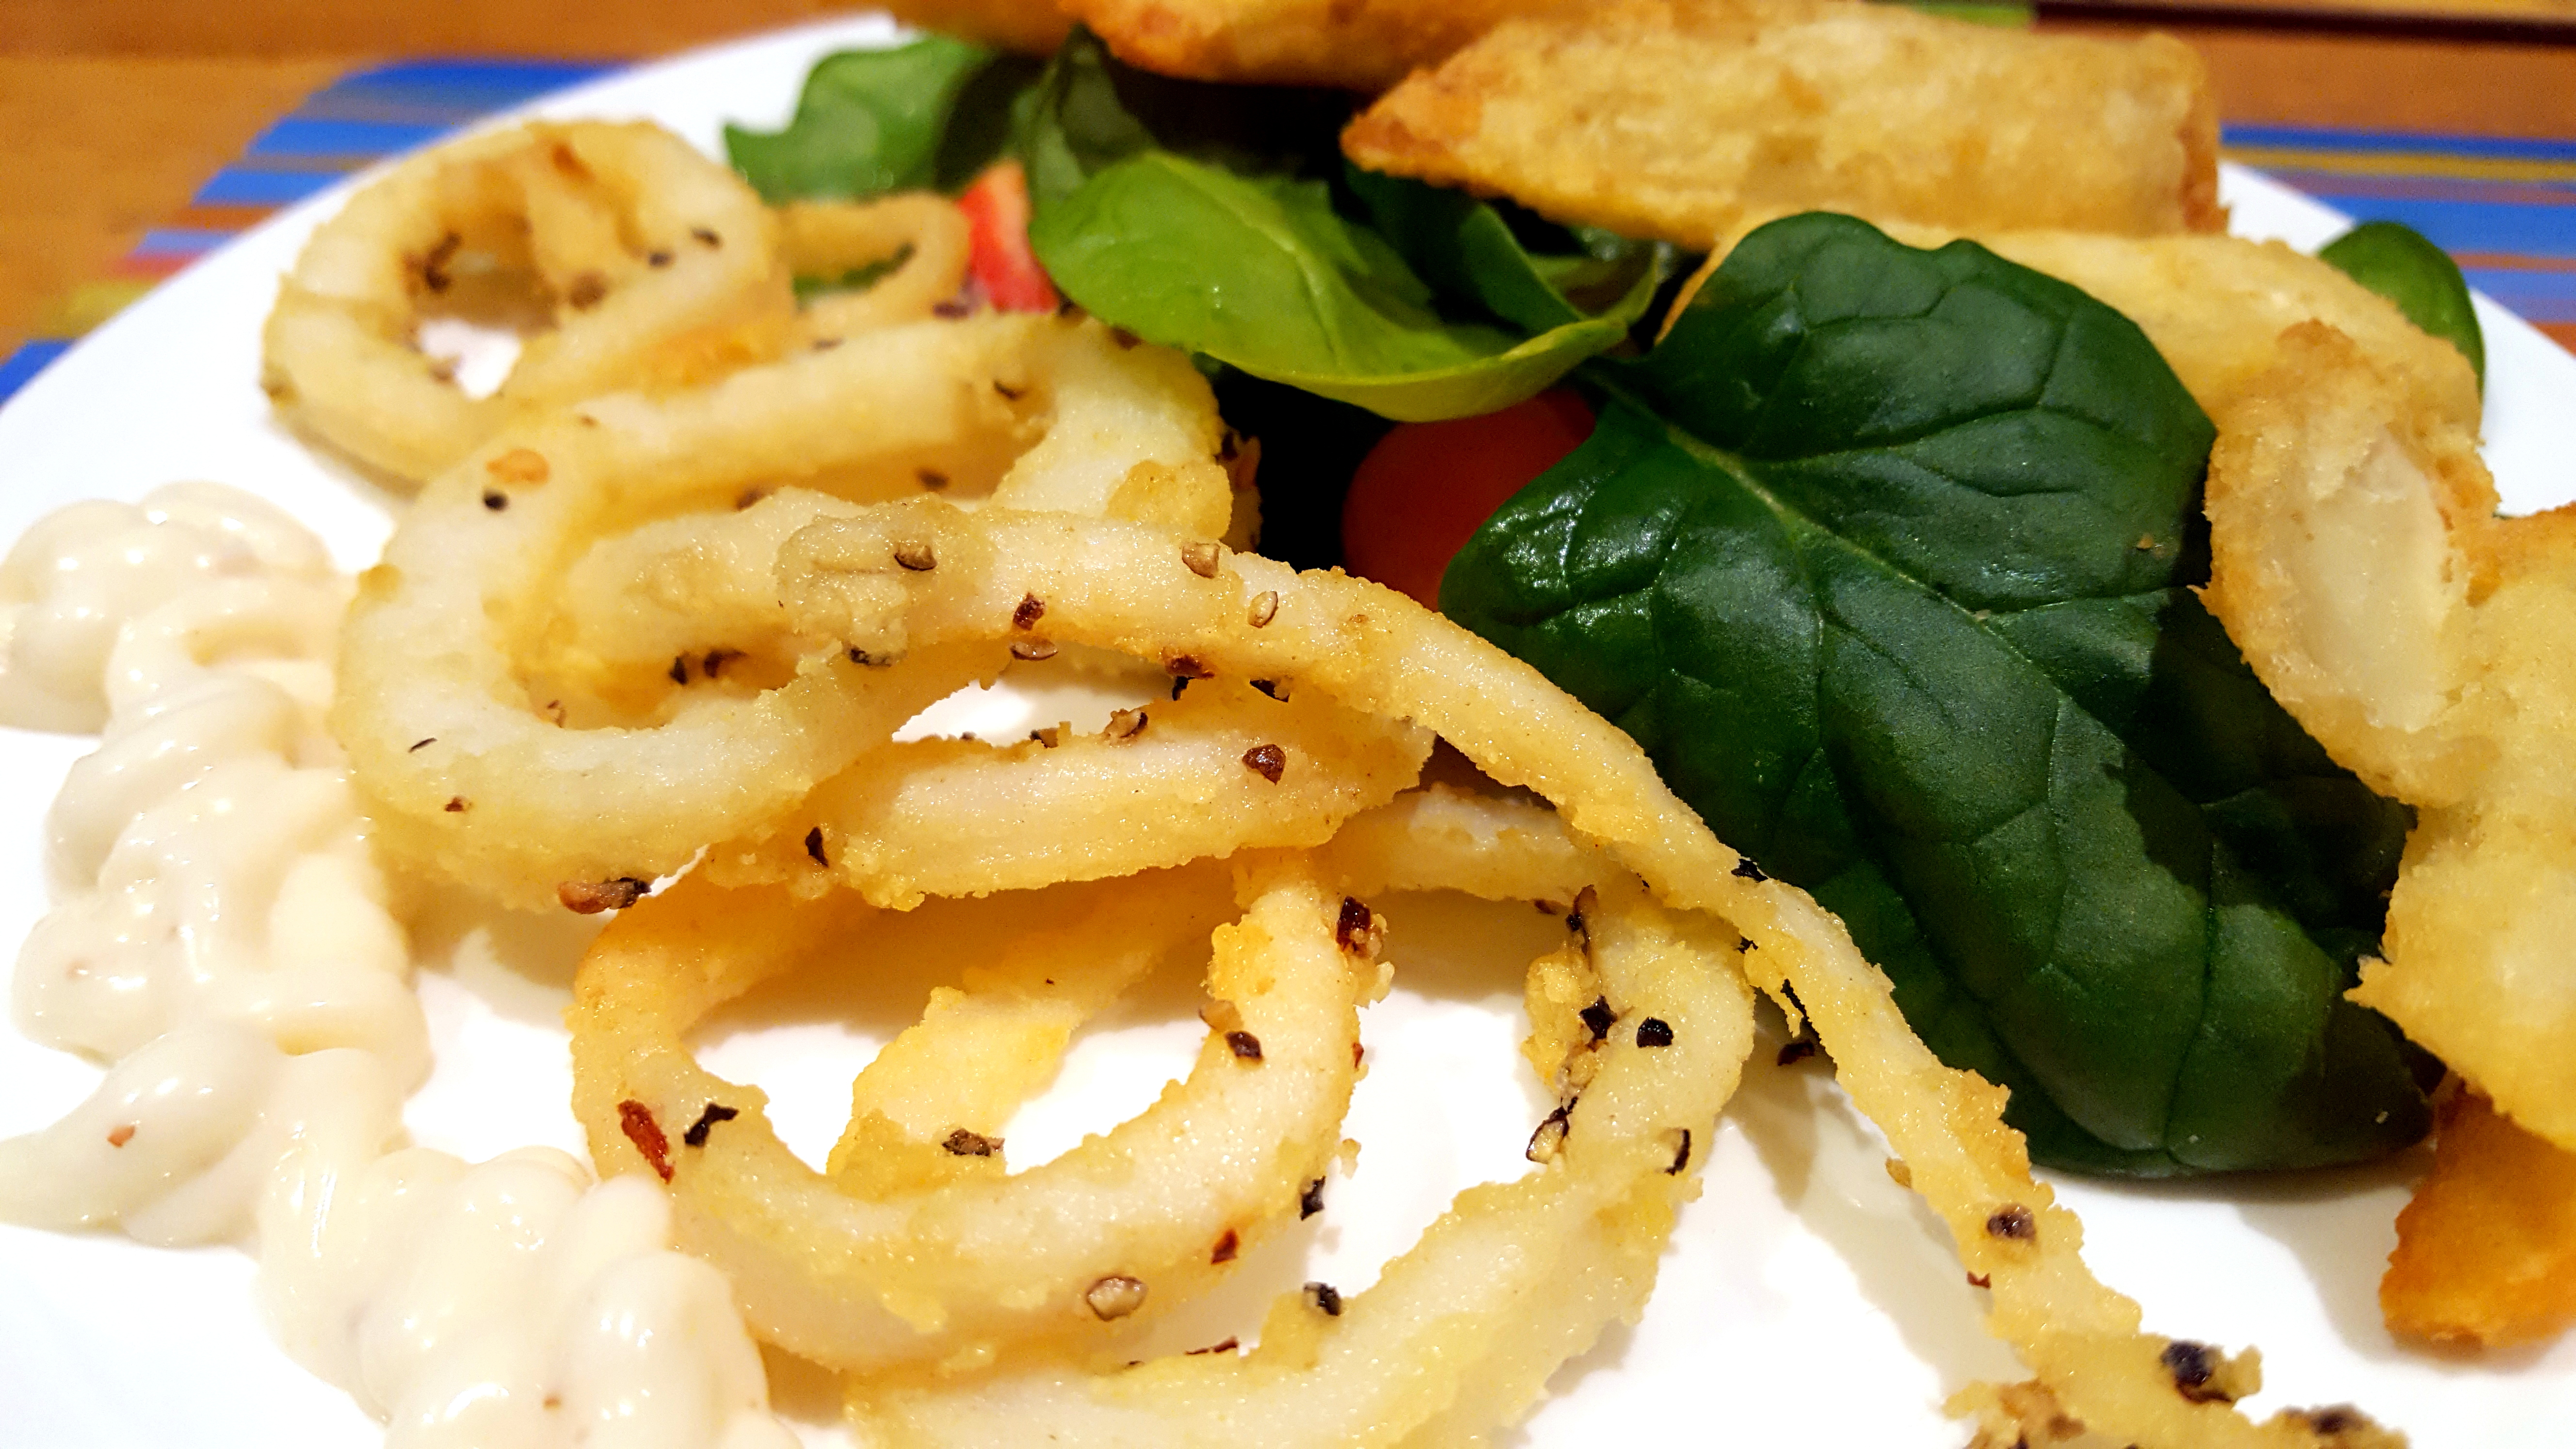
PK’s Salt N Pepper Squid Rings
A serve of salt and pepper squid rings is the perfect end to a long day on the water. It takes minutes to prepare and then you can go back to cleaning the rest of your catch :).
Best of all, this will be on your plate in 15 minutes.
You will be:
- Preparing your ingredients.
- Shallow frying the dusted rings.
- Serving.
You will need:
- Ingredients:
- a couple of clean squid hoods my (see Squid Preparation Tips)
- enough olive oil to allow you to shallow fry the rings
- 1/2 cup plain flour
- 1 tsp table salt
- 1 -2 Tbsp cracked black pepper
- ground chili to taste
- Equipment:
- a long sharp knife
- a chopping board
- a pair of tongs
- a fork
- a medium-sized mixing bowl
- a deep pan for shallow frying
Prepare your ingredients
- Cut your squid rings nice and thin.
-
Add to the mixing bowl:
-
1/2 cup plain flour
-
1 tsp table salt
- 1 -2 Tbsp cracked black pepper
-
optional chili to taste
-
- Give everything a good turn over with a fork.
- Add the squid rings to the bowl and (using your hands) toss the rings making sure the flour mix coats them inside and out.
Shallow frying the dusted rings
Get your olive oil to medium heat, remember it has a low smoking temperature, and shallow fry the rings in batches. Make sure you do them quickly so they don’t go chewy :).

Serving
Some creamy aioli, a green salad and some oven baked chips (and a cold beer) is all the squid rings need :).

Enjoy,
PK
YOU MIGHT ALSO LIKE
15 MINUTE MEALS
Please consider subscribing to a weekly email summary of our posts or check us out on Facebook @growitcatchitcookit.
[mc4wp_form id=”15771″]
Written by
·
-
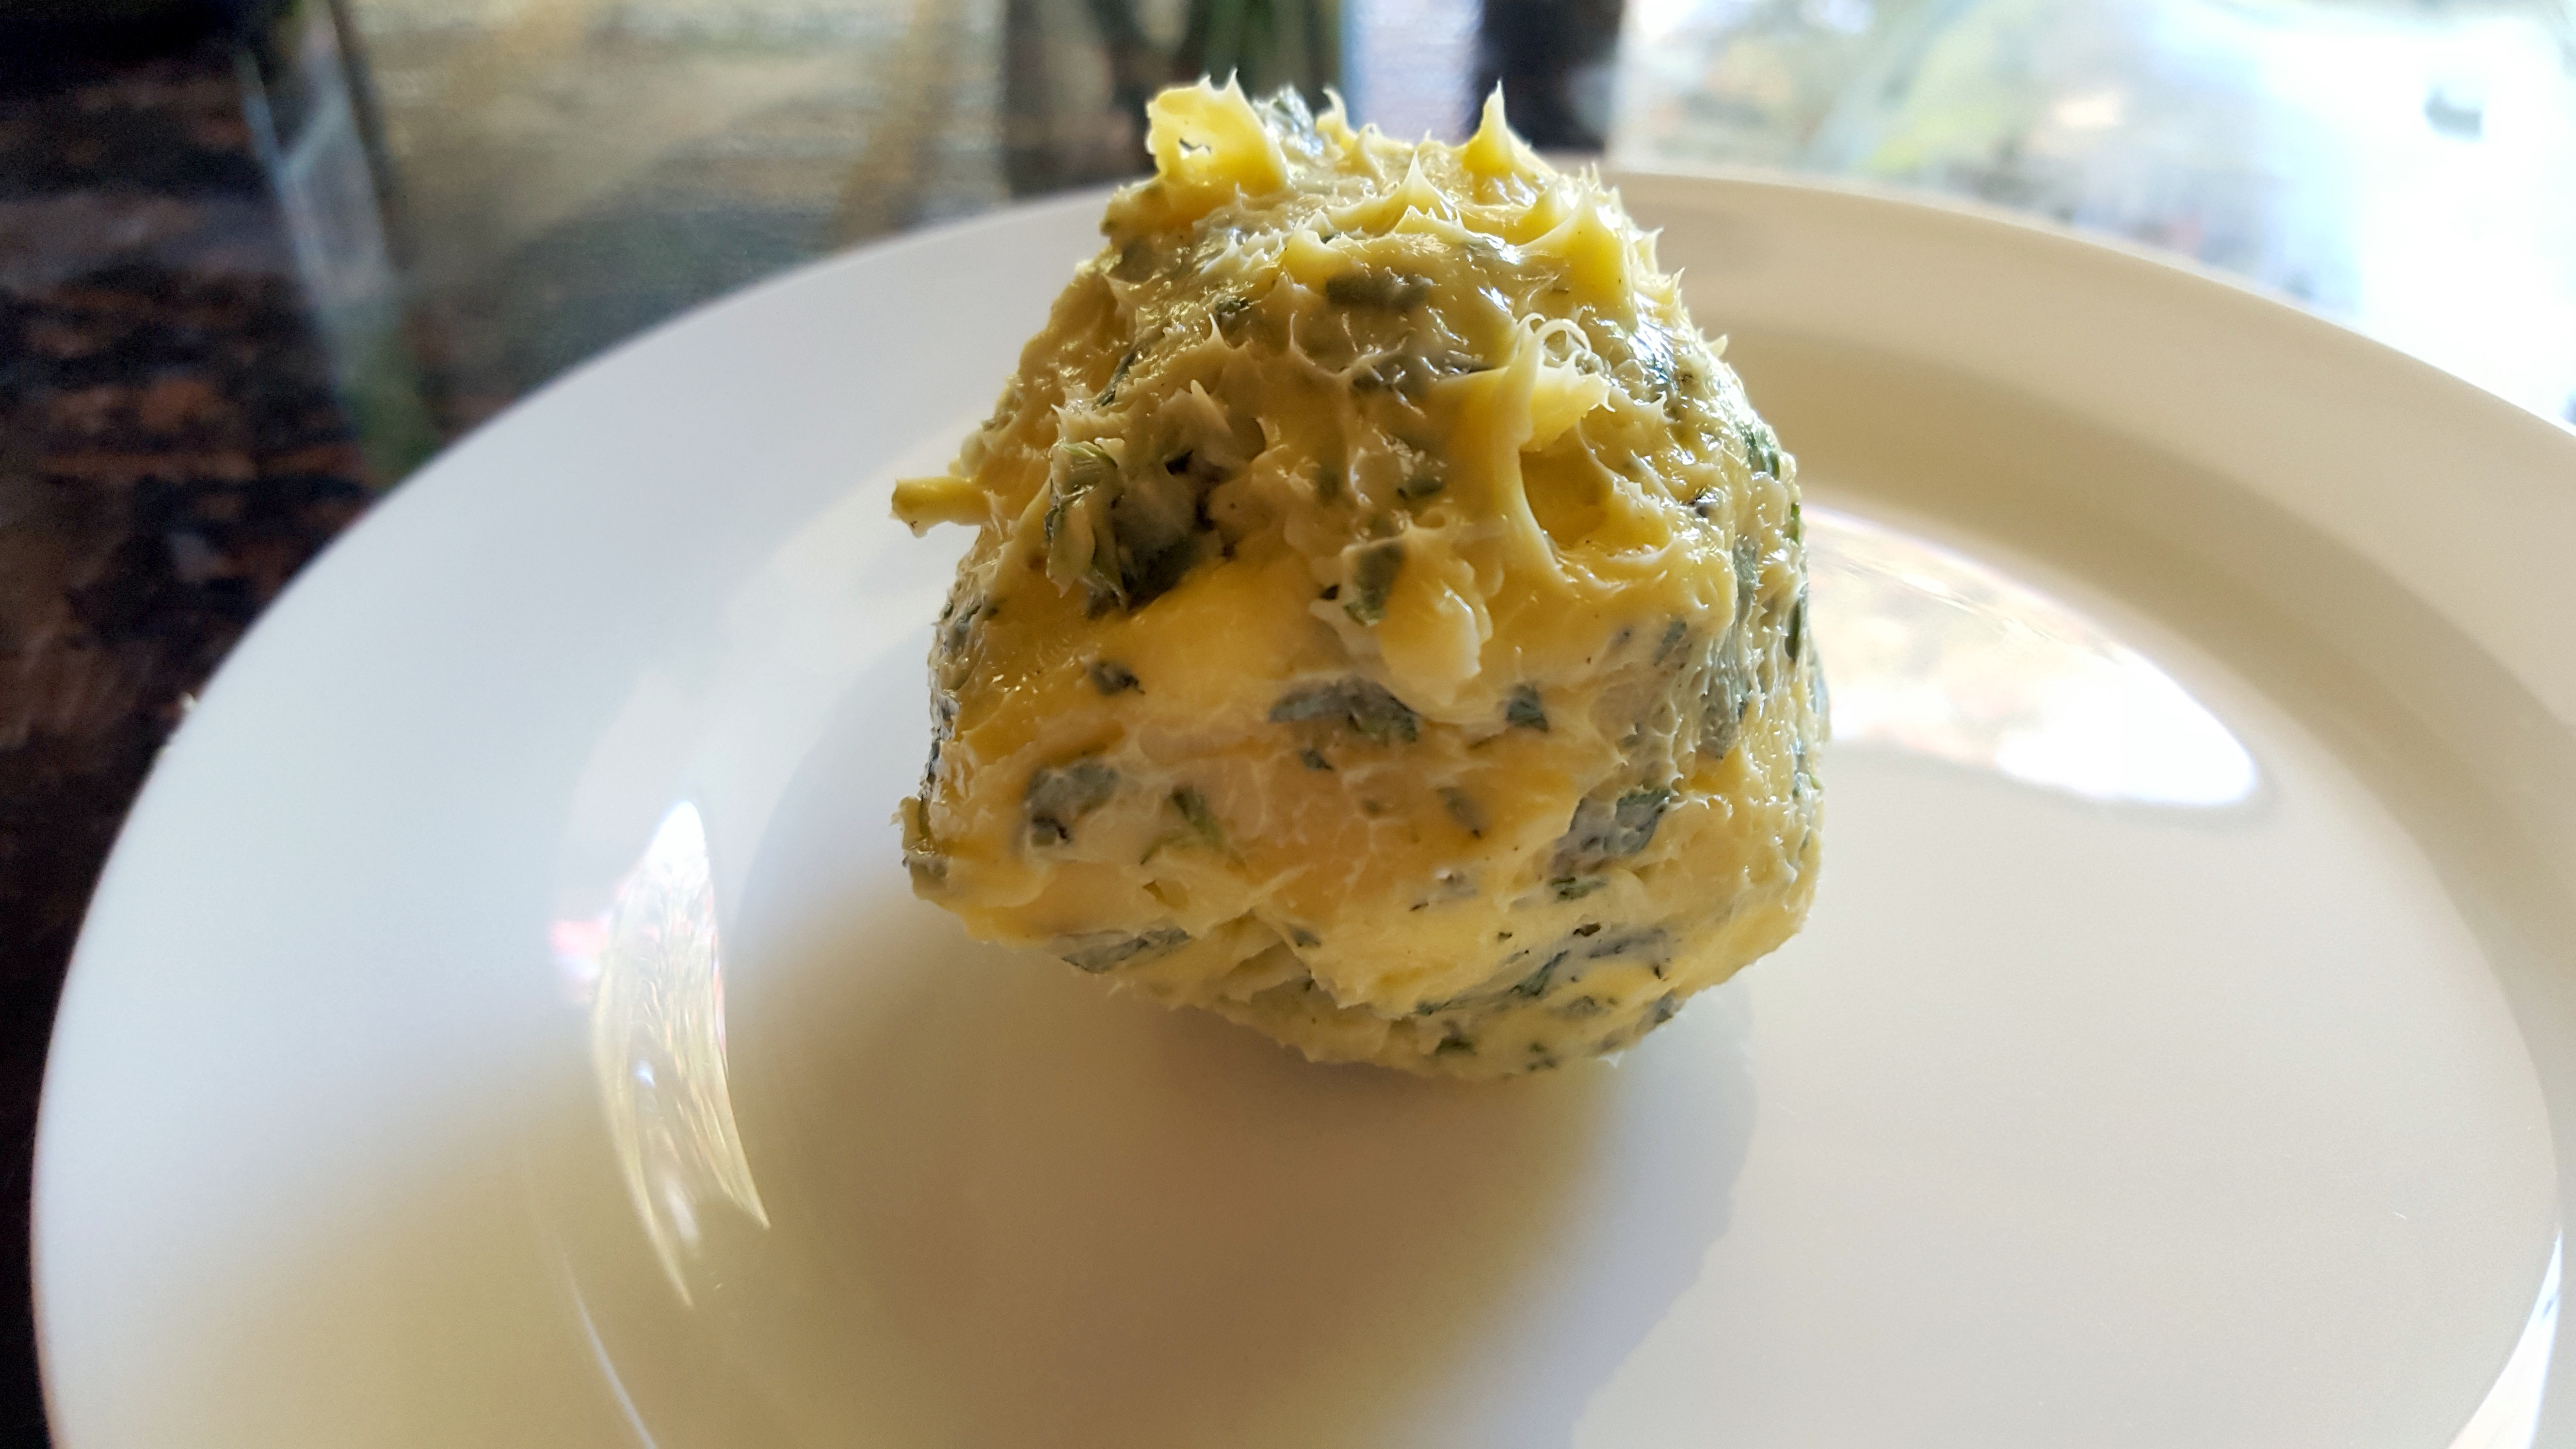
PK’s NoRecipe Sage and Thyme Butter
A really simple sage, thyme and parmesan flavoured butter that goes well with anything, especially chicken and seafood. I suppose it would probably keep for a while in the fridge but I have only ever made enough to use straight away.
Bring together your desired amount of butter or margarine or butter blend (perhaps 60 – 100g) and then add to taste:
- sage
- thyme
- pepper
- parmesan cheese (better yet Parmigiano-Reggiano)
I bring the butter to room temperature, in Australia that will make it pretty soft and workable very quickly during summer.
Finely chop the rest of the ingredients and fold them in.


Once I folded it all in, gently, I went all Baskin-Robbins style on it by mixing it some more on a clean counter top.

I then rolled it into a ball and chilled the whole lot again.

My serving suggestion 🙂

Enjoy,
PK
Written by
·
-
PK’s Sage and Thyme Butter
A really simple sage, thyme and parmesan flavoured butter that goes well with anything, especially chicken and seafood. I suppose it would probably keep for a while in the fridge but I have only ever made enough to use straight away.
Bring together your desired amount of butter or margarine or butter blend (perhaps 60 – 100g) and then add to taste:
- sage
- thyme
- pepper
- parmesan cheese (better yet Parmigiano-Reggiano)
I bring the butter to room temperature, in Australia that will make it pretty soft and workable very quickly during summer.
Finely chop the rest of the ingredients and fold them in.


Once I had folded it in I went all Baskin-Robbins style on it by mixing it some more on a clean counter top.

I then rolled it into a ball and chilled the whole lot again.

My serving suggestion 🙂

Enjoy,
PK
Related Links:
Written by
·
-
Ben’s Brining Tips
Ben is over-talented at growing plants and raising animals for meat so he had to become an expert in cooking and preserving too :).
Here he writes about brining meat:
The brine I make can be used on all meats, I regularly use it for seafood (particularly fish I intend to smoke), poultry (chicken, turkey) and pork. It’s important that the meat is not over brined, or it will become overly salty.
Also, you might notice that meat (especially chicken) goes darker than normal when cooking. Don’t panic if it looks a bit strange but do check the internal temperature of the meat.
It’s very important to remember that whatever ingredients you use, the meat will be soaking in it and taking it up. So avoid ingredients that have additives or preservatives. In particular, you must use non-iodised salt that does not have an anti-caking agent in it. For best results, i use natural sea salt and raw sugar.
The brine helps the meat to preserve moisture and flavour in the cooking process. You’ll notice for fish that at the end of brining there will be a lot of slime in the water. When cooked, the meat will be more flavoursome, more moist and fall apart easier. The brine does this by affecting the proteins of the meat (I don’t know how). PK said something about tightening them and that breaks them apart.
[word
Making the brine:
- Put enough water to cover the meat into a bowl. Dissolve salt in the water until a raw potato floats, and then add the same amount of sugar. At this point the brine is done. If you did nothing else you’ve brined your meat! This is where i will stop for seafood, but for other meats, read on.
- Add flavour. There is no end to what you can/can’t add, and no specific quantities. A general guide for poultry is mustard powder (2 tsp), star anise (generally 1 or 2 will suffice), smoked paprika (1 tsp), cayenne (1/2 tsp) and maybe some juniper berries (4-5).
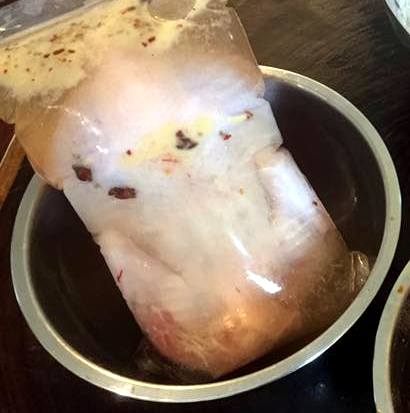
- Put the meat into a bowl or ziplock bag (I prefer the bag), cover with the brine mixture. If you’ve made too much brine, ensure the flavours are transferred (i.e. star anise and juniper berries). Make sure all the cavities are also filled with brine, and there are no air pockets
- Leave in the fridge over night (8-12 hours)
- Take it out of the brine, rinse off and pat dry (make sure you clean the sink down well after).
- Leave in the fridge so the skin dries and goes crispy
- Cook your meat however you like.

Enjoy the brine revolution,
Ben
Related Links:
Please consider subscribing to get a weekly email summary of our posts.
[mc4wp_form id=”15771″]
Written by
·
-

PK’s BBQ Western Rock Lobster With Garlic Butter
Seafood has an unfair advantage over other foods in the looks department. Even if you don’t like seafood you have to admit the colours and textures are eye catching. Nothing epitomises this more for me than lobsters and crayfish.
I am new to this seafood cooking business so this is the only way I know how to cook lobster. I am glad to say though that it did the massive Western Rock Lobster, caught by a friend of mine in the waters off Perth, proud.
This method is so easy, even if a fresh whole lobster looks a bit intimidating. Indeed, the first time I halved a whole one I wondered how to even get started :).
This is a great point scorer with my wife and I am also very happy that I get to make my garlic butter using ingredients from my kitchen garden.
STEPS:
- Halve the lobster
- BBQ time
- Serving
You will need:
- Ingredients:
- table salt to taste
- cracked pepper to taste
- enough garlic butter to coat the flesh side of lobster halves
- Equipment
- a long sharp knife
- kitchen scissors
- a chopping board
- a barbecue or frypan
Halve the lobster
Steps:
- Place the lobster right side up and, starting in the middle of the carapace, use a long sharp knife to cut the hard outer skeleton stopping at the start of the tail.
- Flip the lobster over, repeat the cut so that the body is sliced in half.
- Using kitchen scissors cut the tail’s hard outer skeleton length ways, first the top and then the bottom. This way you probably won’t break the intestinal tract and you can pull it out easily.
- Finish cutting all the way through the tail meat with the knife now.
- To be safe I scooped out all the tomalley (the gunky brown stuff in the head and body) and gave the halves a good rinse.
- I now cover the flesh side of the lobster halves with garlic butter, pushing it into all the nooks and crannies. Then I add lots of black pepper and a bit of salt.
I do the same thing if I am using just the tails:

BBQ time
Steps:
- Place the lobster halves flesh side up on a preheated medium flame grill.
- The garlic butter will start to sizzle and some of the flesh will start to go white. That is when I turn them over.
- When the flesh side is opaque white and looking chargrilled, whip them off the grill and serve immediately. You will need to experiment a bit to make sure they are not under cooked nor turned to rubber 🙂
Serving
As this was a massive beastie I simply served one half to each adult with a fresh green salad. It was perfect and I got to bank lots of brownie points.

I would love to hear how you cook lobster or crays or any improvements on the above.
Enjoy,
PK
Written by
·
-

I Caught A Squid, Now What?
My ideal fishing trip sees me catching a few squid for dinner. Shame that I am terrible at catching squid. I mostly resort to bartering a few table fish for them with my mates. That said, even a blind pig finds a truffle now and then :).
Written by
·
-
How To Prepare Freshly Caught Squid
My ideal fishing trip sees me catching a few squid for dinner. Unfortunately I am terrible at catching squid 🙂 . Occasionally I get lucky but mostly resort to bartering a few table fish for them with my mates.
These lovely looking squid rings came out of Owen Anchorage (just south of the port of Fremantle, Western Australia) on a recent fishing trip.
I want to share some of the tips I have picked up thanks to my mates and also a bit of experimenting in the kitchen.

On the boat
We all want to avoid being covered in black goupy squid ink when retrieving squid into the boat. Let the squid have a few squirts in the water whilst still on the jig. If you have a net, scoop it under the squid and let the net contain the ink squirts. Once they have calmed down a bit bring them on board.
I was recently given two tips that not only stop the squid from inking the inside of your eski (and the rest of your catch) but also treat the squid humanely.
Tip 1 – Take a knife and spear the squid behind each eye. This will instantly kill them and you know you have done it right when the squid completely turns white. Here is some more information on the technique https://en.wikipedia.org/wiki/Ikejime.
Tip 2 – Pop any squid you have caught in a plastic bag before adding them to the eski. I reuse the plastic bag on several fishing trips, cleaning them after each use.
Cleaning
My friends have been testing the use of scaling bags, towed behind the boat at slow speeds, to clean their squid catch. These pictures were taken after only a few minutes using the bag and the results are even better if you leave it out longer. You can see the hoods are nice and clean and the skin and wings have been removed.
My brother in law has also given me a few tips for cleaning squid the old fashion way.
Tip 1 – Work your thumb into the hood and work the cuttlebone (it runs the length of the hood) loose with your thumb until the whole lot comes out in one piece. This way you won’t (hopefully) break the ink sac when you pull the head and tentacles out of the hood.
Tip 2 – If there are some ink stains and like me you want nice clean squid rings, don’t bother trying to fight the whole hood. Nor do you have to attempt the near impossible task of turning it inside out to clean it. Simply cut the hood into several pieces, each as long as your thumb. This makes them easier to clean under the tap but still allows you to make nice thin rings later.

I pop the head, tentacles and wings into a snap-lock bag. Now frozen, they are ready for the next fishing trip as bait or berley/chum.
Tip 3 – I also freeze the rings before I cook with them as I have it on good authority that this will help make them tender due to the freezing process breaking down the fibers.
Once coated in an egg batter and Panko breadcrumbs (or a salt, pepper and flour dry coating) they will shallow fry quickly for that melt in your mouth texture.
Enjoy,
PK
Here are some squid and seafood posts:
Written by
·