Tag: butter
-
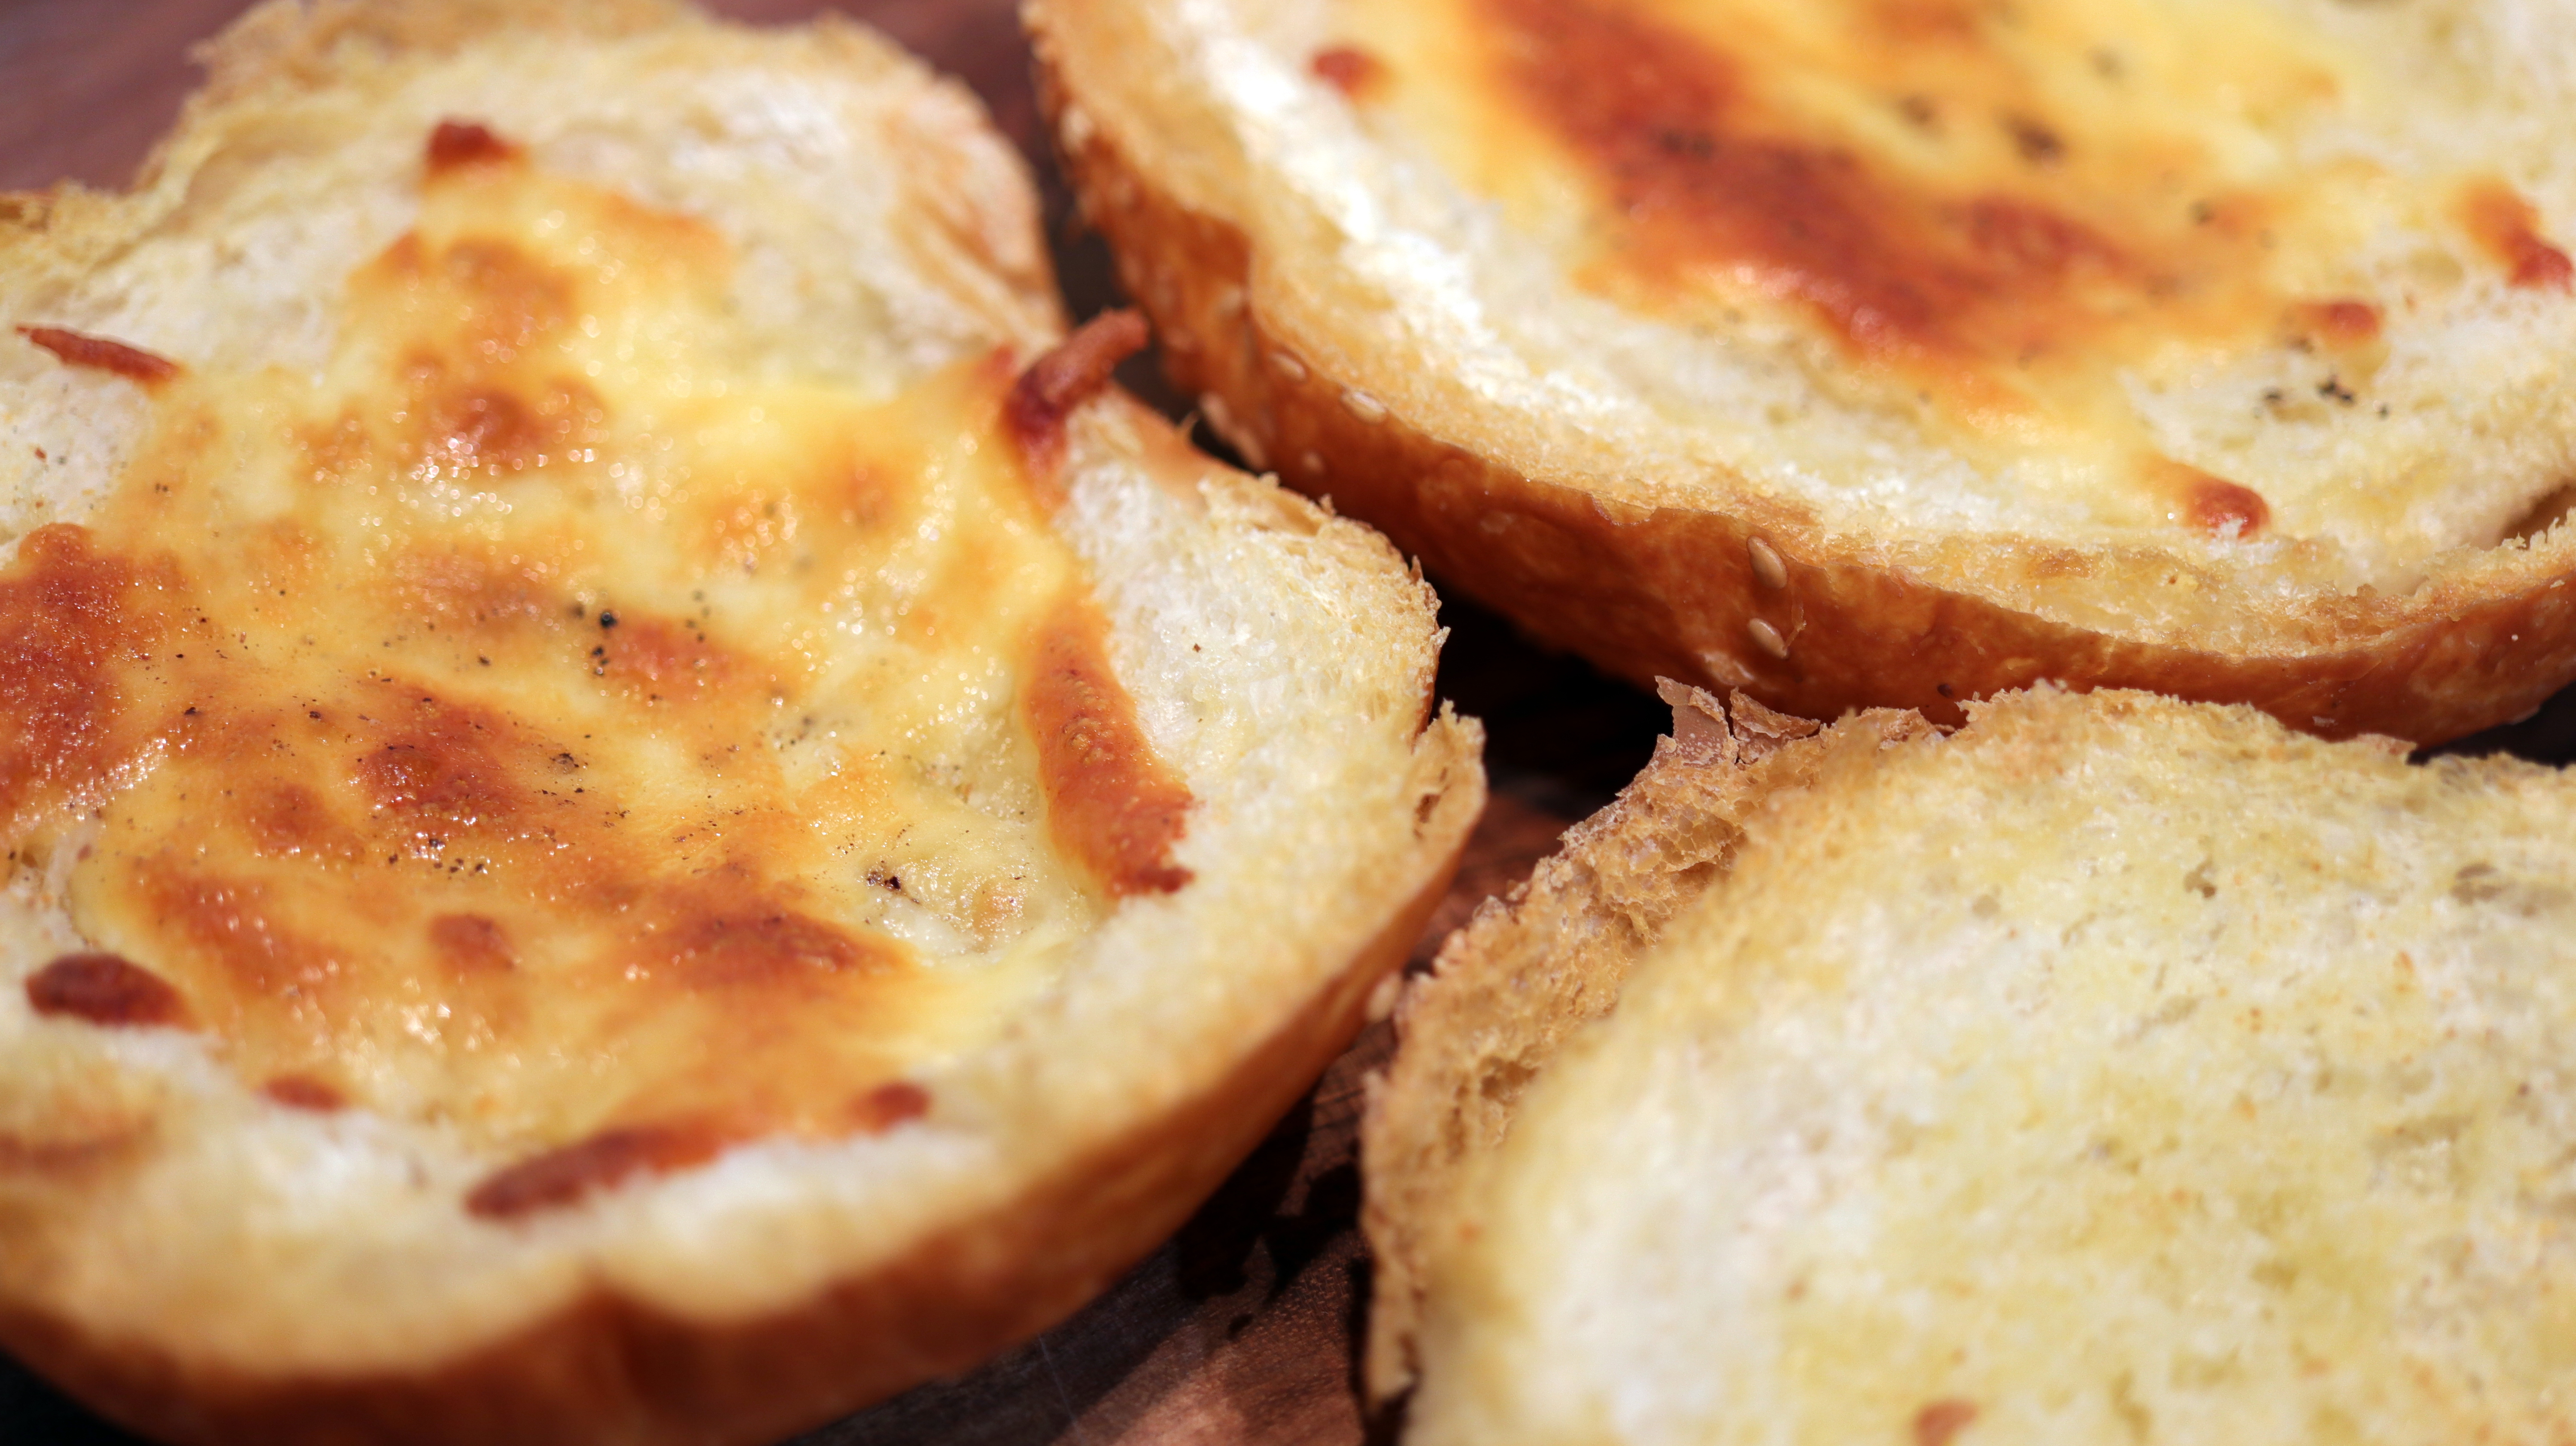
Homemade Garlic Bread
I had a hankering for garlic bread the other day. When I went to the freezer to see if we had some in I came up empty handed however.
I did a quick google and there were a lot of posts using bread, ground garlic and butter. So easy and the result was perfect. I will never buy frozen garlic bread again. 🙂
For the perfect garlic bread simply butter slices of bread and sprikle them with garlic powder.

Then pop them on an oven tray and into an oven on 210 C for about 10 minutes or until golden brown.

You can even add cheese!

Perfect with some spaghetti carbonara.

Enjoy,
PK

If you liked this post you might like these too. 🙂
Bread:
More Italiano (yes I know garlic bread is American haha)
Written by
·
-
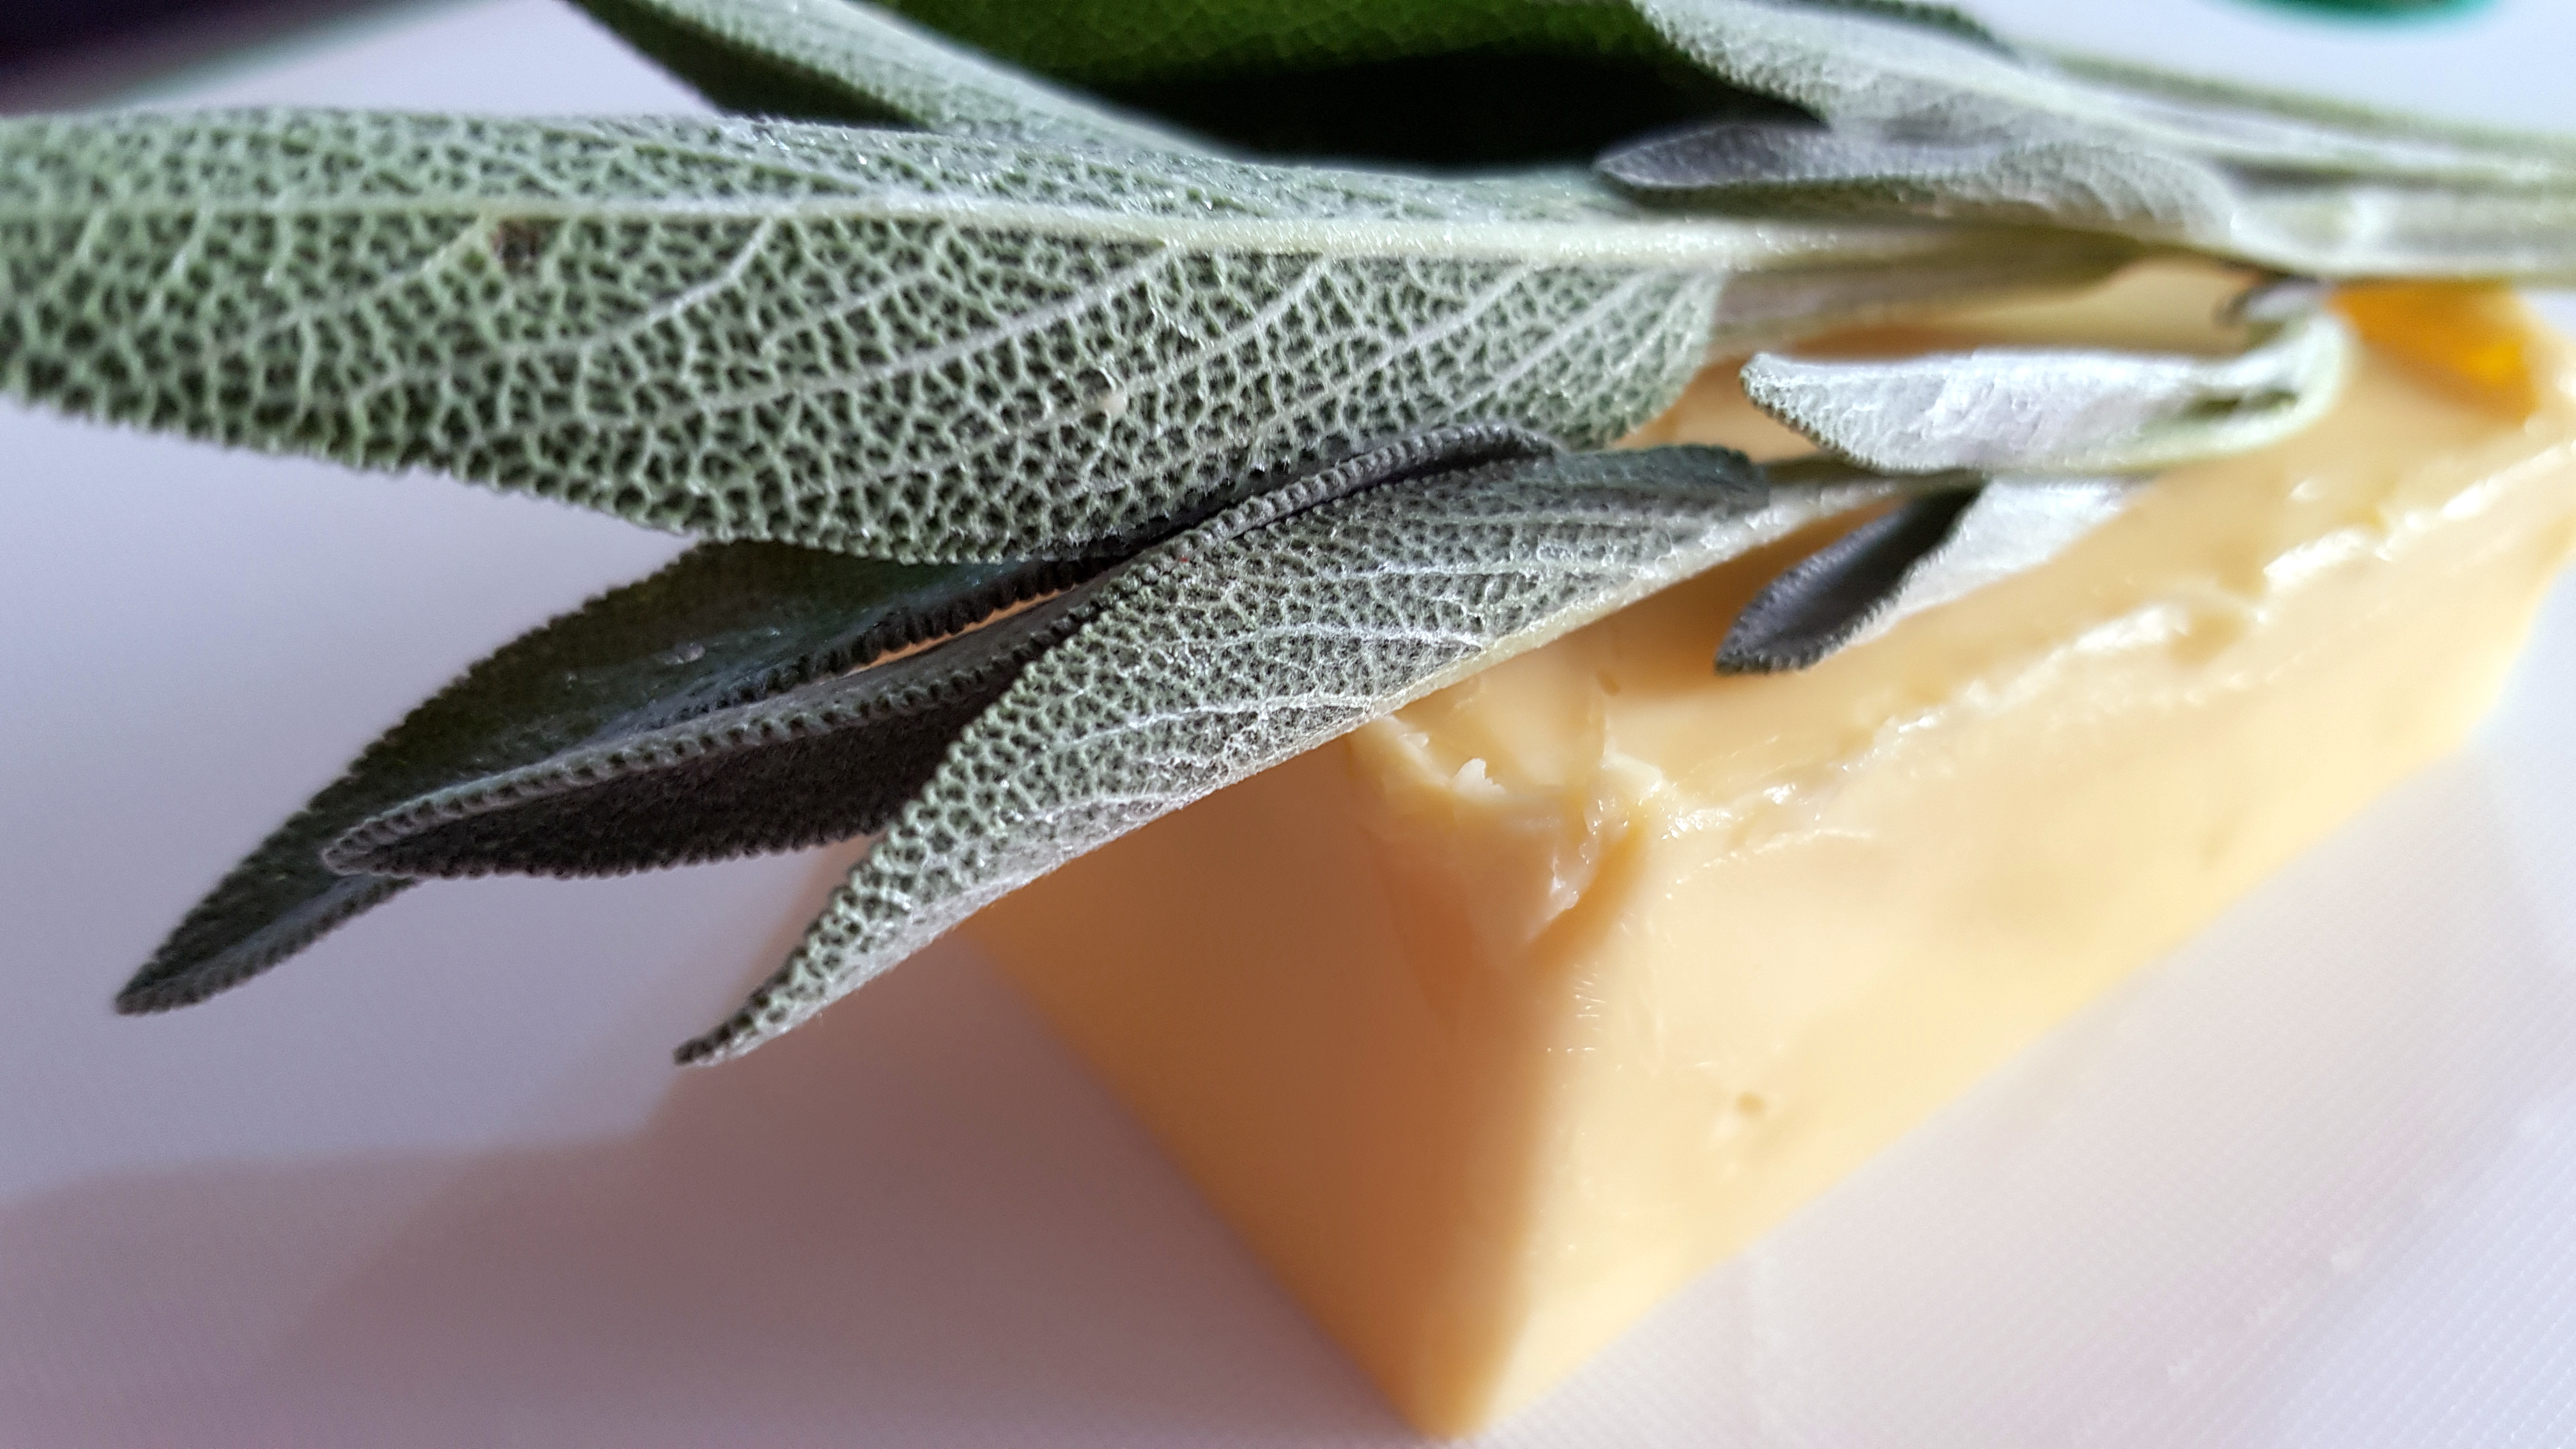
How To Make Browned Butter Sauce
Browned butter sauce has a caramel/nutty flavour and I think the addition of sage works just as well for seafood, pasta, chicken and beef.
The pleasure of watching and smelling this sauce cook is sublime. The stages are so clear that they belie the difficulty level. When you get it right for the first time you will be pretty chuffed with yourself.
🙂
Notes:
- It is so easy to burn this sauce so don’t get distracted like I do
- Keep the sauce moving slowly the whole time after the milk fats and proteins separate (see below)
- I make it ahead of schedule so I don’t have to stress
- You will quickly learn if you have cooked it too long and can adjust for next time
You will be:
- Heating on medium
- Heating on low
- Cooling
You will need:
- Ingredients:
- 200g of pure butter (ie not a blend)
- sage leaves to taste
- Equipment:
- a sauce pan
- a small whisk
Heating on medium
Start melting the butter on the hob over a medium heat.

You will start to see the milk proteins and fats make two distinct layers

Next, the water content of the butter will begin to boil away. Keep stirring slowly now.

This is what it looks like after that happens.

Heating on low
Now turn the hob down to low and add the sage leaves.

After a while parts of the sauce will start to brown. Keep stirring slowly.

You can test if it i ready by spooning some onto a white surface. Perfect 🙂

Cooling
I pour it into another vessel to cool down, stirring every now and again. At this point you can tell if it was on the heat too long and adjust accordingly next time you make the sauce. You want nutty not acrid.

Enjoy,
PK
Related Links:
- see all recipes using butter here
- see more sauces and condiment posts here
- see more French cooking posts here
Please consider subscribing to get a weekly email summary of our posts.
[mc4wp_form id=”15771″]
Written by
·
-

FoodHack: Bacon Cooked In Butter
Lots of people have strong opinions about not using butter when cooking bacon. However there so many ways to cook ‘perfect bacon’ that I might manage to stay out of trouble. Maybe 🙂 .
Last night I was in a rush so although I started cooking these bacon bits with just their own fat, I added a smidge of salted butter at the end to give them a nice red colour.
I waited to the end because the butter would have burnt if used from the start.

Enjoy,
PK
Related Links:
- See more FoodHacks here
Written by
·
-

FoodHacks: Microwave Mashed Potato
Here is another little trick you can use if your kitchen doesn’t have a hob or perhaps you need mashed potato in a hurry :).
Take a large potato, give it a scrub and poke a bunch of holes in it with a fork. Wrap it in a few pieces of paper towel so you have a tube shape.

Pop this in the microwave and give it about 3 minutes (adjust this time for your microwave). This will make the bottom half of the potato nice and soft. Flip the tube over and cook for another 3 minutes.
Take the paper towel off the potato (which will be very hot), pop the potato in a bowl and then cut into it with a knife.

A bit of butter, pepper and some mashing and you will have fluffy mashed potato.

Enjoy,
PK
Related Links:
- See more FoodHacks here
Written by
·
-
How To Make Mashed Potato In The Microwave
Here is another little trick you can use if your kitchen doesn’t have a hob or perhaps you need mashed potato in a hurry :).
Take a large potato, give it a scrub and poke a bunch of holes in it with a fork. Wrap it in a few pieces of paper towel so you have a tube shape.
Pop this in the microwave and give it about 3 minutes (adjust this time for your microwave). This will make the bottom half of the potato nice and soft. Flip the tube over and cook for another 3 minutes.
Take the paper towel off the potato (which will be very hot), pop the potato in a bowl and then cut into it with a knife.
A bit of butter, pepper and some mashing and you will have fluffy mashed potato.

Enjoy,
PK
YOU MIGHT ALSO LIKE
MORE POTATO DISHES
MORE NORECIPE GOODNESS
Please consider subscribing to a weekly email summary of our posts or check us out on Facebook @growitcatchitcookit.
[mc4wp_form id=”15771″]
Written by
·
-
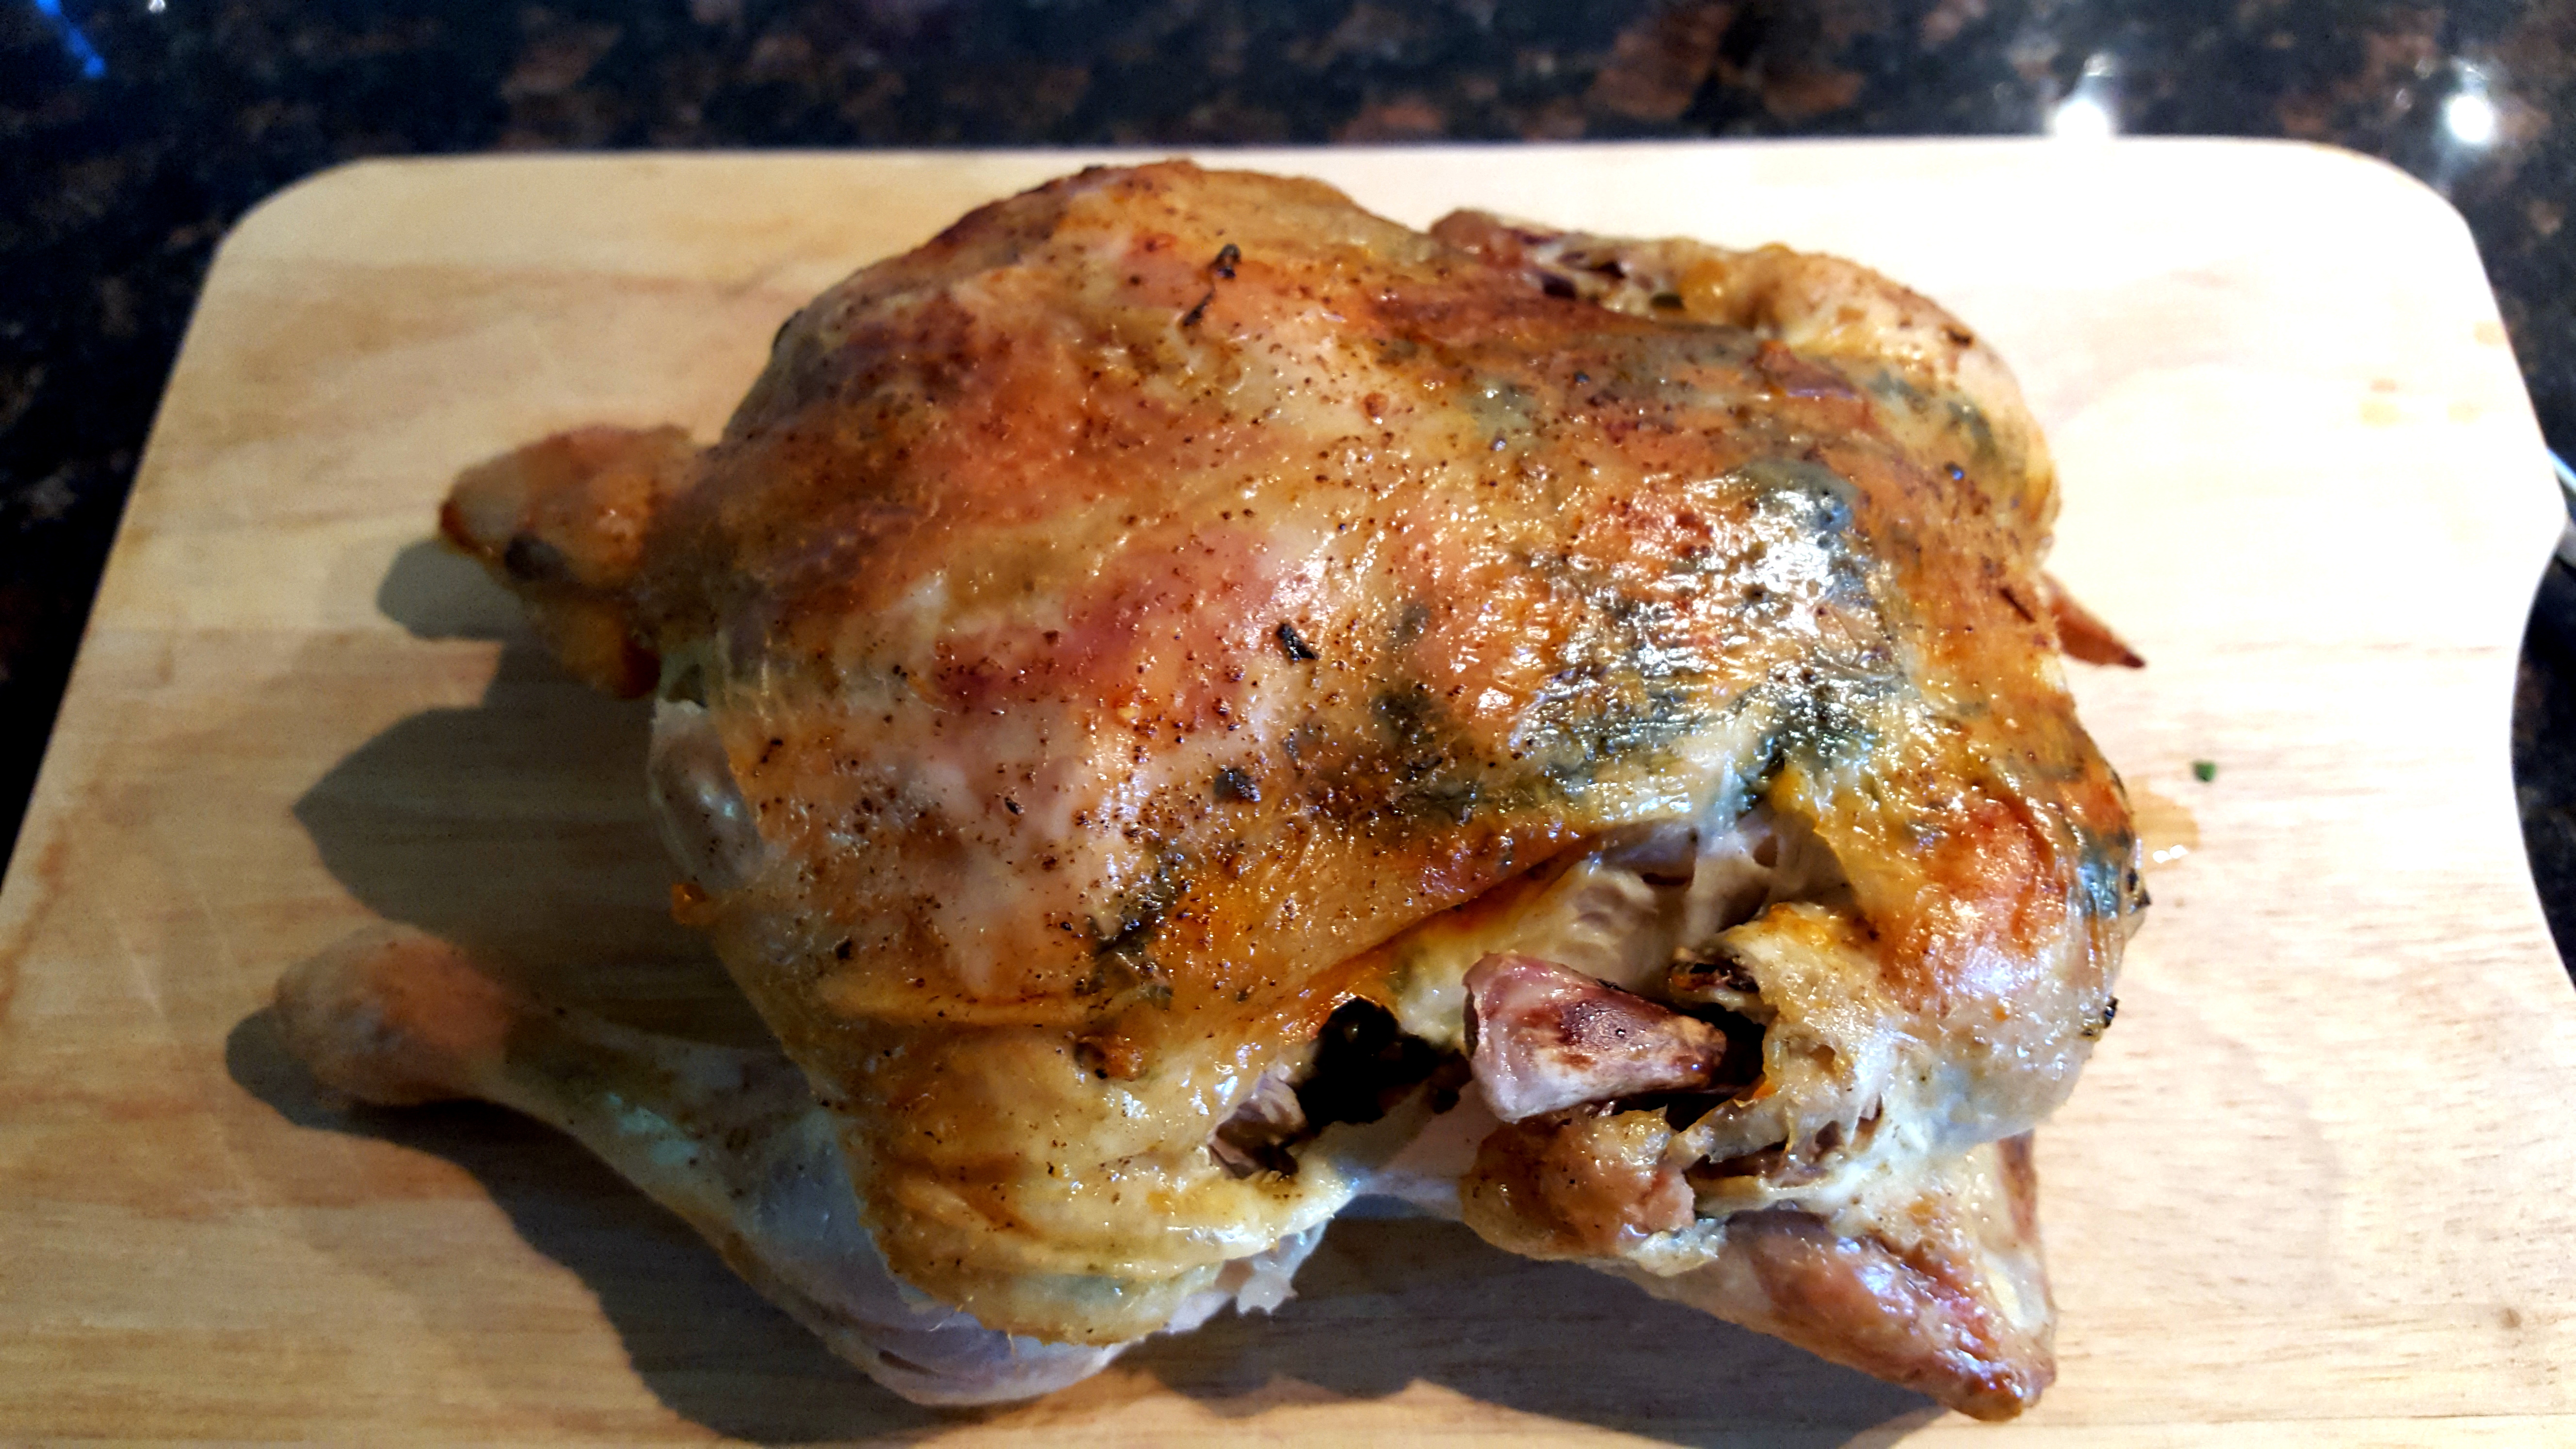
PK’s NoRecipe Butter Stuffed Skin Roast Chicken
Wow! This method of cooking a roast chook is probably not going to get the heart foundation tick any time soon but it is off the charts tasty.
Lot’s of recipes on the internet use this method and I am simply combining it with my favourite stuffing mix of garlic, onion, italian herbs (such as savory and thyme) and a lemon or lime.

Carefully work the skin away from the meat, starting at the breasts then around the legs and under the wings, so that you can stuff butter or garlic butter into the gap. Try not to break the skin but it doesn’t matter to much if you do. Work butter into the outside of the skin too and season with pepper and salt to taste.

Rough chop the onion, garlic and herbs then stuff this mix along with a lemon into the cavity.

Pop the chicken into a covered oven pan and then into a fan-forced oven (preheated to 180C) for about 1.5 hours.

You should cook to temperature though and not time. Based on my Urban Griller temperature fridge magnet, I check that my roast chickens have an internal temperature of 83C.

You can also make your own gravy using the juices from the pan. Take the wing tips off the roast chicken and add to the pan. Throw in a bit of corn flour and whisk.

Serve on a bed of mash potato and sides of steamed vegetables. The glass of red is optional :).

Enjoy,
PK
Written by
·
-
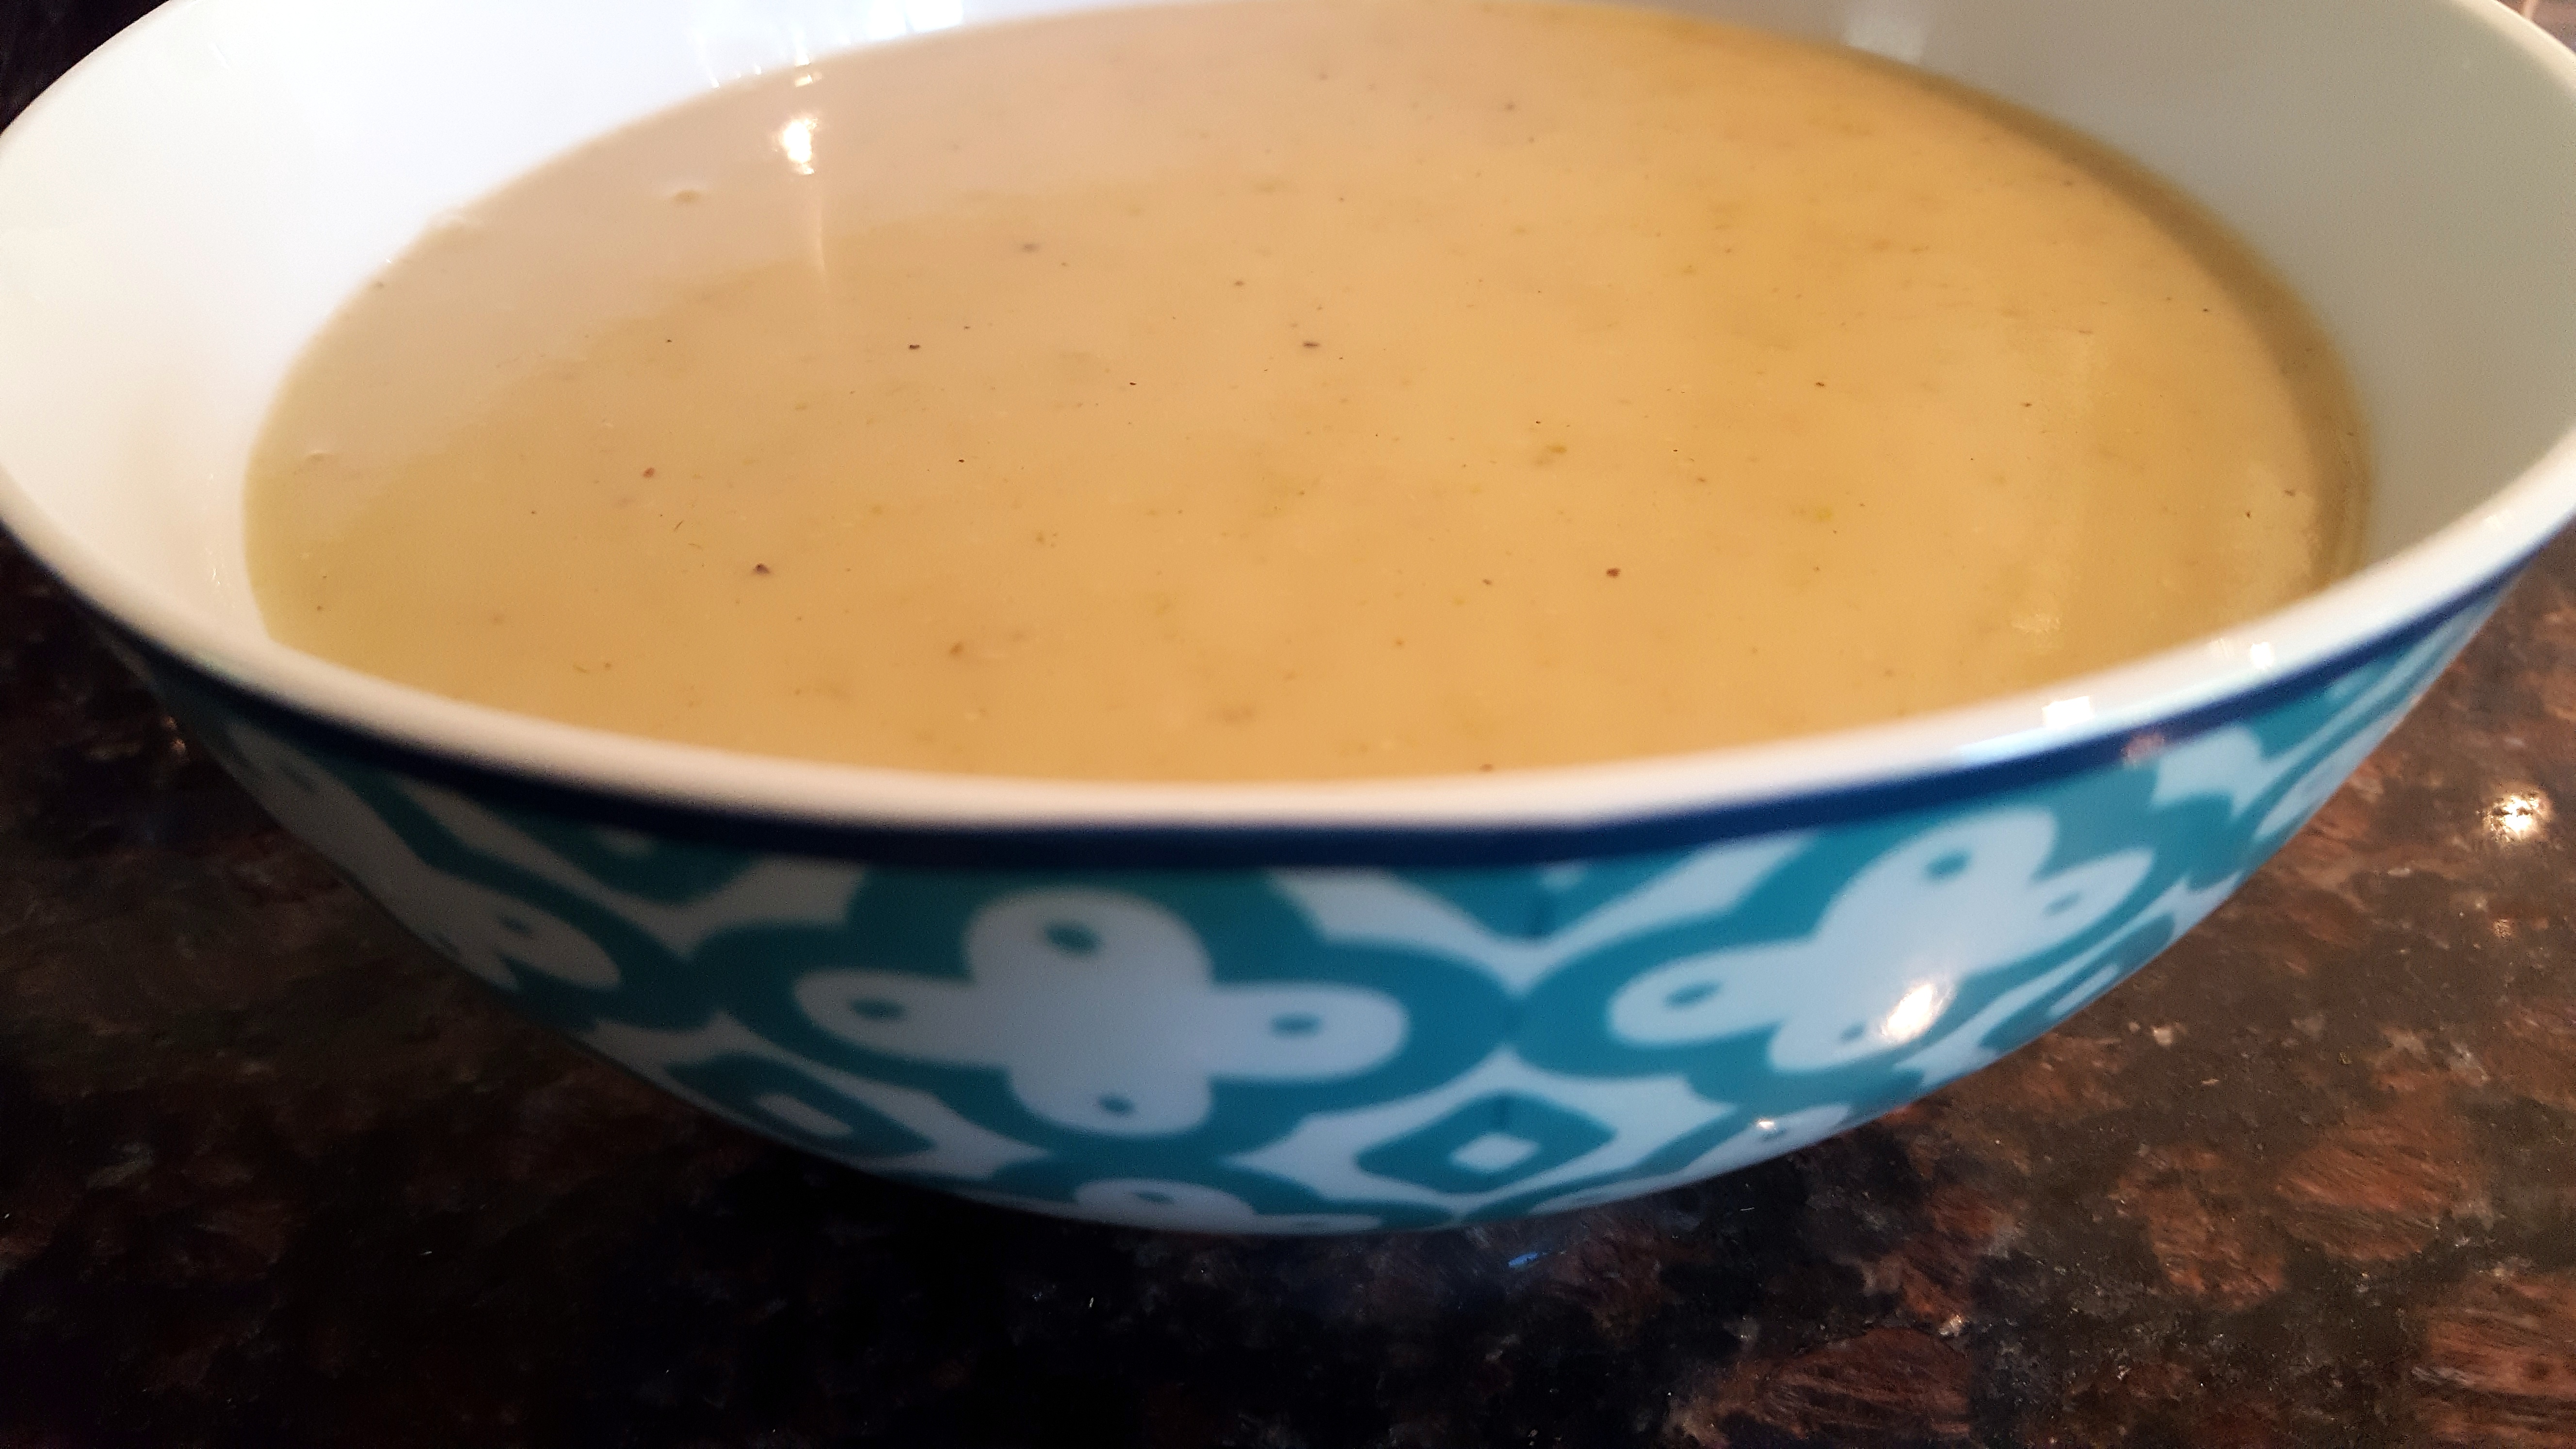
PK’s NoRecipe Potato and Bacon Soup
I love Potato and Bacon soup and make it in large batches primarily for a mid morning work snack. This saves me lots of money and I know I am eating healthily. The only salt is from the bacon and the salted margarine/butter blend.
I add a few additional fresh ingredients to suit what is growing in my kitchen garden at the time. Below I added lots of chives as I have an excess at the moment.
The basic idea though is that you sauté onion, bacon and potato in butter or olive oil until they are parboiled. You then add your liquid of choice to cover everything and bring to the boil. Then leave it simmering until the potatoes are cooked. You can leave it chunky but I generally blend it at this point and add a bit of milk to the portion I am not freezing.
Hot Tip: If you are blending it and the result is too thick, add very small amounts of boiling water, stir and then taste again. I do this until I get a balance between taste and consistency.
Below I used some of my home-made chicken stock that I made using bones from a roast chicken I did in my Weber charcoal BBQ (not my slow cooker version). This stock imparted a beautiful smokey flavour.
Sweat the vegetables:

Add liquid to cover, boil and then simmer until potatoes are cooked:

Blend and serve:

Hope you like it,
PK
Written by
·
-
PK’s Potato and Bacon Soup
I love Potato and Bacon soup and make it in large batches primarily for a mid morning work snack. This saves me lots of money and I know I am eating healthily. The only salt is from the bacon and the salted margarine/butter blend.

I add a few additional fresh ingredients to suit what is growing in my kitchen garden at the time. Below I added lots of chives as I have an excess at the moment.
The basic idea though is that you sauté onion, bacon and potato in butter or olive oil until they are starting to soften. You then add your liquid of choice to cover everything and bring to the boil.
Then leave it simmering until the potatoes are cooked. You can keep it chunky but I generally blend everything at this point and add a bit of milk to the portion I am not freezing.
Hot Tip: If you are blending it and the result is too thick, add very small amounts of boiling water, stir and then taste again. I do this until I get a balance between taste and consistency.
Below I used some of a beautifully smokey home-made chicken stock that made use of the remains of a roast chicken I did in my Weber charcoal BBQ (not my slow cooker version).
Sweat the vegetables:

Add liquid to cover, boil and then simmer until potatoes are cooked:

Blend and serve:

Enjoy,
PK
YOU MIGHT ALSO LIKE
MORE POTATO DISHES
MORE NORECIPE GOODNESS
Please consider subscribing to a weekly email summary of our posts or check us out on Facebook @growitcatchitcookit.
[mc4wp_form id=”15771″]
Written by
·
-

Giuseppe’s Flourless Chocolate Cake
Gus isn’t claiming this is his own recipe but he baked this awesome flourless cake and I asked him if I could share the recipe with you. You should have seen my toddler’s eyes when he tasted it.
Gus said it was really easy to make (I think he is too modest) but he has a hot tip for the candied orange peel. Never leave candied orange on the burner and get distracted. It doesn’t end well for the pan nor the hob :).

Steps
- Baking the cake.
- Making the candied orange topping.
Ingredients
- 180g dark chocolate
- 160g unsalted butter
- 200g almond meal
- 150g caster sugar
- 5 eggs
- 1 large orange
- 1/2 cup water
- 1/2 cup raw sugar
Equipment
- 1 bowl to melt the butter and chocolate (or a saucepan)
- 1 bowl for the egg whites
- 1 bowl for the egg yolks
- 2 whisks
- 1 springform cake tin (about 25 -28 cm)
- 1 chopping board
- a peeler or citrus zester
- a long sharp knife
- a small saucepan for the orange peel
Steps:
Baking the cake
- Heat your oven to 160°C.
- Melt the dark chocolate and butter and mix together, set aside.
- Separate the eggs and in one bowl beat whites until firm peaks form.
- Beat yolks & caster sugar until pale & creamy in another bowl.
- Add slightly cooled chocolate mixture to the egg yolk mixture, fold in gently.
- Add almond meal to this mix, fold in.
- Fold in beaten egg whites, in 2 or 3 lots folding in gently. Tip: always add beaten egg whites in small batches, these add air and support the mix as there is no yeast to leaven the mix. You will find the last lot of egg whites will fold in easily and not have all the air swished out.
- Line the base of a springform cake tin with baking paper, grease base and sides with butter.
- Pour mix in and bake for about 40 min. It should be moist inside with a thin crust that will form cracks.
Making the candied orange topping 🍊
- Wash the orange well.
- Using a vegetable peeler, peel orange, try not to take the white pith. Just get the peel.
- On a board cut the peel strips as thin as possible (this is the time consuming part) but they can be as large as you like.
- In a small saucepan mix equal parts of water and sugar, I usually do half cup of each.
- Heat to dissolve sugar and then add the sliced orange peel.
- Allow to boil and then turn heat down to a simmer.
- Allow to simmer gently for about 30-40 min, liquid will evaporate. I usually add a little more water2 or 3 times while simmering.
- When you are happy it’s “candied” enough take off the heat, allow to cool slightly, it will be very hot and I have learned this the hard way from trying to taste the syrup :).
- Place candied peel on cake. You can also pour the remaining syrup over the cake, it will have a nice orange flavour
Enjoy,
😊
Gus
YOU MIGHT ALSO LIKE
MORE VEGETARIAN , GLUTEN-FREE INGREDIENTS AND MEALS
Please consider subscribing to a weekly email summary of our posts or check us out on Facebook @growitcatchitcookit.
[mc4wp_form id=”15771″]
Written by
·
-

PK’s Fettuccine Chicken Alfredo
Fettuccine Alfredo is a pasta dish made from freshly made fettuccine tossed only with Parmigiano-Reggiano and butter.
This was my first attempt at making it and I wanted to make the sauce from scratch. I chose this ‘food network’ recipe as a base to experiment from and the results were simply amazing. The addition of 2 cups of heavy cream might have had something to do with this :).

I used an Australian made Parmesan rather than certified Parmigiano-Reggiano which is only made in one of several regions in northern France. I certainly will be using it next time for a comparison. [ edit – I did 🙂 ]
Similarly, although I used San Remo Brand’s Traditional Egg Fettuccine No 77 and thought it an excellent product, I am going to be making my own fettuccine next time. [ edit – I did 🙂 ]
You will be:
- Boiling the pasta.
- Cooking the bacon and chicken.
- Making the alfredo sauce.
- Combining everything and serving hot.
You will need:
- Ingredients:
- a couple slugs of olive oil
- 225g fettuccine
- 2 chicken breasts, skin off, cut into thin but wide slices (see photos below)
- a handful of bacon rashers, finely chopped
- 8 Tbsp butter
- 2 cups heavy cream
- ground rock salt and ground black peppercorns to taste
- ground nutmeg to taste
- a very small handful of oregano, chopped
- 1.5 cups Parmigiano-Reggiano or Parmesan, finely grated
- Equipment:
- a chopping board
- a long sharp knife
- a large saucepan for the pasta
- a frypan
- a bowl to put the cooked chicken and bacon in
- a colander to drain the pasta
Boiling the pasta
- You are going to need 15 minutes to get everything else ready so put the pasta into boiling water with a slug of olive oil and a generous amount of salt.
- Whilst doing the recipe’s other steps, cook the pasta until molto al dente (I chuck the odd bit onto the kitchen tiles to test it, if it sticks it is ready) and remember that the last step in this recipe is to mix everything together and serve quickly.

Cooking the bacon and chicken
- Cook a good handful of chopped bacon in some olive oil until crispy, putting it aside and cleaning the frypan with paper towel. Return it to the heat.
- Melt 2 Tbsp of the butter in the frypan and cook the 2 chicken breasts worth of slices over medium heat. Remember that the slices won’t take long each side to cook through and the chicken will go chewy if you over cook it.
- Add the bacon back to the frypan and give everything a gentle toss.
- Put the chicken and bacon aside in a bowl and wipe clean the bottom of the frypan.
Bacon goodness:
Cook the chicken and combine the with the bacon:
Making the alfredo sauce
- Bring the frypan back to the heat and melt 6 Tbsp of butter.
- Whisk the 2 cups of heavy cream into the butter.
- Add the very small handful of chopped oregano, salt, pepper and at least one pinch of ground nutmeg.
- Keep stirring gently for several minutes and then fold the 1.5 cups of finely grated Parmigiano-Reggiano or Parmesan into the sauce.

Combining everything and serving hot
- Chuck the drained pasta, the chicken and the bacon into the sauce and gently mix everything together.
- Add large portions to the serving bowls and serve with cracked black peppercorns and grated Parmigiano-Reggiano.

Enjoy,
PK
YOU MIGHT ALSO LIKE
PASTA DISHES
MORE ITALIAN CUISINE
Please consider subscribing to a weekly email summary of our posts or check us out on Facebook @growitcatchitcookit.
[mc4wp_form id=”15771″]
Written by
·