Tag: italian
-

PK’s NoRecipe Fettuccine In Egg Sauce
I think there are only two types of people on this planet and it comes down to pasta to sauce ratios :). I fall into the lots and lots of pasta with just a little sauce camp.
So this easy peasy way of making a quick lunch or dinner is right up my alley. If you prefer a creamier runny sauce and lots of it please try my Fettuccine Chicken Alfredo.
Each adult serve of this dish needs:
- 2 handfuls of fresh fettuccine
- 2 organic free range eggs
- a handful of cherry tomatoes
- some torn basil
- cracked black peppercorns to taste
- a slug of garlic infused olive oil
- lots of Parmigiano-Reggiano or another hard cheese
Enjoy,
PK
Related Links:
Written by
·
-
PK’s Fettuccine In Egg Sauce
I think there are only two types of people on this planet and it comes down to pasta to sauce ratios :). I fall into the lots and lots of pasta with just a little sauce camp.
So this easy peasy way of making a quick lunch or dinner is right up my alley. If you prefer a creamier runny sauce and lots of it please try my Fettuccine Chicken Alfredo.
Each adult serve of this dish needs:
- 2 handfuls of fresh fettuccine
- 2 organic free range eggs
- a handful of cherry tomatoes
- some torn basil
- cracked black peppercorns to taste
- a slug of garlic infused olive oil
- lots of Parmigiano-Reggiano or another hard cheese
Enjoy,
PK
Related Links:
- Dishes using Parmigiano-Reggiano (parmesan)
- Dishes using cheese
- Pasta dishes here
- Italian cuisine here
- NoRecipe goodness
-
15 MINUTE MEALS
Written by
·
-
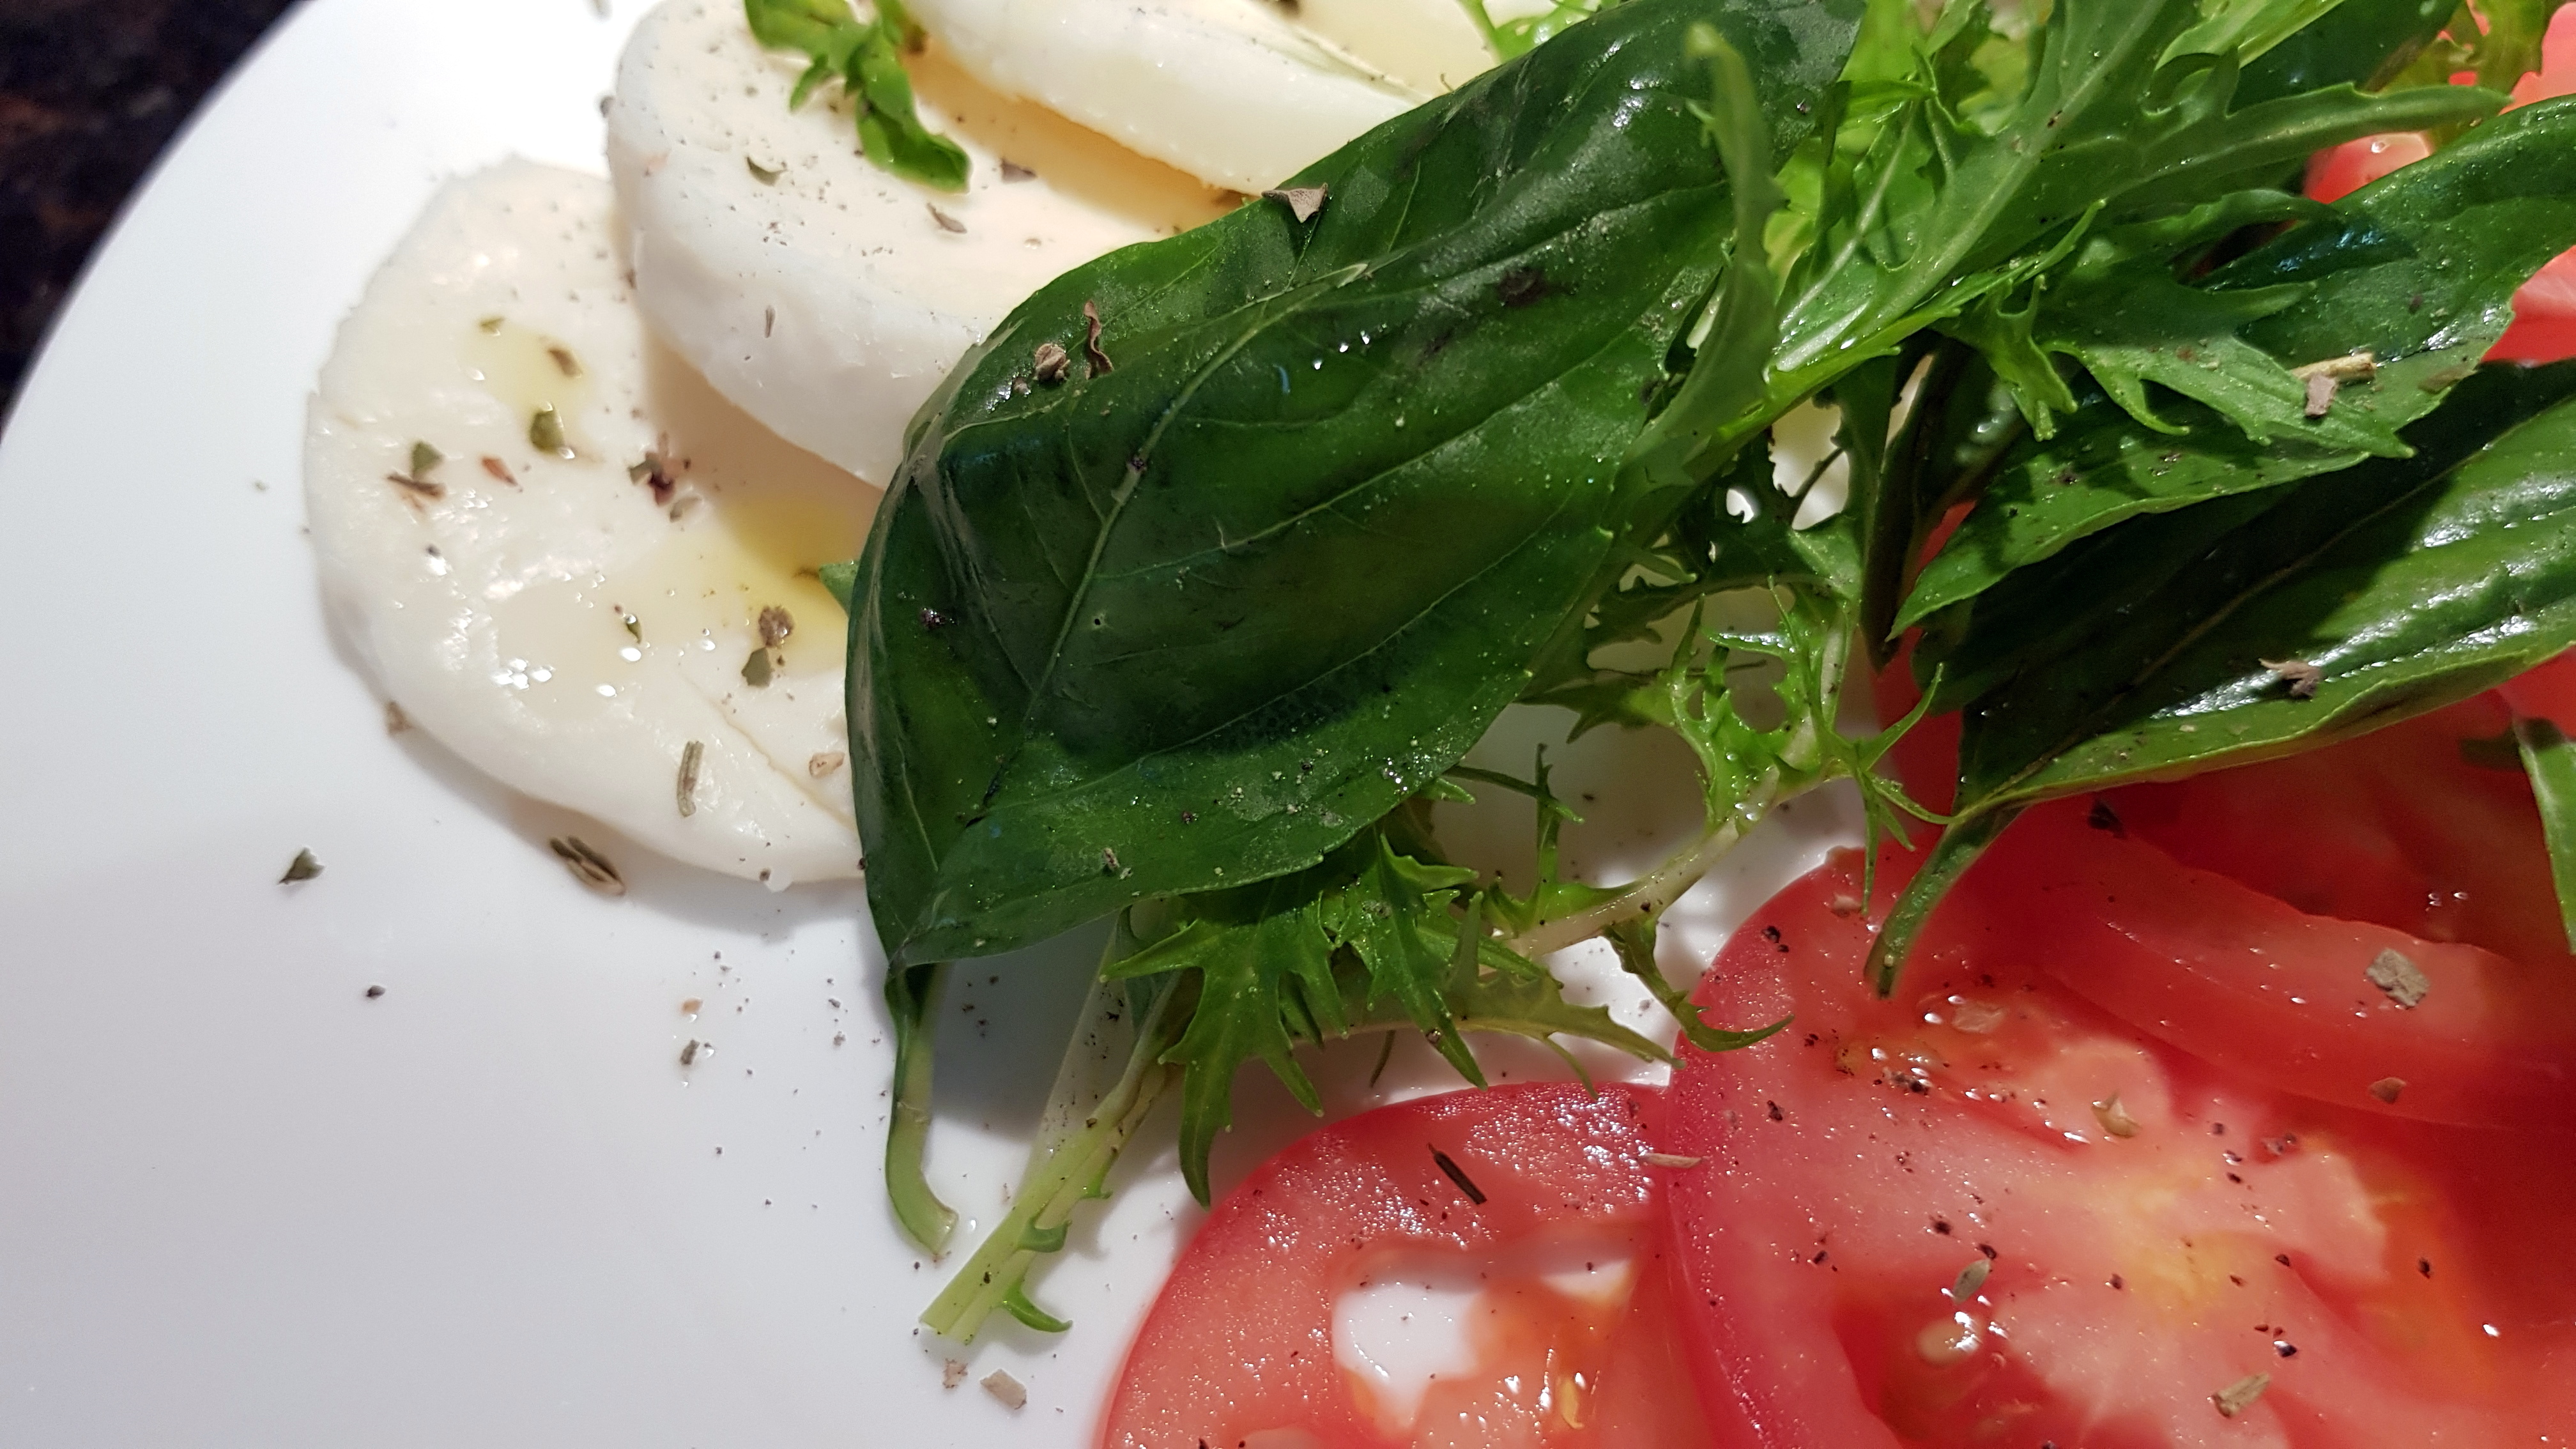
PK’s NoRecipe Insalata Caprese
Does it get any easier than this to wow your guests? Try this simple but visually appealing starter salad and you won’t be disappointed 🙂 .
Arrange slices of mozzarella and tomato on a plate. Garnish with some salad greens (I used Mizuna), basil, olive oil and cracked pepper.

Enjoy,
PK
Related Links:
Written by
·
-
PK’s Insalata Caprese
Does it get any easier than this to wow your guests? Try this simple but visually appealing starter salad and you won’t be disappointed 🙂 .
Arrange slices of mozzarella and tomato on a plate. Garnish with some salad greens (I used Mizuna), basil, olive oil and cracked pepper.

Enjoy,
PK
YOU MIGHT ALSO LIKE
ITALIAN CUISINE
ANTIPASTO
MORE NORECIPE GOODNESS
Please consider subscribing to a weekly email summary of our posts or check us out on Facebook @growitcatchitcookit.
[mc4wp_form id=”15771″]
Written by
·
-

Dr C’s Easy As Gourmet Smoked Salmon Pizzas
Wow! Here are some more off the cuff pizzas from Dr C. They might be easy to make but they are not short of gourmet ingredients.
He used smoked salmon, capers, red onion, mozzarella cheese, sour cream & avocado and I can see why they are a family favourite :).
Simply layer the bases with the ingredients and whack them in the oven at 180C until cooked.

Thanks to Dr C.
YOU MIGHT ALSO LIKE
MORE FROM DR C
PIZZA , PIZZA, PIZZA
ITALIAN CUISINE
15 MINUTE MEALS
Please consider subscribing to a weekly email summary of our posts or check us out on Facebook @growitcatchitcookit.
[mc4wp_form id=”15771″]
Written by
·
-

Bish’s Basil Pesto Experiment 1
I have two large planter boxes at the edge of our patio that are where I grow my herbs, along with a long thin veggie patch against a fence. Luckily this space is enough for me to play around with some different herbs and veggies.
Giving the long thin veggie patch a bit of a spruce:
Lately we’ve had a surfeit of basil in one of the planter boxes (the other is full of mint) and after some prompting we decided we’d have a go at making pesto.

After picking and washing a heap (and returning a few little spiders back to the patch) we decided we’d try to make a couple of varieties.
The first one we started with basil in a stick blender attachment, and poured in olive oil. It mulched the basil more than anything else, but as we added pine nuts it started to blend down a bit more. Adding some spring onions as a test didn’t help with the mulch-like consistency, though. That wasn’t a great experiment, especially when I didn’t close the blender attachment properly and got it all over myself, the kitchen bench and floor…
The second batch started with four cloves of garlic, and some olive oil. This went into a nice creamy paste quickly, and we added some more pine nuts and then started to add in some basil. This created a much creamier pesto, which went a vibrant light green pretty quickly. Unfortunately, 4 cloves of garlic is a bit much… it’s more like a garlic sauce.
On an earlier trip out that day I’d bought a couple of flip-top seal jars, and after they’d been washed and dried out I loaded up the basil into one each.

I was pretty chuffed with this, but anywhere where there is air (you can see the bubbles) went brown within minutes . I had poured some oil on top to help seal it away from the air but didn’t think about these little air pockets.
A week later we’ve been using the pesto in various dishes (pasta, mainly) but each time we have to scoop out the unsightly brown bits. It’s a bit of a pain, but it doesn’t take away from the taste. The next trick we will try is to blanche the basil and dry it before we turn it into pesto – this should help as the heat will destroy the enzymes that react with oxygen to cause the brown discolouration.
It’s not like we don’t have heaps more basil to test it on, anyway…
Bish
Related Links:
- see more of Bish’s posts here
Please consider subscribing to get a weekly email summary of our posts.
[mc4wp_form id=”15771″]
Written by
·
-

Home-made Creamy Aioli
Last night we had my Baked Mashed Potato, Bacon and Cheese Balls again and I wanted to have something to dip them in. I did a quick Google and settled on this recipe.
The result was amazing and got ticks of approval from my wife who is something of a connoisseur when it comes to this particular sauce.
Notes:
- I found the original recipe a bit runny so I reduced the amount of water
- You will be whisking slowly for around 10 minutes in my experience
- You can make it taste different every time by mixing up the seasoning
- Contains raw egg
You will be:
- Whisking and whisking some more.
- Seasoning the sauce.
You will need:
- Ingredients:
- 1 egg yolk
- 1 tsp water
- 1/4 tsp table salt
- 1 garlic clove (very finely diced)
- 1/2 cup olive oil
- lemon juice to taste
- ground sea salt or table salt to taste
- ground black peppercorns to taste
- Equipment:
- a long sharp knife
- a chopping board
- a whisk
- a small metal mixing bowl
Whisking and whisking some more
- Pop the egg yolk into the metal mixing bowl.
- Add the:
- 1/4 tsp table salt
- 1 garlic clove (very finely diced)
- 1 tsp water
- A tiny amount of the oil.
- Start whisking slowly and don’t stop as you very very very slowly add the rest of the 1/2 cup olive oil.
- Keep whisking until you get a smooth creamy consistency.
Starting off:

A bit of effort but oh so worth it:

Seasoning the sauce
I just used my salt and pepper grinders and a splash of lemon juice until I got the taste I liked. Remember that you will get less of a garlic wallop when combining it with food vs testing it by itself so don’t panic. Unless you love a lot of garlic. In that case, add more next time.

Enjoy,
PK
Here are some more ingredients you might like:
Written by
·
-
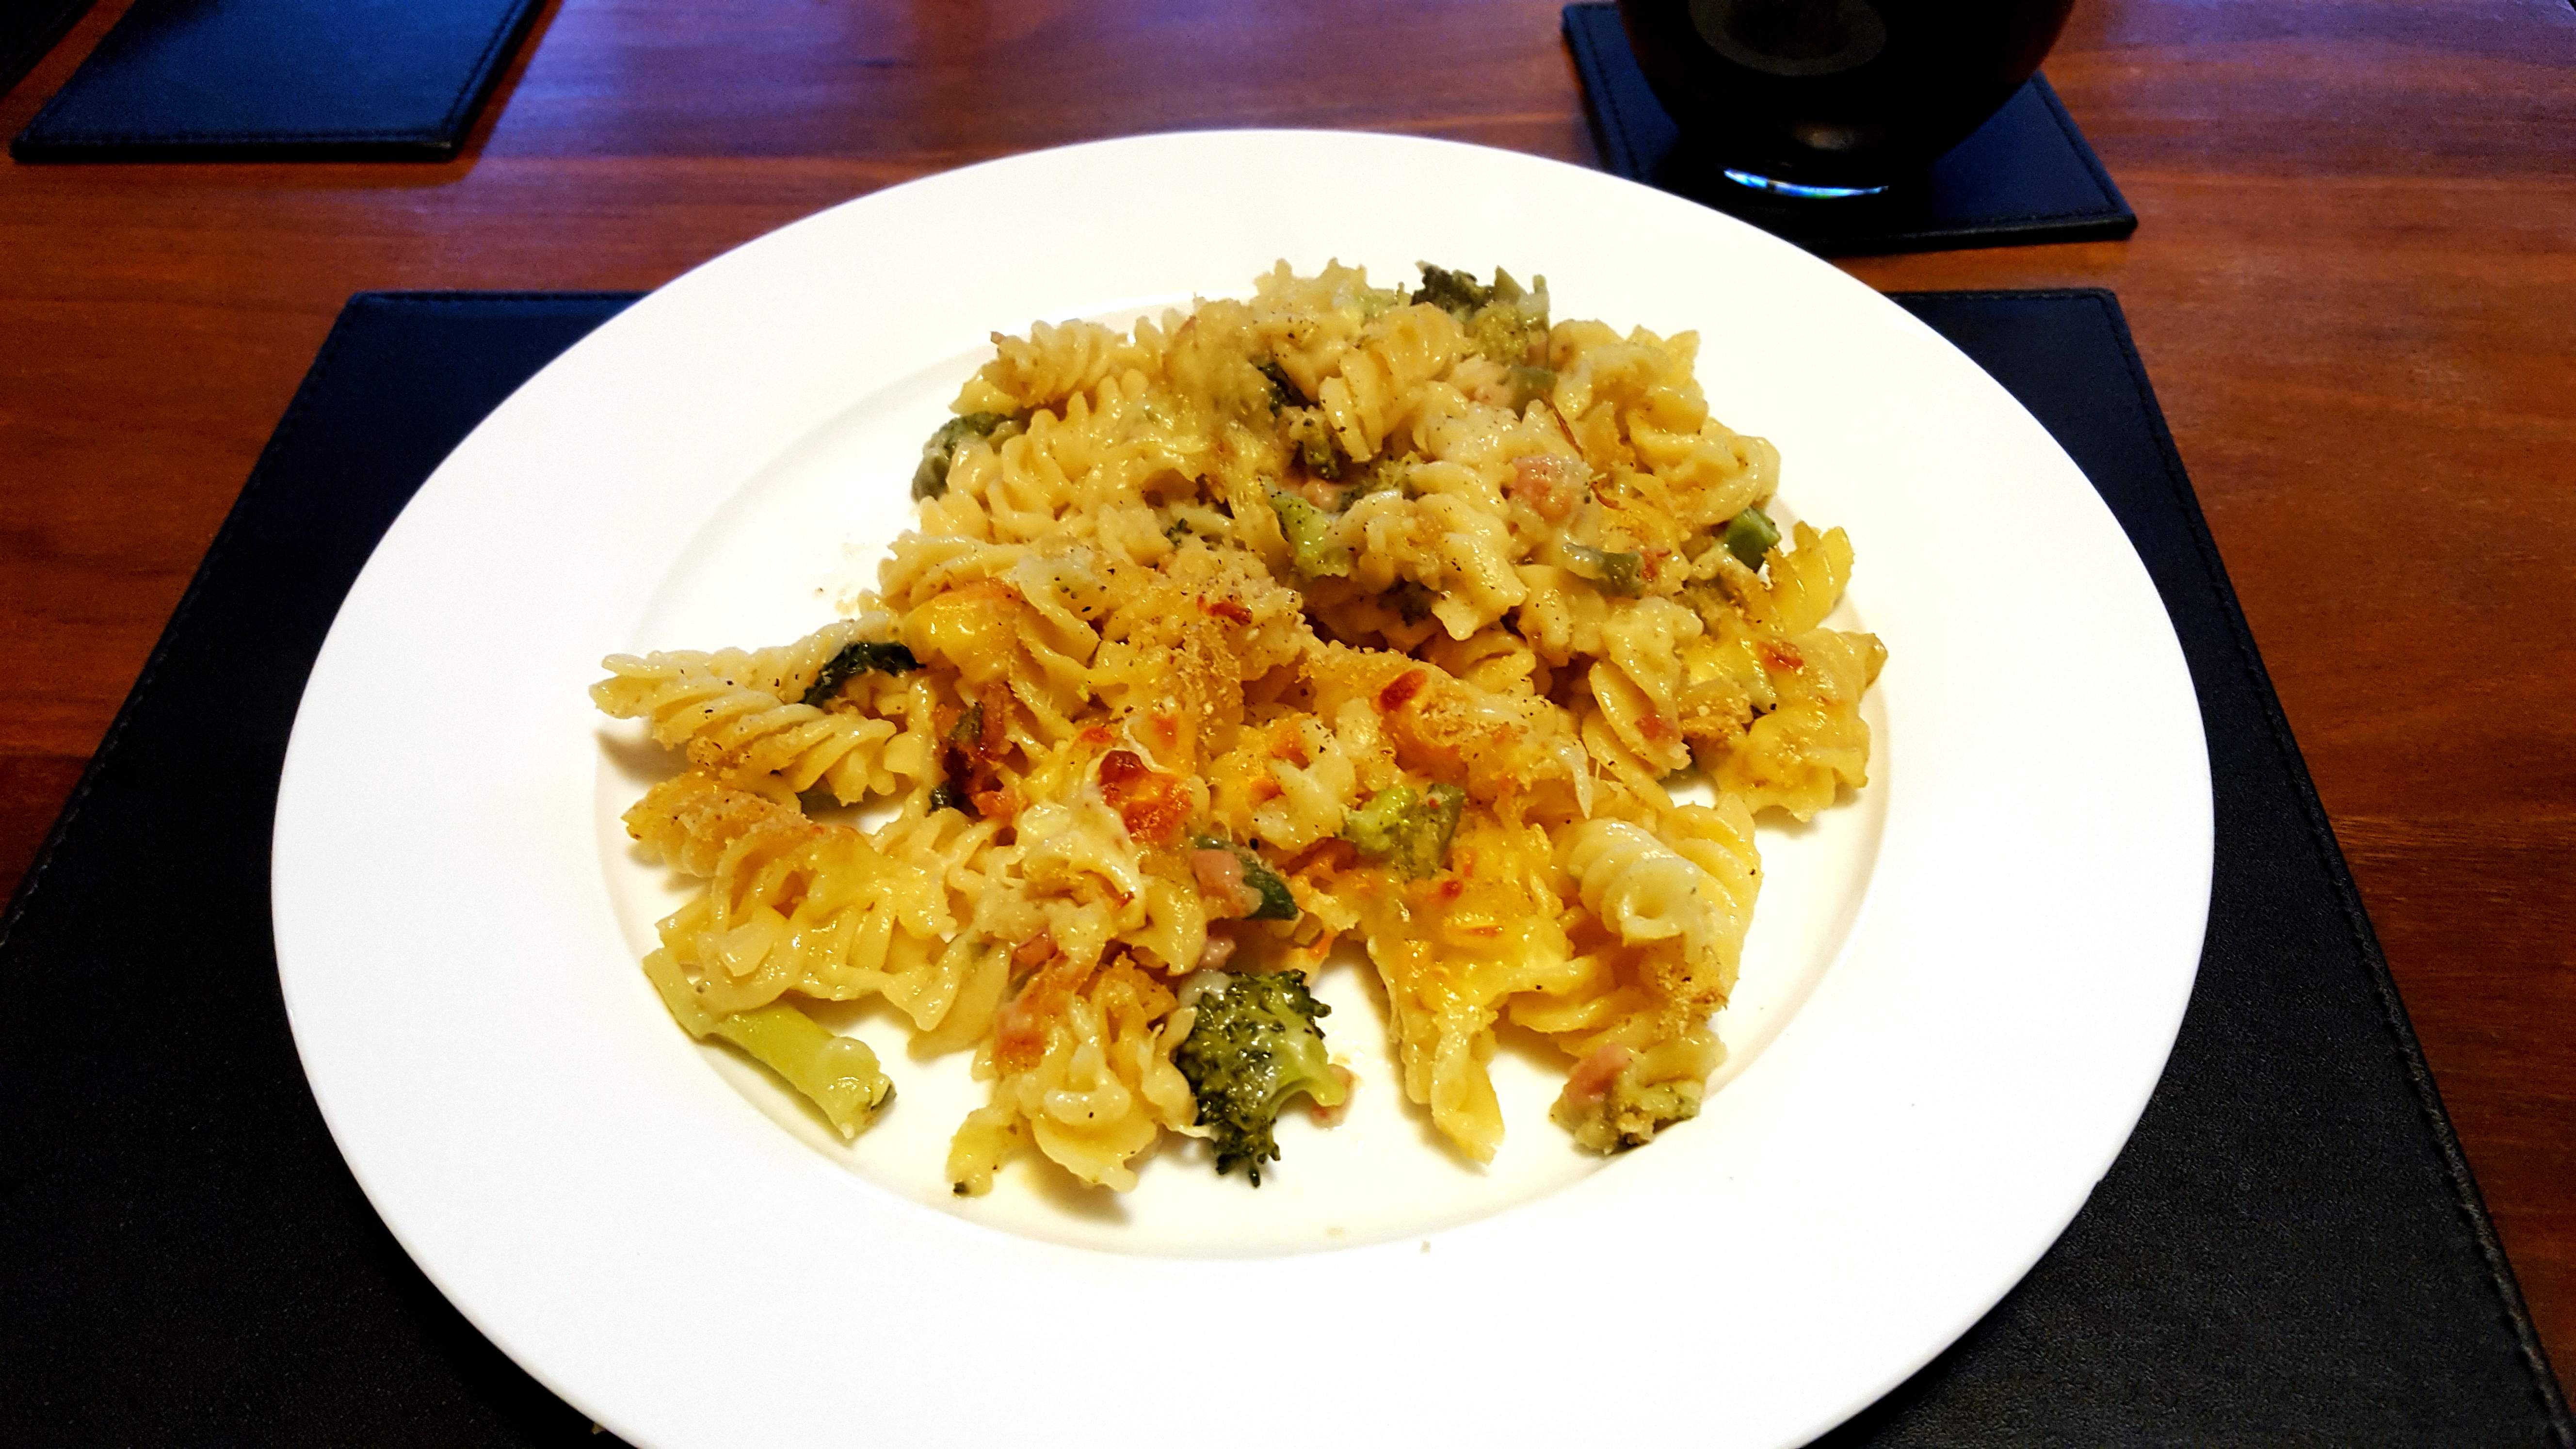
PK’s One Pan Cheddar, Bacon And Broccoli Pasta Bake
I have been cooking a really tasty cheese and broccoli pasta bake dish from http://www.sixsistersstuff.com/ for years and everyone in the family loves it.
However, recently my wife challenged me to make it using one pan. Let’s just say I am not usually economical when it comes to using plates, pans, knives etc :).
So this uber tasty, bacon enhanced, one pan pasta bake is the result. You and your guests are going to love it and in the unlikely event there is anything left, it freezes well so your bank account will love it too.
You will be:
- Getting everything ready.
- Cooking on the hob.
- Cooking in the oven.
- Serving.
You will need:
- Ingredients:
- 500g of your favourite dried pasta (I used fusilli) –
- 200g bacon rashers (chopped) –
- a large brown onion (finely chopped) –
- 1/2 cup green beans (chopped) –
- 300g broccoli florets (chopped) –
- 2 Tbsp salted butter or butter blend –
- 1/4 cup white plain flour –
- 2 cups milk (I used skim) –
- 1 cup PK’s Slow Cooker Chicken Stock –
- 2 cups cheddar cheese (grated) –
- a good handful of Parmigiano-Reggiano or parmesan cheese (shaved)
- 1/4 cup breadcrumbs
- ground rock salt to taste
- cracked black peppercorns to taste
- olive oil spray
- Equipment:
- a chopping board
- a long sharp knife
- a wooden spoon
- a large saucepan for the dried pasta
- a large oven dish that can also be used on the hob
Steps:
Getting everything ready
- Start cooking the 500g of dried pasta in a large pot of boiling water. I always add a slug of oil and a big dash of table salt to the pasta water. Hey, not a health blog :).
- Finely chop the large brown onion.
- Rough chop the:
- 200g bacon rashers.
- 1/2 cup green beans.
- 300g broccoli florets.
- Grate the 2 cups cheddar cheese.
The first time I cook something I like to get everything together first:

Cooking on the hob
- Spray a bit of oil in the oven dish, pop it over two of the hob’s burners and turn them on low.
- Add the 200g of chopped bacon and keep it moving around.
- After a few minutes add the 2 Tbsp of butter and the chopped brown onion.
- Keep everything moving until the butter is melted and the onion has started to soften.
- Add the 1/4 cup white plain flour and mix in.
- Add the 1 cup of chicken stock and bring to the boil. Keep cooking until the sauce has reduced a bit.
- Add in the:
- 2 cups milk
- 2 cups grated cheddar
- 1/2 cup chopped green beans
- 300g chopped broccoli florets
- Chuck in the now al dente pasta and mix everything.
- Sprinkle the top with the breadcrumbs and shaved Parmigiano-Reggiano.
Everything is better with bacon:

Mixing in the other ingredients.
Mix in the dairy and the greens:
Mix in the pasta, sprinkle the breadcrumbs, Parmigiano-Reggiano or parmesan cheese:
Cooking in the oven
- Put the oven tray into a preheated fan-forced oven set to 190C and cook for about 20 minutes.
- You can optionally then use a chef’s torch or the griller to brown the cheese a bit.
Perfection:

Serving
You don’t need anything else other than a glass of your favourite red :).

Enjoy,
PK
Written by
·
-

Moosey’s Sunny Tommies
Ben’s better half is a gardener and cook in her own right. This is her first post on the blog. Thanks and welcome to Moosey.
She writes:
Ever have the problem of too many tomatoes? Sick of Bruschetta but don’t want to let your hard grown fruit go to waste? “sun drying” tomatoes is a great way of storing excess fruit for a later date.
Steps:
Firstly, collect as many tomatoes as possible. We don’t let any, including fallen ones, go to waste. Of course, any with rot, disease or pest should go into the compost. For this recipe, the riper the tomatoes the better.
Wash tomatoes in a light vinegar solution to get rid of any nasties, and then let them dry. Larger tomatoes are sliced or halved, and smaller and cherry tomatoes just slit to allow the juice to escape. You may also wish to core larger tomatoes.
Gently squeeze the majority of the juice and seeds out. This is to help the drying process, and will speed it up. Once done, lay your tomatoes out in your dehydrator, sprinkle with salt and turn leave until they are nice and dry. Ours took ~36 hours because there was quite a few (and we forgot about them). Dried tomatoes will be reduced in size, shrivelled and leathery, but not tacky
Sterilise a jar (or jars) by boiling in water, and once dry fill tightly with your tomatoes. Now, add some flavour. I suggest garlic, thyme, oregano (all home grown of course) but really it’s up to you. Cover with a good olive oil, and pop into the fridge. Leave for a while, and enjoy on your next home made pizza, or as a snack during the day.
Kate Moosey

Related Links:
Please consider subscribing to get a weekly email summary of our posts.
[mc4wp_form id=”15771″]
Written by
·
-

KT’s NoRecipe Chorizo, Chicken and Potato Roast
KT found the original recipe for this on one of the best blogs on the internet, Baby Mac. It has become one of our staple meals and to this end she simplified it as much as possible.
It scales really well because you simply whack your desired amounts of chicken thighs, chopped chorizo sausage and quartered potatoes into a non-stick pan. Season with some Italian herbs, pepper and maybe some sliced chilis.

Whack them in the oven on say 200°C until they look like this.

Then serve with a salad and even the kids will like it :).

Yum, thanks KT!
YOU MIGHT ALSO LIKE
ITALIAN CUISINE
MORE KID FRIENDLY MEALS
MORE POTATO DISHES
MORE NORECIPE GOODNESS
Please consider subscribing to a weekly email summary of our posts or check us out on Facebook @growitcatchitcookit.
[mc4wp_form id=”15771″]
Written by
·