Tag: pk
-
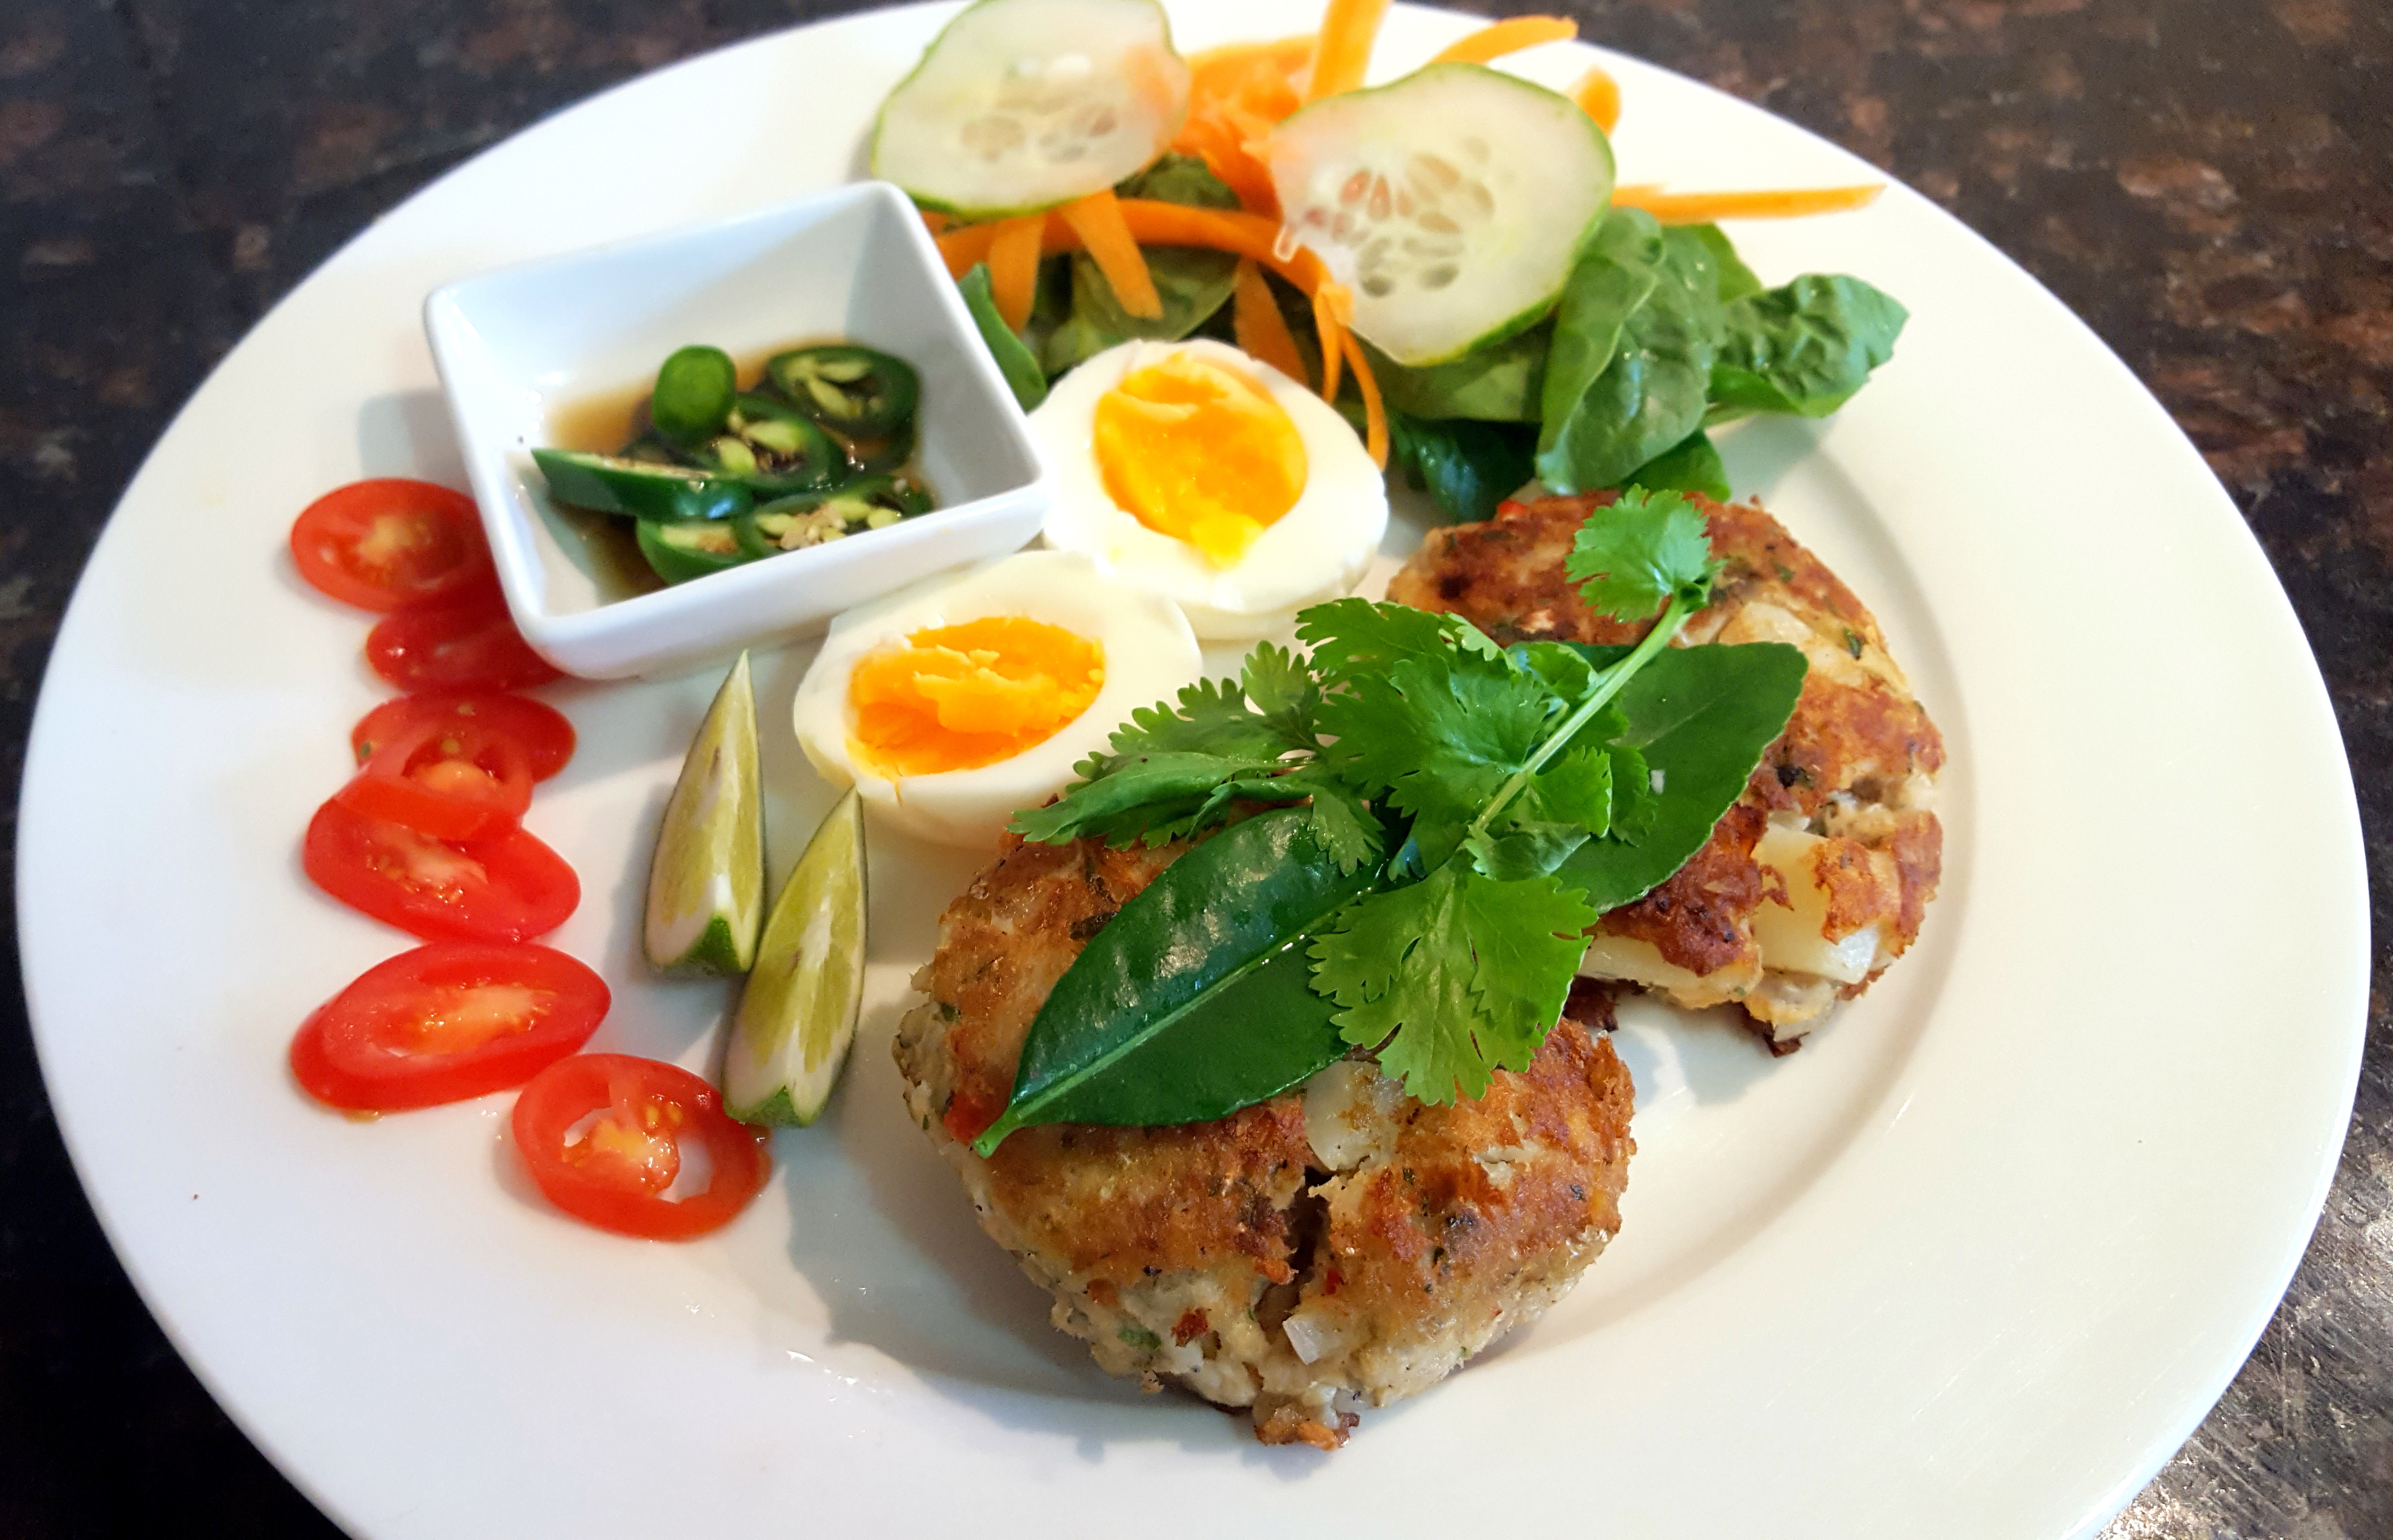
PK’s NoRecipe Thai Fish Cakes
Fish cakes taste great and are an amazing way of making a little bit of fish go further. They were a staple growing up and one of the dishes my mum cooked us that will always stay with me :).
I never use a recipe and no two batches come out the same and that is half the fun. Below I am doing a take on Thai fish cakes but I am just as likely to make them coated in breadcrumbs. Sometimes I keep the potatoes chunky, sometimes I mash everything well to give a smoother texture.
I just follow two basic rules in that I use a 1:1 ratio of fish to parboiled potatoes and I like to add colour by using finely minced fresh vegetables in the mix itself. If you find the cakes fall apart during cooking, try a bit more egg in the mix next time.
Parboil the potatoes:

Mash your fish (I am using canned John West Pink Salmon):

Prepare the vegetables (I am going for a Thai taste so I am using lime zest, shallots, coriander, garlic and some red capsicum for colour):

Whisk an egg or two and mix everything up (I did this gently as I wanted a chunky look):
Make small or large cakes, using your hands, as you please and then pop them in the fridge for a bit (just look at the colours, beautiful):

A quick shallow fry is all that is needed:

Serve with some greens and you favourite sides:

Enjoy,
PK
Written by
·
-

PK Makes Beef in Oyster Sauce
This was simply the best stir fry I have ever cooked. I literally sighed when I first tasted it and you couldn’t wipe the smile of my face.
I knew it was good because everyone came back for seconds, even my toddler :).
This dish caught my eye because it calls for tenderising, with a mallet or rolling pin, beef eye fillet (tenderlion) steaks. I can see you shaking your head but trust me it is a transformational part of the recipe. The meat literally melts in your mouth!
My hat off to the BBC chef Ching He Huang and her simple but flavoursome recipe. I modified it slightly by leaving out the chili (at my family’s request), adding a lot more vegetable variety and served it with basmati rice rather than sautéed mushrooms.
Ching’s “… approach is to demystify the notion that Chinese cooking is complicated and time consuming by demonstrating traditional recipes that can be easily adapted for the home cook…”.
Mission accomplished mate!
As per my normal practice, I marinaded the beef first thing in the day. In this case I did it to make it easier, having everything ready to go, when I cooked the meal in the evening. That said, this dish will blow you away even if you just flash marinade the meat for a few minutes.
You will be:
- Bashing and flash seasoning the beef.
- Prepping, quickly stir frying the vegetables and putting them aside.
- Quickly stir frying the beef and combing everything as you serve.
You will need:
- Ingredients (as the only main it served 2 adults and a hungry toddler very well):
- 350g beef eye fillet steaks
- 1 tsp light soy sauce
- 1.5 Tbsp oyster sauce
- a pinch of raw sugar
- ground rock salt and ground black peppercorns to taste
- 2 slugs of peanut oil
- 3 cloves garlic, finely diced
- 300g baby spinach leaves
- 1 carrot, chopped into matchsticks
- a handful of snow peas, sliced or whole
- 1 Tbsp dry Sherry
- 1 cup of your favourite rice (mine is basmati)
- Equipment
- a chopping board
- a long sharp knife
- several sheets of baking paper
- a bowl for marinading the meat
- a tenderising mallet or a rolling pin
- a wok or deep fry pan
- a serving dish
Steps:
Prepare the beef
- Place the eye fillet steaks in between two sheets of baking paper and bash the stuffing out of it with a rolling pin or tenderising mallet. I know right :).
- Very thinly slice the bashed beef and place into a bowl.
- Season with the:
- 1 tsp light soy sauce
- 1.5 Tbsp oyster sauce
- a pinch of raw sugar
- ground rock salt and black peppercorns to taste.


Prep and stir fry your vegetables
- Add a slug of peanut oil to the frypan and get it nice and hot.
- Chop and slice all of the vegetables.
- Add the 3 cloves garlic (finely diced) and chopped chili to taste if you like it hot.
- Add the 1 carrot (sliced into sticks).
- Add the handful of snow peas.
- Keep everything moving all the time and then when you think it is time chuck in the 300g baby spinach leaves.
- As soon as the spinach leaves wilt and become warm put the whole lot into a serving dish. I sometimes cover them to keep everything piping hot.


Stir fry the beef:
- Add another slug of peanut oil to the frypan and get it nice and hot again.
- Add the now seasoned beef slices and stir fry for a few minutes at most, remember that they will continue to cook after you take them out of the pan. We don’t want them to be chewy.
- Pour the 1 Tbsp dry Sherry over the meat and quickly toss everything.
- Add the now cooked beef to the cooked vegetables waiting in the serving dish.

Serving:
Serve immediately :).


Thanks again to Ching,
PK
Written by
·
-

PK’s NoRecipe Savoury Mince
A favourite since childhood, this is simple food that couldn’t be easier to cook. By now you probably know that I think ‘peasant’ food is best.
It freezes very well and what’s more, you can eat it by itself or stretch it out using rice, bread, noodles or other starchy sides. One of my favourites is savoury mince and cheddar in a toasted sandwich.
I think this recipe has a couple of standard ingredients and then add whatever you like extra. Have fun and experiment :).
What are the essentials?
- beef mince
- potatoes
- carrot
- onion
- garlic
- chicken or beef stock
- herbs like oregano, marjoram, thyme, bay leaves
- tomatoes or tomato paste
- pepper and salt to taste.
I also add red wine (boil it off of course) and anything else I have in my pantry or fridge that needs using.
Par-boil your potatoes:

Prepare your vegetables:

Sauté the onion in some olive oil:
Add the mince (browning it), herbs and stock (if using red wine bring to the boil) and then simmer until it is all reduced down to your liking:
This is the consistency I aim for:

Oh so tasty tonight and for tomorrow’s lunch:
I hope you like it,
PK
Written by
·
-
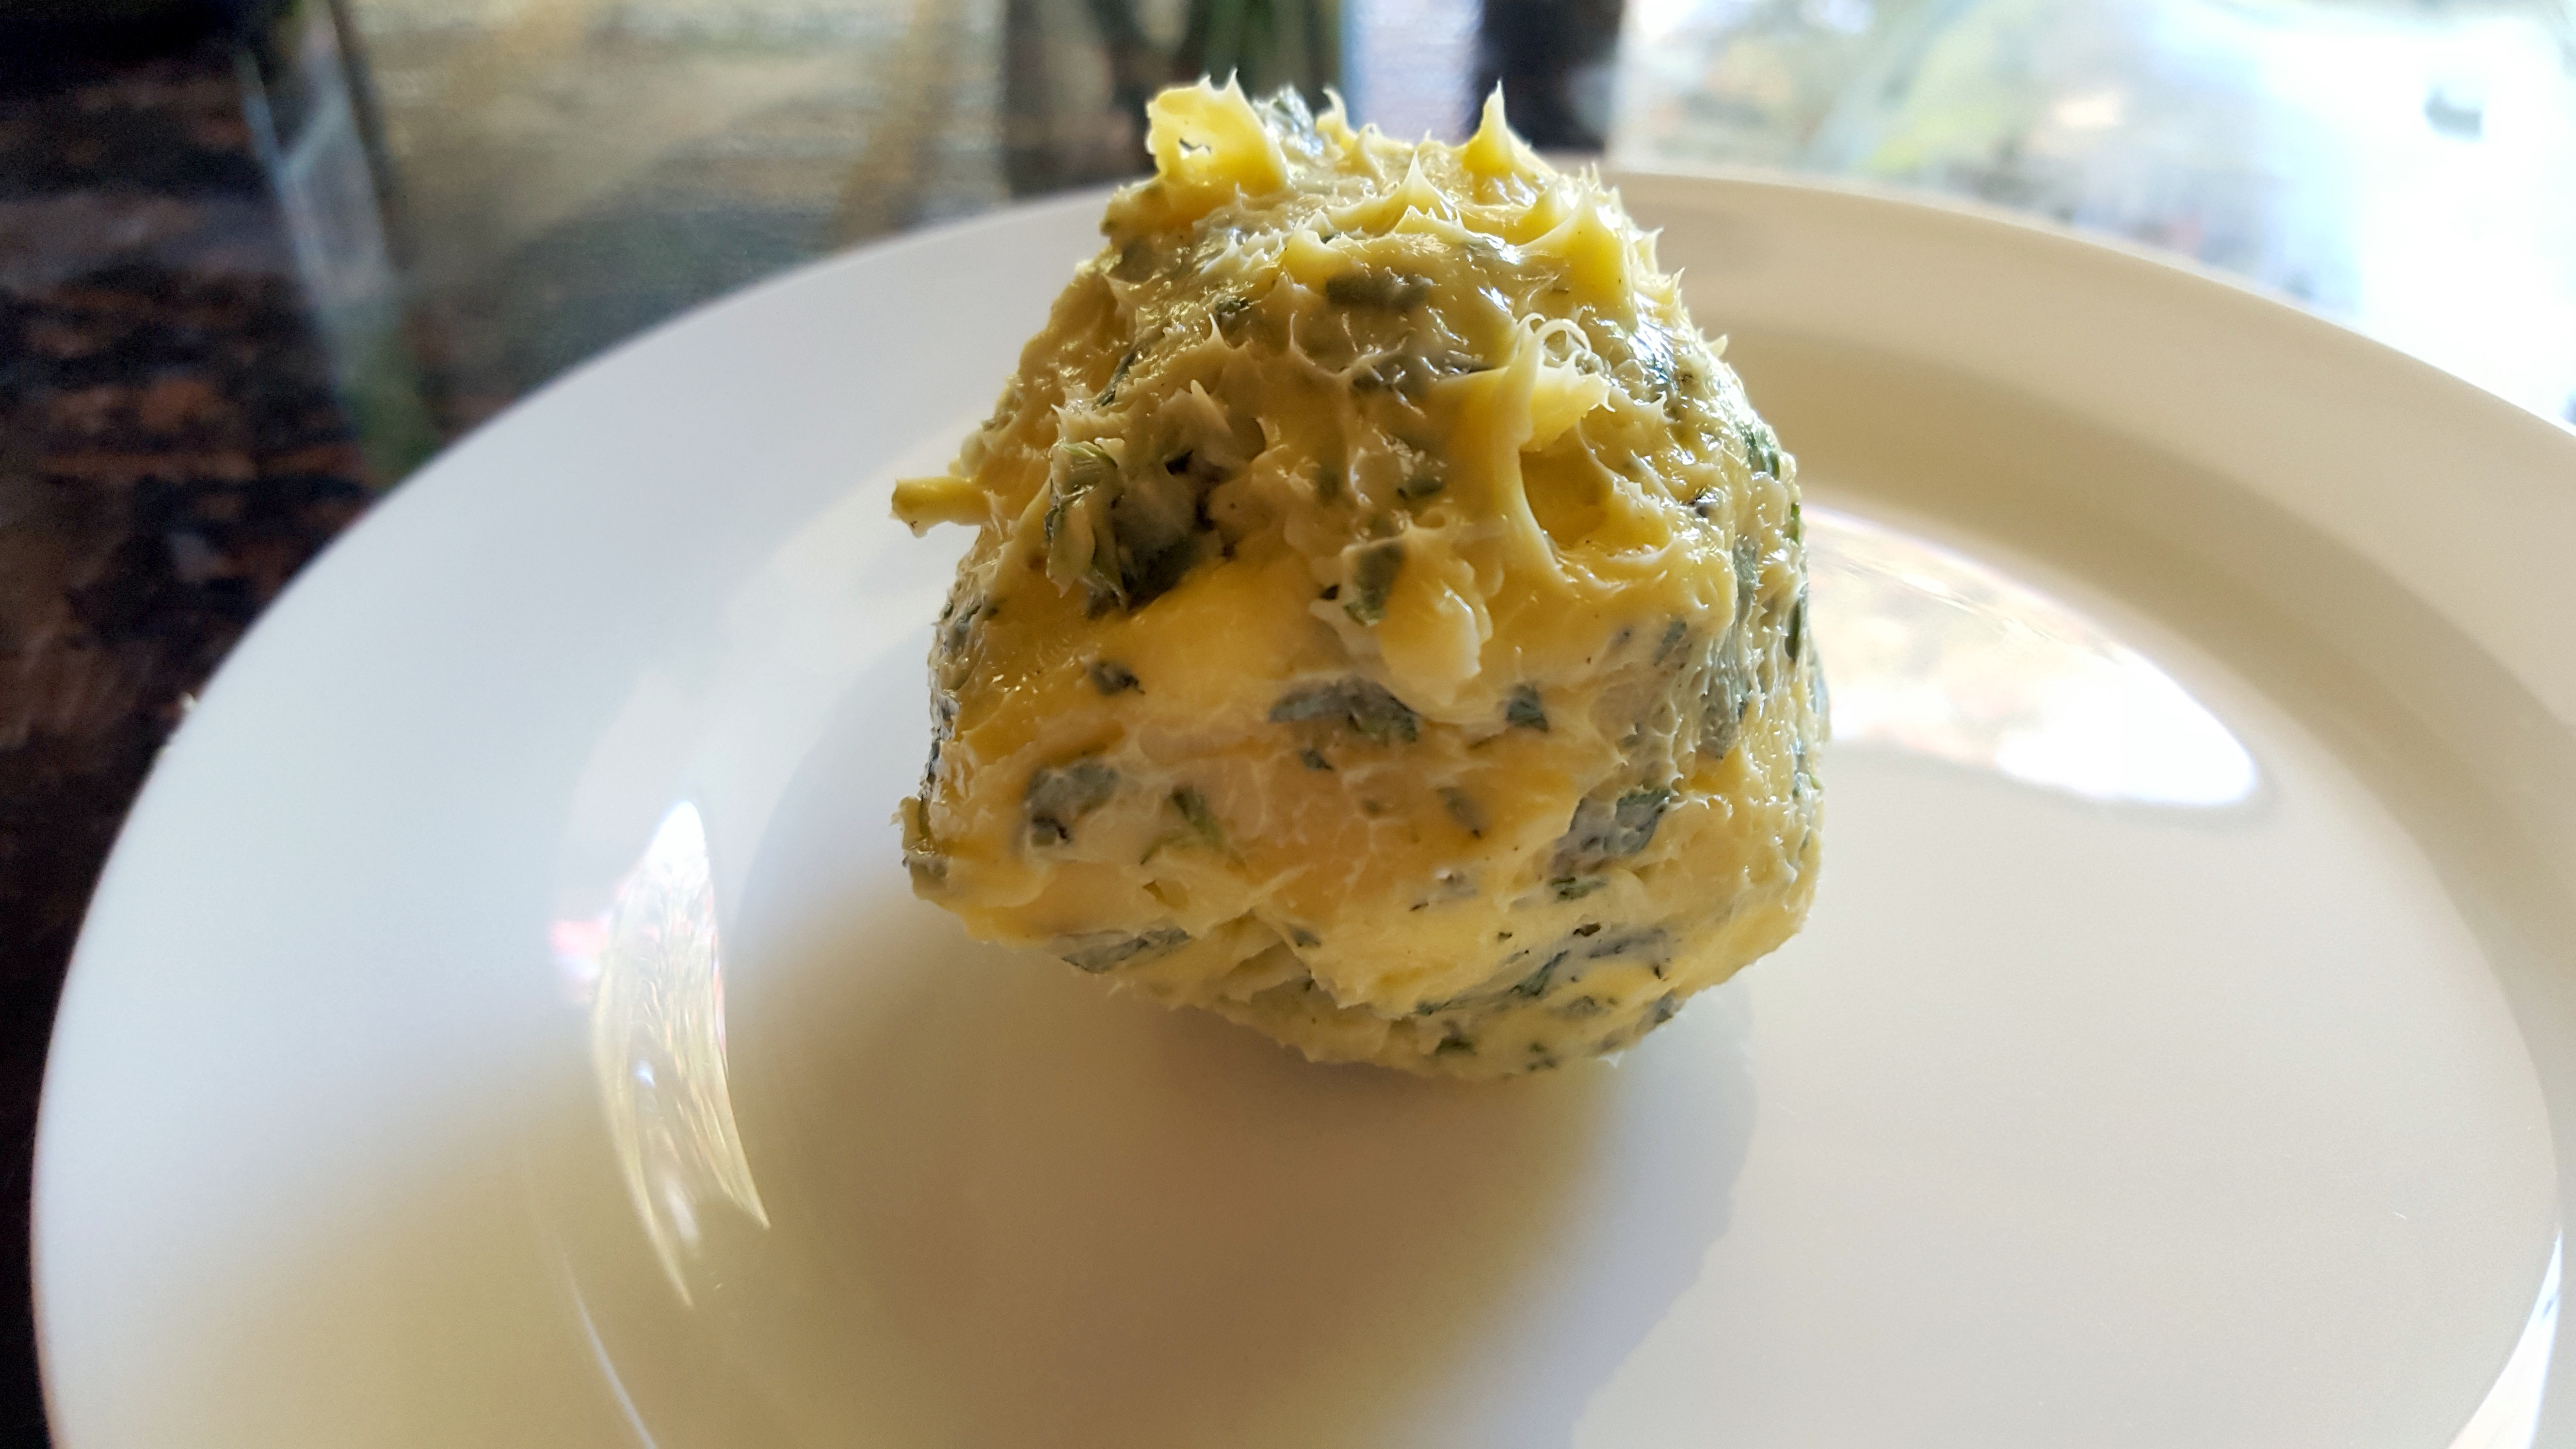
PK’s NoRecipe Sage and Thyme Butter
A really simple sage, thyme and parmesan flavoured butter that goes well with anything, especially chicken and seafood. I suppose it would probably keep for a while in the fridge but I have only ever made enough to use straight away.
Bring together your desired amount of butter or margarine or butter blend (perhaps 60 – 100g) and then add to taste:
- sage
- thyme
- pepper
- parmesan cheese (better yet Parmigiano-Reggiano)
I bring the butter to room temperature, in Australia that will make it pretty soft and workable very quickly during summer.
Finely chop the rest of the ingredients and fold them in.


Once I folded it all in, gently, I went all Baskin-Robbins style on it by mixing it some more on a clean counter top.

I then rolled it into a ball and chilled the whole lot again.

My serving suggestion 🙂

Enjoy,
PK
Written by
·
-

PK’s NoRecipe Sesame and Cumin Lamb Chops
I was amazed at how well the sesame seeds and cumin seeds paired with the lamb. So easy to prepare ahead of time and then cook them on the barbecue :).
Take your lamb chops, I used forequarter chops, and rub or spray them with some olive oil. I bet peanut oil would work a treat too.
Grind over them some pepper and salt to taste and then sprinkle equal amounts of sesame seeds and cumin seeds.
I left them in the fridge while I went to my day job :).


I got home and while they were grilling on the barbecue I made a quick salad.

Enjoy,
PK
Written by
·
-

PK Reviews: Beer Can Chicken Roasting Rack
I got this beer can chicken roasting rack from Bunnings for a steal. I used it with a half full can of beer the first time and the result was very pleasing.
Between you and me though, I prefer to skip the beer can and use a lemon instead. The lemon keeps the stuffing inside the chicken, imparts a beautiful citrus aroma and keeps the chicken just as moist.
Check out the result:


Cheers,
PK
Written by
·
-
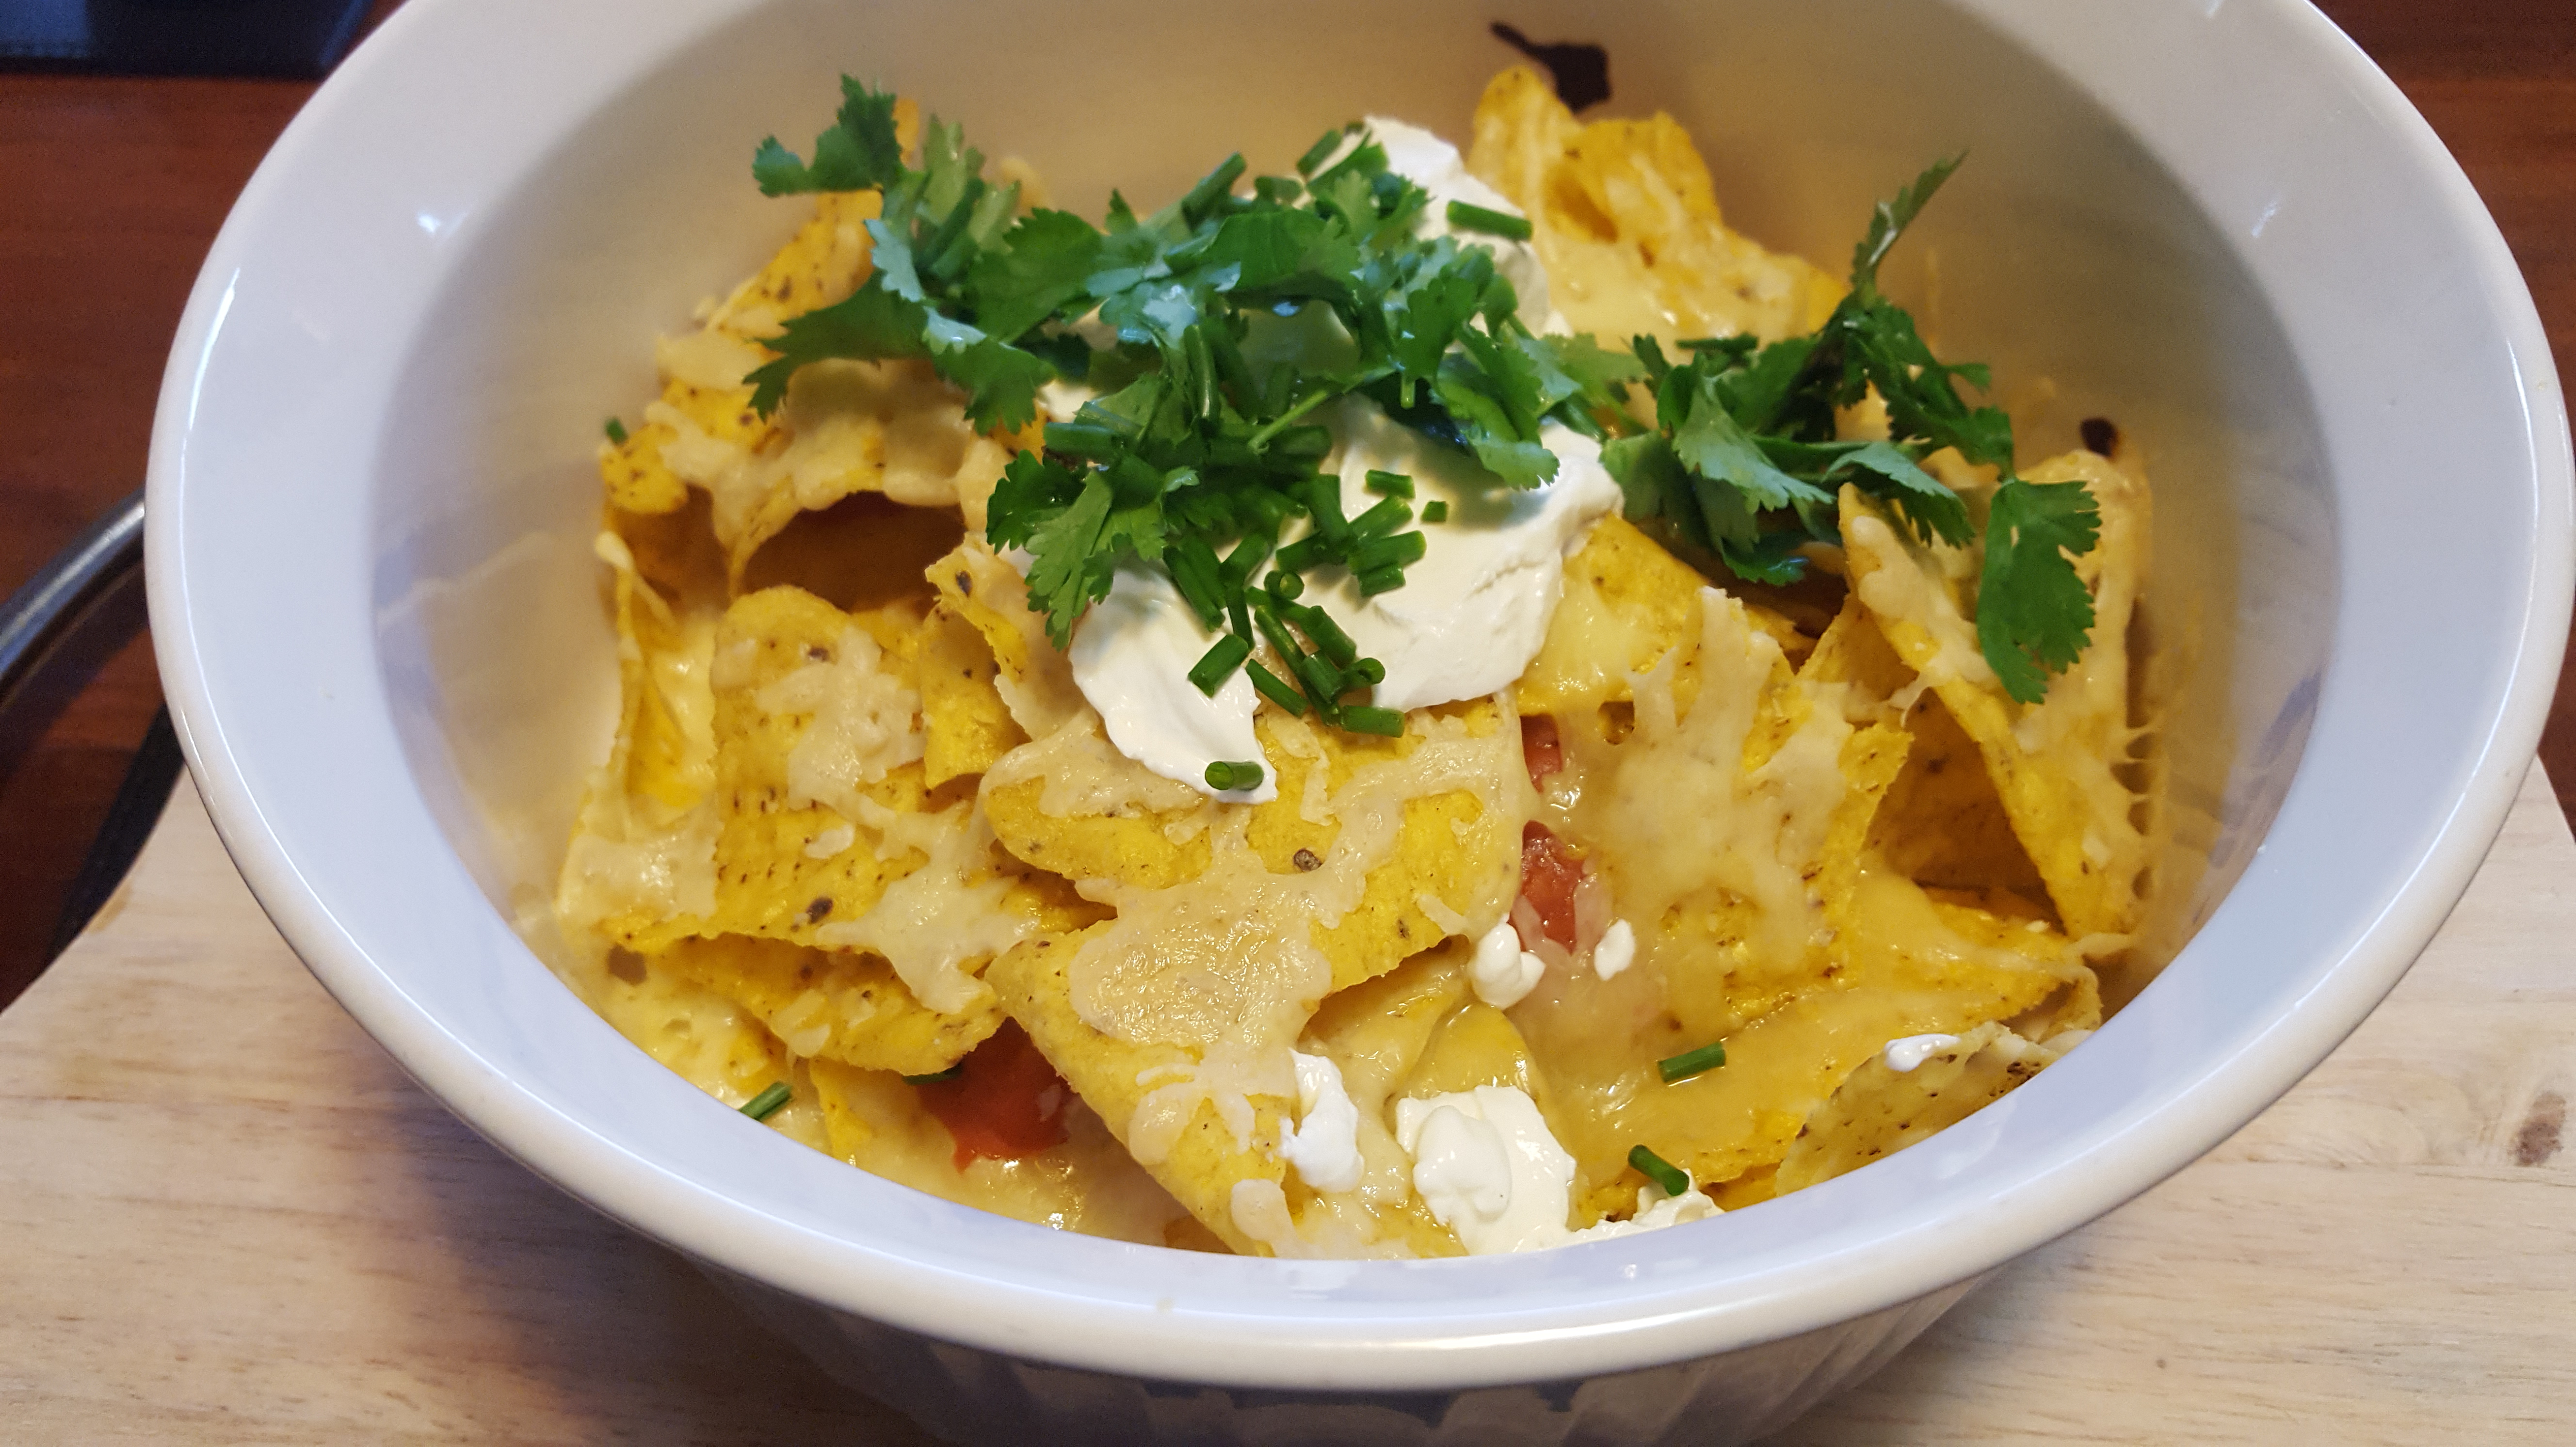
PK’s NoRecipe Nachos
This is one of my favourite family meals. Everyone gets their own dish of the nacho base and once these come out of the oven, we put our favourite toppings on.
The secret to making awesome nachos is to layer the corn chips then some nacho sauce then some cheddar cheese and repeat. Pop them in a say 180 °C until the cheese has melted and that is it.
There is only one other rule to making awesome nachos: Sour Cream!
Magic 🙂


Enjoy,
PK
Pair this with my guacamole (see PK’s You..Can’t.. Handle..The..Gwock).
Written by
·
-

PK’s No Recipe Pizza Warmers
Winter is trying to get back at Perth at the moment and although the sun is out, we are getting cold winds and rain. This makes for chilly evenings, so my family fought back with these really easy pizzas.
Steps:
- Make or buy your pizza bases (I did the latter).
- Make or buy pizza sauce (I did the former with some reduced tomato pasata and Italian herbs from the garden.
- Spread the sauce over the pizza bases.
- Layer your pizza with your favourite toppings. My secret is to put any leafy greens on top of the sauce but under the cheese. It stops them drying out but you didn’t hear it from me :).
- Whack them in the oven on ~180°C for about 15 minutes or until golden brown.

Enjoy,
PK
Written by
·
-

PK’s Making Sausages The Italian Way
Today I was invited to join an Italian family’s yearly sausage making day. Making sausages the old fashion way means lots of hard work, lots of family banter and lots of laughter. I felt like part of the family and I promised to come back next year, if only for the great lunch they fed us.
The pork mince had been seasoned the night before. Even if I did know the full list of ingredients I couldn’t tell you but I did notice a healthy amount of chili seeds. That and a carefully measured amount of salt as one would expect.
We balled the seasoned mince up and then fed those through hand cranked meat mincers and into natural sausage casings. The end result will hang for several weeks and if they are as good as last year’s we are in for a treat :).
Thanks for the invite and a great memory,
PK
Balling the seasoned mince:

Into the mincer they went:
Then they are hung to dry:


Written by
·
-
PK Reviews: Mr Fothergill’s Cucumber Windowsill Greenhouse Kit – Daily Updates
So on the 16th of July 2016 I ‘unboxed’ one of the Mr Fothergill’s Windowsill Greenhouse Kits. Check out that post here.
I will be updating this post with the latest snaps and observations.
Finally it is planting time (25/08/2016:)

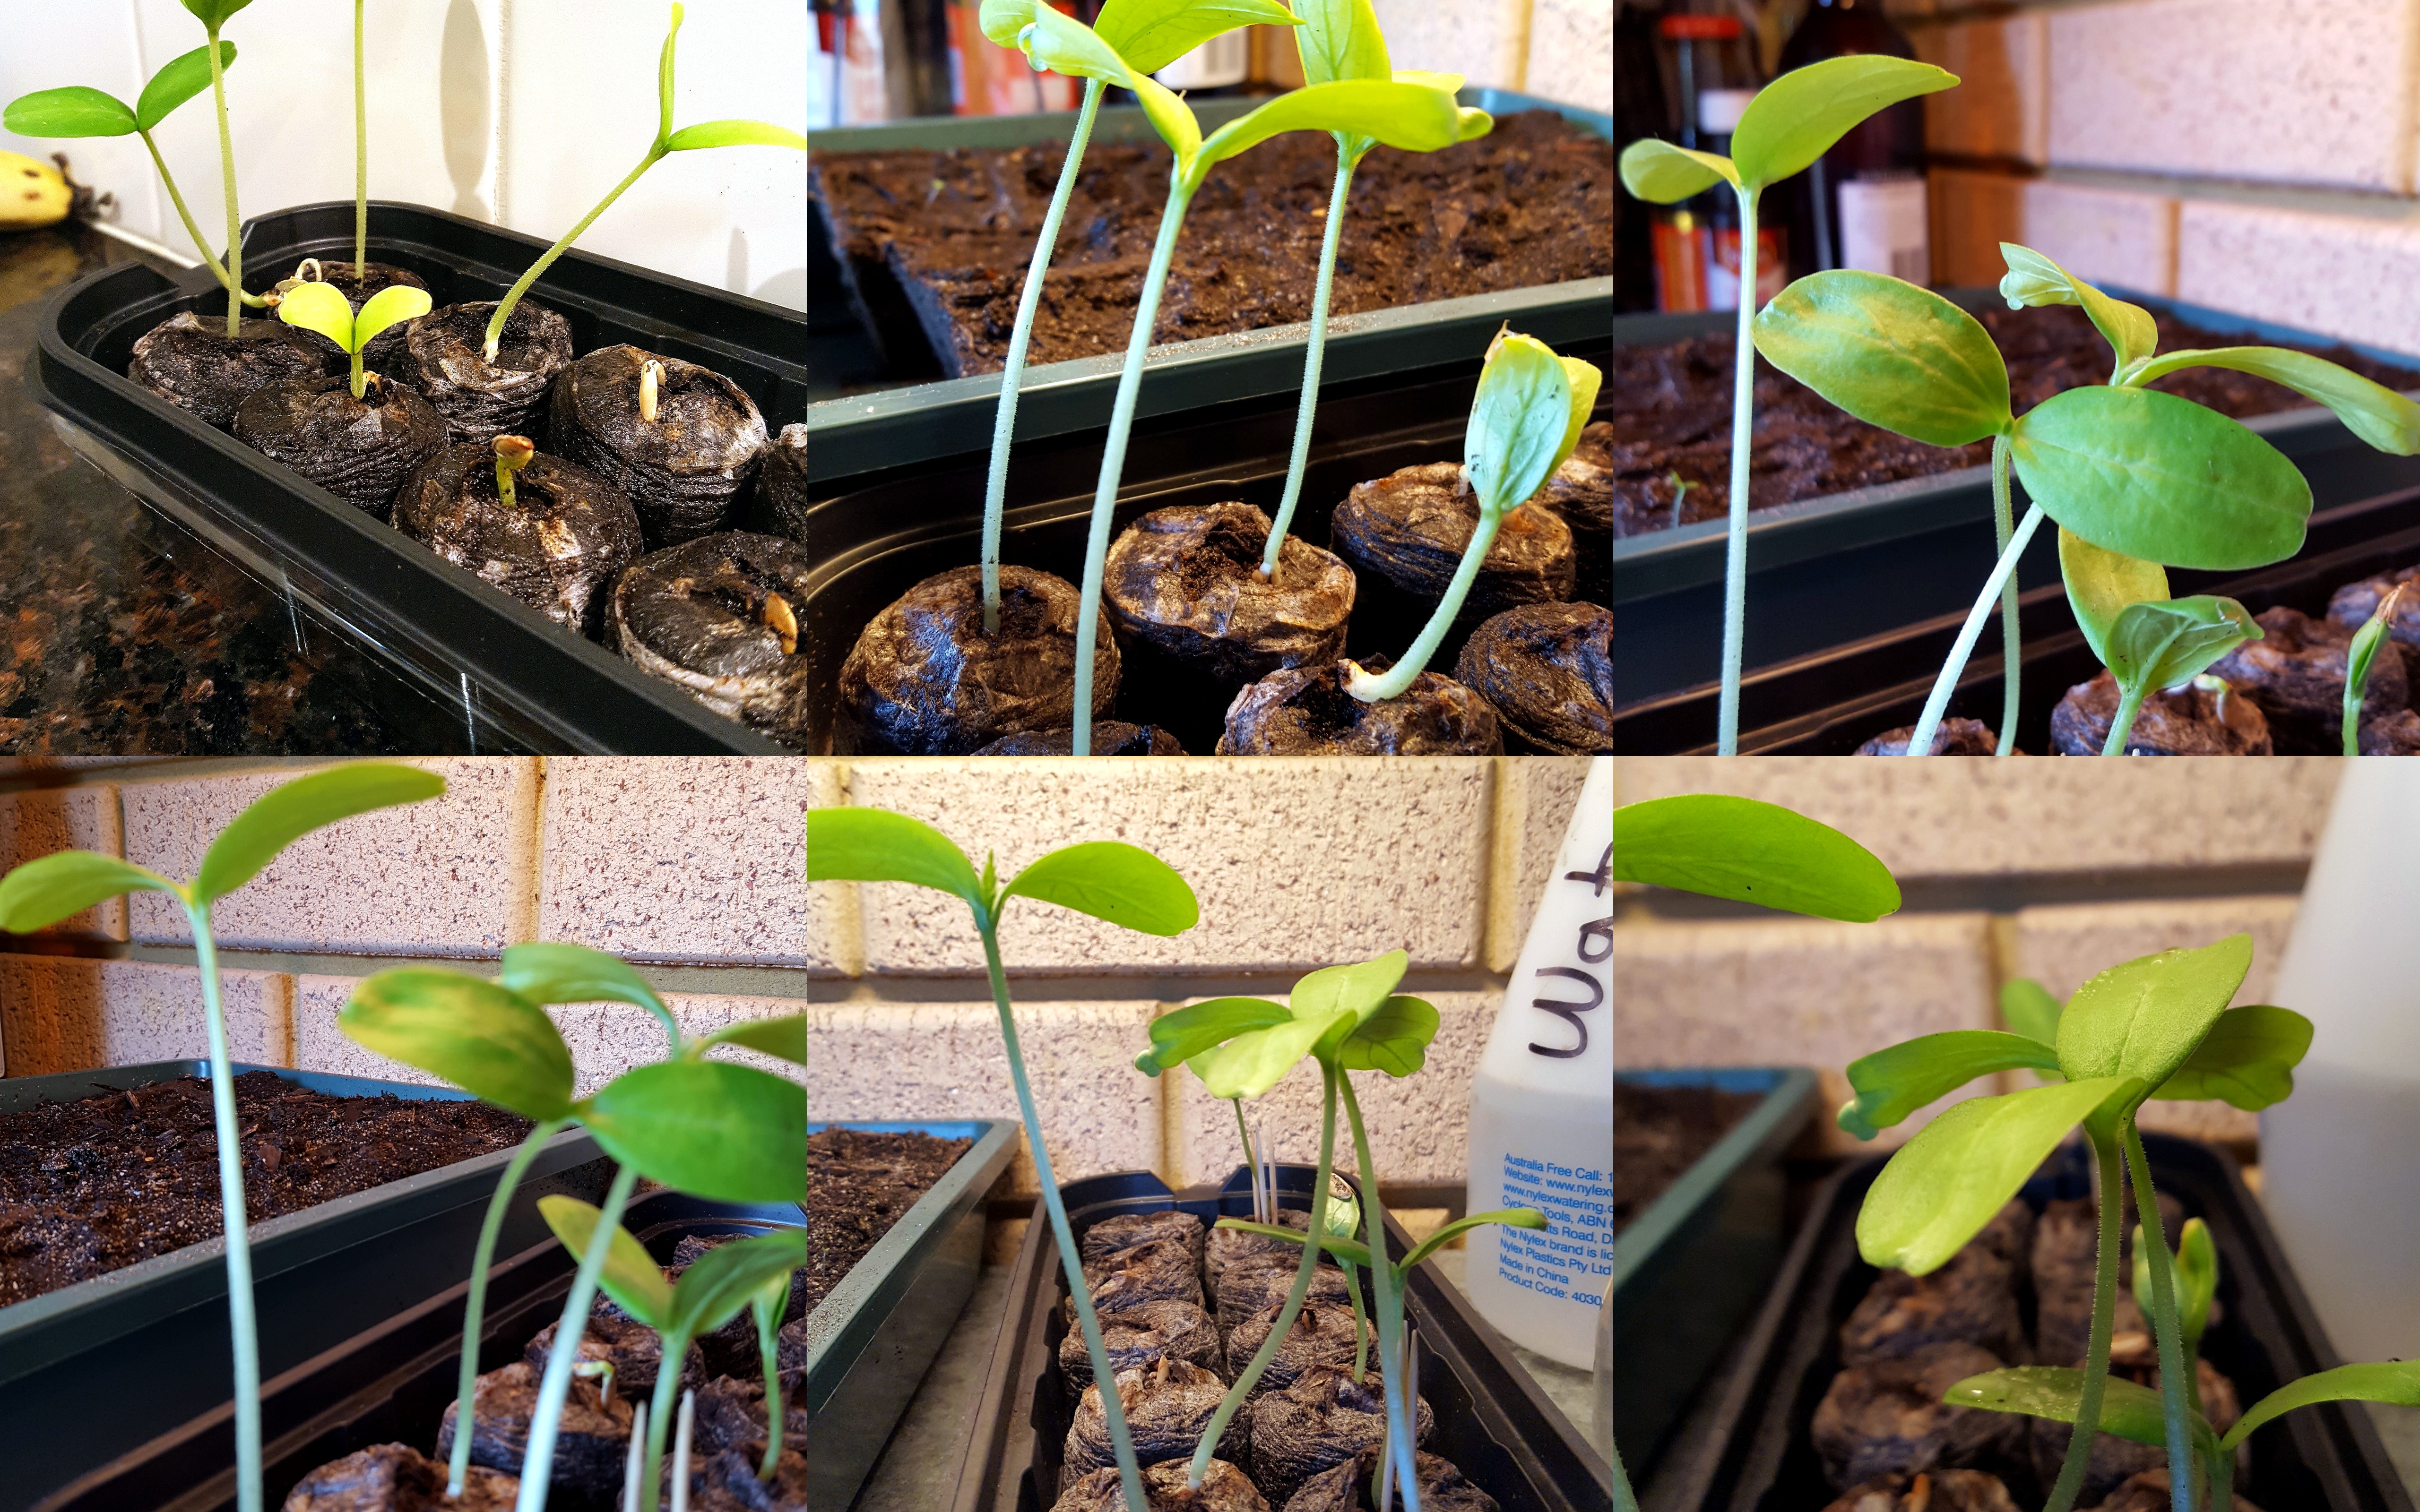
Today (20/08/2016) the seedlings have gotten large enough for me to start making them sun tolerant. I did this by exposing them to slightly longer periods of direct sunlight each day.

The last 7 days of growth (03/08/2016), almost all the seeds have germinated:

Day 13: Most of the seeds have germinated. Not all as the same rate but I am happy 🙂

Day 6: Morning and then night, go guys go 🙂

Day 3: First signs of germination so I cracked the lid slightly after taking this snap :).

Written by
·