Tag: pk
-
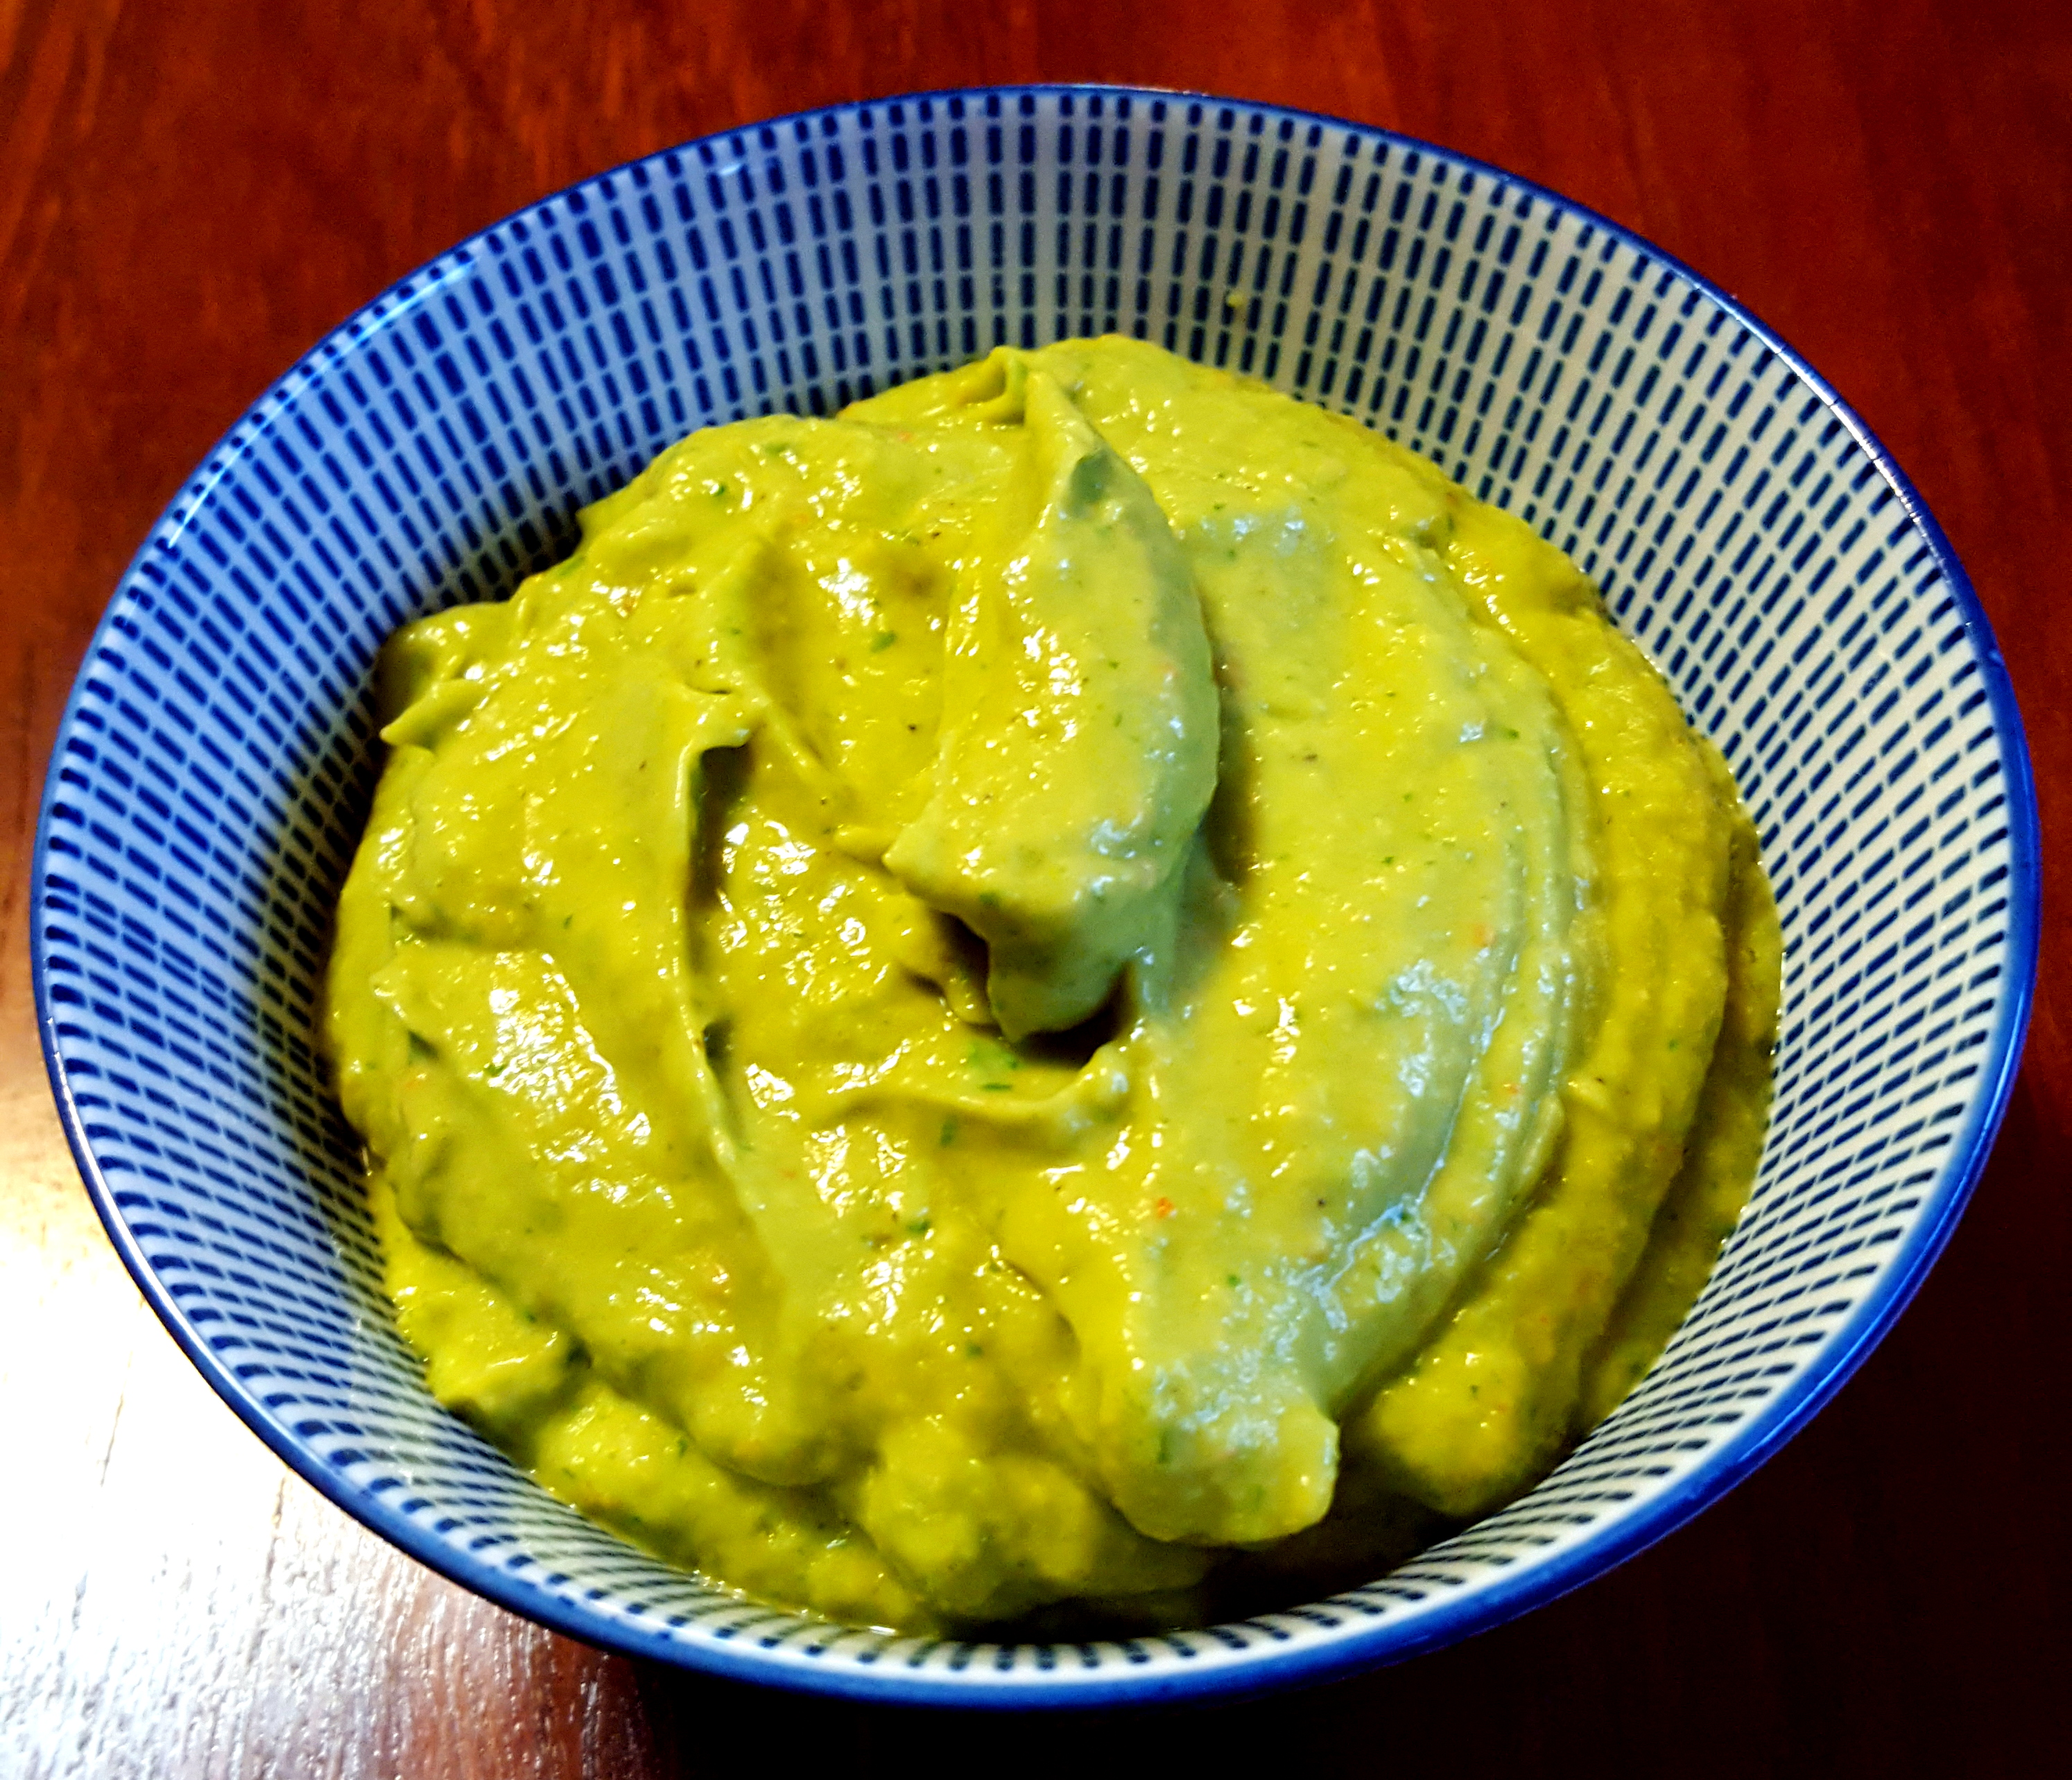
PK’s You..Can’t..Handle..The..Guac
I like anything with avocado in it so it is no surprise that I love my home made ‘guac’. If only because I use as much stuff from my kitchen garden as possible. I love anything that works well with ‘make your own combination’ meals like taco or nacho night.
Every avocado lover probably has their own guacamole recipe (the first being invented by the Aztecs) and here is mine. In any other dish I tend to keep the spice factor low so that people can add their own heat factor during eating. Not this time family :).
No spice and onion = no guac.
You will need:
- Ingredients (serves about 3 – 4 people):
- chives to taste
- 1 red shallot or half a brown onion
- 1 jalapeno chili or 1 cayenne chili
- a few drops of Tabasco pepper sauce (or your home made version)
- a handful of coriander leaves and stems
- 1 avocado
- 3 cherry tomatoes or equivalent amount of your favourite type
- the juice of half a lemon or lime (to bring the avocado alive)
- cracked black peppercorns (to taste)
- table salt (an optional extra to taste but I don’t use any)
- Equipment
- a chopping board
- a sharp knife
- a wet mixer
- a serving bowl
Make the paste

Steps:
- Chuck into the wet mixer:
- the chives (amount optional)
- 1 red shallot (skin removed)
- 1 jalapeno chili or 1 cayenne (de-seeded if you prefer)
- a handful of coriander leaves and stems
- a few drops of Tabasco pepper sauce
- 1 avocado (skin and seed removed)
- 3 cherry tomatoes
- the juice of half a lemon
- cracked black pepper to taste
- Pulse the ingredients in the wet mixer until you get your desired texture and consistency.
- Pulse it a bit more because your toddler got upset he didn’t have a turn :).


Enjoy,
PK
Written by
·
- Ingredients (serves about 3 – 4 people):
-
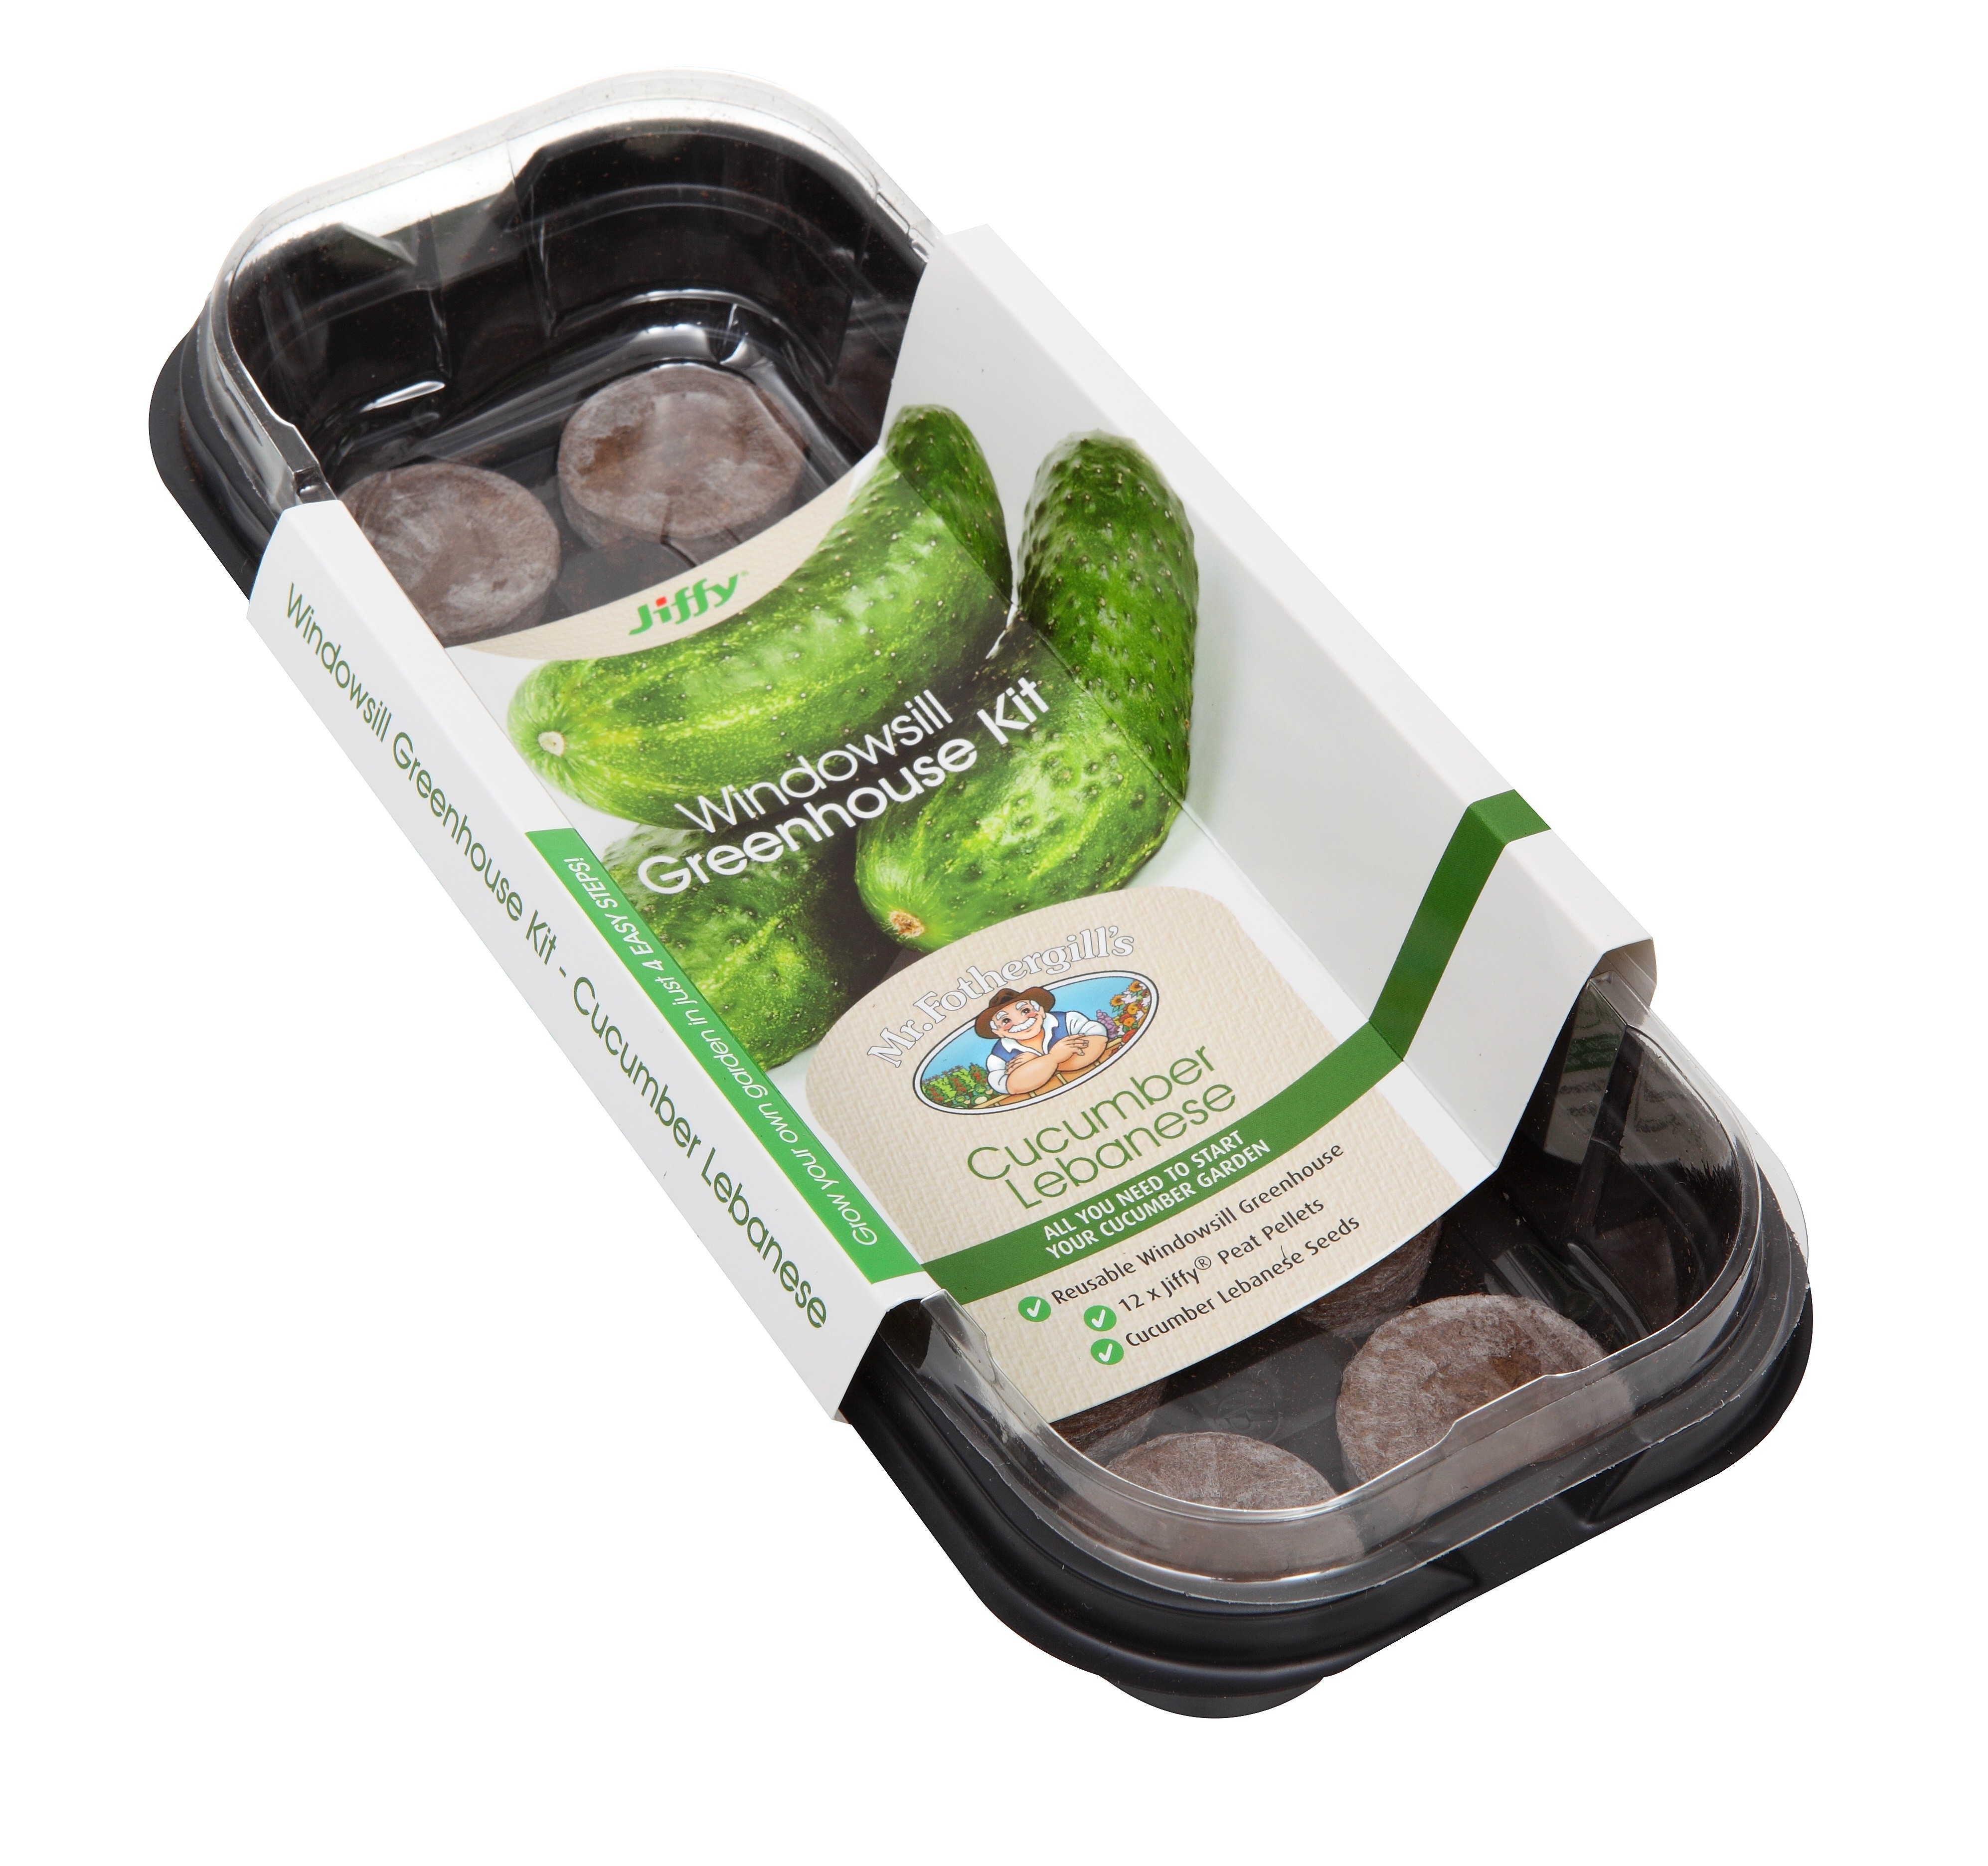
PK Reviews: Mr Fothergill’s Windowsill Greenhouse Kits
The lovely people at Mr Fothergill’s (Australia) have sent me out four of their Windowsill greenhouse kits to review. I am reviewing the Lebanese Cucumber kit here and I have asked three of my friends to trial the others.

I simply love this company’s ethos and focus on consistently delivering a good product. Although not a small business I feel like they are eager to carry on the support and engagement even after you purchase their products. Anything that gets people interested in growing their own vegetables gets my respect.
You have to have a number of strategies to do this, not everyone has a large garden (or a garden at all) and Mr Fothergill’s ‘all in one propagation’ line might be the key to unlocking their passion.
Two other big things to note. Firstly, and this might be very important to you, none of the seeds in any range sold by Mr Fothergill’s are Genetically Modified. Secondly, although a large amount of this product is plastic, they are fully reusable. You just replace the peat pellets, buy some more seeds and you are good to go.
Ok, unboxing time 🙂
The kits retail for about $9 AUD and you can order them here online or at your local Bunnings.
This is what you get:
- A reusable Windowsill Greenhouse
- 12x Jiffy peat pellets
- A packet of Cucumber Lebanese seeds
I chose a spot in the kitchen close to the window that gets the morning sun but not any direct sunlight.
Next I added warm water and the result made my toddler’s eyes go wide as we watched together as the peat pellets expanded over about 5 minutes.

Then I worked the little hole on top of each pellet open a bit, added a seed to each one and gently pressed the lid on. You get a few extra seeds in the pack so some of the pellets got two.
When I start to see germination I will crack the lid a bit and when the seedlings are all underway I will remove the lid.
I can’t wait to transfer them to my garden as I have never grown cucumbers before. I had better look into what sort of trellis they need.
I will let you know how I get on :).
Thanks again to Mr Fothergill’s Seeds and Bulbs,
PK
Written by
·
-

PK’s NoRecipe Perfect Hard Boiled Eggs
I love hard boiled eggs served warm with a pinch of salt and pepper or cold and sliced in a salad. I want to share a method for making the perfect hard boiled egg that I learnt as a child.
Take a small saucepan and fill with enough room temperature water to cover the eggs. Gently place the eggs into the water, turn the hob on high heat (use a small burner) and bring to a vigorous boil.

Once the water is boiling like crazy, leave the eggs in for a minute longer and then fish them out with a slotted spoon or the like.
Let them cool on the counter top for a bit.
Under gently running cold water, peel the eggs and then pat dry. The older the eggs the easier the shell will come off. Put the shells in your vegetable garden beds to ward of those pesky cabbage moths.
Pat the eggs dry and eat them how you like.
I normally steal a few at this point :).
Look at this free range goodness:

Enjoy,
PK
Written by
·
-

PK’s Thai Beef Salad
I love south east asian salads. They are a feast for your eyes and your taste buds. The range of flavours is diverse and so hard to get right sometimes. The pay off is worth it though and this particular dish is no exception. It is now a family favourite and lends itself well to any communal meal.
I have shown my timing preferences below for serving the salad with warm beef slices. Of course, if you prefer cold meat in this dish, you can make them in any order and well ahead of time. Oh and don’t forget to bring your steaks out of the fridge a little earlier so they are approaching room temperature as they go in the frypan.
STEPS:
- Make the Nam jim dressing
- Roast the rice
- Gather the salad ingredients
- Cook the beef steaks
- Serving Suggestions
You will need:
- Nam jim Ingredients (repeated here for your shopping list):
- 1 tsp powdered kashmiri chilli
- 5 coriander roots (cilantro)
- 3 garlic cloves
- 2.5cm piece fresh ginger root
- 3 Tbsp fish sauce
- 3 Tbsp lime juice
- 1 Tbsp palm sugar
- Roasted Rice Ingredients
- 100g of basmati or jasmine rice
- 1 Tbsp of rock sea salt
- Salad Ingredients
- several large cabbage leaves (1 per person)
- 2 cups baby spinach leaves
- 1 handful of coriander leaves and stems
- 1/2 large red capsicum
- 1/3 of a burpless cucumber
- 1 red shallot
- 1 spring onion
- 6 cherry tomatoes
- 1 cup bean sprouts
- 1 handful of mint leaves
- 1 medium carrot
- 1 handful of snow peas
- your favourite fresh chilis (optional)
- unsalted peanuts to taste (optional)
- Steak Ingredients
- small eye fillet steaks (1 per person)
- ground black pepper to taste
- table salt to taste
- kecap manis or soy sauce (optional)
- Equipment
- an oven tray
- a mortar and pestle
- a chopping board
- a small serving bowl for the roasted rice
- a large salad bowl
- a large frypan
Make the Nam jim dressing

Steps:
- Make the Nam Jim dressing as per PK’s Favourite Nam Jim Dressing.
Roast the rice
Steps:
- Pre-heat your oven to 200° C.
- Spread the rice grains across an oven tray and cook for about 15 minutes or until golden brown.
- Remove them from the oven and allow them to cool.
- Grind 1 Tbsp of rock sea salt in a mortar and pestle.
- Add the cooled roasted rice grains to the mortar and pestle and grind to your desired consistency. I personally like the result to be variably granulated and not fully powdered.
- Add to a small serving bowl.
Gather the salad ingredients
Steps:
- Wash and dry all of the vegetables.
- Put the cabbage leaves aside as you won’t need them until serving time.
- Keep the 1 cup of bean sprouts aside for the same reason
- Slice and then
- To a large salad bowl add:
- 2 cups baby spinach leaves
- 1 handful of hand torn coriander leaves and stems
- 1/2 red capsicum fine sliced (deseeded and pith removed)
- 1/3 of a burpless cucumber sliced and quartered
- 1 shallot fine sliced
- 1 spring onion fine sliced
- 6 halved cherry tomatoes
- 1 handful of hand torn mint leaves
- 1 medium carrot fine sliced (I use a potato peeler to make thin strips)
- 1 handful of hand torn snow peas (chop the ends off each first.
Cook the beef steaks

Steps:
- Preheat your frypan and add a splash of olive oil. You could barbecue them outside of course but I prefer a frypan when cooking eye fillet steaks.
- Cook the eye fillet steaks to medium rare and allow them to rest, optionally adding a bit of kecap manis or soy sauce at this point.
- Thinly slice the cooked steaks.
Serving Suggestions
Steps:
- Place a whole cabbage leaf on each plate.
- Fill to the brim with the salad ingredients.
- Add the beef slices.
- Throw some bean sprouts over the top.
- Serve to the table and let each person add as much or as little of the roasted rice and Nam jim dressing as they like.
- Have sliced fresh chillis and unsalted peanuts on the table for just the same reason.
Enjoy,
PK
Written by
·
-

PK’s NoRecipe Oven Baked Potatoes
Perfectly crisp on the outside, fluffy in the middle, these baked potatoes are perfect for a Perth winter night. This is a great meal for enjoying with friends and family as you can build your own topping as you go. There is nothing better than eating with your hands as you chat away :).
I suggest 1.5 medium potatoes per adult and then add a few more for tomorrow’s lunch :).
Everyone has their favourite potato variety that you must use for baked potatoes. However, I have found that you can make perfect oven baked potatoes from most varieties. I think I am using Carlingfords here but only because in Western Australia we are pretty limited on the varieties available.
STEPS:
- Prepare and cook the potatoes
- Prepare your toppings
- Serving
You will need:
- Ingredients:
- your favourite potatoes
- table salt
- ground black pepper
- your favourite toppings, sauces and condiments.
- Equipment
- paper towel
- a chopping board
- a long sharp knife
- an oven dish or oven rack
- several plates to serve the toppings
Prepare and cook the potatoes
Steps:
- Pre-heat your oven to 200 degrees Celsius.
- Scrub each potato to remove dirt, eyes and deeper imperfections.
- Dry them thoroughly using the paper towel, this is important for the crispy finish.
- Spray each potato with olive oil spray and dust them liberally with salt and pepper.
- Pop them on the oven rack (or oven dish) making sure there is space between them.
- Cook for about 1 hour (longer depending on your oven or if you are using really big potatoes). I test the largest potato at this stage. If it is ready the others are too.
Prepare your toppings
Steps:
- Harvest, chop, slice and gather your favourite toppings.
- Put them on plates in the middle of the table so your guests can build their own potato :).
Here is what I used. Sour cream, cheese and coleslaw are must haves 🙂

Serving
I can’t remember where I read this but it is the most important part of the process.
Just before serving the potatoes, you need to cut them, squeeze them with your thumbs and forefingers (to break up the insides) and then flatten them out a bit. This will let the steam out and stop the potato skin from going soggy. You will also have a great base to load the toppings onto.
Here is a video of me doing just that whilst trying not to burn my fingers:
Here are a few of my favourite combinations:
They don’t freeze but they do make a great lunch the following day:

Enjoy,
PK
Written by
·
-
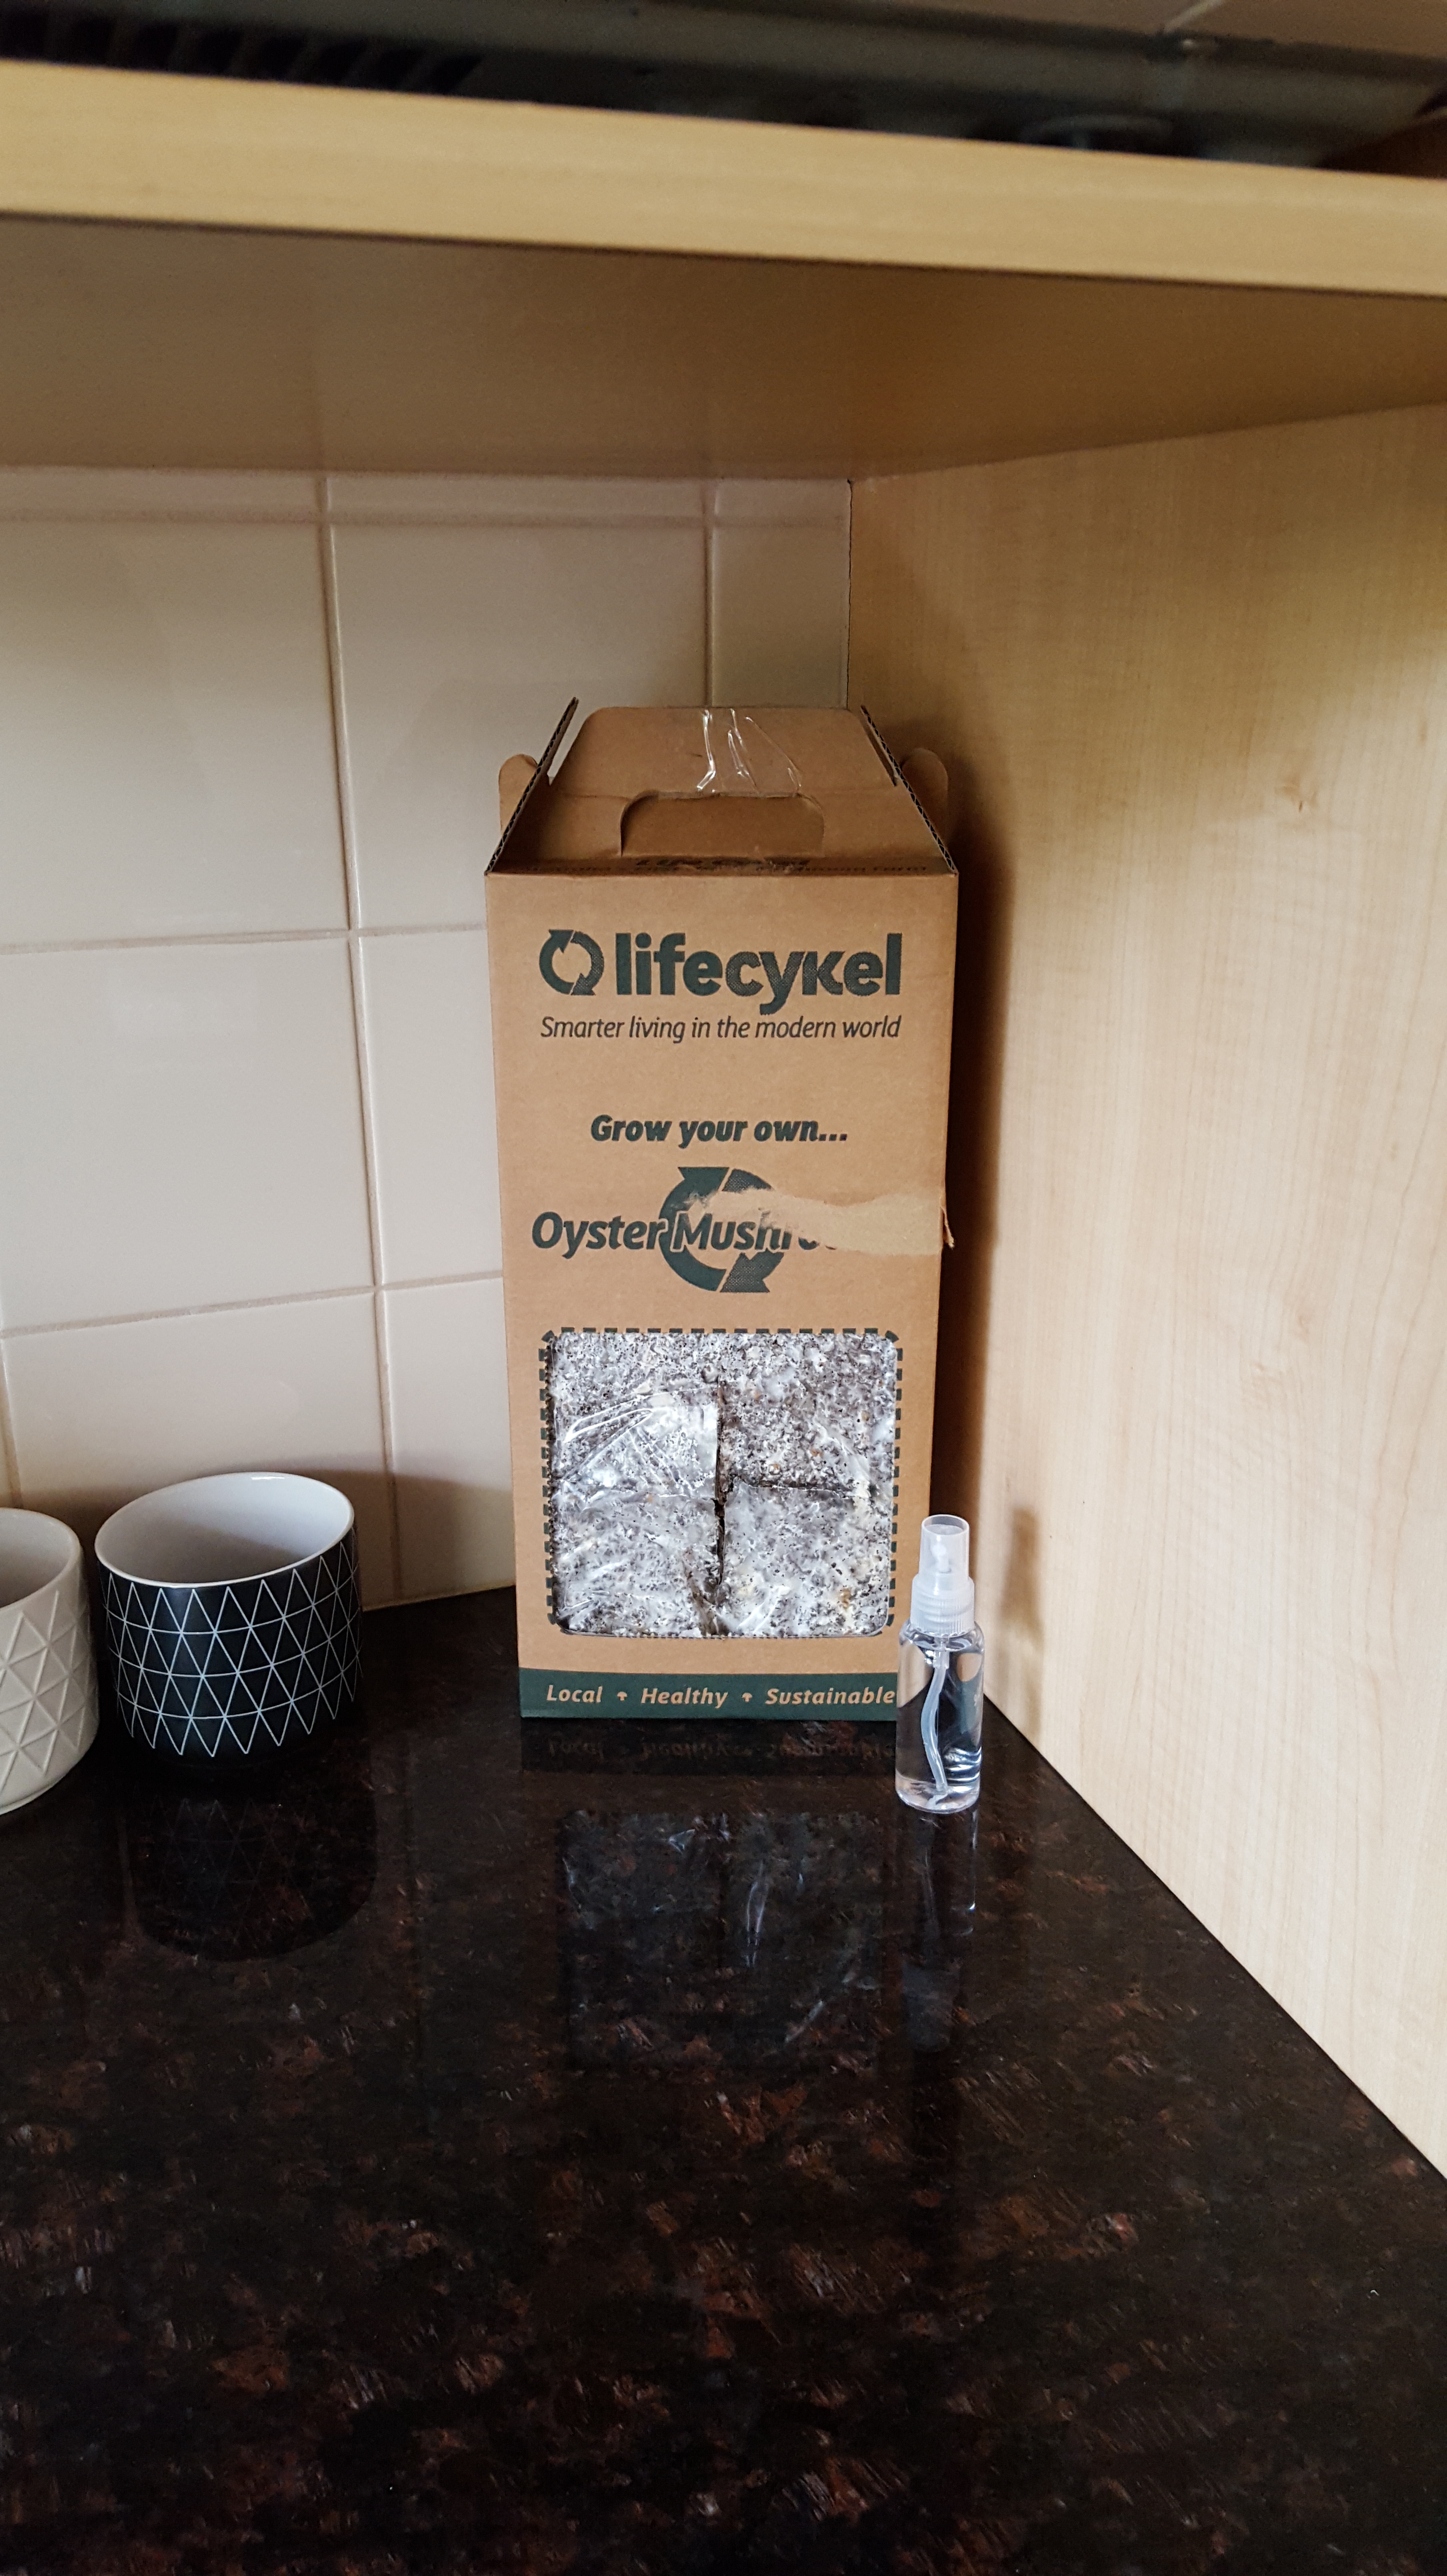
PK Reviews: Life Cykel Home Grown Mushroom Box
Julian Mitchell and Ryan Creed are doing amazing things over at LifeCykel. Based in Fremantle, Western Australia and with an ethos of growing food in a sustainable way, they have created the world’s first urban mushroom farm. The amazing thing is that their growing medium is coffee grounds collected from local businesses. They even go one step further and compost the growing medium once it has served its purpose.
Now the lads have a product that allows you to grow your own mushrooms at home whilst leveraging their sustainability efforts. Yesterday my Home Grown Mushroom Box arrived and I got straight into it after work.
I am going to post my progress every few days 🙂
It couldn’t be easier to get going:
- Choose a location out of direct sunlight and heat sources. I chose the bathroom.
- Relocate to the kitchen when your wife says no to the bathroom 🙂
- Remove the recipe panel at the front of the box and cut a cross through the plastic.
- Open the box and remove the free misting bottle and the bag.
- Soak the bag, cut side face down, for 8 to 10 hours. I left mine overnight.
- Drain the excess water and place it back in the box.
- Wait patiently.
Please see the rest of the Home Grown Mushroom Box posts here. Follow the guys on Facebook, Instagram and at https://lifecykel.com.au/.
Enjoy,
PK
Written by
·
-

PK Makes Poh’s Nyonya Chicken Curry
What I like most about this dish is that you get to make your own curry paste (or in Nyonyan cuisine ‘a rempah’). Please see Malay for spice if you want more information.
When I cook this meal I reduce the sauce until it sticks to the chicken, the roof of your mouth and, of course, your fingers :).
I have tried it with boneless chicken breast but I have to say I prefer using chicken drumsticks. The bones make for a tastier sauce and the thighs for tenderer meat. If you don’t like the look of the bones at serving time use two forks to jerk the chicken.
My notes say that I originally got the recipe from Taste.com.au and that it was by Poh Ling Yeow. I can’t find that original post now but she wrote that it took her lots of trial and error to get that ‘authentic taste.’ She wrote “The first time I made this and it worked, I jumped around like a lunatic, I was so happy. I felt like I had conjured magic, to make a dish like this and have it hitting all those familiar notes of home”.
The ingredients list might look a bit daunting at first but trust me it is worth it. I have of course tweaked it a bit for my lazy cooking style and reduced the chili content for my family. Add your favourite whole chilis after the paste has been sautéed if you like it hot.
Oh, by the way, you can double the recipe as this meal freezes well. I recommend keeping any leftover rice in a separate container for a stress free microwave reheat.
STEPS:
- Make the rempah
- Cook the spices and then mix everything in one pot
- One pot simmer
You will need:
- Rempah Ingredients:
- 1 tsp table salt
- 1 tsp brown sugar
- 3.5 Tbsp whole coriander seeds
- 1.5 tsp whole cumin seeds
- 1.5 tsp whole fennel seeds
- 1 tsp powdered kashmiri chili (at the minimum)
- 1 Tbsp dried belacan (shrimp paste)*
- 1 Tbsb powdered turmeric
- 3 cloves garlic
- 270g red shallots (sliced)
- 1/3 cup vegetable oil
- Note *: I sometimes use a treacle consistency type of belacan but find it too sticky and harder to blend than the dried version.
- Curry Ingredients
- 3 Tbsb coconut cream
- 10 sprigs of curry leaves
- 1 star anise
- 2 whole cloves
- 1 cinnamon stick
- 1.5kg chicken thigh fillets
- 500g potatoes
- 500ml coconut milk
- Rempah Equipment
- a chopping board
- a long sharp knife
- a medium sized bowl
- a small plate
- a wet blender with a very small bowl
- a dry spice mixer (or a mortar and pestle)
- Curry Equipment
- a chopping board
- a long sharp knife
- a measuring cup for the coconut milk
- 2 large plates
- a large deep frypan or stockpot
Make the rempah
I listed all the ingredients for the curry itself and the rempah for your shopping lists but I’ve actually posted the rempah recipe separately here – A Nyonya Rempah.
Cook the spices and then mix everything in one pot
In summary:
Steps:
- Peel, halve and parboil the 500g of potatoes in the saucepan. Rinse and then drain them.
- Bring the 3 Tbsp coconut cream, 1 star anise, 2 whole cloves and the 1 cinnamon stick together. Then chuck them in the pot.
- Bring your Nyonya curry paste out of the fridge and let it come up to room temperature somewhat. If you are using a frozen batch you should have defrosted it fully by now. Chuck the paste in the pot too.
- Sauté everything that is in the pot for about 10 minutes. Watch the colour of the Nyonya paste change and the oil start to separate out. See the image below showing the raw paste on the left and the cooked paste on the right. By now your kitchen is smelling amazing :).

- To the pot, add the 1.5kg chicken thigh fillets, pausing to mix them with the spice blend as you go.
- Add the now parboiled potatoes, 10 sprigs of curry leaves and 500ml of coconut milk to the pot and simmer until the potatoes and chicken legs are cooked through.
Serve with lots of your favourite rice. Mine is Basmarti and please don’t tell anyone I use the store bought packets you microwave for 90 seconds.

Thanks Poh,
PK
Written by
·
-
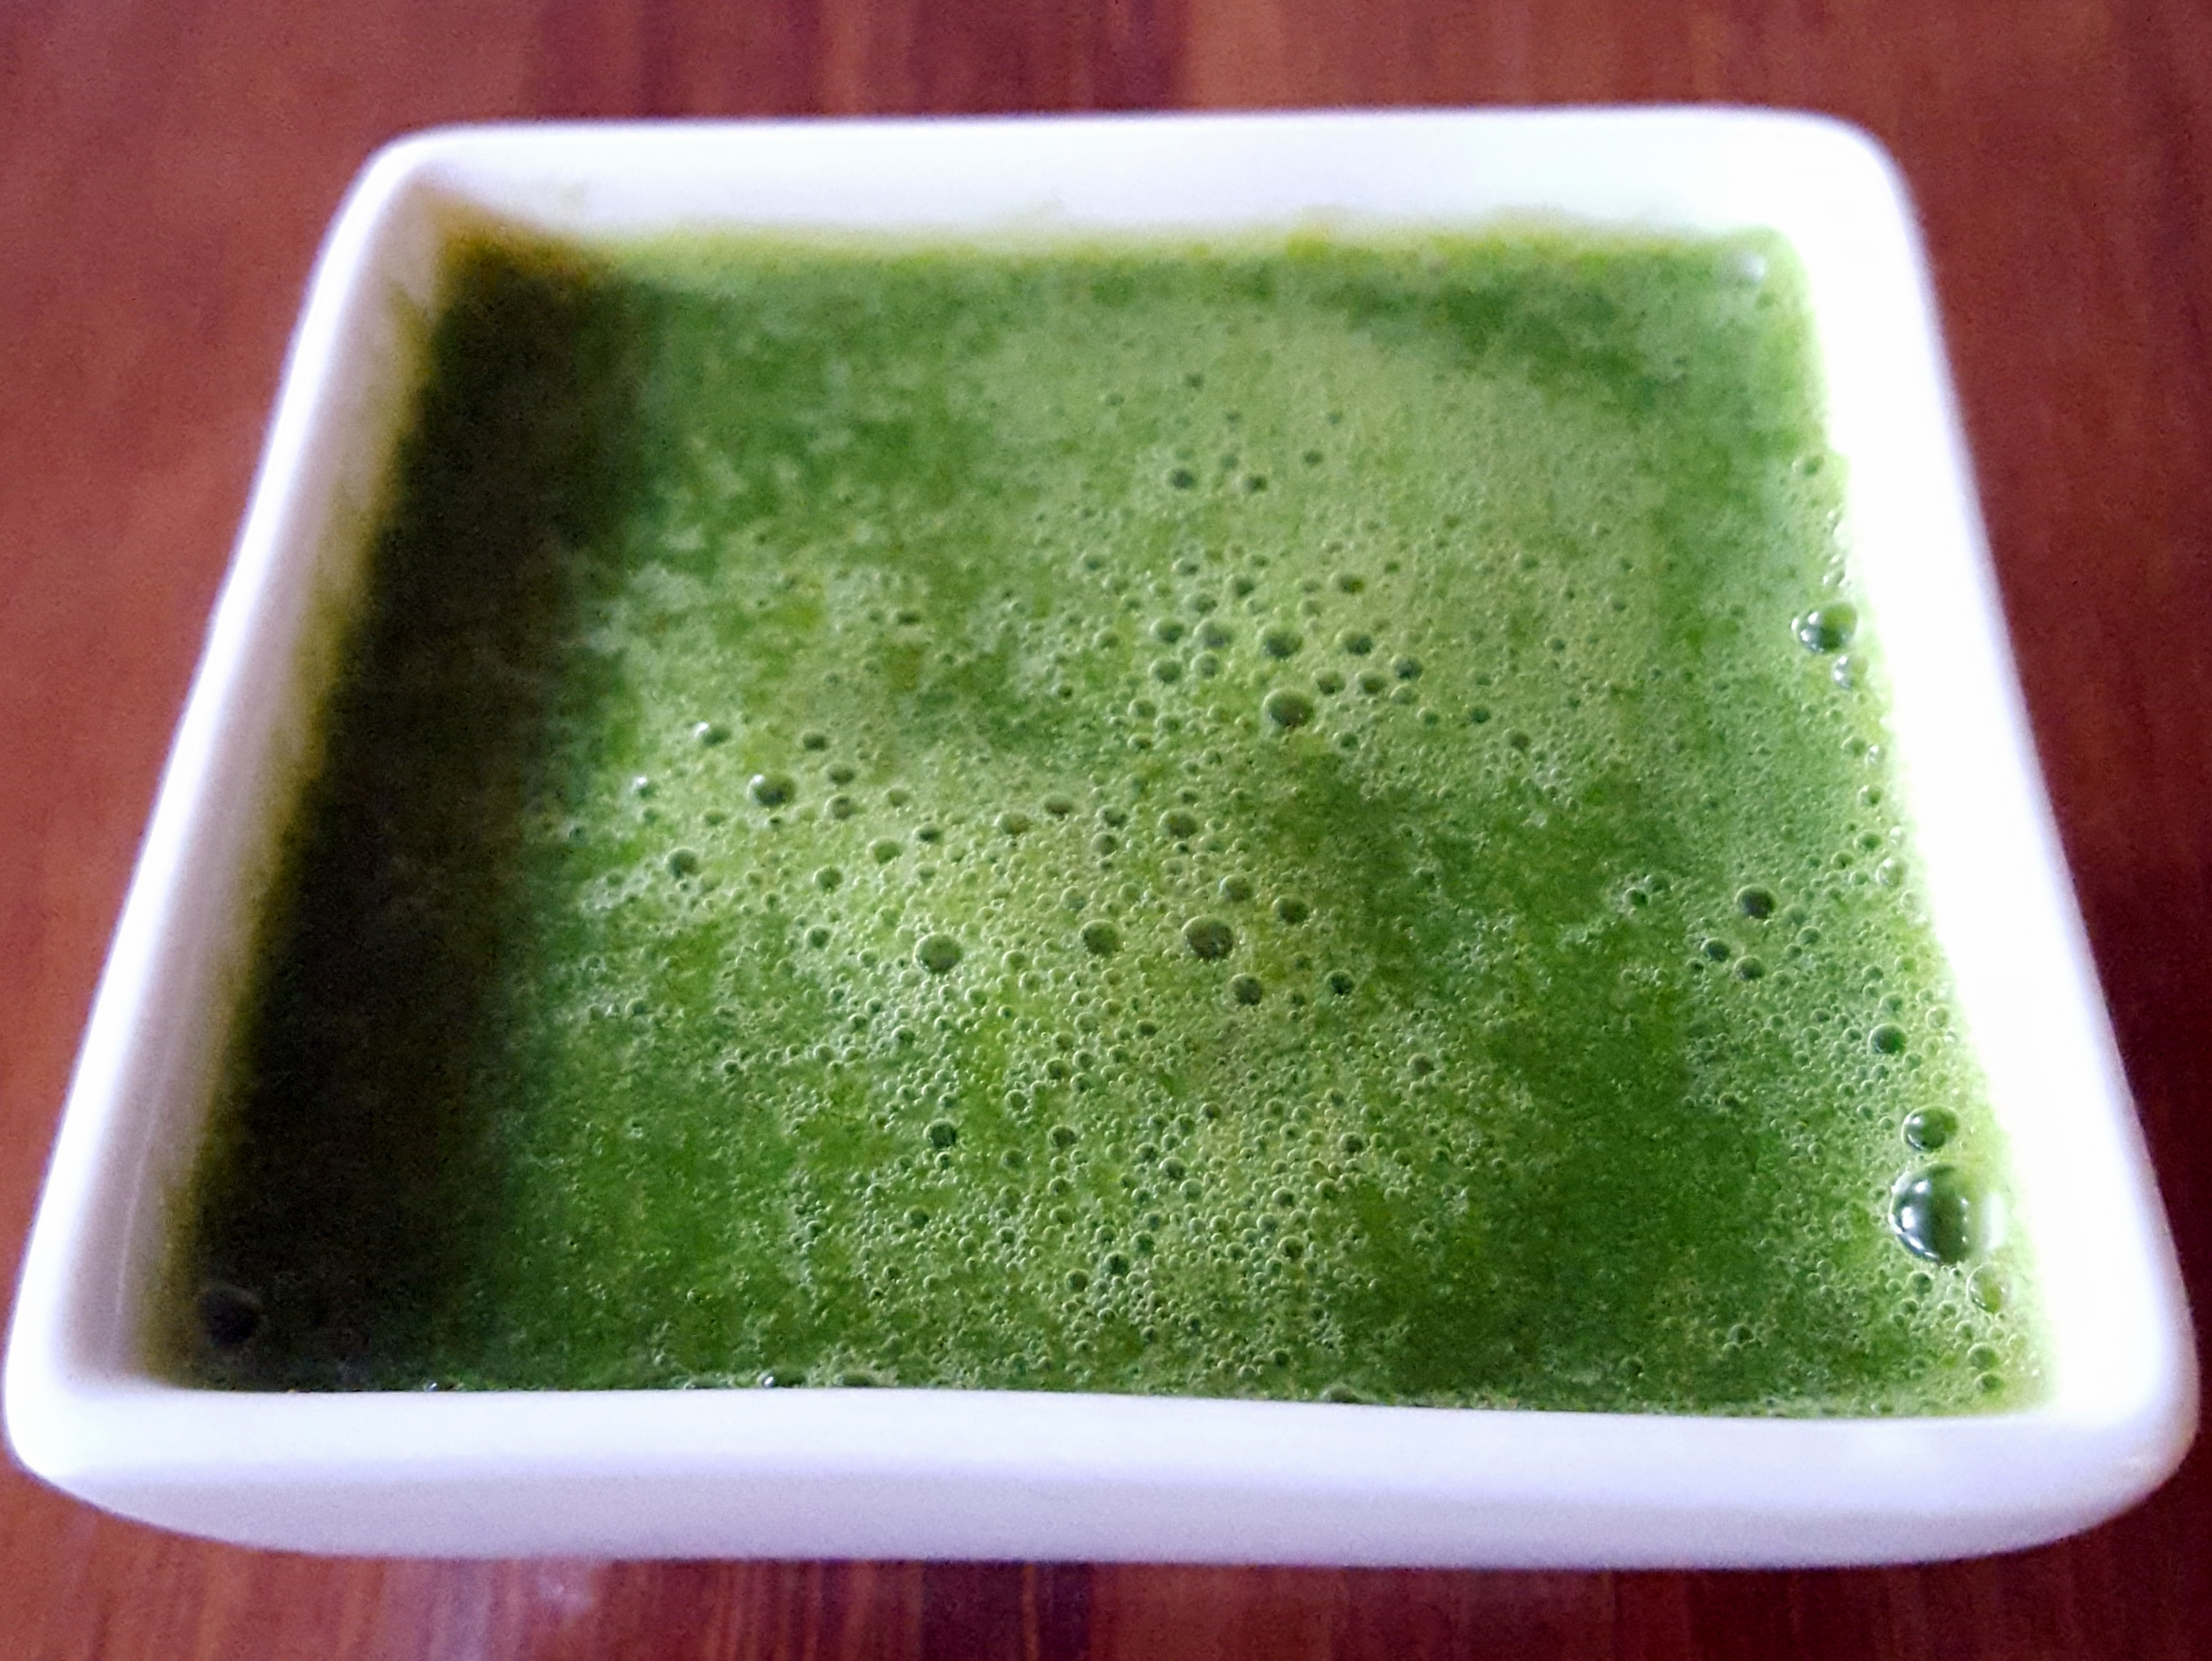
PK’s Coriander And Garlic Sauce
I first had this sauce (store bought) when I was in Darwin 2016.
It is simple to make but it packs a real astringent wallop. I used this recipe originally from http://www.tarladalal.com/ (this site is amazing FYI) and I am going to experiment a bit with the amount of garlic and sugar . I also blended it the first time and I think that made it too potent :).
It goes great drizzled on a green or your Asian salad of choice. You can even use it as a dipping sauce for spring rolls and the like.
You will need:
- Ingredients:
- 1 Tbsp brown sugar
- 2 cloves garlic
- 1 Tbsp coriander leaves (cilantro)
- 1 Tbsp fresh green chilis
- 0.5 Tbsp fresh lemon juice
- 2 tsp white vinegar
- 2 Tbsp water
- Equipment
- a chopping board
- a long sharp knife
- a medium sized bowl
- a serving bowl
- optional: a wet blender with a very small bowl
Make the sauce

Steps:
- Rough chop the 1 Tbsp worth of coriander leaves and add them to a bowl.
- Peel and finely chop the 2 garlic cloves. I use the knife to gently smash the garlic clove first to make it easier to peel. Chuck this in the bowl.
- Finely chop the 1 Tbsp worth of green chilis and (you guessed it) add it to the bowl.
- Squeeze about 0.5 Tbsp of lemon juice and add this to the bowl along with:
- 1 Tbsp brown sugar
- 2 tsp white vinegar
- 2 Tbsp water
- Now you can either mix the sauce with a fork or optionally blend it in the wet mixer for a few pulses.

Enjoy,
PK
Written by
·
- Ingredients:
-

PK’s Nyonya Rempah
This Malaysian curry paste looks hard to make on first glance. After a few goes though you will be able to make it blindfolded and I hope like me you find it an enjoyable process :).
I make it well ahead of time for my favourite south-east Asian curry, a sticky Nyonyan Chicken Curry (see the post here). Please give this paste recipe a try, you won’t be disappointed. The only drawback is that you might not look at store bought pastes in the same light ever again.
Note: All my recipes have their chili quota curbed at my family’s request. I am slowly increasing the amount on the sly so don’t tell them :). Add extra chili for that authentic taste if you can get away with it.
You will need:
- Ingredients:
- 1 tsp table salt
- 1 tsp brown sugar
- 3.5 Tbsp whole coriander seeds
- 1.5 tsp whole cumin seeds
- 1.5 tsp whole fennel seeds
- 1 tsp powdered kashmiri chili (at the minimum)
- 1 Tbsp dried belacan (shrimp paste)*
- 1 Tbsb powdered turmeric
- 3 cloves garlic
- 270g red shallots (sliced)
- 1/3 cup olive oil
- Note *: I sometimes use a treacle consistency type of belacan but it is so sticky and harder to blend than the dried version.
- Equipment
- a chopping board
- a long sharp knife
- a small bowl
- a small plate
- a wet blender with a very small bowl
- a dry spice mixer or a mortar and pestle
Make the rempah
Steps:
- Have a quick read of my PK’s Curry Paste Kit post if it has been a while.
- Bring all of the rempah ingredients together. I use a small plate to make it easier to add the ingredients to the frypan or blender.
- Dry fry the whole spices (3.5 Tbsp whole coriander seeds, 1.5 tsp whole cumin seeds and 1.5 tsp whole fennel seeds).
- Let them cool and add to your spice mill. Mill them in bursts to avoid cooking the spices further in the heat caused by the blades. Keep going until you get a fine powder. Add this powder to your wet mixer and enjoy the aroma.
- Roughly chop the 270g red shallots and 3 garlic cloves and add to the wet mixer.
- I use Sim Seng Lee brand dried belacan (1 Tbsp worth) and it stores really well and doesn’t smell out the house! Add it to the wet mixer.
- Add the rest of the ingredients to the wet blender (1/3 cup olive oil, 1 tsp salt, 1 tsp sugar, 1 tsp kashmiri chili and 1 Tbsb powdered turmeric).
- Blend to a smooth paste, add to a bowl and place in the fridge for short-term use or the freezer otherwise.
Better than a store bought paste by a long shot:

Enjoy,
PK
Written by
·
- Ingredients:
-
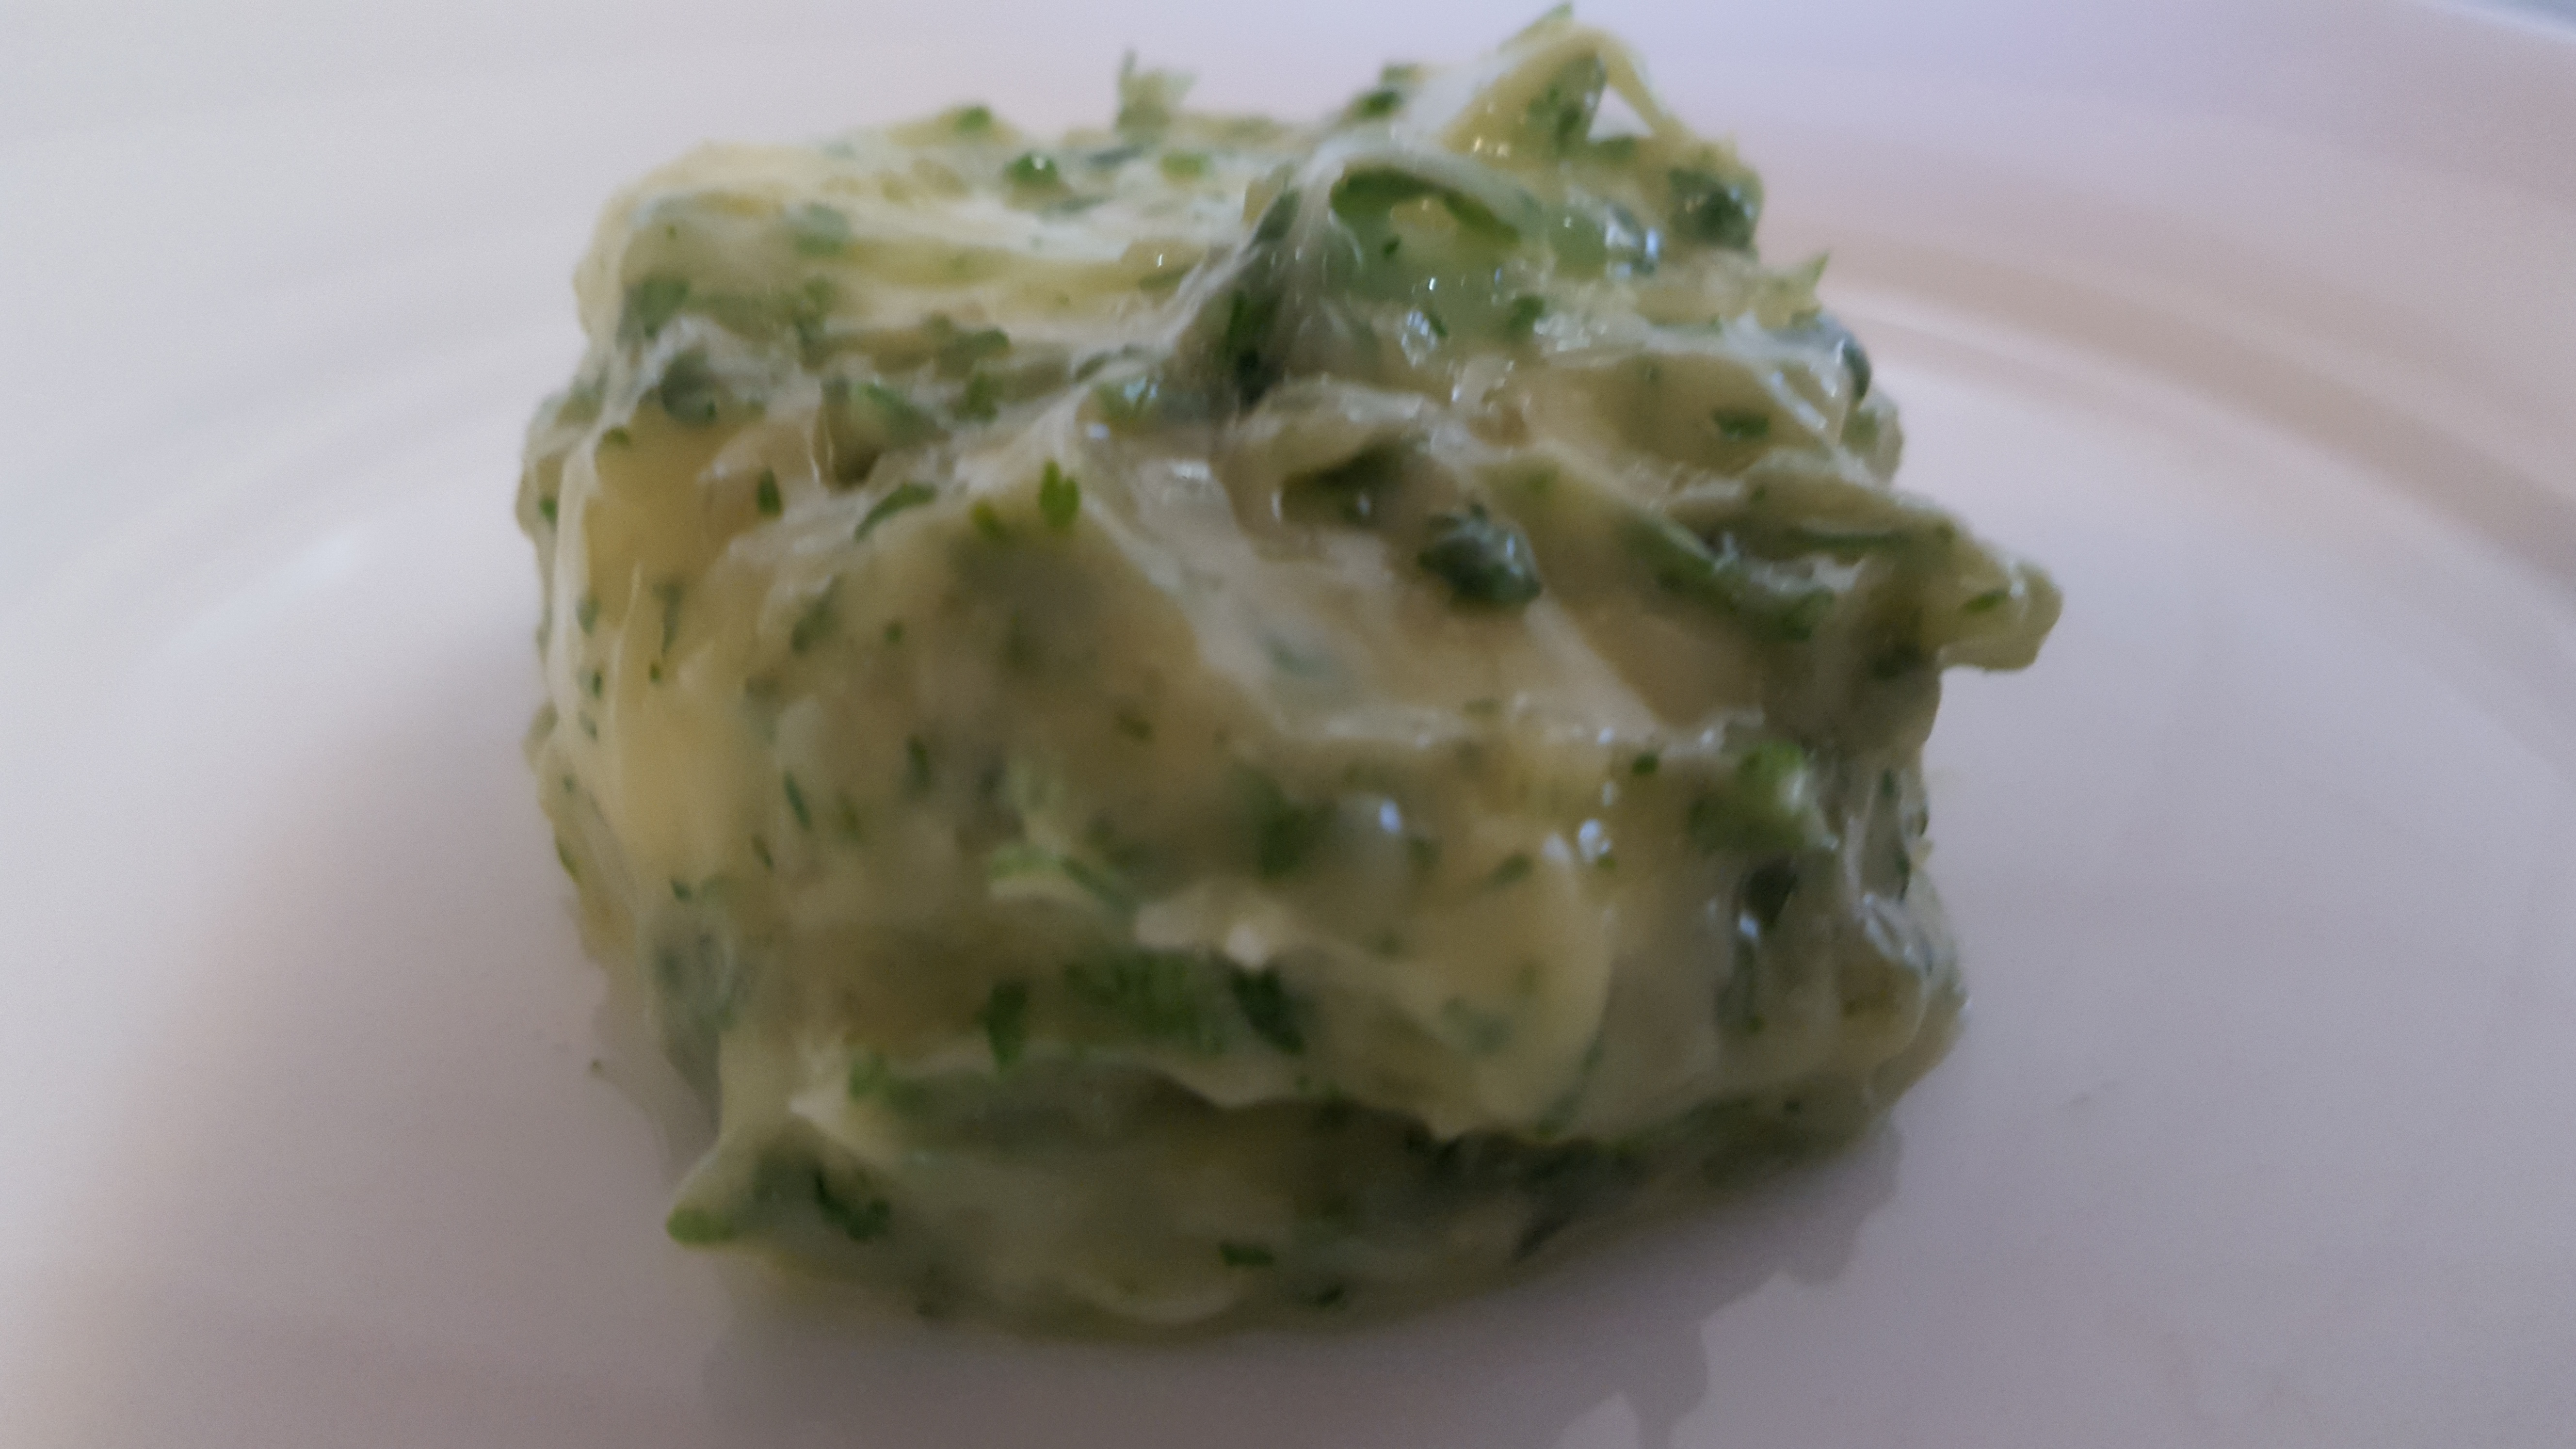
PK’s NoRecipe Garlic Butter
A really simple chives and parsley flavoured garlic butter that goes well with anything. You can even add some dill to make it the perfect partner with seafood without fear of it taking over in the taste department. I suppose it would probably keep for a while in the fridge but I have only ever made enough to use straight away.
Bring together your desired amount of butter or margarine or butter blend and add:
- parsley
- chives
- dill (optional and great for seafood use)
- thyme or lemon thyme
- minced garlic
I bring the butter to room temperature to make it soft and workable. Finely chop the rest of the ingredients and fold them in. I then roll it all into a ball and chill the whole lot again.


Roll and chill (it will last a few days in the fridge):

My usage suggestion:

Enjoy,
PK
I like making infused butters and here are some other butter posts.
Written by
·