Tag: citrus
-
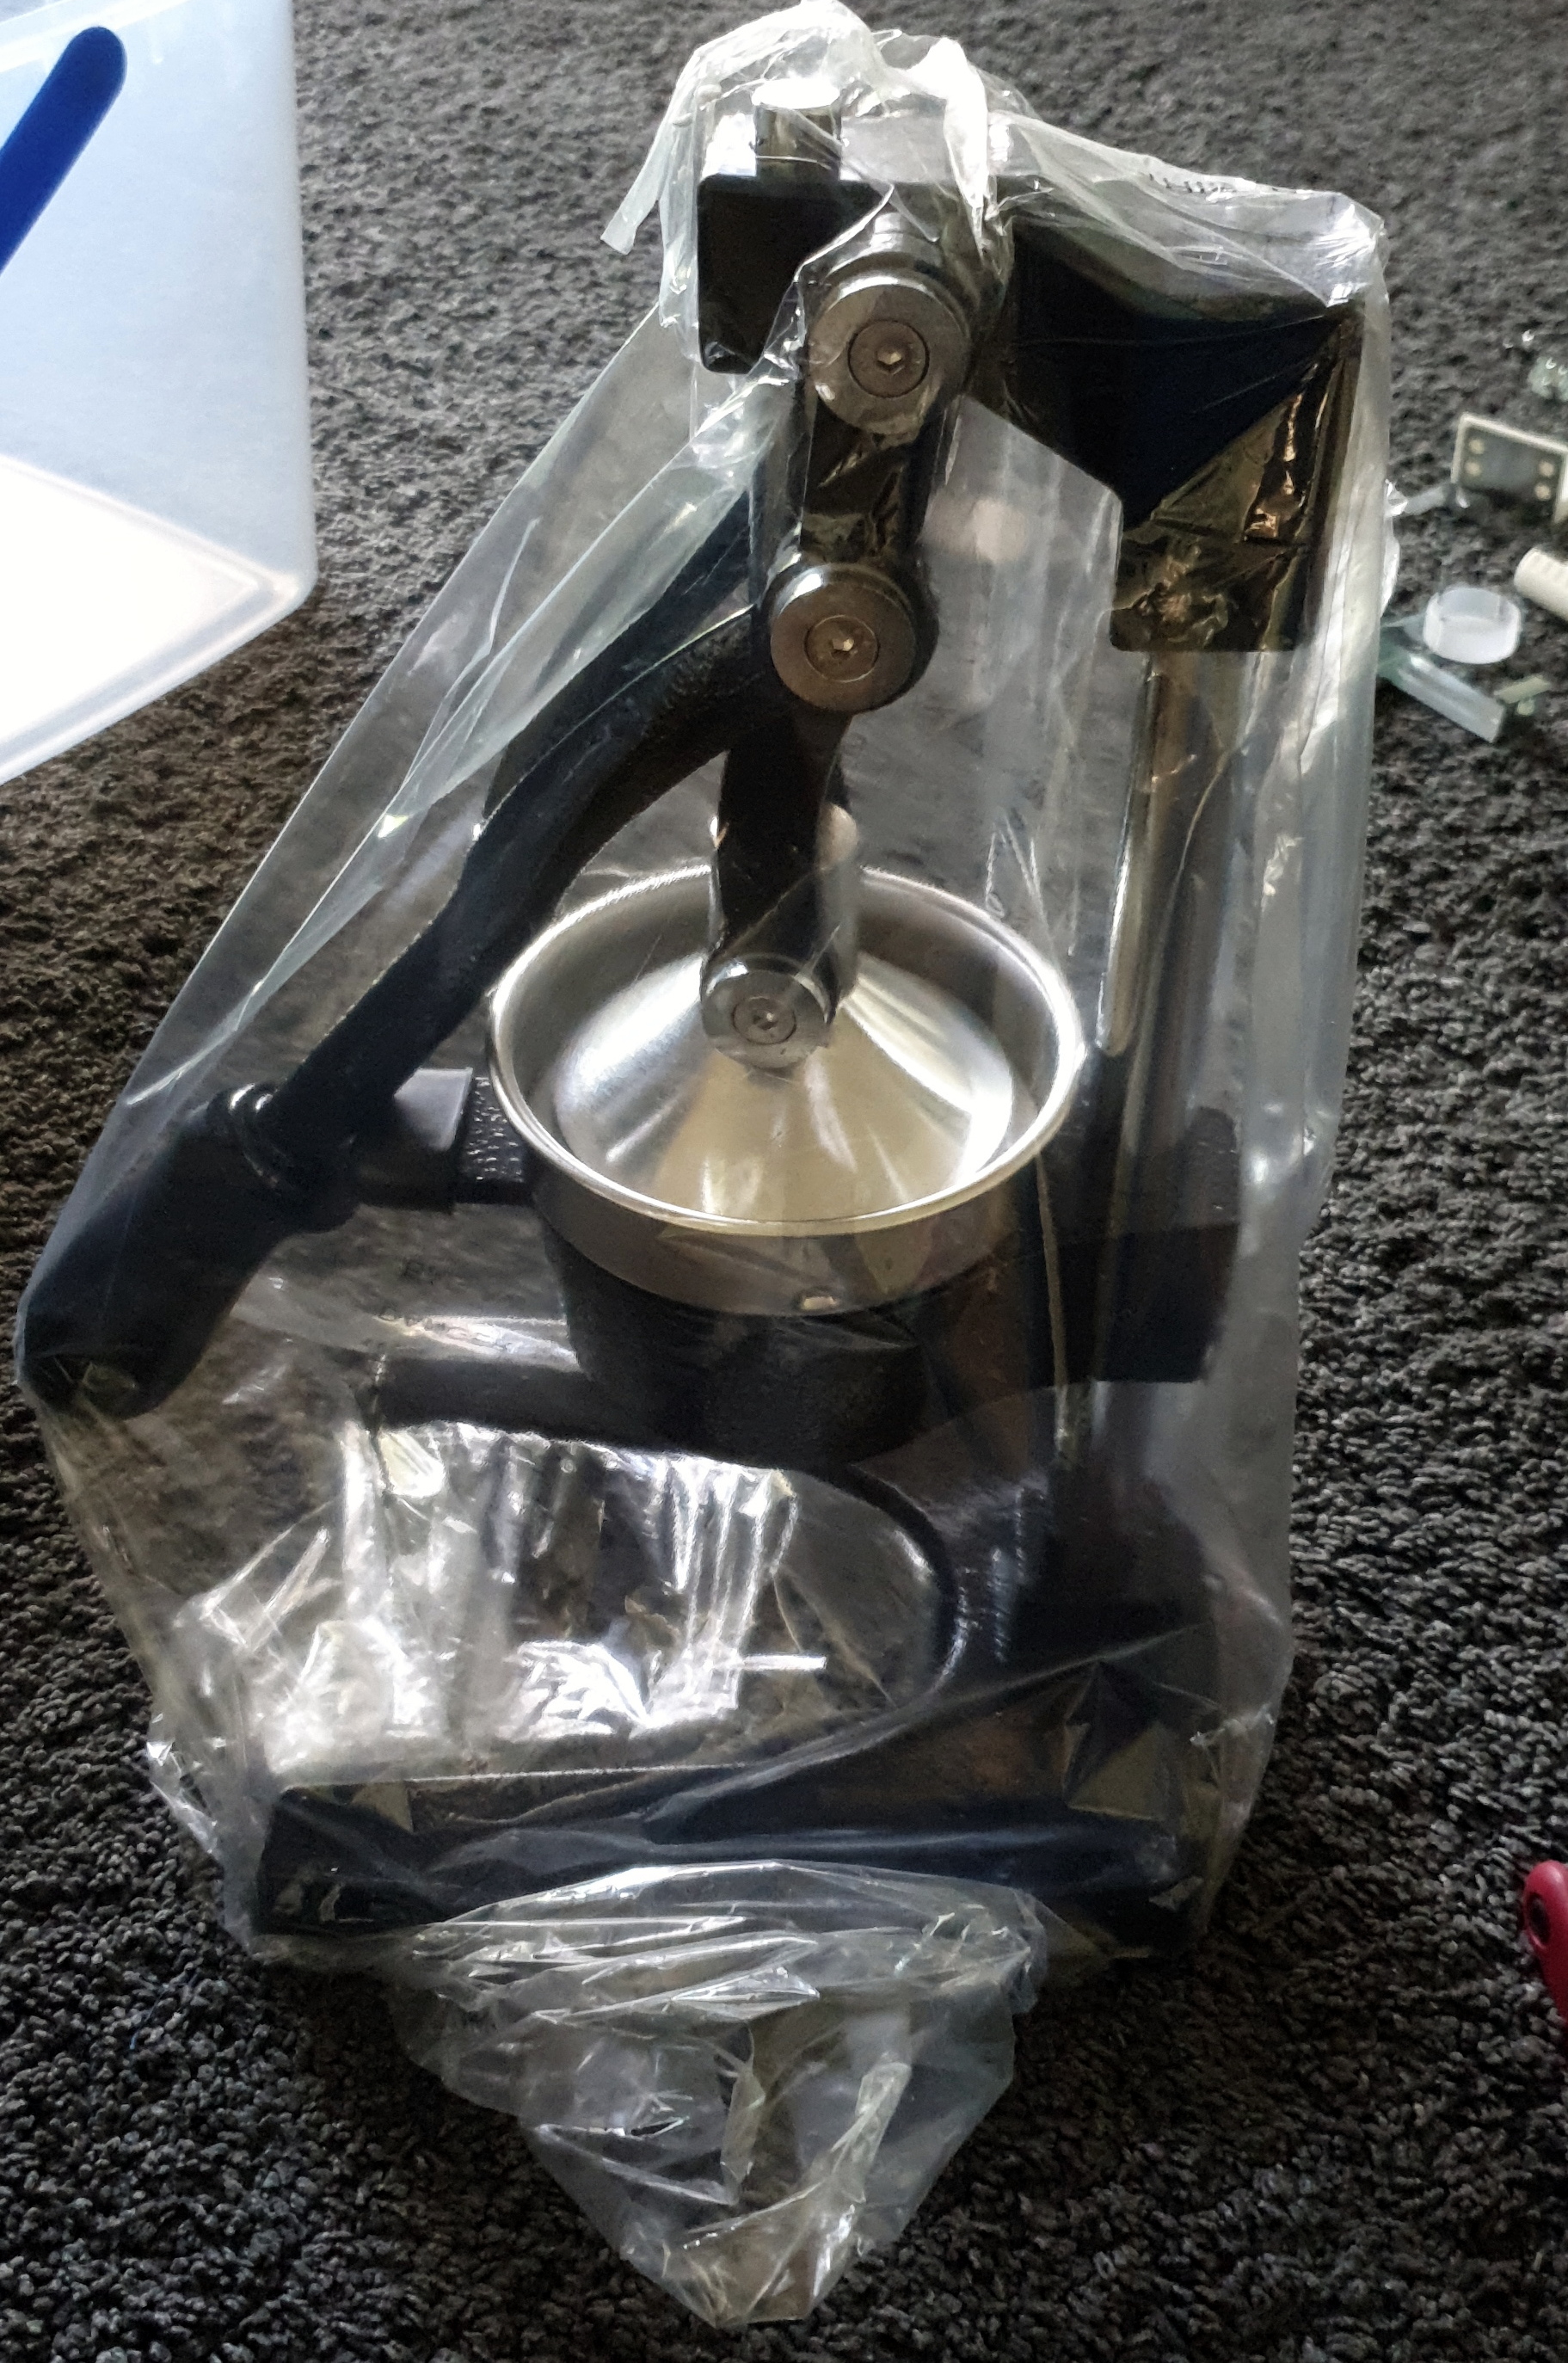
Soga Citrus Lever Hand Press Review
As usual around this time of year I am drowning in lemons, limes and oranges. A great problem to have!
Apart from eating them fresh you can do so much with them. Making jars of preserved citrus, drying slices of them and making home-made salad dressings are just a few examples. I have many more here.
Best of all is making fresh juice and lemonades. I’ve had a variety of presses and juices over the years but they are either hard work and or messy. So this year I bought a Soga hand operated lever press that makes short work of any citrus glut. I am not endorsed to say this but I love it because it doesn’t use electricity, is not made from plastic and actually cleans up as easily as advertised.

The unit is well made and has a nice heavy stable base. The lever action is powerful, you don’t even need to cut the larger fruit into pieces.
Just look at how much juice was extracted from this lemon:

It breaks down easily for cleaning. The metal sieves wash up easily in soapy water and I wipe the rest of the press down with a wet cloth.
So, any negatives?
I am keeping an eye on the bolts that hold the lever in place. I noticed a bit of surface rust after a few months. So I am protecting them with a bit of olive oil after each use.
At the end of the day though I feel that I have tried everything else including electrical cold press juicers but I prefer my hand press for a steady supply of cold juice.

I hope my review helps you,
PK
Here are some more of my reviews:
Written by
·
-
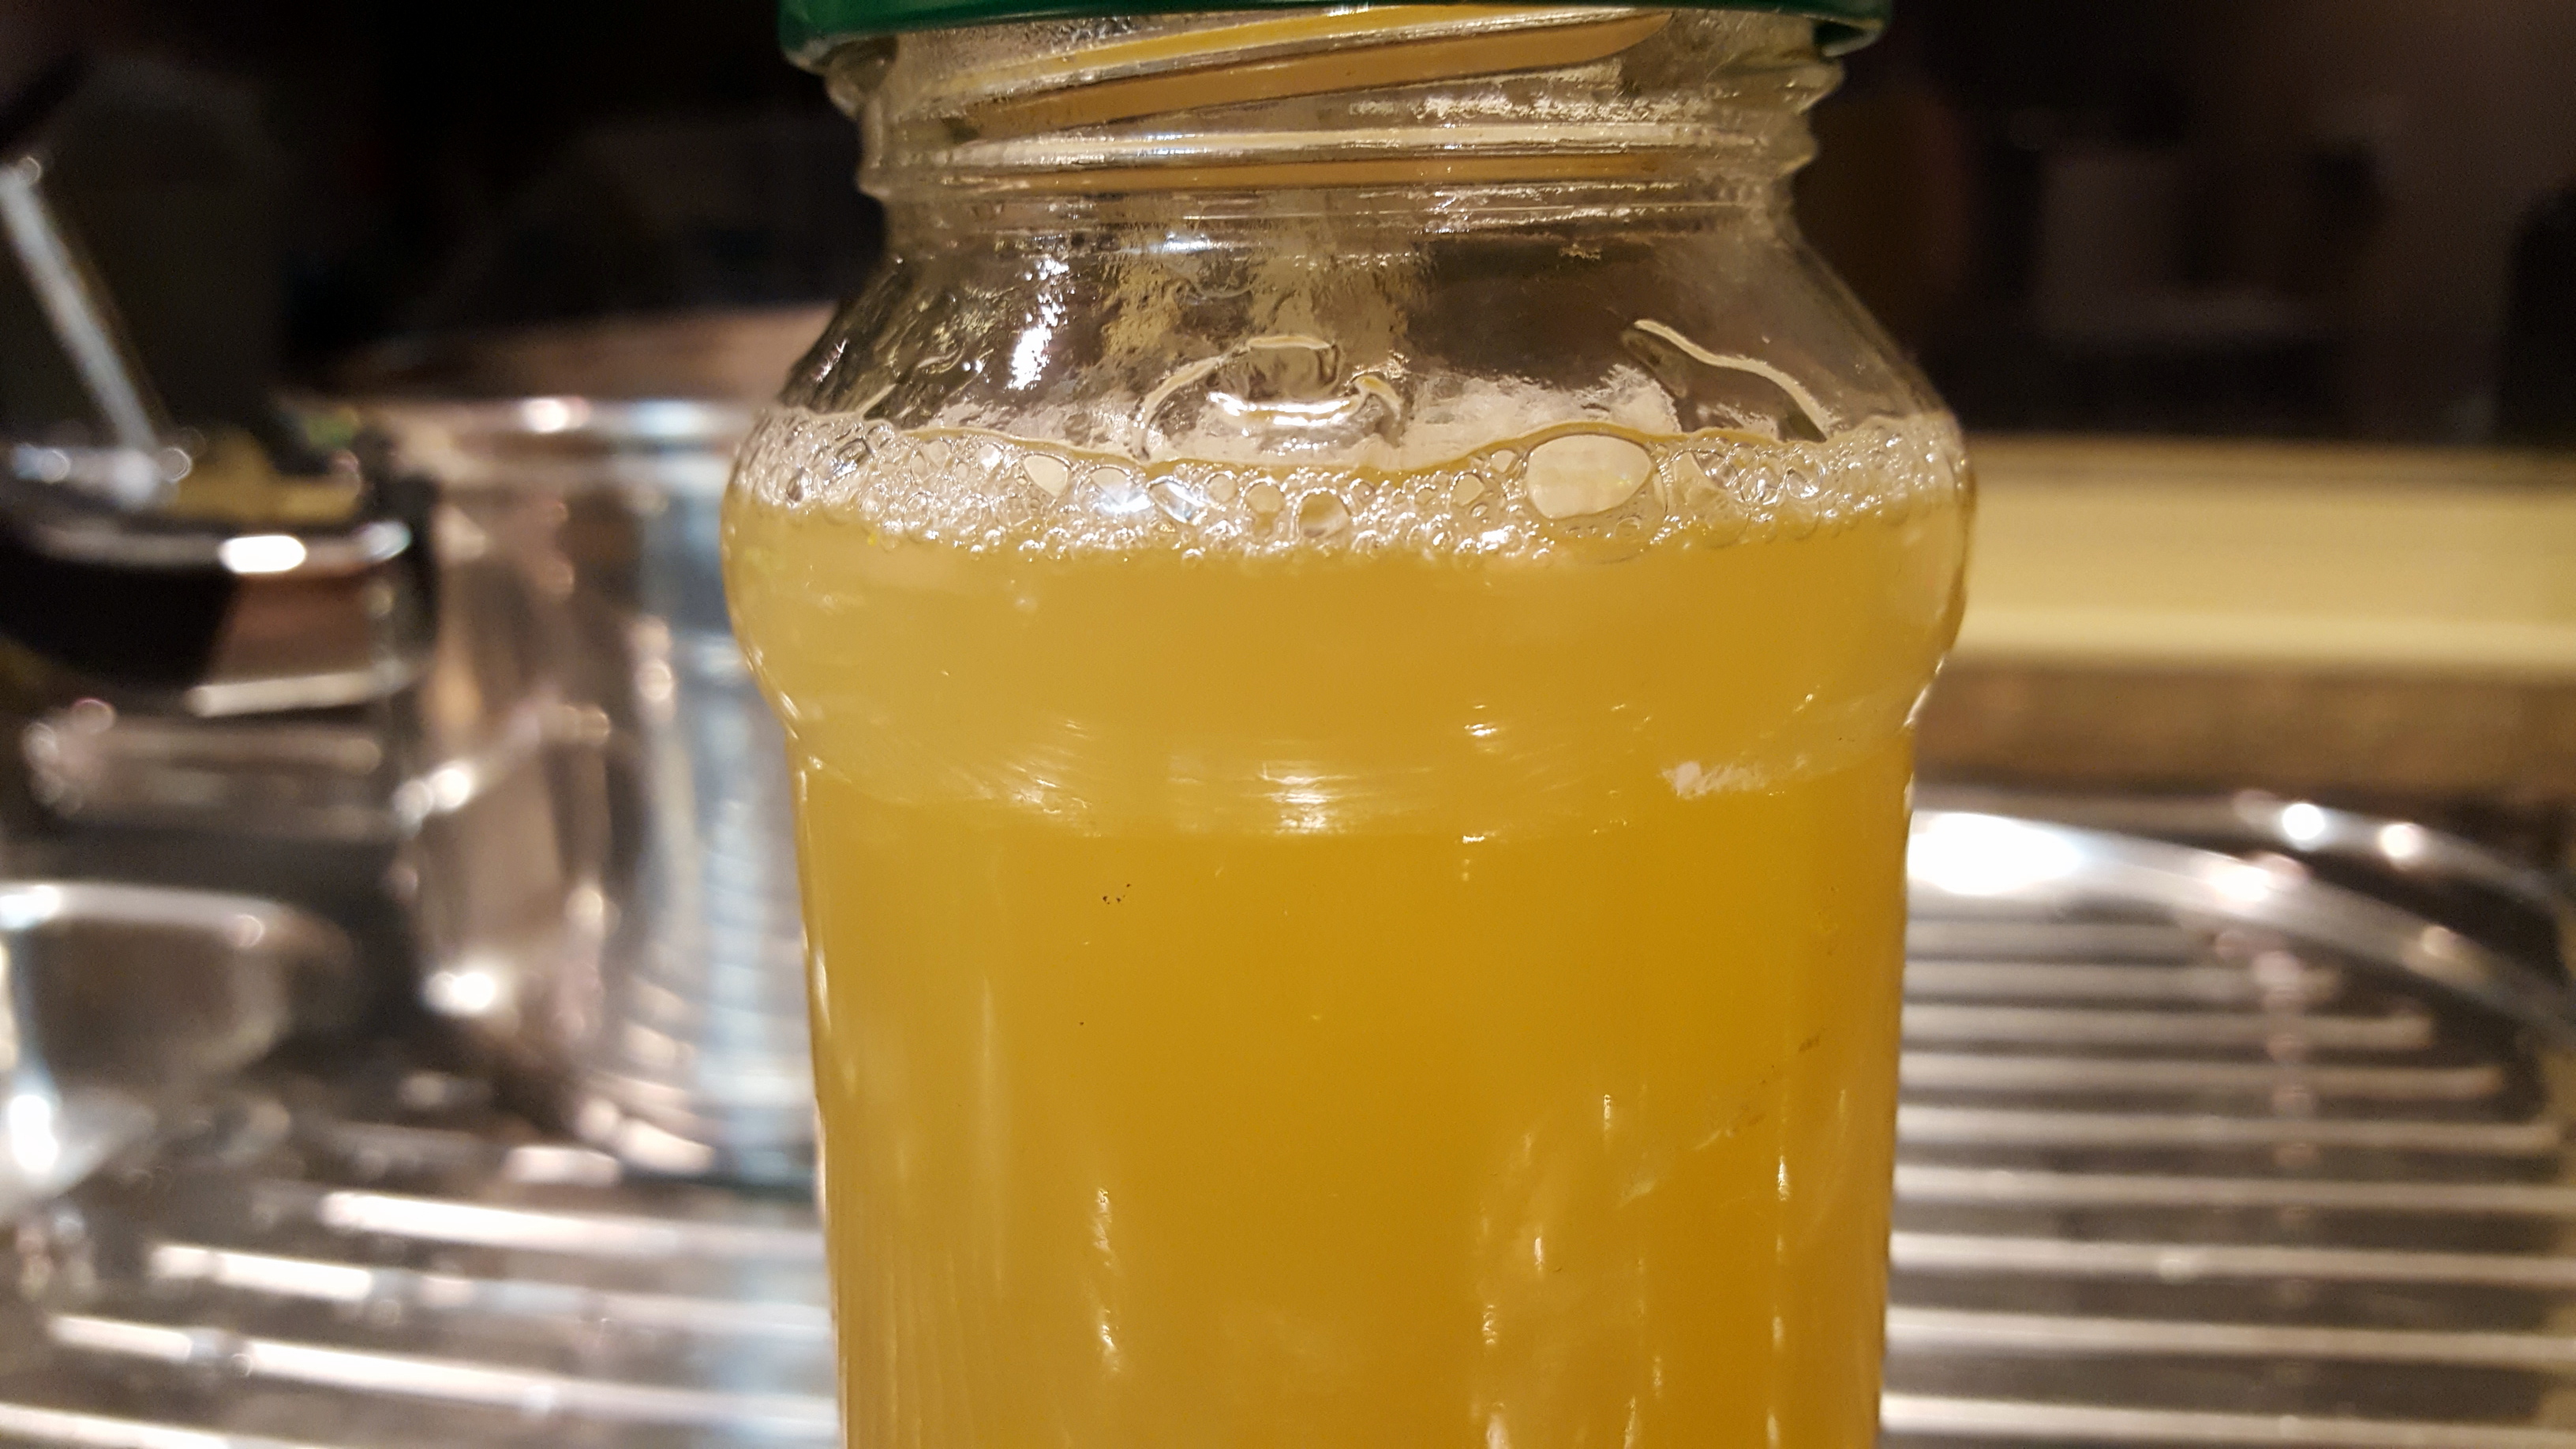
PK’s Easy Lemon Citrus Cordial
It is still winter in Perth and our citrus plants are producing loads of fruit. You know I hate to waste any precious harvest so here is another way to make citrus last.
This cordial (I used lemons and limes) is super tasty and will last for ages in the fridge. 🙂
I simply work on a 2 cups of sugar to 500mls of fresh juice and 500mls of water ratio.
Steps:
- Take a couple of the lemons and or limes and zest them.
- Juice the rest.
- Chuck the zest into a saucepan along with the freshly squeezed juice, water and sugar.
- Slowly bring everything to a gentle boil, stiring often to make sure the sugar is dissolved.
- Take it off the heat as soon as it boils and pour into pre-sterilised jars, straining as you go.
- Let the jars cool before you put the lids on!
Enjoy,
PK
YOU MIGHT ALSO LIKE
PRESERVE YOUR HARVEST
MORE NORECIPE GOODNESS
Please consider subscribing to a weekly email summary of our posts or check us out on Facebook @growitcatchitcookit.
[mc4wp_form id=”15771″]
Written by
·
-
PK’s NoRecipe Lemon Cordial
It is still winter in Perth and our citrus plants are still producing loads of fruit. You know I hate to waste any precious harvest so here is another method of preserving citrus.
This cordial (I used lemons and limes) is super tasty and will last for ages in the fridge 🙂
I simply work on a 2 cups of sugar to 500mls of fresh juice and 500mls of water ratio.
Steps:
- Take a couple of the lemons and or limes and zest them.
- Juice the rest.
- Chuck the zest into a saucepan along with the freshly squeezed juice, water and sugar.
- Bring everything to a gentle boil but do it very slowly and stir often to make sure the sugar is dissolved.
- Take it off the heat as soon as it boils and pour into pre-sterilised jars, straining as you go.
- Let the jars cool before you put the lids on!
Enjoy,
PK
Related Links:
- See more preserving ideas here
Written by
·
-
How To Make Preserved Citrus
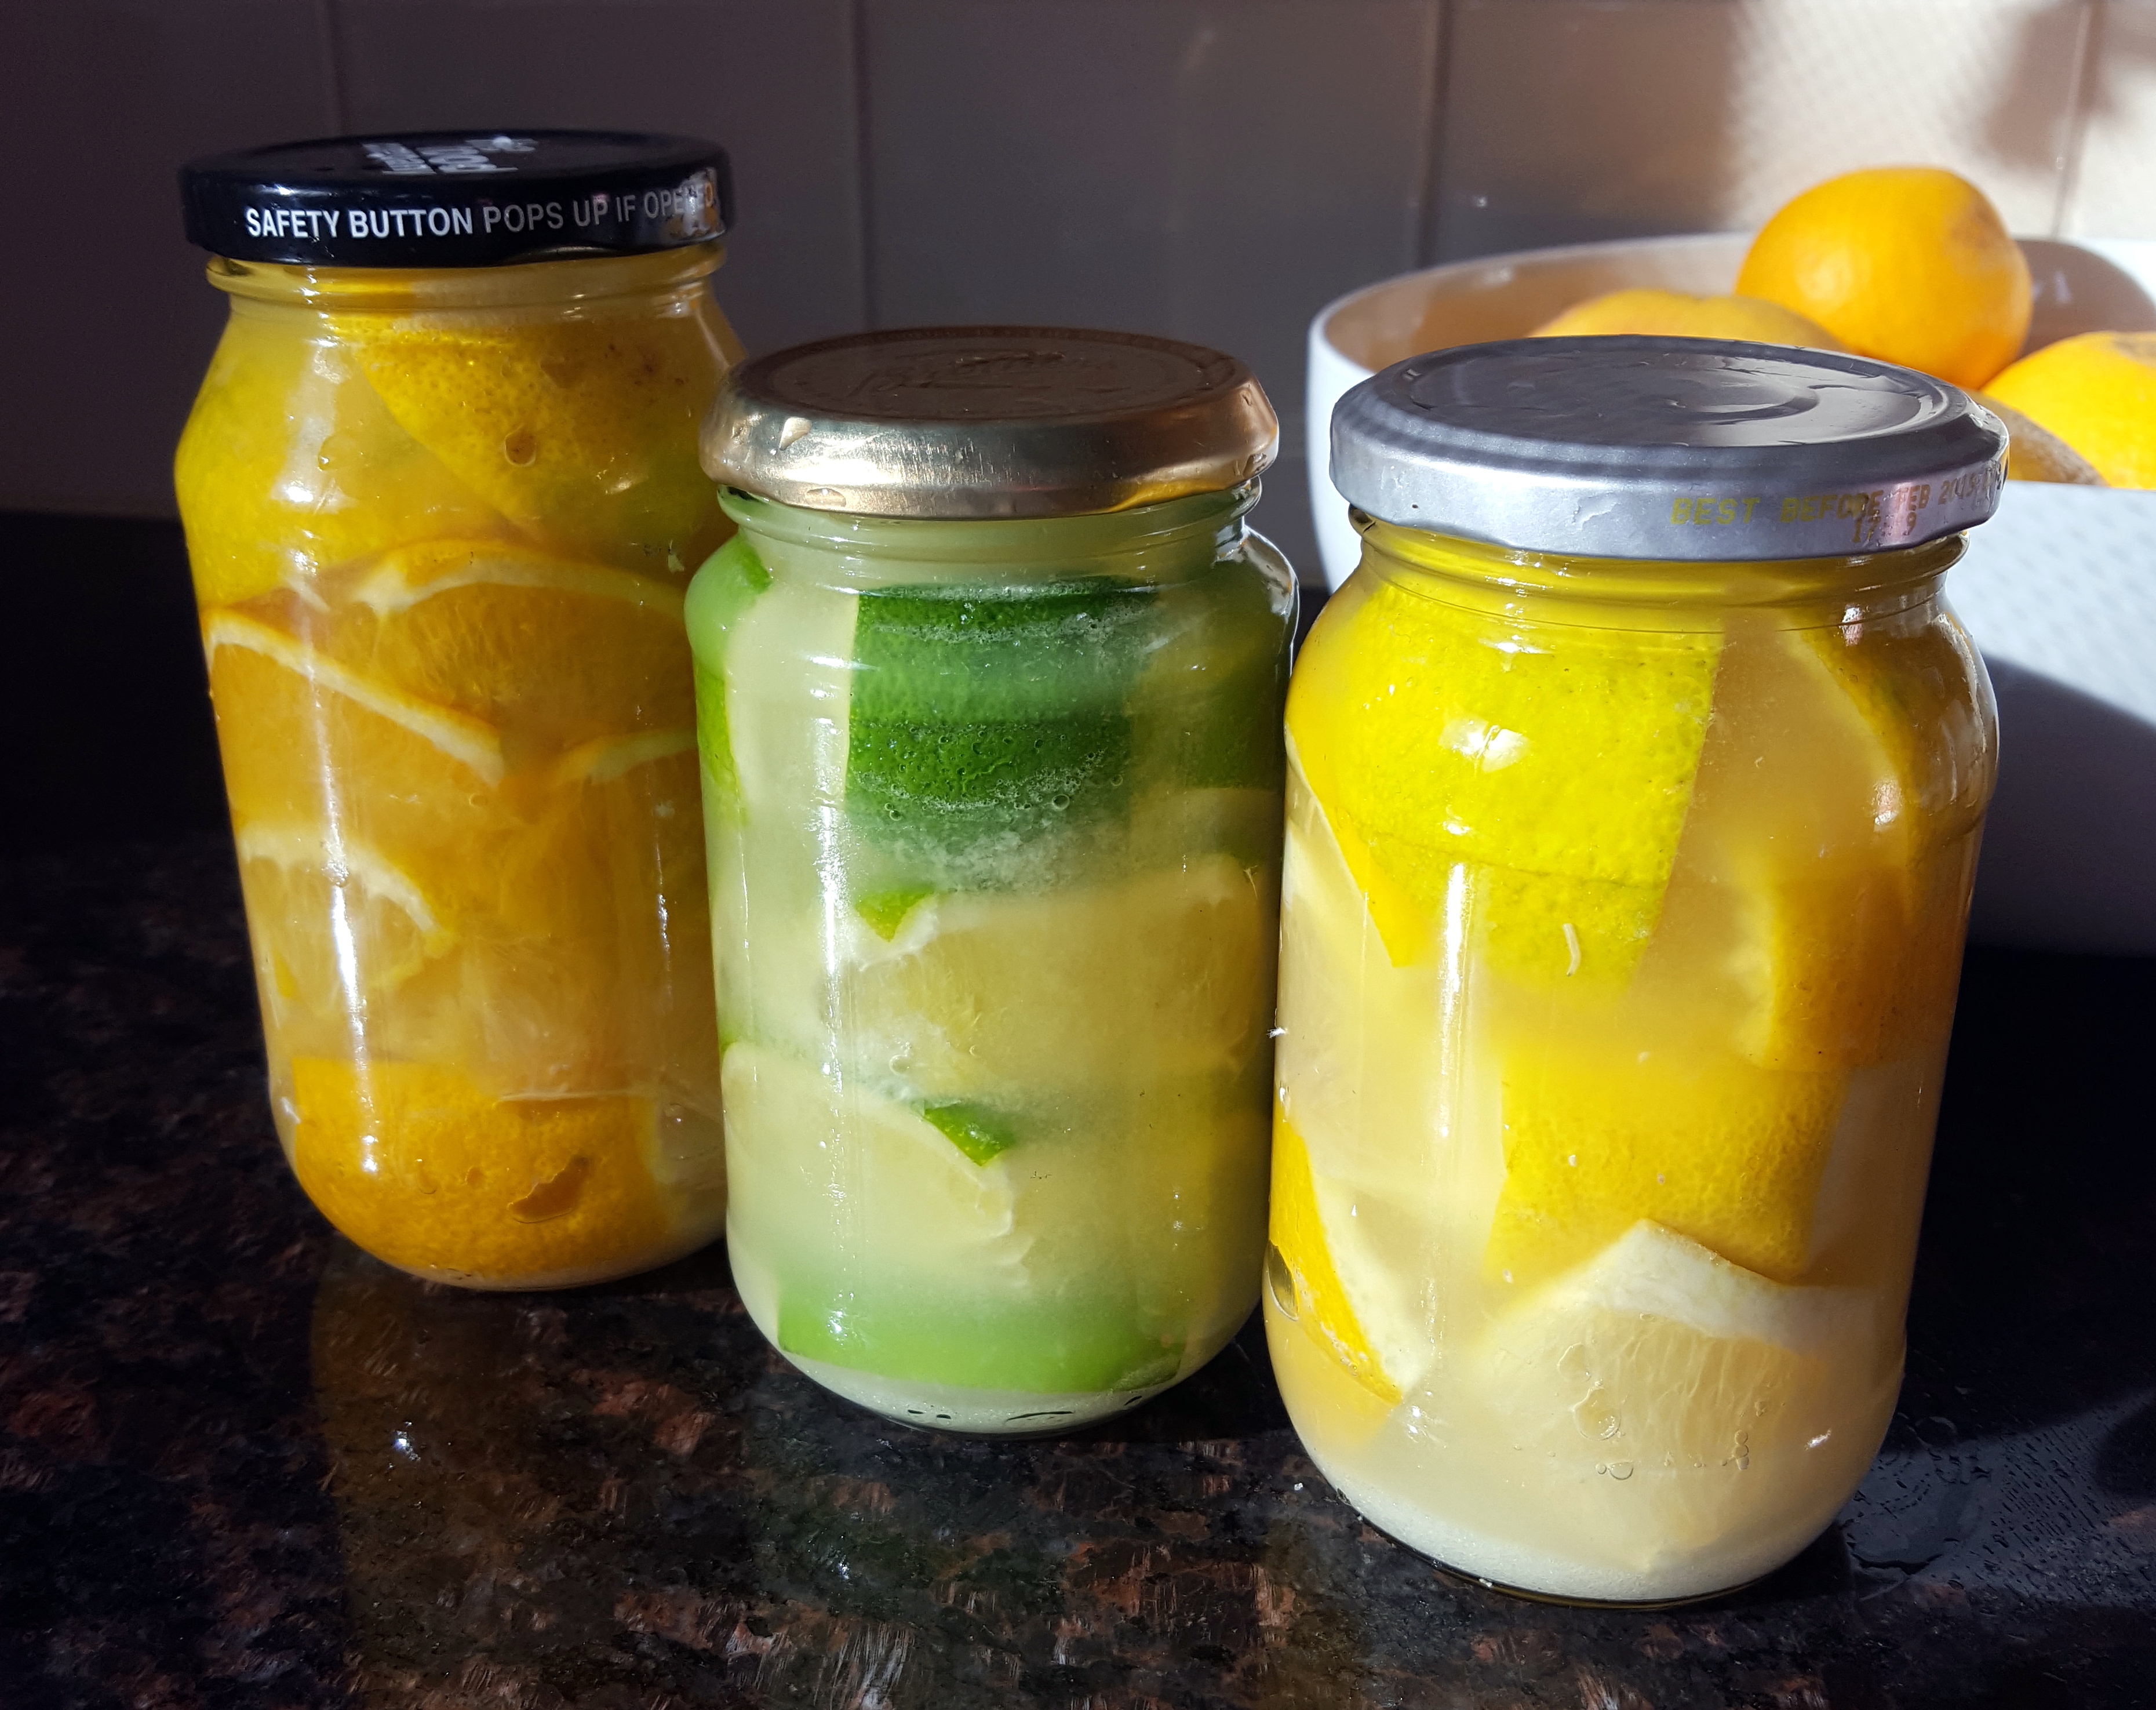
It’s winter in Perth, Western Australia and this year we are having a really good lemon and orange harvest. I am always on a look for ways to preserve any surplus and a good friend of mine suggested I try making preserved lemons. She won me over with ‘they go great in Tagines’ but she didn’t mention how amazing they look in the jars.
I used lots of salt but I am still going to chuck them in the fridge it after they sit in a cool, dry cupboard for a a few months.
Note: Follow your nose, if it smells bad don’t eat them.

Here are the steps I took:
- I cleaned my chosen citrus with a scourer and rinsed them off (I used the last of the limes, some fresh lemons and a mix of lemons and oranges to make three jars respectively).
- I then took each piece of fruit, cut the ends off and quartered them (large fruit got cut in half again).
- I put 1/2 Tbsp of table salt in the bottom of each of my jars (pre-sterilised with boiling water), put a layer of fruit, pushed that down with a wooden spoon and then added another 1/2 Tbsp salt.
- I repeated the fruit, press and salt cycle until the jar was full to the brim.
- I then added freshly squeezed juice to the jar, added 1 Tbsp salt and popped on a sterilised lid.
- A few taps on the kitchen bench to get all the air bubbles to the top and I moved onto the next type of citrus.
- Then all the jars went into a cupboard for a few months. I haven’t had any jars explode on me but putting them in a cupboard or box stops an entire room being coated in glass and rotten food.
I will let you know how they go 🙂
(update: they were amazing and I even gave a few jars away)
(update 2: I couldn’t point you at a better website for how to use your preserved citrus then this https://www.bonappetit.com/recipes/slideshow/preserved-lemon-slideshow
Enjoy,
PK
Here are more preserving food ideas and uses for citrus:
Written by
·
-
PK’s NoRecipe Preserved Citrus
It’s winter in Perth, Western Australia and this year we are having a really good lemon and orange harvest. I am always on a look for ways to preserve surplus harvest and a good friend of mine suggested I try making preserved lemons. She won me over with ‘they go great in Tagines’ but she didn’t mention how amazing they look in the jars :).
I used lots of salt but I am still going to chuck them in the fridge after a couple of weeks of them sitting sitting in a cool, dry cupboard for a few weeks.

Here are the steps I took:
- I cleaned my chosen citrus with a scourer and rinsed them off (I used the last of the limes, some fresh lemons and a mix of lemons and oranges to make three jars respectively).
- I then took each piece of fruit, cut the ends off and quartered them (large fruit got cut in half again).
- I put 1/2 Tbsp of table salt in the bottom of each of my jars (pre-sterilised with boiling water), put a layer of fruit, pushed that down with a wooden spoon and then added another 1/2 Tbsp salt.
- I repeated the fruit, press and salt cycle until the jar was full to the brim.
- I then added freshly squeezed juice to the jar, added 1 Tbsp salt and popped on a sterilised lid.
- A few taps on the kitchen bench to get all the air bubbles to the top and I moved onto the next type of citrus.
- Then all the jars went into a cupboard for a few weeks.
I will let you know how they go 🙂
(update: they were amazing and I even gave a few jars away)
PK
Related Links:
- See more citrus preserving ideas here
Written by
·
-
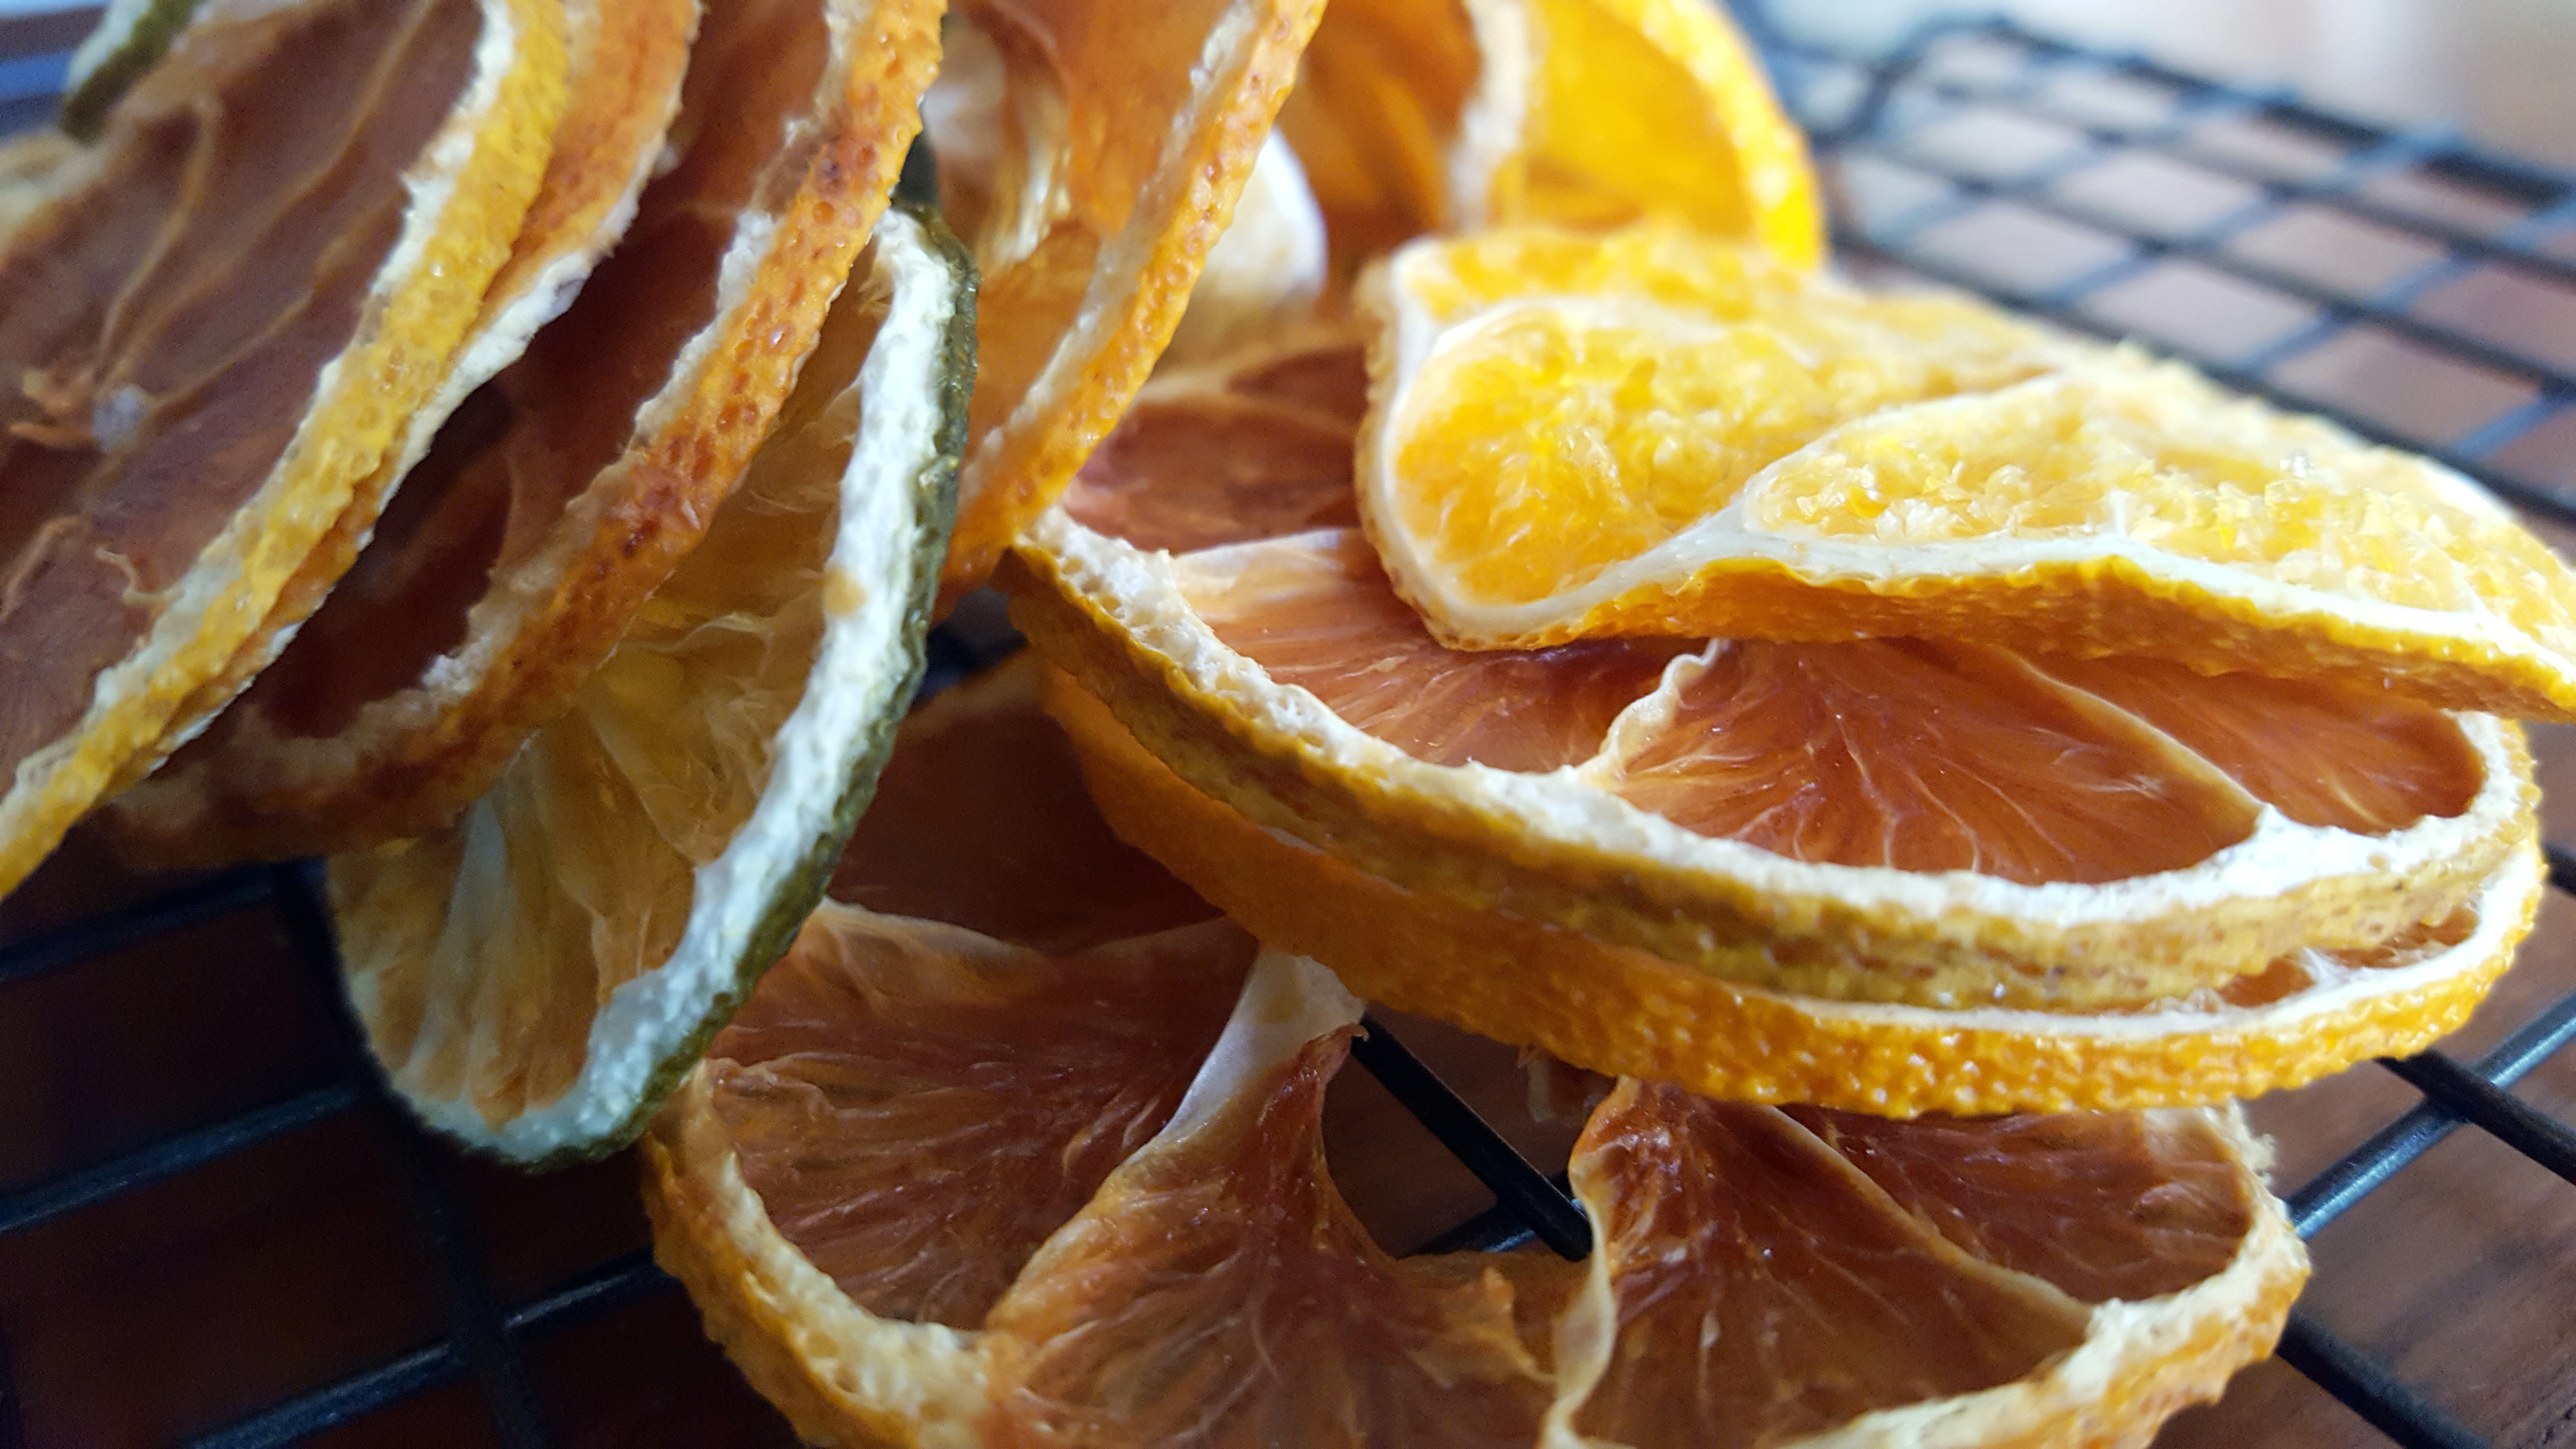
PK’s Dried Citrus Slices
I love preserving food as much as I like growing it (and talking about it). So I did some googling on ways to preserve citrus after my lemon tree decided to try and bury me in fruit :).
My lime tree is a heavy cropper too but in Perth it is not hard to find people willing to take them off your hands :).
Dried citrus can be used for a wide range of things like:
- flavouring jugs/cups of water.
- flavouring your teas.
- adding to smoothies.
- cooking mediterranean and middle-eastern dishes.
- cleaning your kettle of scale (wow).
Simply cut your chosen citrus (I used lemons, limes and oranges) into thin slices.

Pop them on a tray or (my preference) a rack and into an 80C fan-forced oven for 4 to 6 hours. I made sure they were very dry before I took them out and whilst the rind is brittle there is a bit of play in the flesh.
Enjoy,
PK
Written by
·
-
PK’s NoRecipe Dried Citrus Slices
I love preserving food as much as I like growing it (and talking about it). So I did some googling on ways to preserve citrus after my lemon tree decided to try and bury me in fruit :).
My lime tree is a heavy cropper too but in Perth it is not hard to find people willing to take them off your hands :).
Dried citrus can be used for a wide range of things like:
- flavouring jugs/cups of water.
- flavouring your teas.
- adding to smoothies.
- cooking mediterranean and middle-eastern dishes.
- cleaning your kettle of scale (wow).
Simply cut your chosen citrus (I used lemons, limes and oranges) into thin slices.
Pop them on a tray or (my preference) a rack and into an 80C fan-forced oven for 4 to 6 hours. I made sure they were very dry before I took them out and whilst the rind is brittle there is a bit of play in the flesh.
Enjoy,
PK
Written by
·
-
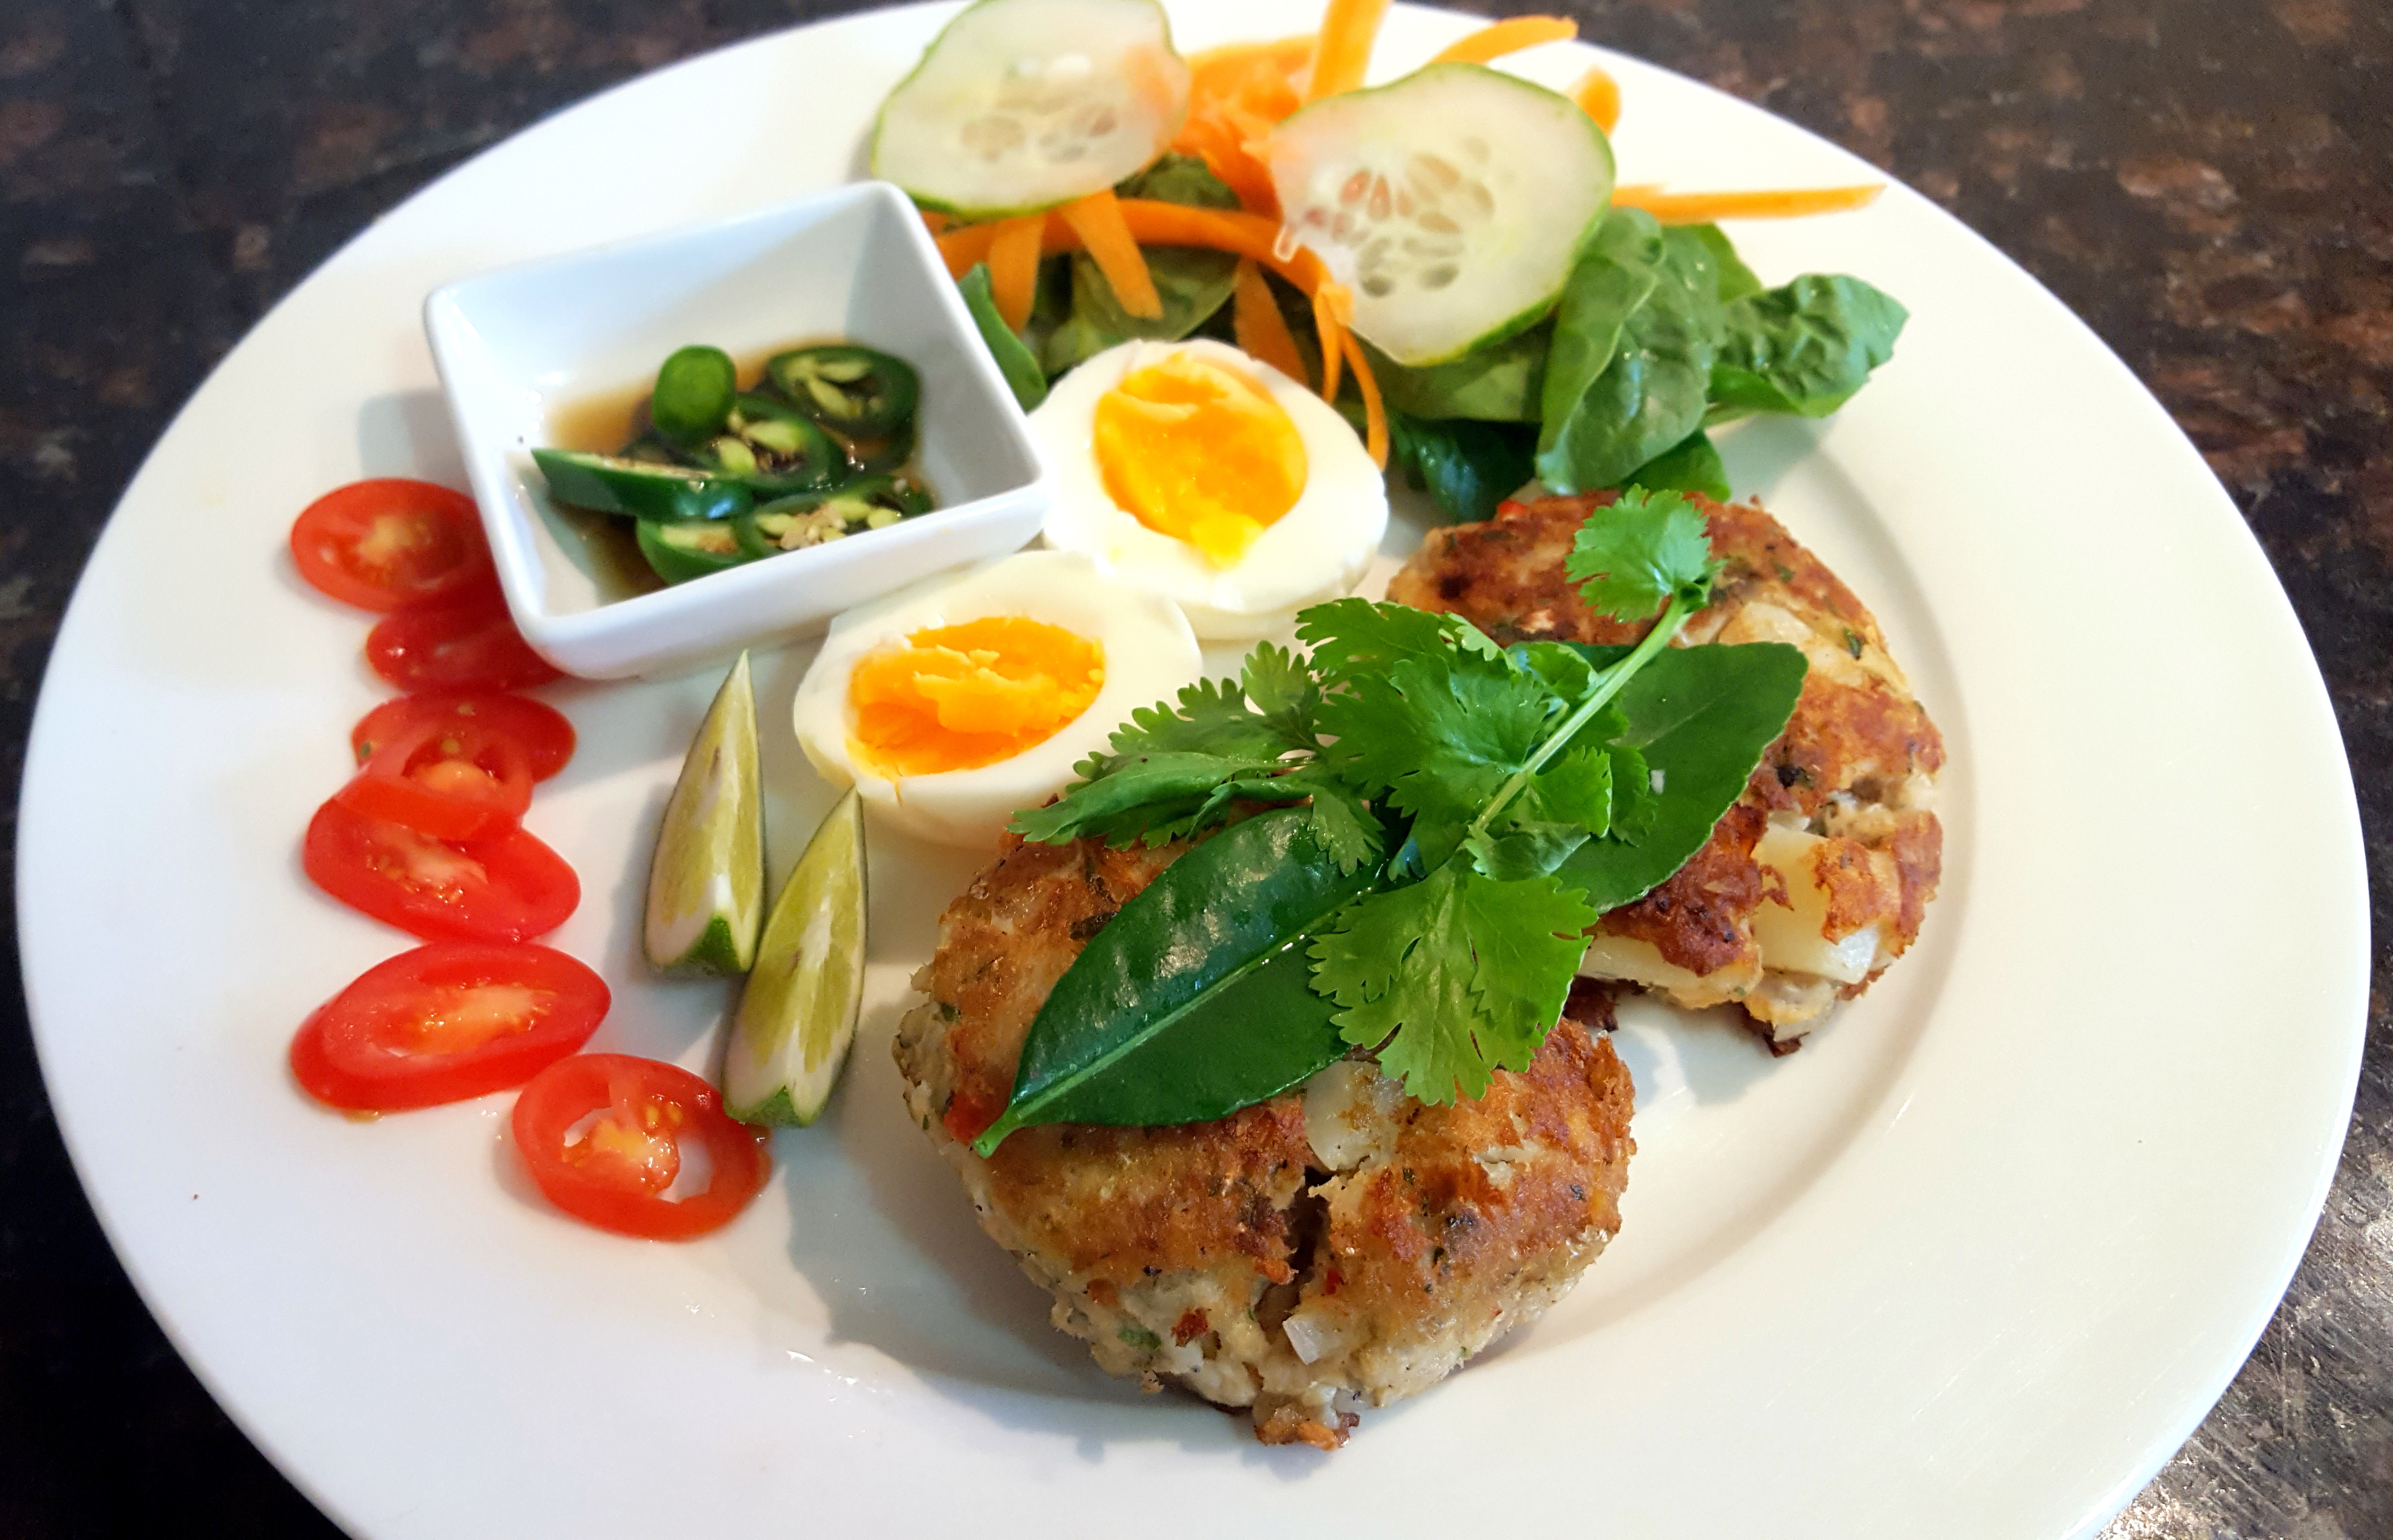
PK’s Easy Thai Fish Cakes
Fish cakes taste great and are an amazing way of making a little bit of fish go further. They were a staple growing up and one of the dishes, my mum cooked us, that will always stay with me :).

I never use a recipe and no two batches come out the same but that is half the fun.
Below I am doing a take on Thai fish cakes but I am just as likely to make them coated in breadcrumbs. Sometimes I keep the potatoes chunky, sometimes I mash everything well to give a smoother texture.
I just follow two basic rules in that I use a 1:1 ratio of fish to parboiled potatoes and I like to add colour by using finely minced fresh vegetables in the mix itself. If you find the cakes fall apart during cooking, try a bit more egg in the mix next time.
Parboil the potatoes:

Mash your fish (I am using canned John West Pink Salmon):

Prepare the vegetables (I am going for a Thai taste so I am using lime zest, shallots, coriander, garlic and some red capsicum for colour):

Whisk an egg or two and mix everything up (I did this gently as I wanted a chunky look):
Make small or large cakes, using your hands, as you please and then pop them in the fridge for a bit (just look at the colours, beautiful):

A quick shallow fry is all that is needed:

Serve with some greens and you favourite sides:

Enjoy,
PK
YOU MIGHT ALSO LIKE
THAI CUISINE
SOUTH EAST ASIAN FOOD
MORE POTATO DISHES
MORE NORECIPE GOODNESS
Please consider subscribing to a weekly email summary of our posts or check us out on Facebook @growitcatchitcookit.
[mc4wp_form id=”15771″]
Written by
·
-
PK’s NoRecipe Thai Fish Cakes
Fish cakes taste great and are an amazing way of making a little bit of fish go further. They were a staple growing up and one of the dishes my mum cooked us that will always stay with me :).
I never use a recipe and no two batches come out the same and that is half the fun. Below I am doing a take on Thai fish cakes but I am just as likely to make them coated in breadcrumbs. Sometimes I keep the potatoes chunky, sometimes I mash everything well to give a smoother texture.
I just follow two basic rules in that I use a 1:1 ratio of fish to parboiled potatoes and I like to add colour by using finely minced fresh vegetables in the mix itself. If you find the cakes fall apart during cooking, try a bit more egg in the mix next time.
Parboil the potatoes:

Mash your fish (I am using canned John West Pink Salmon):

Prepare the vegetables (I am going for a Thai taste so I am using lime zest, shallots, coriander, garlic and some red capsicum for colour):

Whisk an egg or two and mix everything up (I did this gently as I wanted a chunky look):
Make small or large cakes, using your hands, as you please and then pop them in the fridge for a bit (just look at the colours, beautiful):

A quick shallow fry is all that is needed:

Serve with some greens and you favourite sides:

Enjoy,
PK
Written by
·
-

Ben’s Windfall Lime Pickle
This windfall lime pickle is a prime example of preserving your harvests. I encourage you to eat fresh produce during their particular growing season and then their (hopefully made by you) preserved cousins off season. The mass produced commercial versions just don’t compare.
It’s important to use very ripe limes. I use the ones that have fallen from the tree, or are about to, that have a yellowing skin and lots of juice :).
These are the sweetest, using under ripe limes will give you a pickle that is very tart. I wash the limes in a weak vinegar:water solution prior to using, to make sure they are clean and not going to contaminate the pickle (because they have come from the floor and I have dogs).
To sterilise the jars, I put them through the dishwasher and then boil them in a pot of water. If the pickle isn’t ready when the jars are, pop them in the oven (no plastic lids) on very low to keep them hot. You should put hot pickle into hot jars for two reasons. One, because you won’t thermally shock and crack the jars and two because as the jar and mixture cool they will form a vacuum, meaning the pickle lasts longer.
The recipe:
You will need
- 30 limes, washed and diced into ~1cm blocks (skin on)
- 10-20 small chilis, sliced (add to taste)
- 2 tsp turmeric
- 2 tbsp salt (sea salt preferred always)
- 4 tbsp oil (olive or sunflower work best)
- 2 tsp fenugreek
- 2 tsp aniseed or fennel (I use fennel seed)
- 2 tsp garlic seed
- 2 tsp chilli flakes
- ~10 cm ginger grated
- 4 tbsp raw brown sugar
- 2 tbsp vinegar (i use apple cider or brown malt, but also you can use white wine)
Method
- Combine limes, chilli, salt, turmeric into a glass or ceramic bowl, mix and leave at room temperature overnight.
- Heat oil in large pot, add fenugreek, fennel seed, chilli flakes, ginger, garlic powder and cook off to release flavour (2-3 minutes).
- Add lime and chilli mixture, mix well and let it simmer and then turn the heat down for about 20 minutes, or until the lime softens and the mixture thickens.
- Add in the vinegar and sugar, mix well and cook for about 5 minutes. The vinegar acts as a preservative.
- Let the mixture cool slightly, then add to hot, sterilised jars. Seal jars, and place into a cool, dark spot for ~1 month to let the flavour develop.
Cleaning the limes:

Leave the mix overnight:

The finished product (we cracked into it early):


Hope you have more patience than me,
Ben 🙂
Here are some additional preserving food ideas and more from Ben:
Written by
·