Author: PK
-

PK’s Thai Beef Salad
I love south east asian salads. They are a feast for your eyes and your taste buds. The range of flavours is diverse and so hard to get right sometimes. The pay off is worth it though and this particular dish is no exception. It is now a family favourite and lends itself well to any communal meal.
I have shown my timing preferences below for serving the salad with warm beef slices. Of course, if you prefer cold meat in this dish, you can make them in any order and well ahead of time. Oh and don’t forget to bring your steaks out of the fridge a little earlier so they are approaching room temperature as they go in the frypan.
STEPS:
- Make the Nam jim dressing
- Roast the rice
- Gather the salad ingredients
- Cook the beef steaks
- Serving Suggestions
You will need:
- Nam jim Ingredients (repeated here for your shopping list):
- 1 tsp powdered kashmiri chilli
- 5 coriander roots (cilantro)
- 3 garlic cloves
- 2.5cm piece fresh ginger root
- 3 Tbsp fish sauce
- 3 Tbsp lime juice
- 1 Tbsp palm sugar
- Roasted Rice Ingredients
- 100g of basmati or jasmine rice
- 1 Tbsp of rock sea salt
- Salad Ingredients
- several large cabbage leaves (1 per person)
- 2 cups baby spinach leaves
- 1 handful of coriander leaves and stems
- 1/2 large red capsicum
- 1/3 of a burpless cucumber
- 1 red shallot
- 1 spring onion
- 6 cherry tomatoes
- 1 cup bean sprouts
- 1 handful of mint leaves
- 1 medium carrot
- 1 handful of snow peas
- your favourite fresh chilis (optional)
- unsalted peanuts to taste (optional)
- Steak Ingredients
- small eye fillet steaks (1 per person)
- ground black pepper to taste
- table salt to taste
- kecap manis or soy sauce (optional)
- Equipment
- an oven tray
- a mortar and pestle
- a chopping board
- a small serving bowl for the roasted rice
- a large salad bowl
- a large frypan
Make the Nam jim dressing

Steps:
- Make the Nam Jim dressing as per PK’s Favourite Nam Jim Dressing.
Roast the rice
Steps:
- Pre-heat your oven to 200° C.
- Spread the rice grains across an oven tray and cook for about 15 minutes or until golden brown.
- Remove them from the oven and allow them to cool.
- Grind 1 Tbsp of rock sea salt in a mortar and pestle.
- Add the cooled roasted rice grains to the mortar and pestle and grind to your desired consistency. I personally like the result to be variably granulated and not fully powdered.
- Add to a small serving bowl.
Gather the salad ingredients
Steps:
- Wash and dry all of the vegetables.
- Put the cabbage leaves aside as you won’t need them until serving time.
- Keep the 1 cup of bean sprouts aside for the same reason
- Slice and then
- To a large salad bowl add:
- 2 cups baby spinach leaves
- 1 handful of hand torn coriander leaves and stems
- 1/2 red capsicum fine sliced (deseeded and pith removed)
- 1/3 of a burpless cucumber sliced and quartered
- 1 shallot fine sliced
- 1 spring onion fine sliced
- 6 halved cherry tomatoes
- 1 handful of hand torn mint leaves
- 1 medium carrot fine sliced (I use a potato peeler to make thin strips)
- 1 handful of hand torn snow peas (chop the ends off each first.
Cook the beef steaks

Steps:
- Preheat your frypan and add a splash of olive oil. You could barbecue them outside of course but I prefer a frypan when cooking eye fillet steaks.
- Cook the eye fillet steaks to medium rare and allow them to rest, optionally adding a bit of kecap manis or soy sauce at this point.
- Thinly slice the cooked steaks.
Serving Suggestions
Steps:
- Place a whole cabbage leaf on each plate.
- Fill to the brim with the salad ingredients.
- Add the beef slices.
- Throw some bean sprouts over the top.
- Serve to the table and let each person add as much or as little of the roasted rice and Nam jim dressing as they like.
- Have sliced fresh chillis and unsalted peanuts on the table for just the same reason.
Enjoy,
PK
Written by
·
-
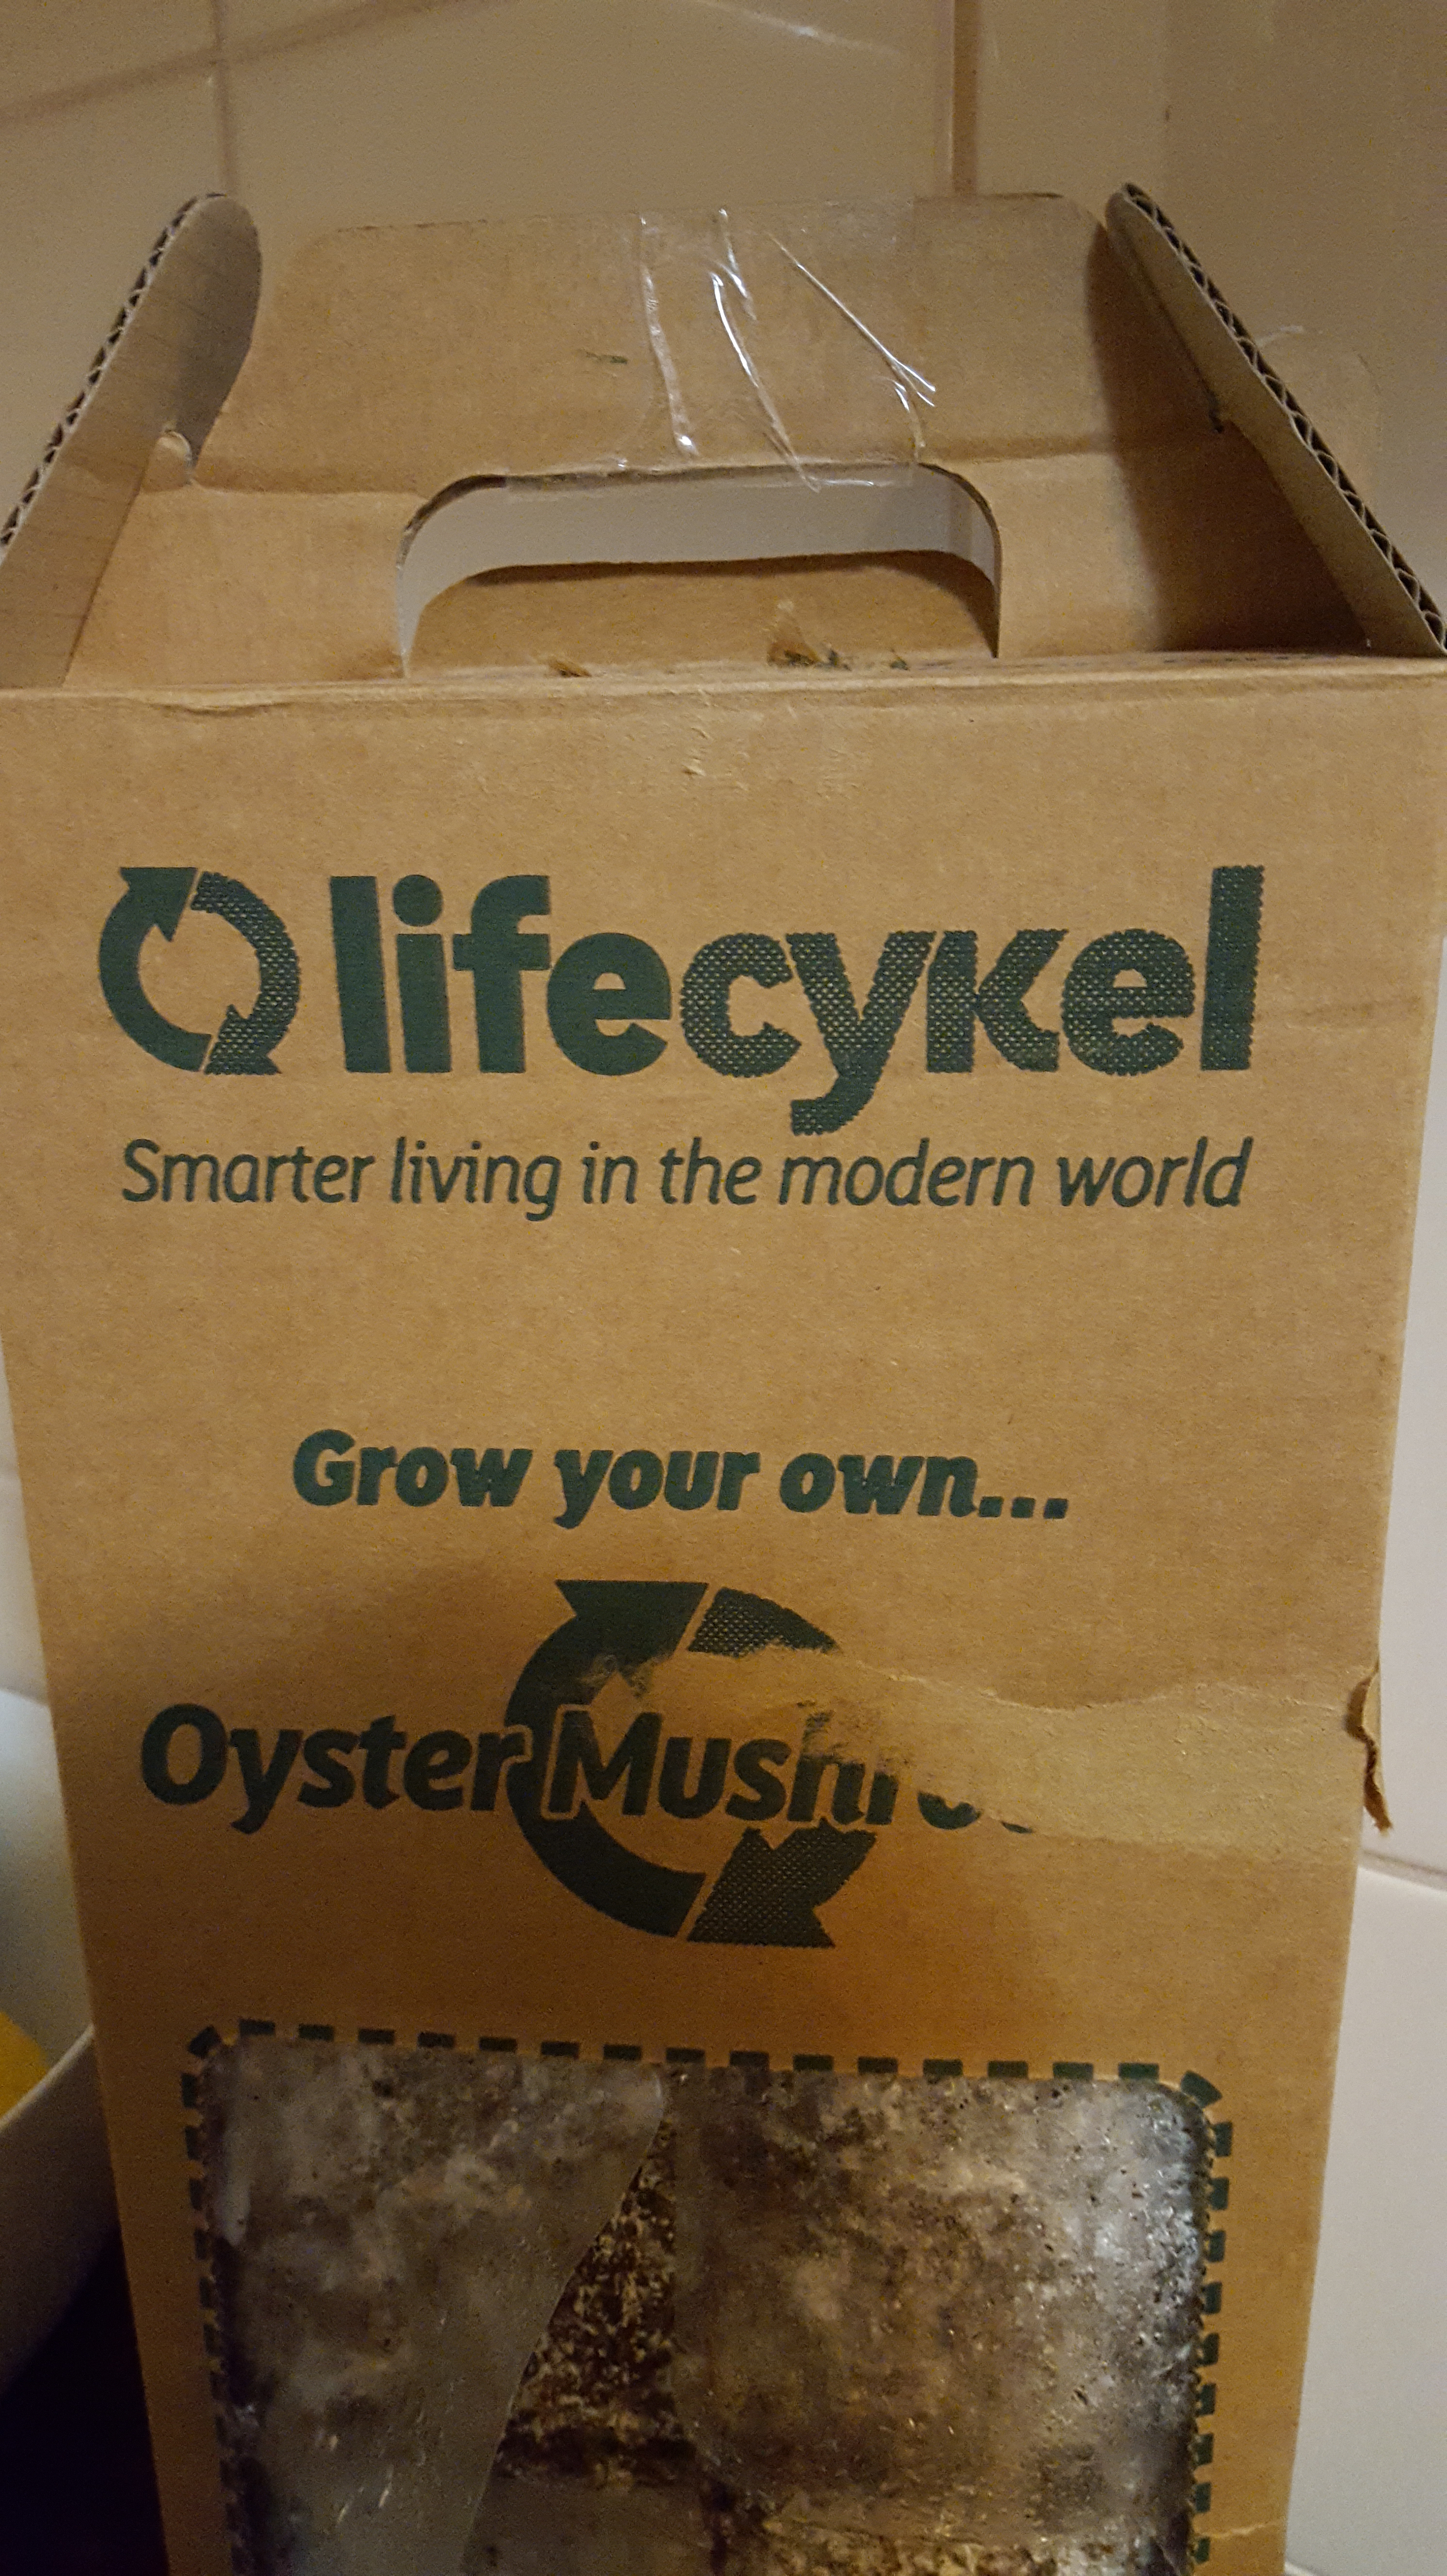
Day 7 Life Cykel Home Grown Mushroom Box Side 2

This product truly is rewarding. This is what greeted me this morning.
You might recall that last week I harvested my first mushrooms from the starting side of my Life Cykel Home Grown Mushroom Box (Day 12 Life Cykel Home Grown Mushroom Box Side 1.
Since then I have:
- taken the bag out and cut it on the other side
- soaked it over night
- put it back in the box with the unharvested side visible in the window
- placed it back in kitchen (out of direct sunlight) and
- waited as patiently as I could :).
I can’t wait for my second crop.
Don’t forget about our competition to win one of these boxes (thanks to those who have already entered and to the generosity of the guys at Life Cykel) and see my other mushroom posts here.
Cheers,
PK
Written by
·
-

PK’s Favourite Nam Jim Dressing
Wikipedia writes ‘Nam jim (น้ำจิ้ม) is Thai for “dipping sauce”. It can refer to a wide variety of dipping sauces in Thai cuisine, with many of them being a combination of salty, sweet, spicy and sour’.
I use this dressing in my PK’s Thai Beef Salad.
I use a blender (don’t tell anyone please) instead of a mortar and pestle because I am lazy. You will get a more visually appealing result if you use the former, though I hope the taste is similar. I primarily use this dressing on my Thai Beef Salads and they have a lot going on visually anyway.
Edit: Last time I made this dressing I used a mortar and pestle and the results were worth it 🙂
If you haven’t already, please go and have a read of my post PK’s Curry Paste Kit. It will show you just how off the charts bonkers I am about using whole spices and the freshest ingredients when making your own pastes etc. Actually maybe give that post a miss ;).
STEPS:
- Gather the ingredients
- Mix in the wet blender
- Serving
You will need:
- Ingredients:
- 1 tsp powdered kashmiri chili
- 5 coriander roots (cilantro)
- 3 garlic cloves
- 2.5cm piece fresh ginger root
- 3 Tbsp fish sauce
- 3 Tbsp lime juice
- 1 Tbsp palm sugar
- Equipment
- a chopping board
- a long sharp knife
- a tablespoon
- a teaspoon
- a medium sized bowl
- a wet blender with a small bowl
- a dry mill (optional)
- a small serving bowl for the middle of the table
Gather the ingredients
Steps:
- Dry mill your whole kashmiri chilis to get 1 tsb. Mostly I use store bought powder though.
- Wash the 5 coriander roots thoroughly if you have just harvested them. I have a stash in the freezer though of roots retained after using the rest of the plant. See my post Herbs – Coriander (Coriandrum sativum).
- Peel and rough chop the 3 garlic cloves.
- Peel and rough chop the 2.5cm ginger root.
- Bring the 3 Tbsp fish sauce, 3 Tbsp lime juice and 1 Tbsp palm sugar together.

Mix in the wet blender
Steps:
- Pop everything into your wet blender and pulse till you get the look you are after.
- Have a taste and add a bit more of anything you think is under represented. For example I normally add a bit more fish sauce for the saltiness factor.

Serving
Pop the lot in a serving bowl. I do this so that every one can build their own Thai salad at dinner. I haven’t tried storing this in the fridge for very long but the salt content of the fish sauce should let it keep for a while. You might just want to freshen up the citrus flavour by adding a bit of lime or lemon juice.
I would love to hear about your favourite Thai salad dressing or dipping sauce.
Enjoy,
PK
Written by
·
-
The Easiest Nam Jim Dressing
Wikipedia writes ‘Nam jim (น้ำจิ้ม) is Thai for “dipping sauce”. It can refer to a wide variety of dipping sauces in Thai cuisine, with many of them being a combination of salty, sweet, spicy and sour’.
I use this dressing in my PK’s Thai Beef Salad.
I use a blender (don’t tell anyone please) instead of a mortar and pestle because I am lazy. You will get a more visually appealing result if you use the former, though I hope the taste is similar. I primarily use this dressing on my Thai Beef Salads and they have a lot going on visually anyway.
Edit: Last time I made this dressing I used a mortar and pestle and the results were worth it 🙂
If you haven’t already, please go and have a read of my post PK’s Curry Paste Kit. It will show you just how off the charts bonkers I am about using whole spices and the freshest ingredients when making your own pastes etc. Actually maybe give that post a miss ;).
STEPS:
- Gather the ingredients
- Mix in the wet blender
- Serving
You will need:
- Ingredients:
- 1 tsp powdered kashmiri chili
- 5 coriander roots (cilantro)
- 3 garlic cloves
- 2.5cm piece fresh ginger root
- 3 Tbsp fish sauce
- 3 Tbsp lime juice
- 1 Tbsp palm sugar
- Equipment
- a chopping board
- a long sharp knife
- a tablespoon
- a teaspoon
- a medium sized bowl
- a wet blender with a small bowl
- a dry mill (optional)
- a small serving bowl for the middle of the table
Gather the ingredients
Steps:
- Dry mill your whole kashmiri chilis to get 1 tsb. Mostly I use store bought powder though.
- Wash the 5 coriander roots thoroughly if you have just harvested them. I have a stash in the freezer though of roots retained after using the rest of the plant. See my post Herbs – Coriander (Coriandrum sativum).
- Peel and rough chop the 3 garlic cloves.
- Peel and rough chop the 2.5cm ginger root.
- Bring the 3 Tbsp fish sauce, 3 Tbsp lime juice and 1 Tbsp palm sugar together.
Mix in the wet blender
Steps:
- Pop everything into your wet blender and pulse till you get the look you are after.
- Have a taste and add a bit more of anything you think is under represented. For example I normally add a bit more fish sauce for the saltiness factor.
Serving
Pop the lot in a serving bowl. I do this so that every one can build their own Thai salad at dinner. I haven’t tried storing this in the fridge for very long but the salt content of the fish sauce should let it keep for a while. You might just want to freshen up the citrus flavour by adding a bit of lime or lemon juice.
I would love to hear about your favourite Thai salad dressing or dipping sauce.
Enjoy,
PK
Written by
·
-

Coriander
If I could only choose one herb to cook with for the rest of my life, this would be it. Luckily I don’t have to choose :).
You can use the roots, stems, leaves and seeds in your cooking. Quite a claim to fame!
I want to show you a full life cycle from seed to seedling to harvest to seed and then back to seedling again. Initially I started with seeds from my favourite seed company, Mr Fothergills Australia. No I am not paid to say that :).
Now I have so many of my own seeds I can keep growing Coriander at no cost.
Here are the seeds:

Now for some secret seed raising tips that you can’t tell a soul:
- Fill a jam jar with warm water and soak the seeds overnight.
- Drain the water and then and sprinkle the seeds in rich, flat, well draining soil.
- Cover ever so slightly with more soil. If you can still see the odd part of a seed sticking out here you are on the right track.
- Keep the soil moist at all times until you see growth. Then water normally. I use a hand pump spray bottle every morning and evening to mist the area in that first stage.
Look at the amazing growth over 2 months:
After about 3 months of growth, July to September in Perth 2016, the plants themselves were about 30 to 40 cm tall. The mild winter (it was “very cold” in the mornings but rarely below 0°C) and their partial shade location stopped them bolting and flowering (until the last week of September). I harvested, used, froze and gave away the leaves and stems with a passion but was, happily, fighting a losing battle as there was just too much Coriander :).
Every now and then I pulled several of the taller specimens and after eating the leaves etc, I washed and froze the roots (about a third of the length of the complete plant is root).
Here is a prime example that went right into a curry paste:

Ultimately all good things come to an end and the plants started to flower then go to seed:
Once the seeds began to go brown and stop feeling waxy, I harvested them:
Then the whole cycle begins anew:

Enjoy,
PK
Links:
- see more coriander posts here.
- go to all meal ingredients
- go the Grow It Perth calendar
Written by
·
-

Kirsty’s Easy Omelette Muffins
Thanks to my good friend and super-mum Kirsty DeRoach (https://www.instagram.com/babyderoach), I now know another great use for vegetables and leftovers that are past their best.
I can add them to the worm farm and compost bins of course or I can give them a second chance in these amazingly good mini quiches.
Not only are they quick to make (everyone will love that especially parents and lazy cooks) but you also get the satisfaction of reducing the amount of food thrown away unused each week.
I haven’t listed any quantities for most of the ingredients as they will vary each time you make them. Experiment and have some fun. Kirsty is right though, mix up the combinations but don’t put too many different ingredients in any given muffin.
STEPS:
- Whisk the eggs and chop the fillings
- Load your muffin trays
- Serving
You will need:
- Ingredients:
- 12 eggs
- any old vegetables at the back of your fridge
- as much bacon or ham as you want
- your favourite cheese
- table salt to taste
- ground black pepper to taste
- Equipment
- a chopping board
- a long sharp knife
- a whisk
- several muffin tins
- a bowl for whisking the eggs
- a frypan if you are adding bacon.
Whisk the eggs and chop the fillings

Steps:
- Give the eggs a good whisk and set aside. Kirsty told me you can add some cream if it needs using up. Add salt and pepper to taste.
- Chop up your vegetables.
- Chop up your ham or cook and chop up your bacon.
- Grate the cheese.
Load your muffin trays
Steps:
- Pre-heat your oven to 180 degrees Celsius.
- Add some of the whisked eggs to the bottom of each hole of the muffin tins. You will have to experiment with how much.
- Add small quantities of your filling combinations to each hole and top each with the grated cheese so that each are about 3/4 full.
- Push most of the floating ingredients under the egg mixture.
- Cook about 10 minutes or until golden brown.
Serving
Once cool enough, pop them out of the muffin trays. They freeze really well but most of ours don’t get to the freezer :).

Thanks Kirsty,
PK
Written by
·
-

PK’s First Worm Farm Tray Change
Today I harvested my first lot of worm castings from my worm farm. It took about 6 months for this first batch but now the farm is cranking along. Even with all the vegetable waste the kitchen garden makes and scraps from the kitchen, I am only just keeping up with their appetite.
Just look at how many worms are exposed just turning over one small section of the active tray:
I had expected a lot fewer worms to be in the bottom tray as there is no food in there but I have read that they are mad keen explorers so I assume that is why.
The casings feel so earthy and rich with absolutely no smell of decomposition. I can’t wait to work it into my vegetable beds. Oh and a scoop for each of the pot plants too.
If you don’t have a worm farm what are you waiting for :),
PK
You can see my other worm posts here.
Written by
·
-

PK’s BBQ Western Rock Lobster With Garlic Butter
Seafood has an unfair advantage over other foods in the looks department. Even if you don’t like seafood you have to admit the colours and textures are eye catching. Nothing epitomises this more for me than lobsters and crayfish.
I am new to this seafood cooking business so this is the only way I know how to cook lobster. I am glad to say though that it did the massive Western Rock Lobster, caught by a friend of mine in the waters off Perth, proud.
This method is so easy, even if a fresh whole lobster looks a bit intimidating. Indeed, the first time I halved a whole one I wondered how to even get started :).
This is a great point scorer with my wife and I am also very happy that I get to make my garlic butter using ingredients from my kitchen garden.
STEPS:
- Halve the lobster
- BBQ time
- Serving
You will need:
- Ingredients:
- table salt to taste
- cracked pepper to taste
- enough garlic butter to coat the flesh side of lobster halves
- Equipment
- a long sharp knife
- kitchen scissors
- a chopping board
- a barbecue or frypan
Halve the lobster
Steps:
- Place the lobster right side up and, starting in the middle of the carapace, use a long sharp knife to cut the hard outer skeleton stopping at the start of the tail.
- Flip the lobster over, repeat the cut so that the body is sliced in half.
- Using kitchen scissors cut the tail’s hard outer skeleton length ways, first the top and then the bottom. This way you probably won’t break the intestinal tract and you can pull it out easily.
- Finish cutting all the way through the tail meat with the knife now.
- To be safe I scooped out all the tomalley (the gunky brown stuff in the head and body) and gave the halves a good rinse.
- I now cover the flesh side of the lobster halves with garlic butter, pushing it into all the nooks and crannies. Then I add lots of black pepper and a bit of salt.
I do the same thing if I am using just the tails:

BBQ time
Steps:
- Place the lobster halves flesh side up on a preheated medium flame grill.
- The garlic butter will start to sizzle and some of the flesh will start to go white. That is when I turn them over.
- When the flesh side is opaque white and looking chargrilled, whip them off the grill and serve immediately. You will need to experiment a bit to make sure they are not under cooked nor turned to rubber 🙂
Serving
As this was a massive beastie I simply served one half to each adult with a fresh green salad. It was perfect and I got to bank lots of brownie points.

I would love to hear how you cook lobster or crays or any improvements on the above.
Enjoy,
PK
Written by
·
-
Day 12 Life Cykel Home Grown Mushroom Box Side 1
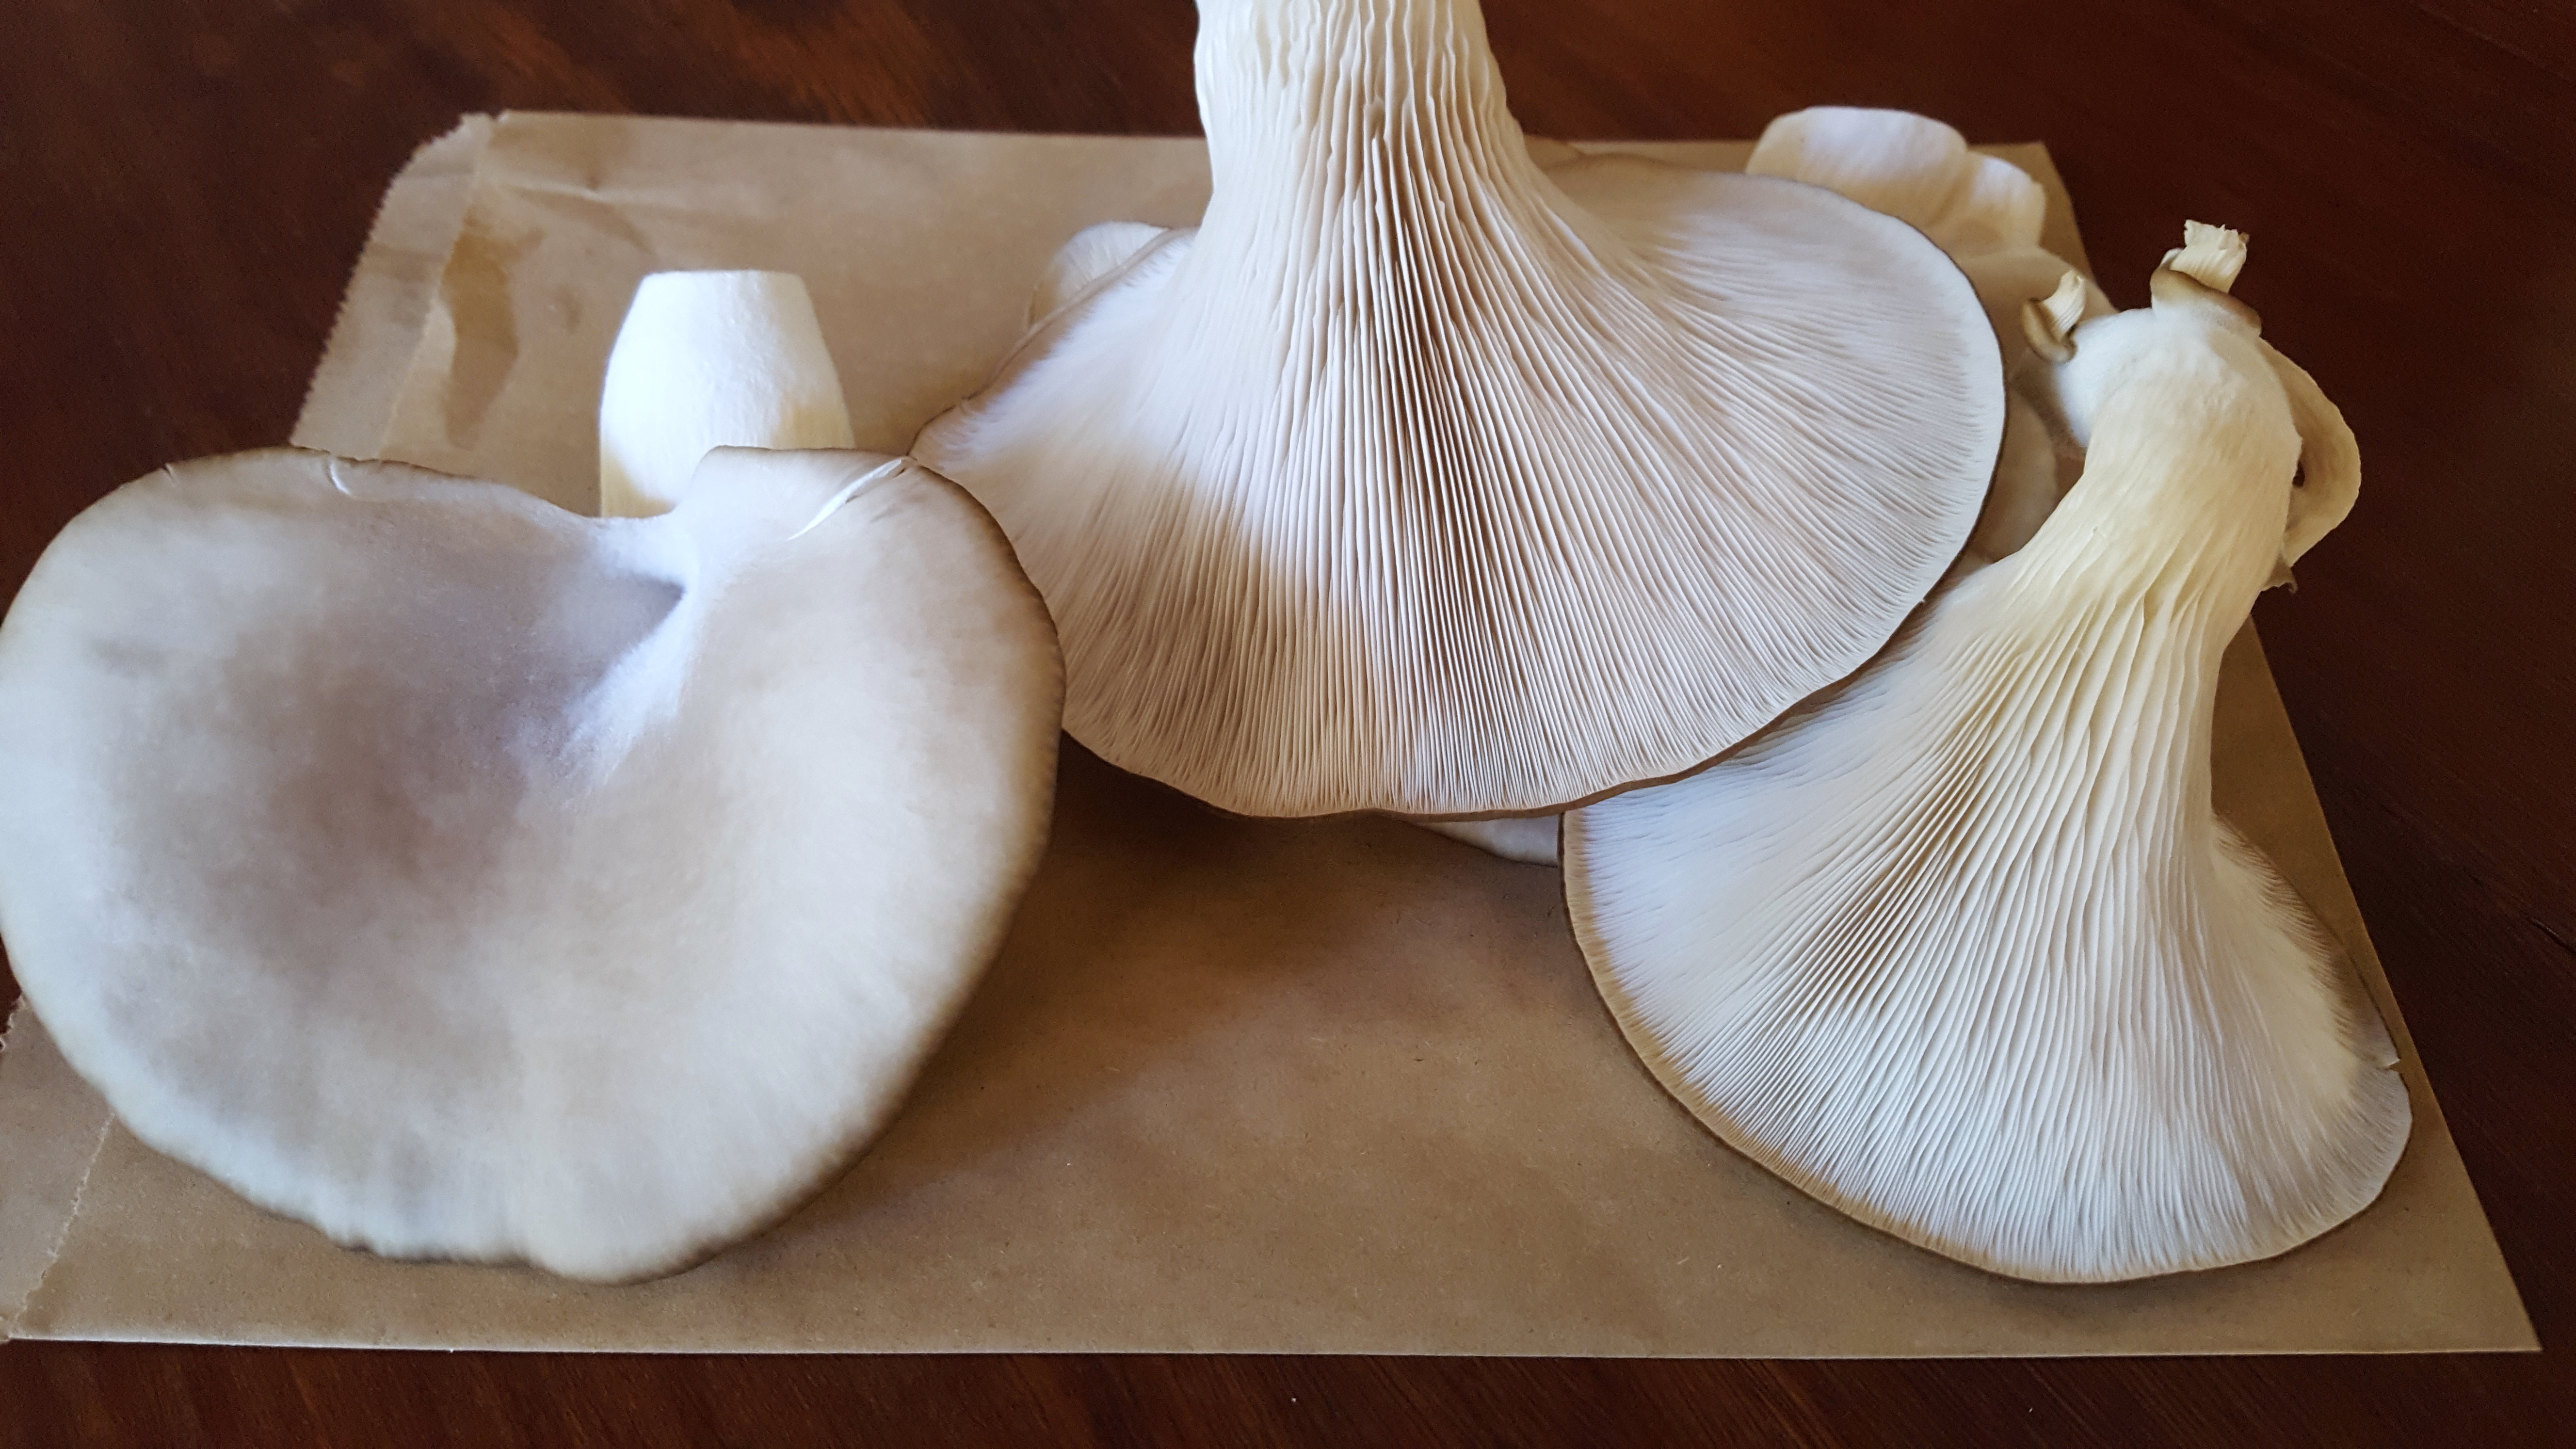
Yesterday my patience paid off when I got to harvest my first batch of mushrooms. I got almost 250 g (edit: I got almost 500g in the end of batch 1) and could have harvested a few more. I am leaving them to get bigger and I can already see new ones emerging. When they stop coming I can take the bag out, cut it on the other side, soak it over night and off we go again. See my post Life Cykel Home Grown Mushroom Box Unboxing for more information.
Post harvest pic:

I gave a large paper bag full of them to my mum in exchange for some baby sitting 🙂 and I also had enough left over to add to the green salad we had with some beef steaks for dinner. I just salt and peppered them and sliced them raw. They have an amazingly subtle nutty flavour and really complimented the steaks. Best of all, they had been harvested moments before. There is nothing better! Today I am going to use one of the big ones as a plate for a runny fried egg at lunch.
I thoroughly recommend this product. Check out my other Life Cykel posts here.
Here is a slideshow of the mushrooms’ amazing growth over the past 12 days:
Thanks again to the guys at Life Cykel for this amazing product,
PK
Written by
·
-
PK’s NoRecipe Oven Baked Potatoes
Perfectly crisp on the outside, fluffy in the middle, these baked potatoes are perfect for a Perth winter night. This is a great meal for enjoying with friends and family as you can build your own topping as you go. There is nothing better than eating with your hands as you chat away :).
I suggest 1.5 medium potatoes per adult and then add a few more for tomorrow’s lunch :).
Everyone has their favourite potato variety that you must use for baked potatoes. However, I have found that you can make perfect oven baked potatoes from most varieties. I think I am using Carlingfords here but only because in Western Australia we are pretty limited on the varieties available.
STEPS:
- Prepare and cook the potatoes
- Prepare your toppings
- Serving
You will need:
- Ingredients:
- your favourite potatoes
- table salt
- ground black pepper
- your favourite toppings, sauces and condiments.
- Equipment
- paper towel
- a chopping board
- a long sharp knife
- an oven dish or oven rack
- several plates to serve the toppings
Prepare and cook the potatoes
Steps:
- Pre-heat your oven to 200 degrees Celsius.
- Scrub each potato to remove dirt, eyes and deeper imperfections.
- Dry them thoroughly using the paper towel, this is important for the crispy finish.
- Spray each potato with olive oil spray and dust them liberally with salt and pepper.
- Pop them on the oven rack (or oven dish) making sure there is space between them.
- Cook for about 1 hour (longer depending on your oven or if you are using really big potatoes). I test the largest potato at this stage. If it is ready the others are too.
Prepare your toppings
Steps:
- Harvest, chop, slice and gather your favourite toppings.
- Put them on plates in the middle of the table so your guests can build their own potato :).
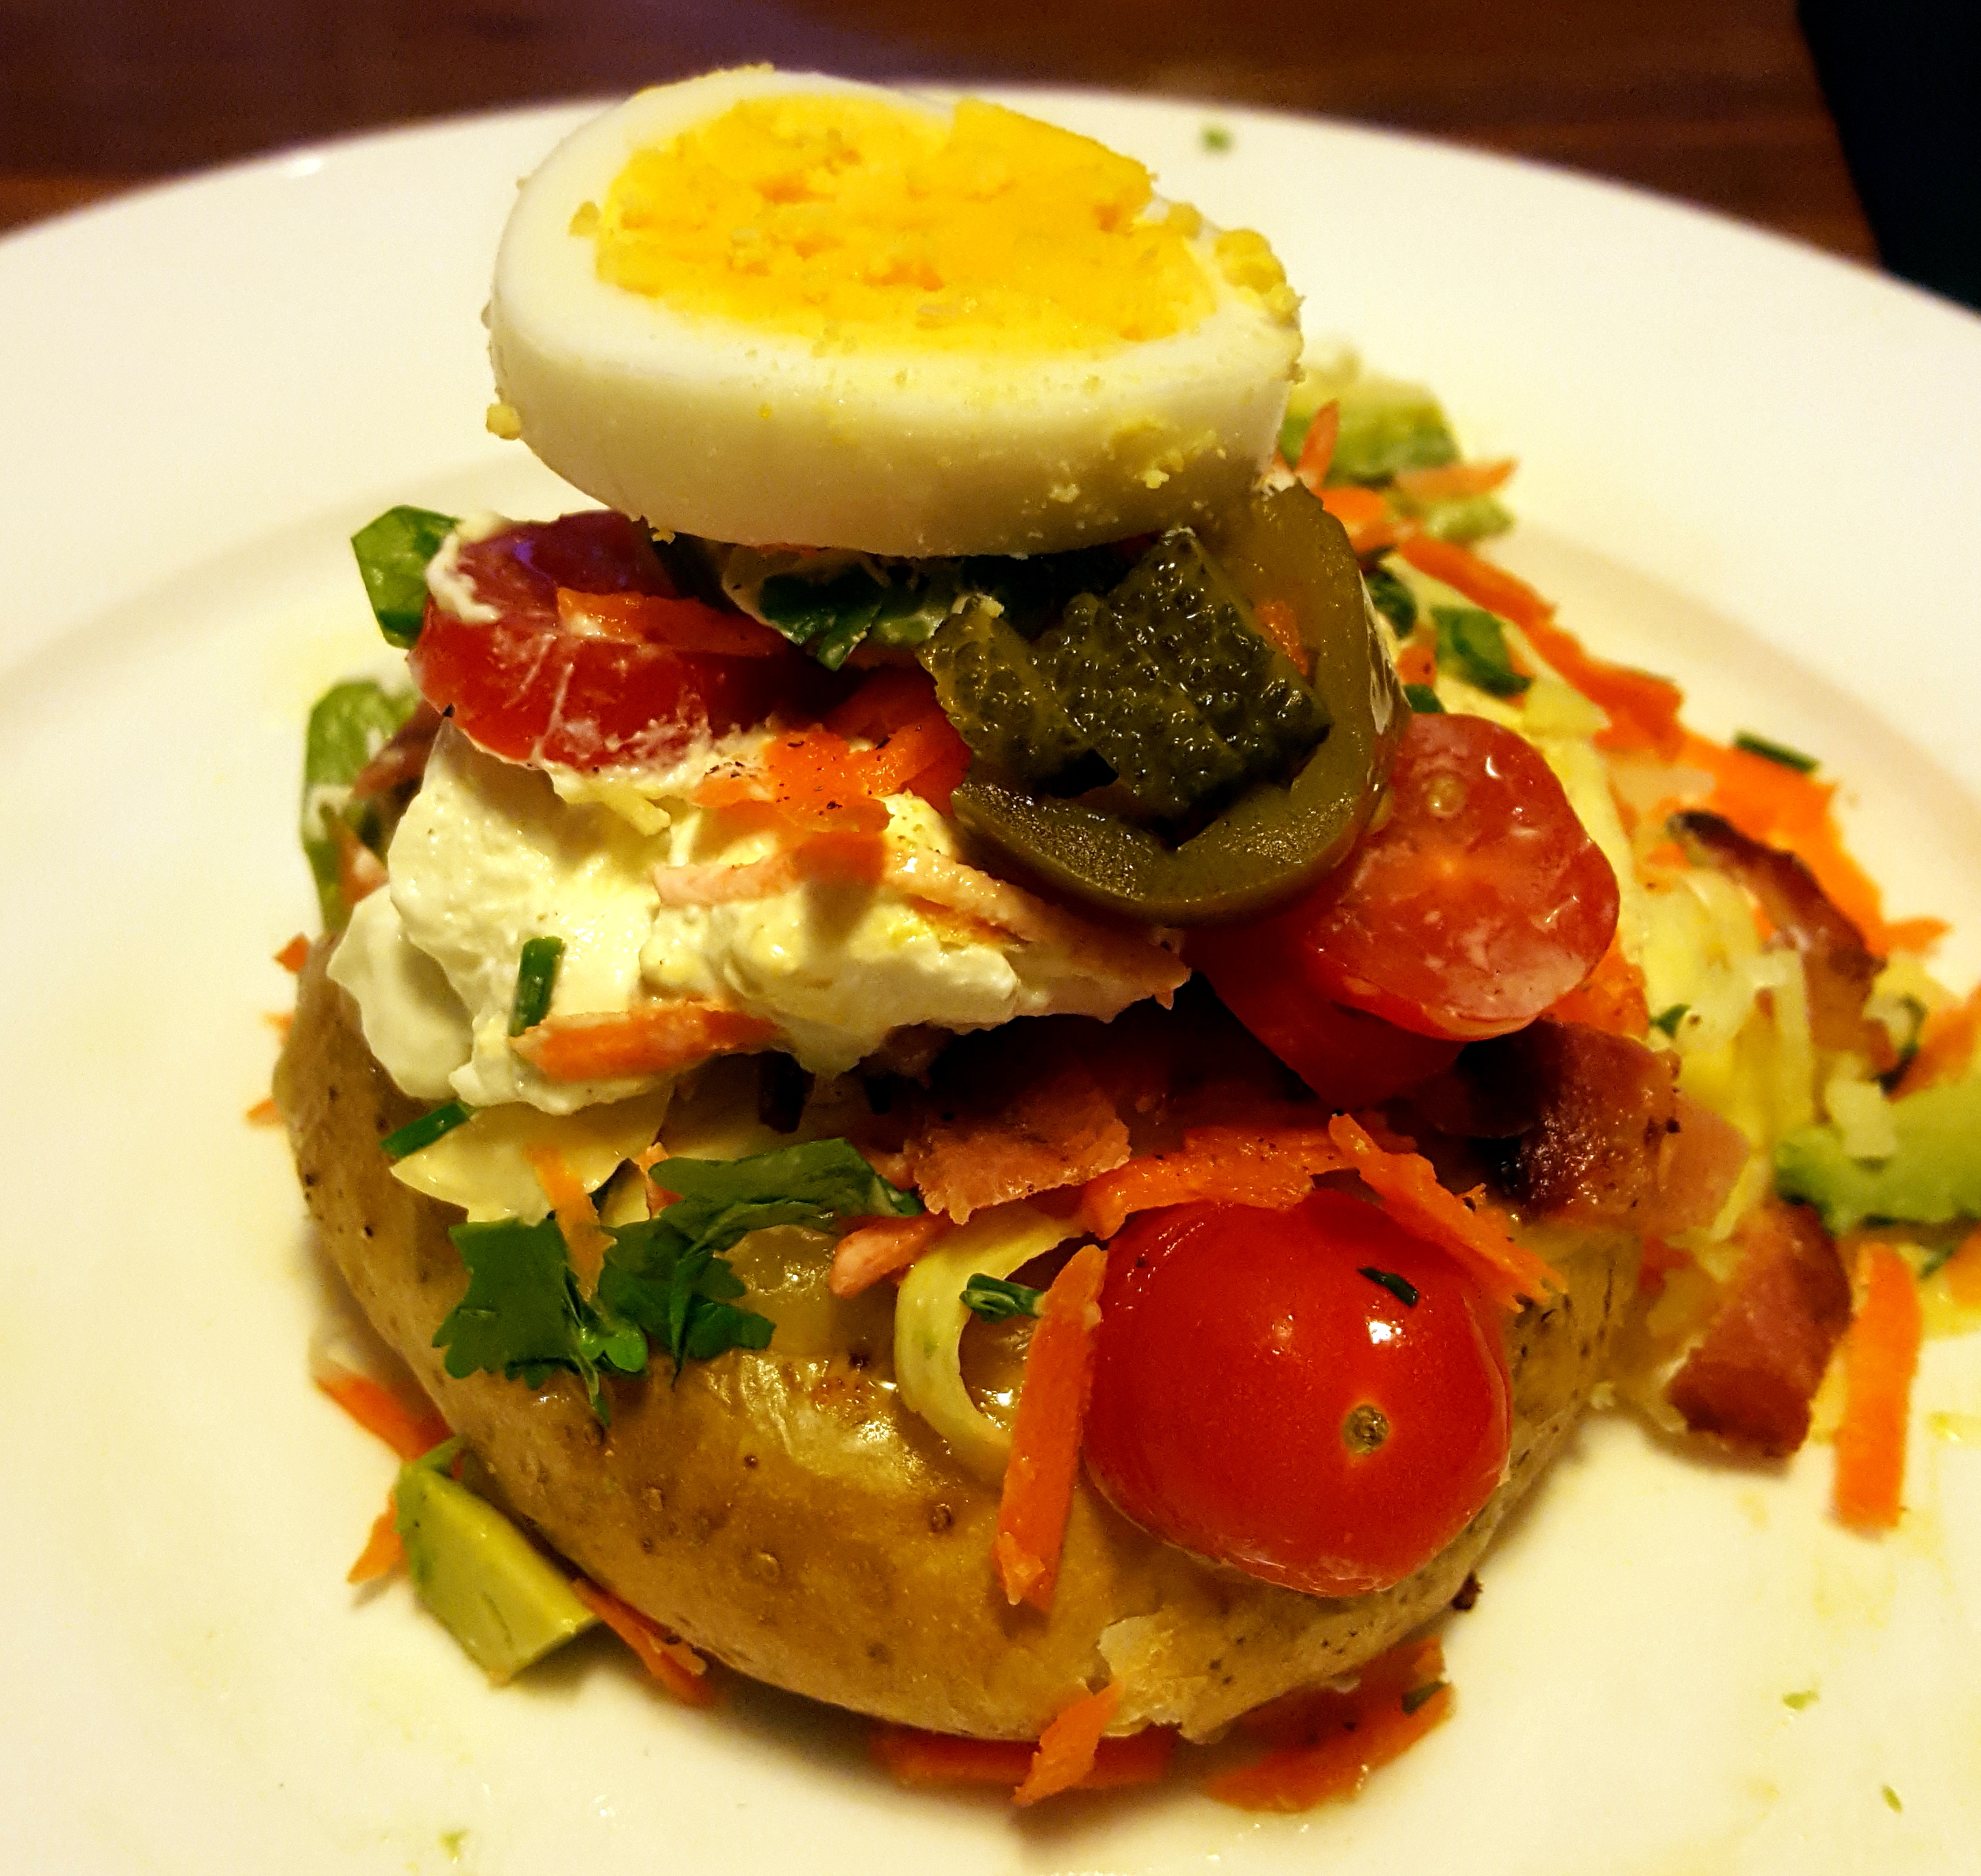
Here is what I used. Sour cream, cheese and coleslaw are must haves 🙂

Serving
I can’t remember where I read this but it is the most important part of the process.
Just before serving the potatoes, you need to cut them, squeeze them with your thumbs and forefingers (to break up the insides) and then flatten them out a bit. This will let the steam out and stop the potato skin from going soggy. You will also have a great base to load the toppings onto.
Here is a video of me doing just that whilst trying not to burn my fingers:
Here are a few of my favourite combinations:
They don’t freeze but they do make a great lunch the following day:

Enjoy,
PK
Written by
·