Author: PK
-

PK’s Working Garden
A working home garden (or kitchen garden) is one where the emphasis is on the growing of herbs, vegetables and fruit. There may also be areas for composting and hopefully a system of natural pest management aka insecticide free bug control.
They can be just as visually appealing as any other type of garden. However, their beauty may be more in the eye of the beholder and the smile on your kid’s face as you hunt for caterpillars together. If it was up to me I would have one giant vegetable garden, a few benches and a hammock :).
Indeed, it is becoming increasingly difficult, much to my wife’s dismay, to see where my kitchen garden stops and the “other” garden starts. For now I am getting away with it :).
There is something uplifting in getting an ingredient straight out of the garden as you cook. It is a great way to briefly slow down the pace set by modern life.
Enjoy,
PK
Here are a few photos:

Please consider subscribing to a weekly email summary of our posts or check us out on Facebook @growitcatchitcookit.
Written by
·
-

Lime Common
I love cooking with limes (and adding slices of them to Gin and Tonics) just as much as I do sharing limes from the tree in my kitchen garden. No one in Perth will turn down a home grown lime, they are that prized.
There is even a lime tree in my driveway ,that is constantly being cross pollinated with an adjacent lemon tree, that gives a slightly different flavour. Thank you bees :).
Here is what I have learnt about lime trees (in fact most citrus).
- You can’t over prune them. I love a good hedge and it keeps the fruit accessible.
- Feed them 3 times a year only (this might take some will power) with way more than you think you need of dynamic lifter (blood and bone) and a complete citrus fertiliser. Spread it to the edge of the canopy line, keep it away a bit from the trunk and water in well. I don’t bother mixing it into the soil.
- Water them daily during the hot months. Just like on a Passionfruit vine, outwardly nice looking fruit might be dry inside if you don’t. Worse still, you might get lots of flowers that then drop off and this is heart breaking to watch.
- Pee on surrounding soil (some wives’ tales are true) for soil acidity.
- Keep the soil slightly acidic if the tree is not naturally doing this (dropping leaves and fruit that compost naturally) or the above measures are not doing so. You could use some burnt wood ash if you are still worried but the slowly slowly natural approach is better in my opinion.
Oh and it doesn’t hurt to inherit an awesome tree :).

Enjoy,
PK
Related Links:
- see more lime posts here
- see more citrus posts here
- See citrus preserving ideas here
- go to all ingredients
Written by
·
-
Limes
I love cooking with Persian limes (these are a common cultivar in Australia) just as much as I do sharing limes from the tree in my kitchen garden. No one in Perth will turn down the offer of a bag of limes.
Fresh lime juice, zest and leaves are essential to southeast asian cooking so I will always grow them and their Kaffir lime cousins. I believe my friend Ben has a key lime tree that produces lovely yellow fruit for eating and pickling.
There is even a lime tree in my driveway that is constantly being cross pollinated with an adjacent lemon tree. It makes for fruit that are magically different again, thank you bees.
Here is what I have learned about lime trees (in fact most citrus).
- You can’t over prune them. I keep them low to keep the fruit accessible.
- Feed them 3 times a year only (this might take some will power) with way more than you think you need of dynamic lifter (blood and bone) and a complete citrus fertiliser. Spread it to the edge of the canopy line, keeping it away from the trunk somewhat and water in well. I don’t bother mixing it into the soil.
- Water them daily during the hot months.
Oh and it doesn’t hurt to inherit an awesome tree :).
Plant:

Flower:

Fruit:


Enjoy,
PK
To see all the ingredients on the blog click here.
Here are some recipes using limes and more ingredients:
Written by
·
-
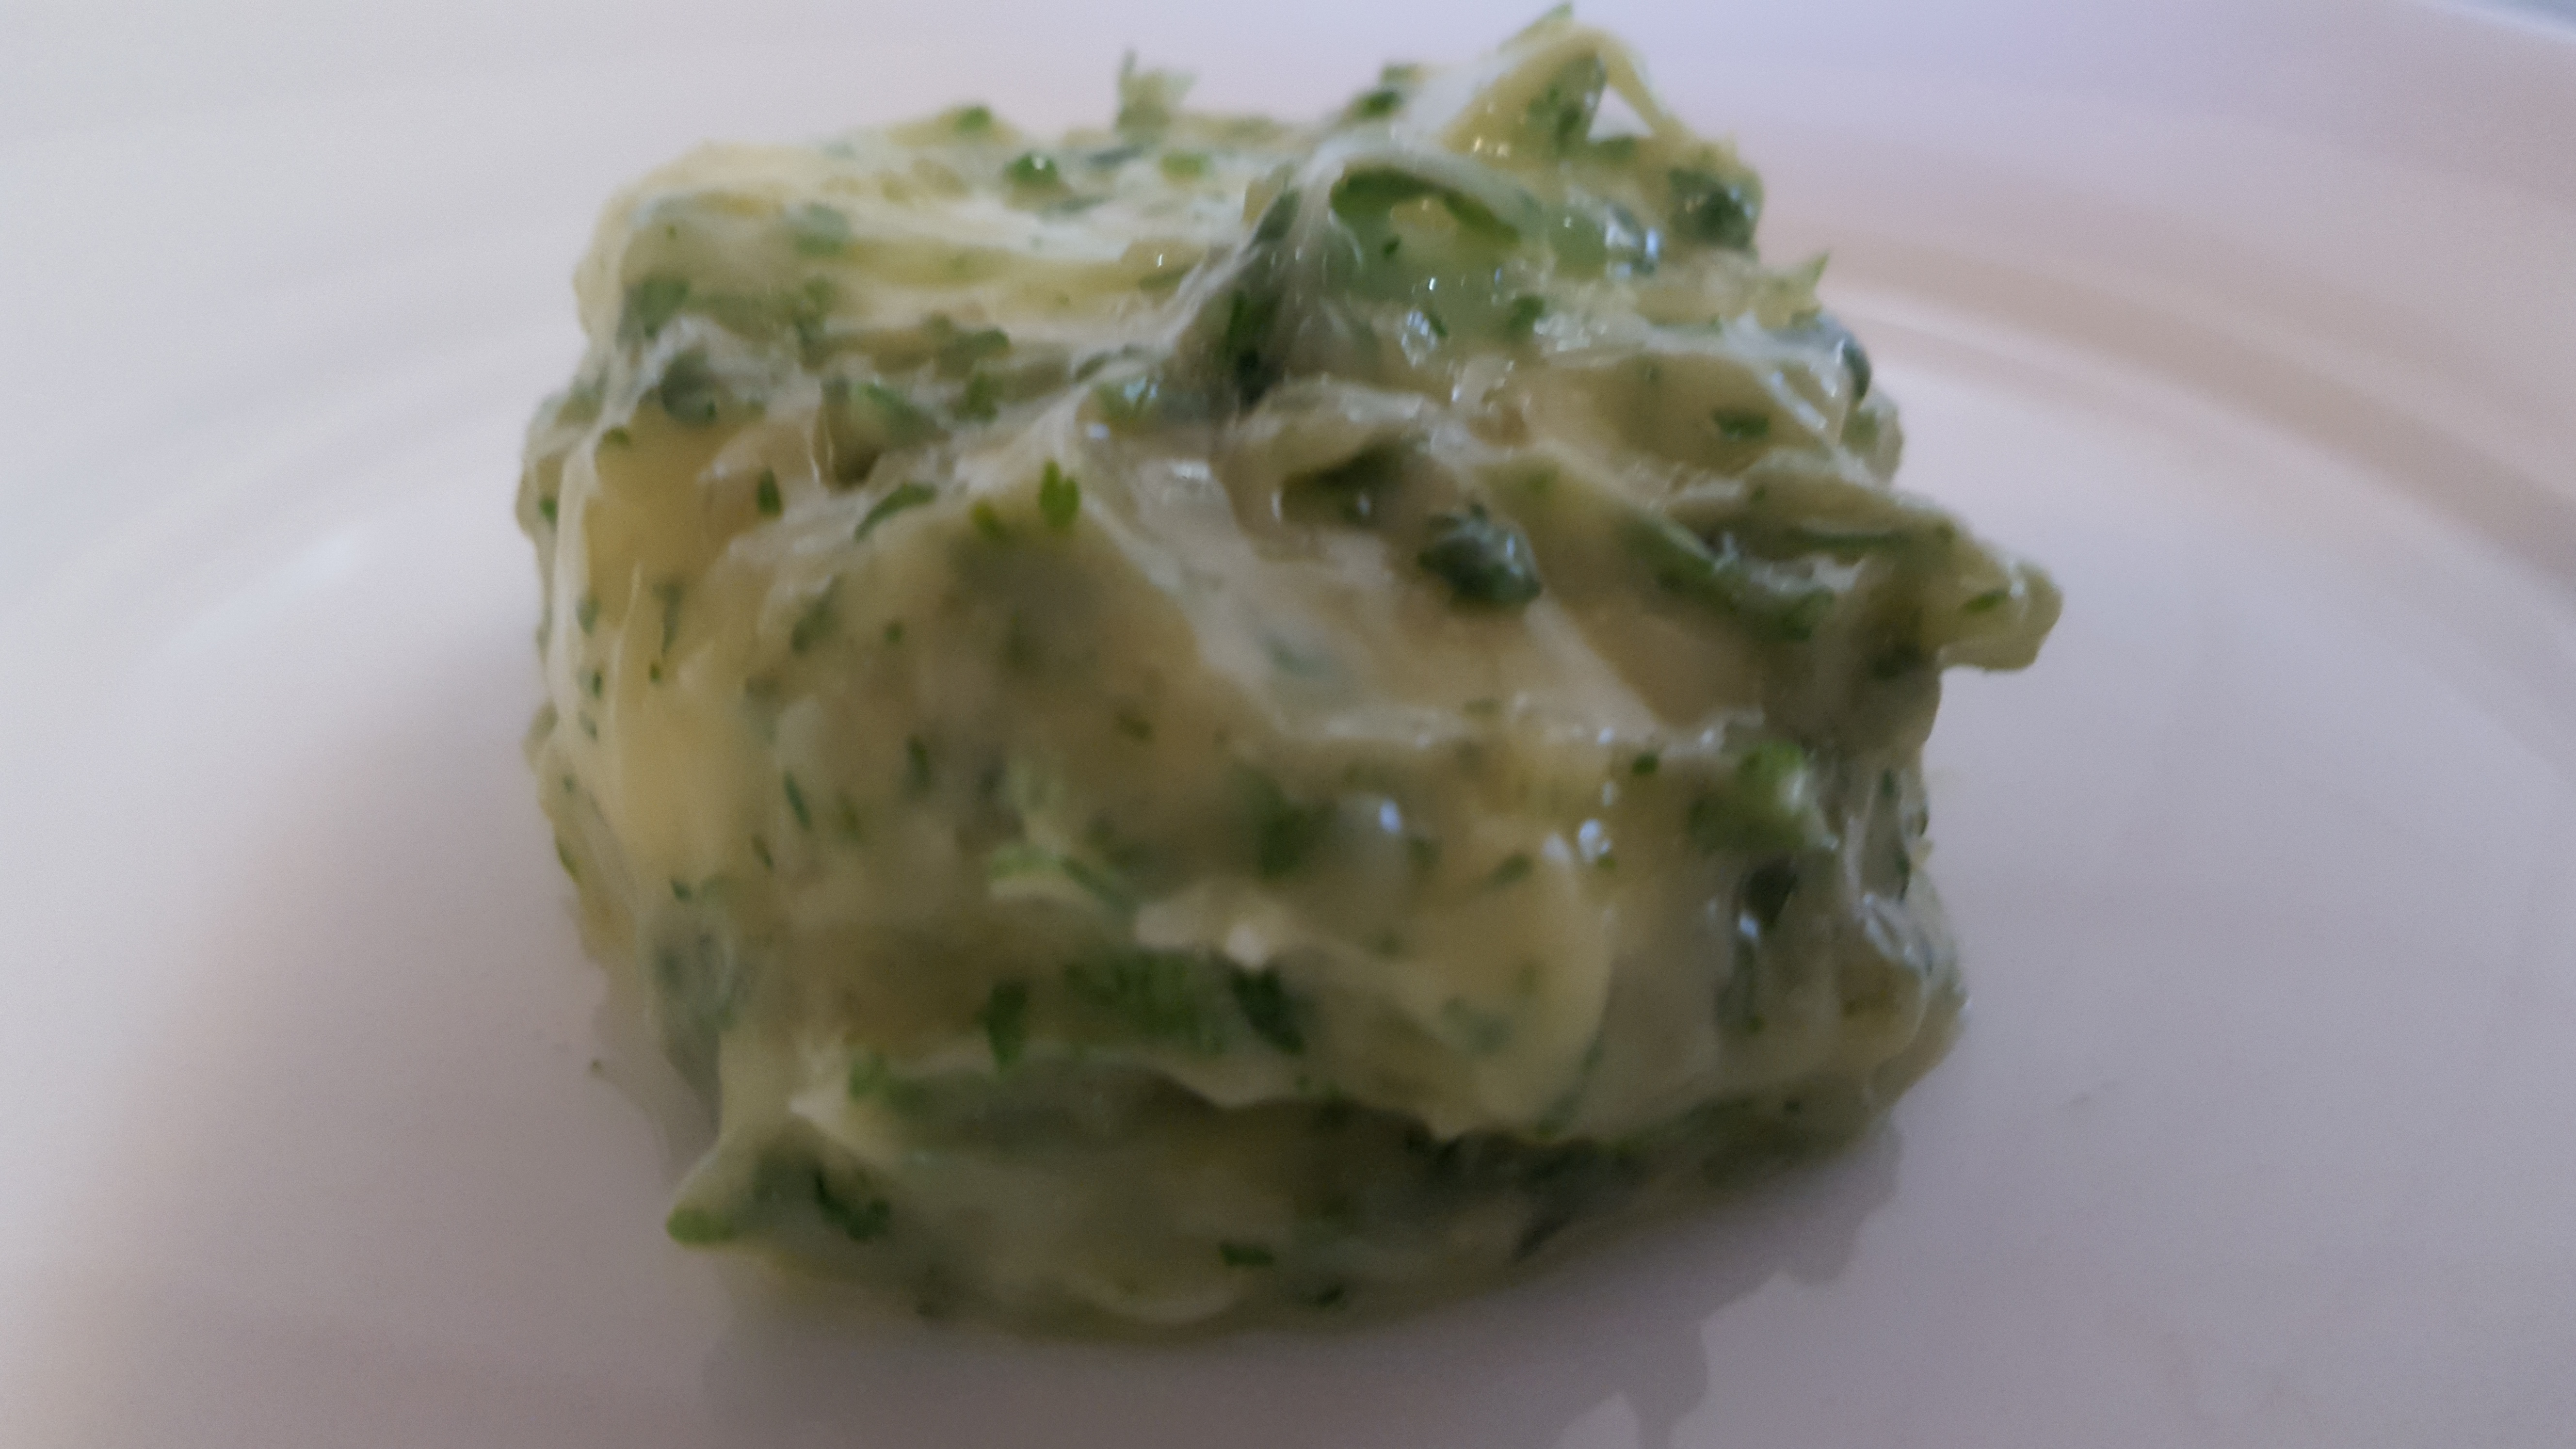
PK’s NoRecipe Garlic Butter
A really simple chives and parsley flavoured garlic butter that goes well with anything. You can even add some dill to make it the perfect partner with seafood without fear of it taking over in the taste department. I suppose it would probably keep for a while in the fridge but I have only ever made enough to use straight away.
Bring together your desired amount of butter or margarine or butter blend and add:
- parsley
- chives
- dill (optional and great for seafood use)
- thyme or lemon thyme
- minced garlic
I bring the butter to room temperature to make it soft and workable. Finely chop the rest of the ingredients and fold them in. I then roll it all into a ball and chill the whole lot again.


Roll and chill (it will last a few days in the fridge):

My usage suggestion:

Enjoy,
PK
I like making infused butters and here are some other butter posts.
Written by
·
-

Make Your Own Herb And Garlic Butter
A really simple chives and parsley flavoured garlic butter that goes well with anything. You can even add some dill to make it the perfect partner with seafood.
Bring together your desired amount of butter or margarine or butter blend and add some:
- parsley
- chives
- dill (optional and great for seafood use)
- thyme
- minced garlic
I bring the butter to room temperature to make it soft and workable. Then I finely chop the rest of the ingredients and fold them in. I then roll it all into a ball shape and pop the mix into the fridge to solidify.


Enjoy,
PK
Here are more ways to use butter and ingredients posts.
Written by
·
-

PK’s Worm Farms
Although this is my first ever worm farm, I am already hooked and singing their virtues.
Written by
·
-

Easy Chicken Katsu Udon
Chicken Katsu Udon is an amazingly versatile dish, perfect for snacks, sides or a main meaIs. At is simplest it consists of a bowl of noodles, vegetables and broth topped with crumbed fried chicken.
It is very easy to make and friends of mine have even made it on a camping trip.

This recipe will feed two adults for lunch. Add more noodles, chicken, vegetables and broth to bulk it up for dinner.
You will be:
- Preparing the chicken.
- Frying the onion toppings.
- Preparing the other vegetables.
- Cooking the noodle broth and crumbed chicken
- Serving.
You will need:
- Ingredients
- 1 large chicken breast, butterflied
- Ground rock salt, to taste
- Ground black pepper corns, to taste
- White flour, enough to coat the chicken breast
- Panko bread crumbs, enough to coat the chicken breast
- 1 egg, beaten egg
- 1 brown onion, sliced
- 1 cup Asian greens e.g. bok choy leaves and stems
- 1 small handful torn coriander (cilantro) leaves
- 1 packet of soft Udon noodles
- 4 cups home-made chicken stock
- Olive oil and/or chili oil, enough to cover the base of the pan to half the depth of the chicken breast and a splash for frying the onions
- A handful of sliced shitake or enoki mushrooms
- Equipment
- several chopping boards
- a long sharp knife
- a rolling pin or meat tenderiser
- two large plates
- one medium sized bowl for coating the chicken breasts
- a medium sized saucepan for the broth and noodles
- a deep frypan for shallow frying the crumbed chicken
- paper towel to absorb excess oil
- deep bowls for serving
- tongs for cooking the chicken in the oil
- tongs for adding the hot noodles to the serving bowls
Preparing the chicken

- Take your chicken breast and butterfly it. I completely separate the halves at this stage, place them on a chopping board and bash the stuffing out of them using a rolling pin. This makes them really tender and easier to cook through without burning the outside crumb coating. This dish also works really well with chicken tenderloins (these are the pectoralis minor of a chicken and they don’t need tenderising).
- Salt and pepper them to taste and then successively coat them in flour, dip them in the egg and roll them in the panko crumbs.
- Refrigerate them for 30 minutes or as long as it takes you to prepare the rest of the dish.


Fry the onions
- Thinly slice the 1 brown onion.
- Heat the oil in your deep fry pan.
- Add the onions and crisp them up, moving them continuously.
- Pop them into the fridge after soaking up excess oil with paper towel.
- Clean the fry pan with some paper towel so you get rid of any burnt onion bits.

Prepare the vegetables

- Roughly chop your Asian greens and other vegetables of choice. No need to cook the greens as they will quickly steam as you add them to the hot broth at serving time.
- Tear the coriander leaves to make a nice garnish.
- Hot Tip – Bring the crumbed chicken breasts out of the fridge at this point and allow them to return to room temperature. This will allow you to cook them golden brown on the outside and avoid a raw center.
Cook the noodle broth and crumbed chicken

You are going to have to keep an eye on two processes here. Sorry 🙂
- Add the stock and noodles to the saucepan.
- Heat the oil in the deep frypan so it is lightly bubbling.
- While you are lightly frying the chicken, slowly bring the noodle broth to the boil.
- When golden brown on both sides, remove the chicken from the oil and pat dry with paper towel.
- Slice the chicken.
The panko crumbs are so light that I prefer a longer slower fry:
Cooking the noodles in the broth as it comes to the boil:

The sliced chicken:

Serving
- Add the desired amount of noodles to each bowl using tongs.
- Add the desired amount of greens and vegetables to each bowl.
- I add the slices of mushroom now.
- Pour in the desired amount of broth to each bowl.
- Top with some of the torn coriander and the fried onions.

Happy slurping,
PK
Here are more soup recipes and Japanese cuisine posts:
Written by
·
-
PK’s Chicken Katsu Udon
Chicken Katsu Udon is an amazingly dish, light enough for both summer and winter. I love it and could eat it every day :).
This recipe will feed two adults for lunch. Add more noodles, chicken, vegetables, and broth, depending on your preferences, to bulk it up for dinner.
You will be:
- Preparing the chicken.
- Frying the onion toppings.
- Preparing the other vegetables.
- Cooking the noodle broth and crumbed chicken
- Serving.
You will need:
- Ingredients
- 1 large chicken breast, butterflied
- ground rock salt, to taste
- ground black pepper corns, to taste
- white flour, enough to coat the chicken breast
- panko bread crumbs, enough to coat the chicken breast
- 1 egg, beaten egg
- 1 brown onion, sliced
- 1 cup Asian greens e.g. bok choy leaves and stems
- 1 small handful torn coriander (cilantro) leaves
- 1 packet of soft Udon noodles
- 4 cups home-made chicken stock
- olive oil and/or chili oil, enough to cover the base of the pan to half the depth of the chicken breast and a splash for frying the onions
- Equipment
- several chopping boards
- a long sharp knife
- a rolling pin or meat tenderiser
- two large plates
- one medium sized bowl for coating the chicken breasts
- a medium sized saucepan for the broth and noodles
- a deep frypan for shallow frying the crumbed chicken
- paper towel to absorb excess oil
- deep bowls for serving
- tongs for cooking the chicken in the oil
- tongs for adding the hot noodles to the serving bowls
Steps:
Prepare the chicken

Steps:
- Take your chicken breast and butterfly it. I completely separate the halves at this stage, place them on a chopping board and bash the stuffing out of them using a rolling pin. This makes them really tender and easier to cook through without burning the outside crumb coating. This dish also works really well with chicken tenderloins (these are the pectoralis minor of a chicken and they don’t need tenderising).
- Salt and pepper them to taste and then successively coat them in flour, dip them in the egg and roll them in the panko crumbs.
- Refrigerate them for 30 minutes or as long as it takes you to prepare the rest of the dish.
Fry the onions
Steps:
- Thinly slice the 1 brown onion.
- Heat the oil in your deep fry pan.
- Add the onions and crisp them up, moving them continuously.
- Pop them into the fridge after soaking up excess oil with paper towel.
- Clean the fry pan with some paper towel so you get rid of any burnt onion bits.

Prepare the vegetables

Steps:
- Roughly chop your Asian greens and other vegetables of choice. No need to cook the greens as they will quickly steam as you add them to the hot broth at serving time.
- Tear the coriander leaves to make a nice garnish.
- Hot Tip – Bring the crumbed chicken breasts out of the fridge at this point and allow them to return to room temperature. This will allow you to cook them golden brown on the outside and avoid a raw center.
Cook the noodle broth and crumbed chicken

You are going to have to keep an eye on two processes here. Sorry 🙂
Steps:
- Add the stock and noodles to the saucepan.
- Heat the oil in the deep frypan so it is lightly bubbling.
- While you are lightly frying the chicken, slowly bring the noodle broth to the boil.
- When golden brown on both sides, remove the chicken from the oil and pat dry with paper towel.
- Slice the chicken.
The panko crumbs are so light that I prefer a longer slower fry:
Cooking the noodles in the broth as it comes to the boil:

The sliced chicken:

Serving
Steps:
- Add the desired amount of noodles to each bowl using tongs.
- Add the desired amount of greens and vegetables to each bowl.
- Pour in the desired amount of broth to each bowl.
- Top with some of the torn coriander and the fried onions.

Happy slurping,
PK
Written by
·
-

Rick Stein’s Garam Masala
I use Rick Stein’s garam masala in so many dishes it isn’t funny. This uniquely south asian spice blend is earthy in taste and aroma. The blend is so verstile though and enhances the dishes of many cuisines.
Sure, you could buy a garam masala from the shops. MasterFoods makes a really good one that I grew up with but making your own means that the spices haven’t lost their aroma and you get to personalise the blend.
Rick Stein says “Even more important than the mix is having them freshly roasted and then ground” and of course, he’s right. It is a bit of extra effort but a pleasurable experience. The resulting spice mix lasts for months in an airtight container.
Steps:
You will need:
Roast the whole spices
Pop all the spices (except the nutmeg) in a hot pan and keep them moving the whole time. Safe to say that if the smoke alarm goes off, you have dry roasted them too long or too high :).
Experiment a bit, with the goal being more the release of the spices’ aromas in my opinion, rather than a change in their appearance.
Mill the spices
Once cooled, transfer everything to your blender or mortar. Grate the nutmeg (or like me use shop bought ground nutmeg, oops) separately and to the mill. Run the mill in quick bursts until you get the consistency you like. Then store in an airtight container.
For more Rick Stein recipes click here.
Enjoy,
PK
Written by
·
-

PK’s Roasted Apples
Last night I did a roast pork shoulder just to find that I had run out of apple sauce.
I found a recipe where each person gets their very own roasted apple.
I didn’t use their roasting method but I added a couple of small red apples, lightly coated in olive oil and sprinkled with pepper and salt, for the last 30 minutes while I crisped up the roast potatoes.
You know they are done when their skin loses its colour and starts to fall off.
Enjoy,
PK
Written by
·