Tag: thrifty cooking
-
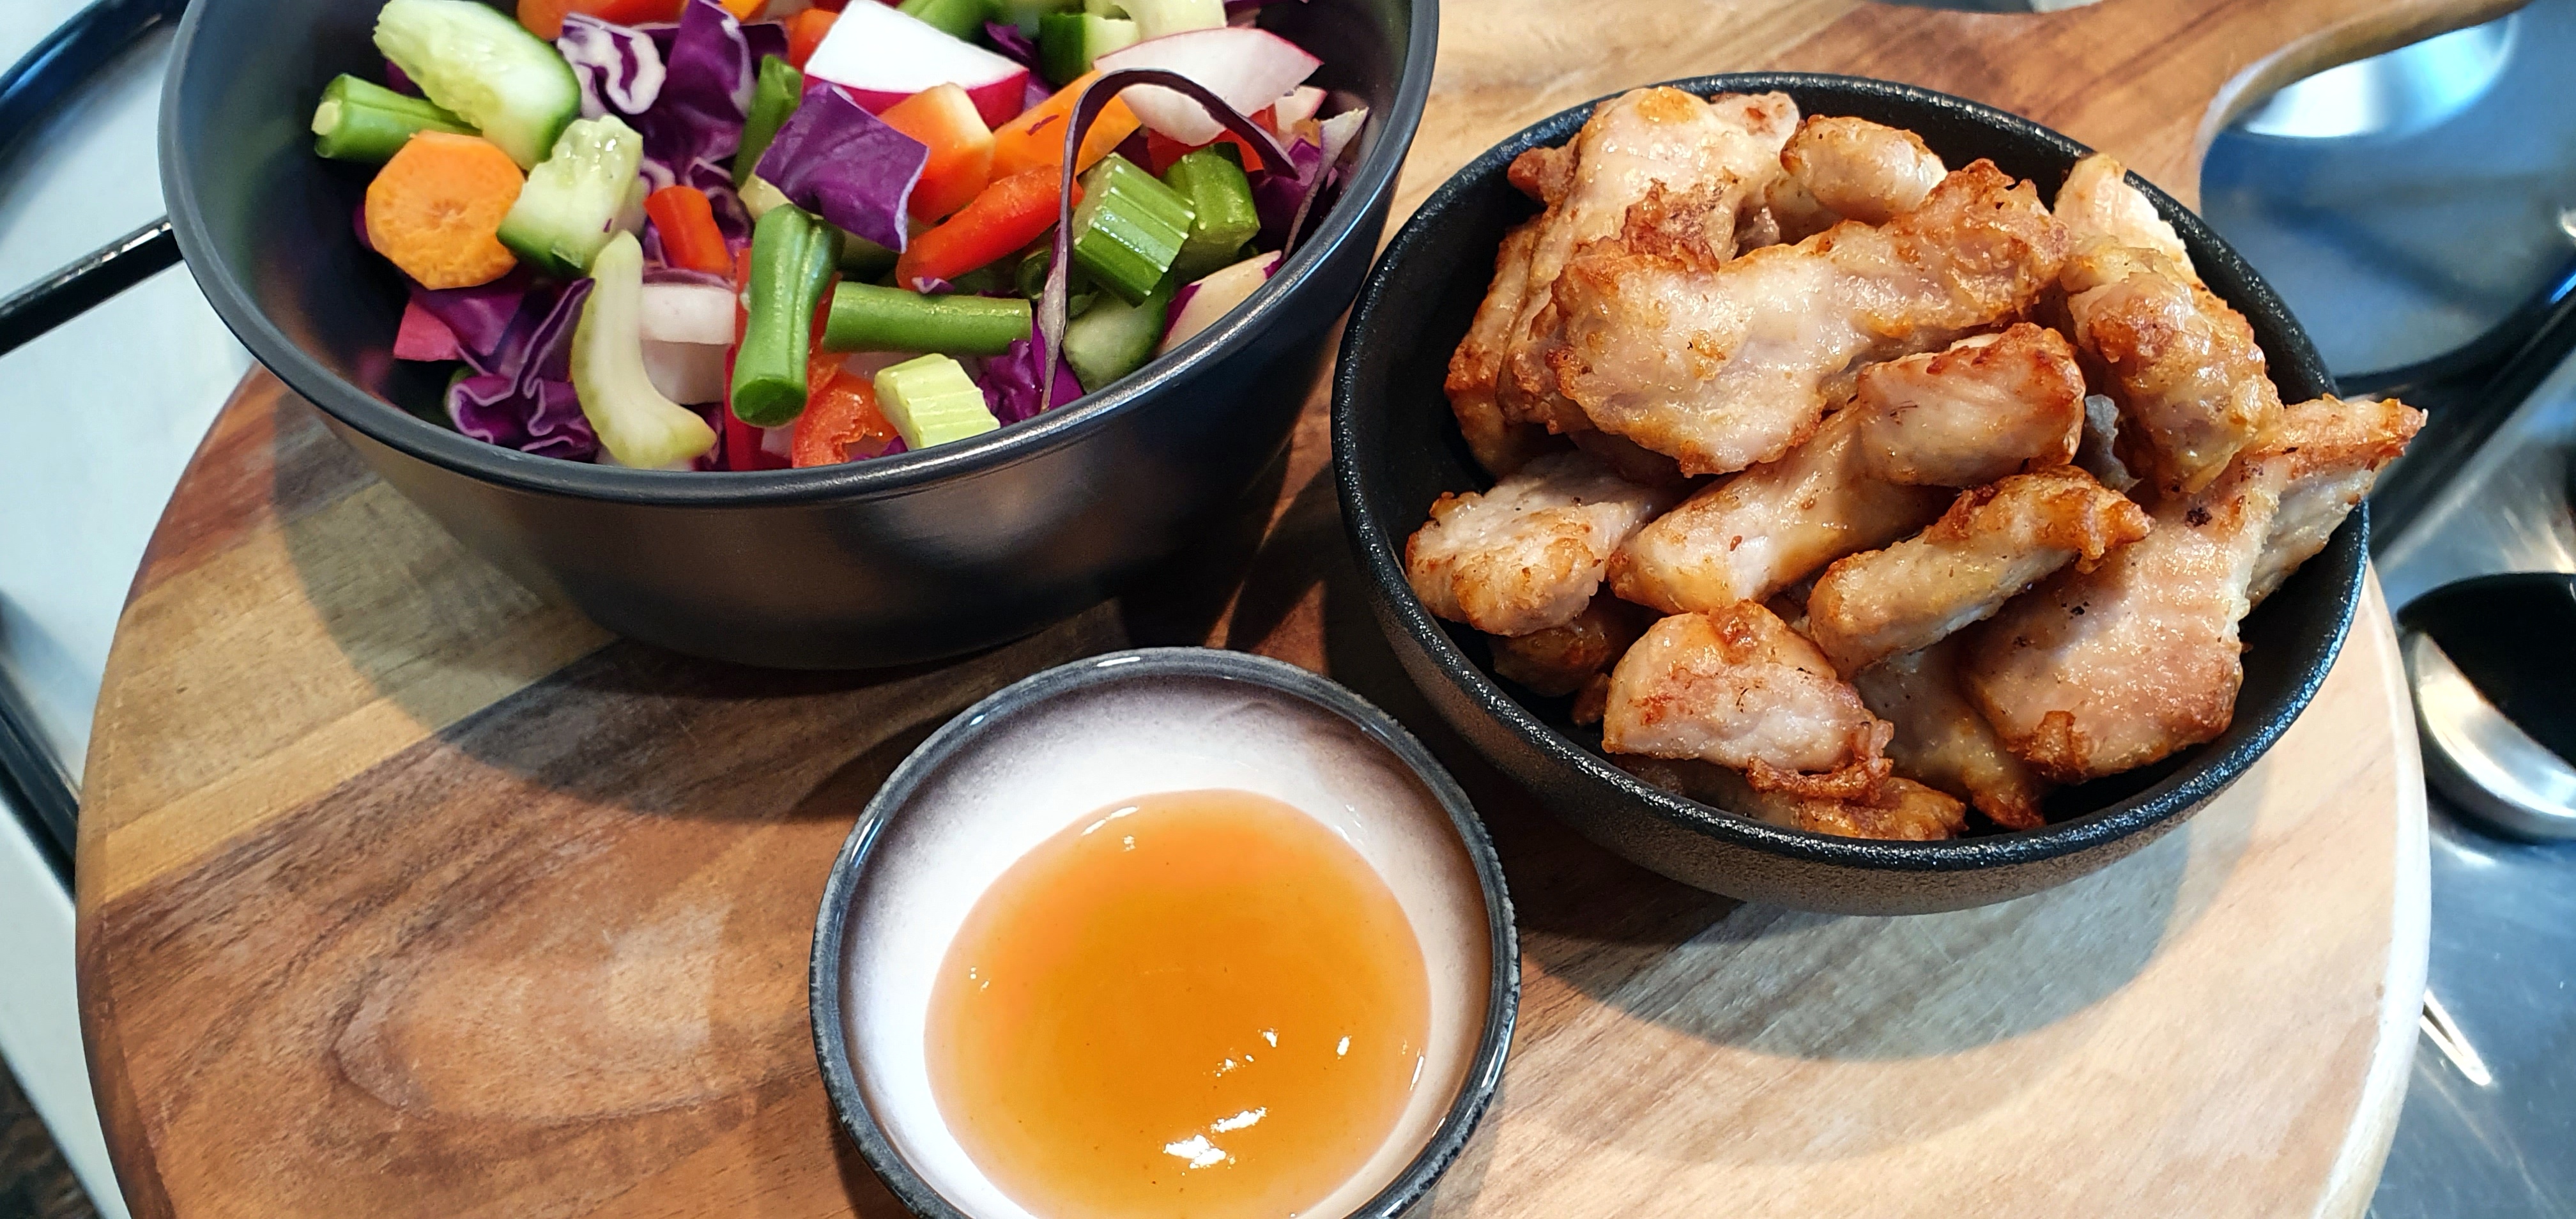
Glutinous Rice Battered Air Fryer Pork
I recently tried a wet batter, made from glutinous rice flour and water my in air fryer. Air frying is perfect for those looking to use less oil in their diet.
You get a lovely light yet chewy coating. Worked a treat and they were gobbled up in no time.

Simply
Mix some rice flour and water. Go for a thicker batter than normal, it works better in the air fryer (see Can I Use A Wet Batter In My Air Fryer?).

Add the pork, mix gently but thoroughly and refrigerate until you are ready to cook.

Pre-heat the air fryer and then cook at 180c for 15 minutes. If they are not crispy enough, shake the pan and cook for another 5 minutes.

Serving
The options are endless. 🙂
Here I simply served the pork bites with sides of vegetables, white rice and a plum dipping sauce:

Enjoy,
PK
Here are more pork recipes and Asian fusion:
Written by
·
-
Stacked Wraps Pizza Bases
I love to make my own pizza bases but sometimes I get stuck for time. Normally when this happens I buy pizza bases from my local baker but there are shortages at the moment.
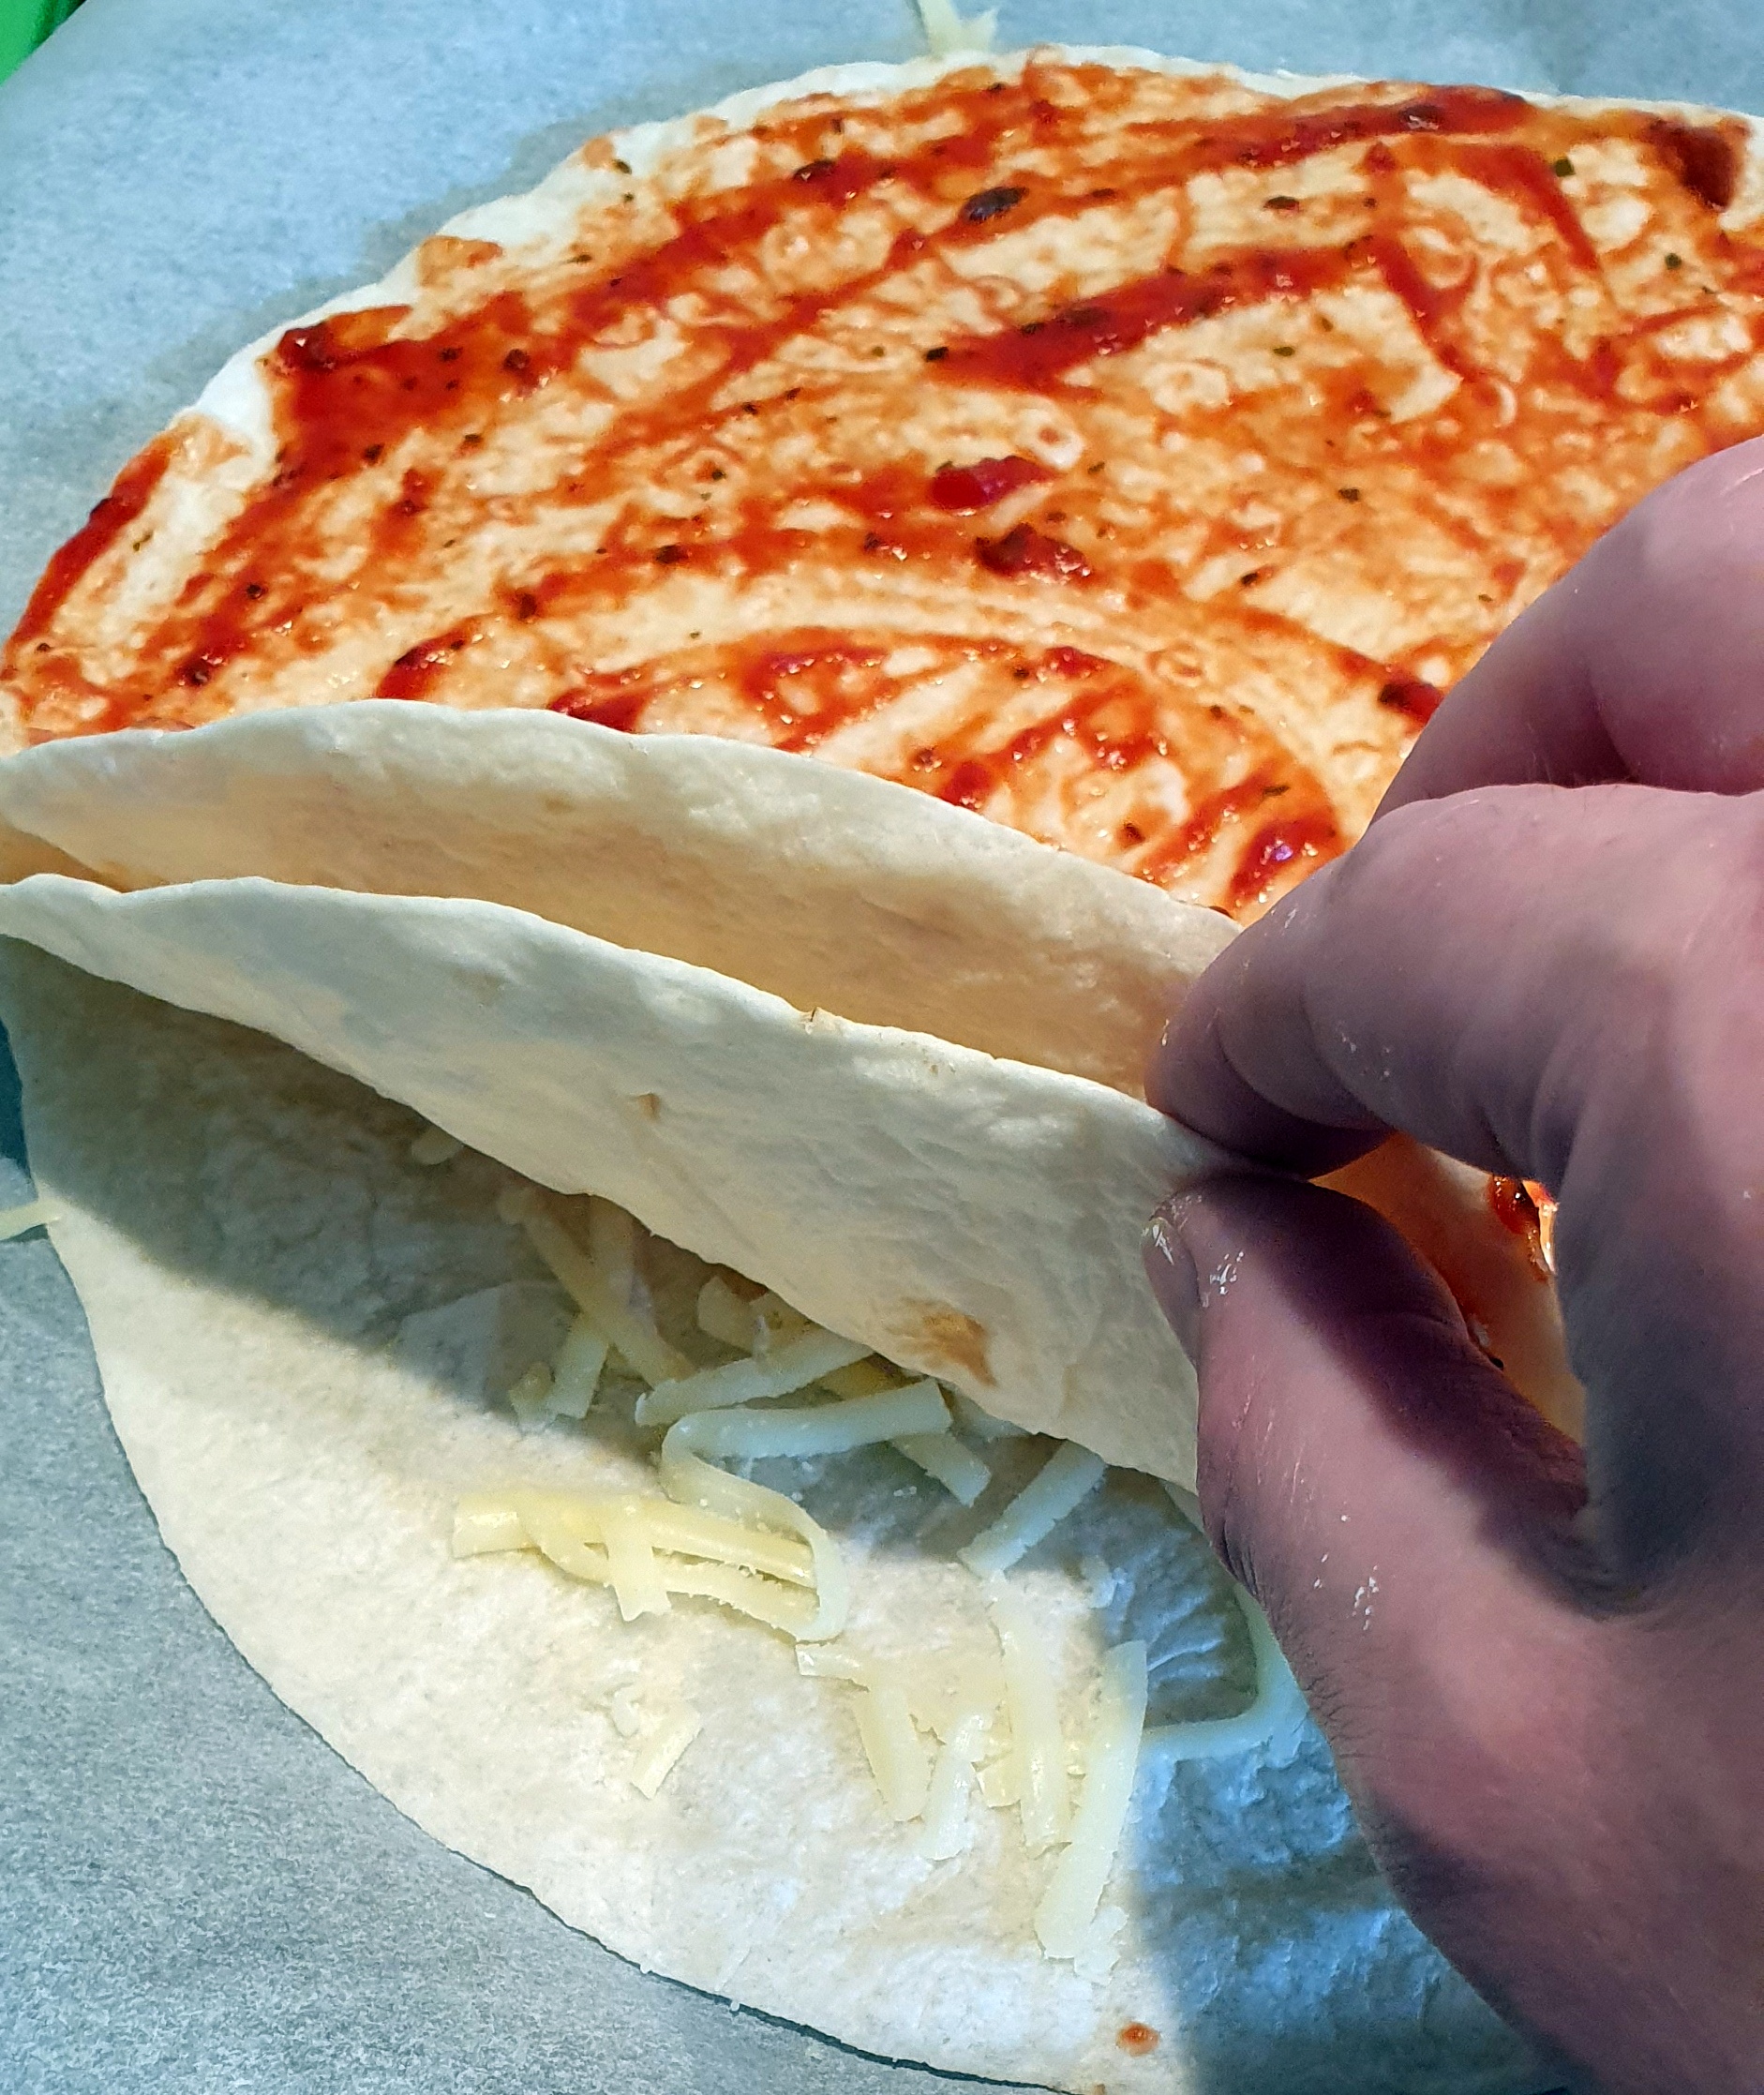
All I could get were some soft wraps. No problem, I simply stacked them 3 deep, using cheese to bind them together.
The top layer got the piaza sauce:

Spinach and cheese (grated mozzeralla amd cheddar) was the next layer .
Next up was the toppings:

Into the oven, hot and fast:

Enjoy,
PK
Here are more pizza posts and thrifty cooking ideas:
Written by
·
-
Condensed Mushroom Broth From Scratch
I love making this simple mushroom broth concentrate. Easily stored as cubes in the freezer it brings depth to soups, stews, pastas and the like. The ingredients are simple, 3l of water, your mushrooms of choice, an onion and several pinches of salt to get the flavours going.
Note: Takes about 8 hours in a slow cooker and around 4 hours in an electric skillet.

Steps
- Preparing ingredients
- Simmering
- Straining
- Storing and using
Equipment
- 1 chef’s knife
- 1 soup pot or electric skillet
- Small meshed sieve/strainer
Ingredients
- 3L water
- 1 brown onion, halved
- 6 – 8 large white mushrooms, rough chopped
- Salt, a small amount to bring out the flavours
Preparing the ingredients
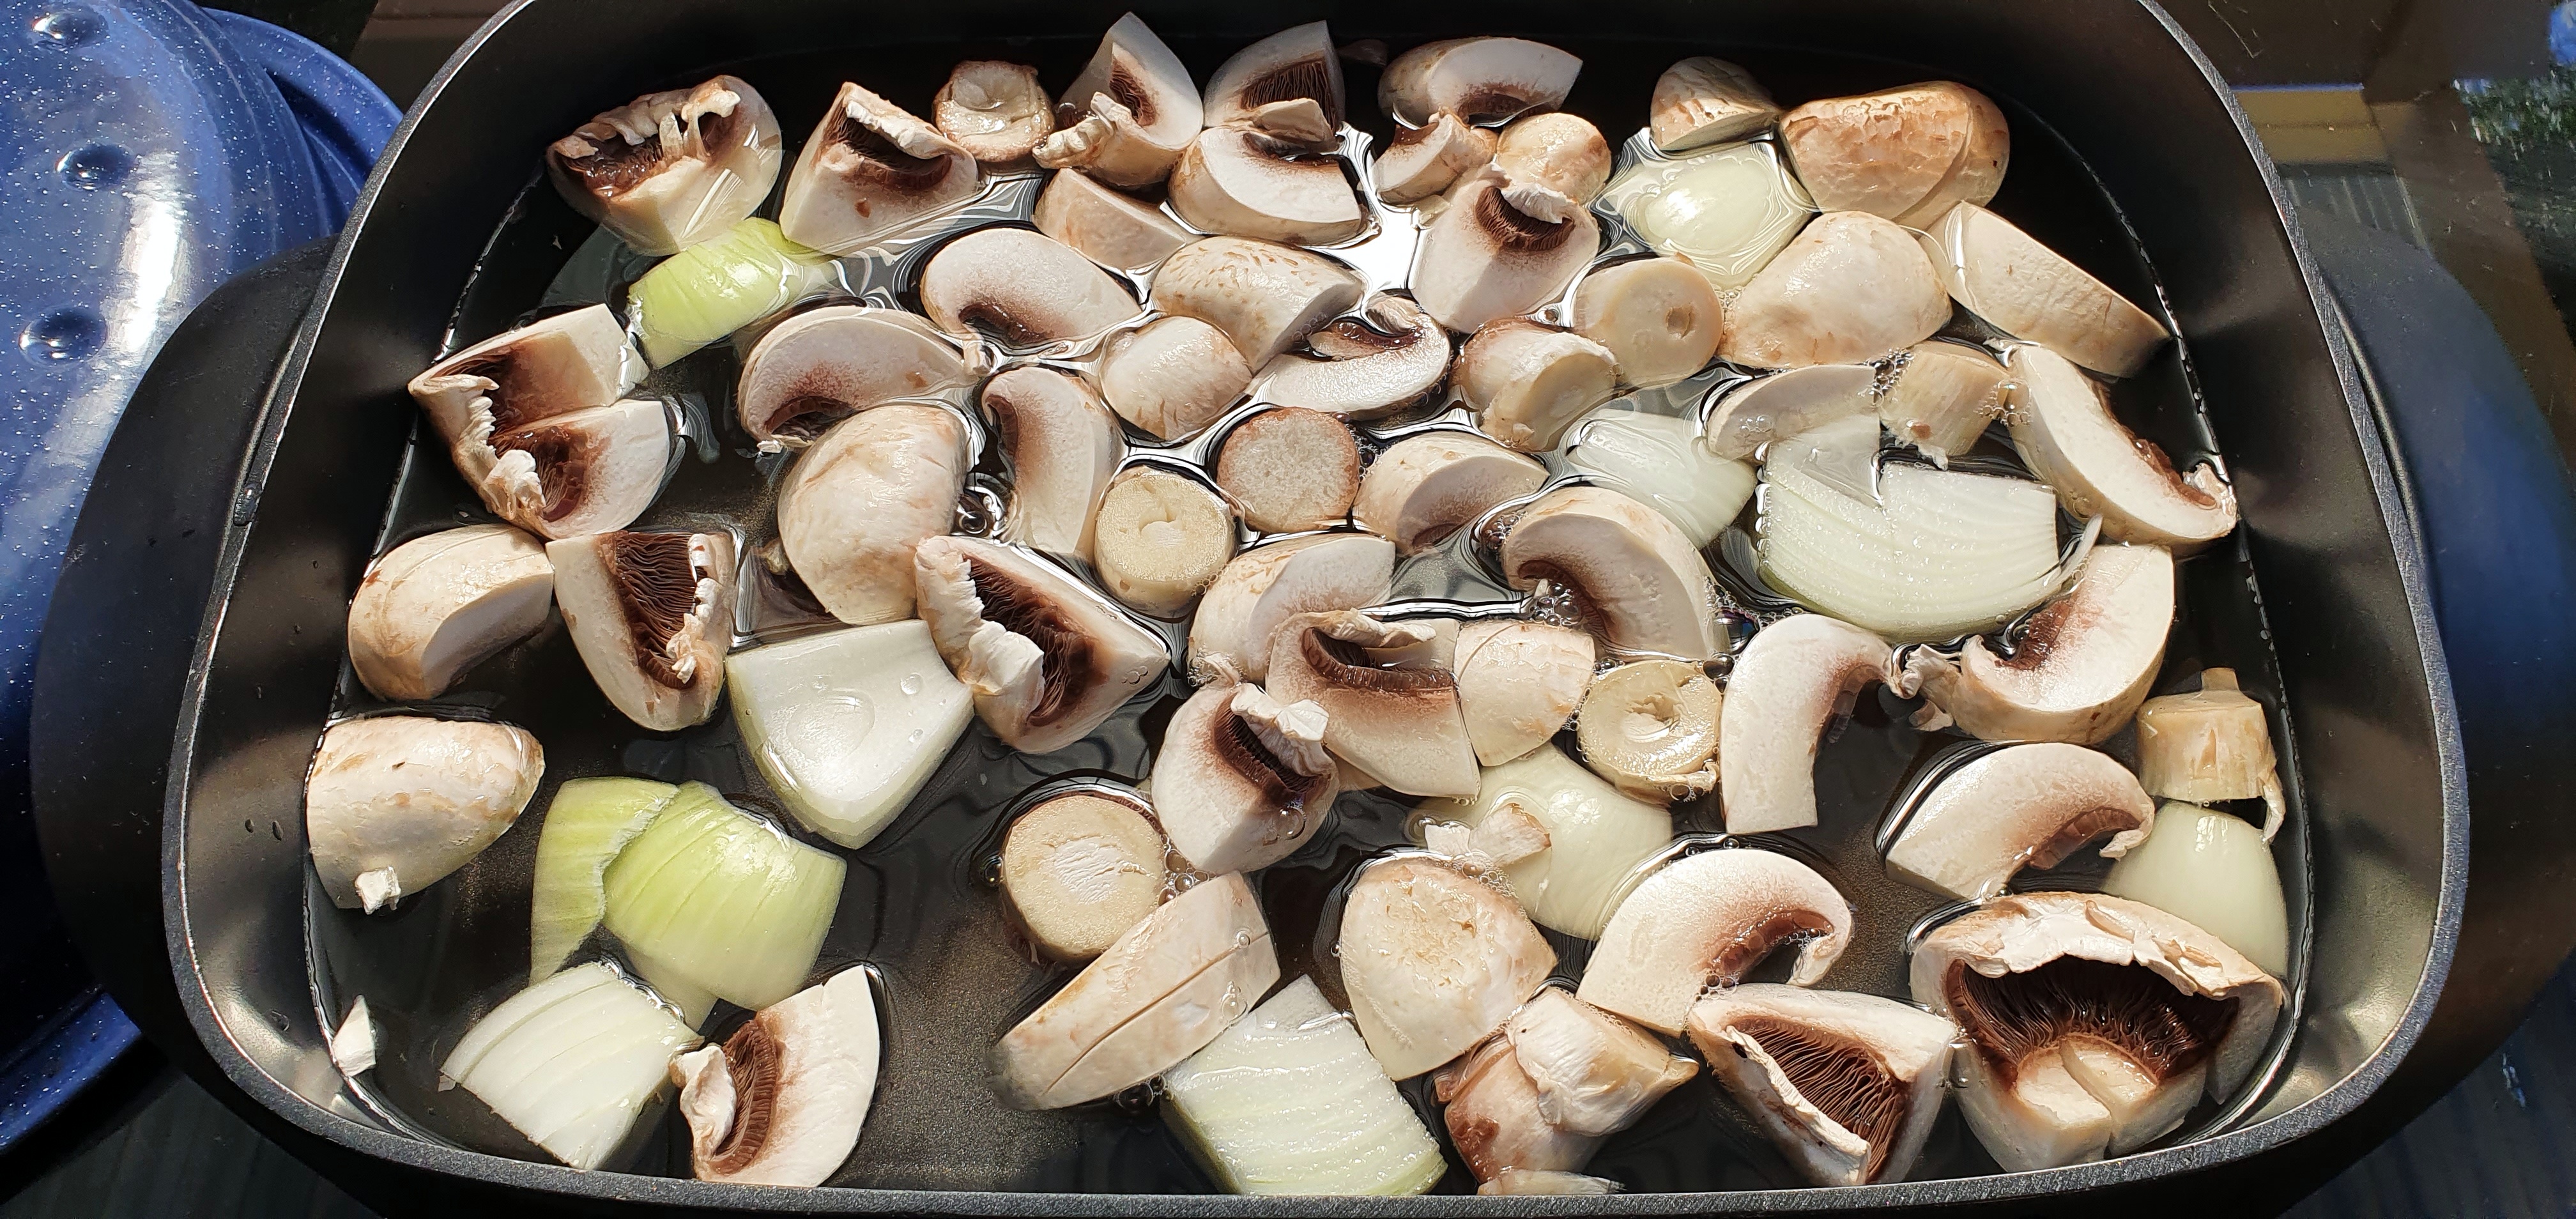
Gently rinse the mushrooms to remove any dirt, then chop them into large pieces.

Peel the onion then slice in half. Add everything to your slow cooker pot or skillet and add 3l of water.
Simmering
Slowly reduce the liquid, at a simmer, until you have about 1.5 cups remaining. Remove the onion and the mushrooms.

Straining
You don’t have to but I strained the broth using a fine mesh.

Storing and using
If you are using a portion in the next few days, simply pour some into a reused glass jar and pop it in the fridge.
Otherwise, you can use an ice cube tray to make handy to use portions.

Chuck them straight from the freezer into your dishes, for that flavour boost.
Enjoy,
PK
Here are some more stock making posts and kitchen related thriftiness :
Written by
·
-
Condensed Chicken Bone Broth From Scratch
This simple chicken bone broth is slowly reduced, over the course of a day, into a protein and collagen rich flavour boosting concentrate. Easily stored as cubes in the freezer, I make it anytime I get enough chicken frames. The flavours are kept simple, just chicken bones, one onion and several pinches of salt to get the flavours going.
Note: Takes about 8 hours in a slow cooker.
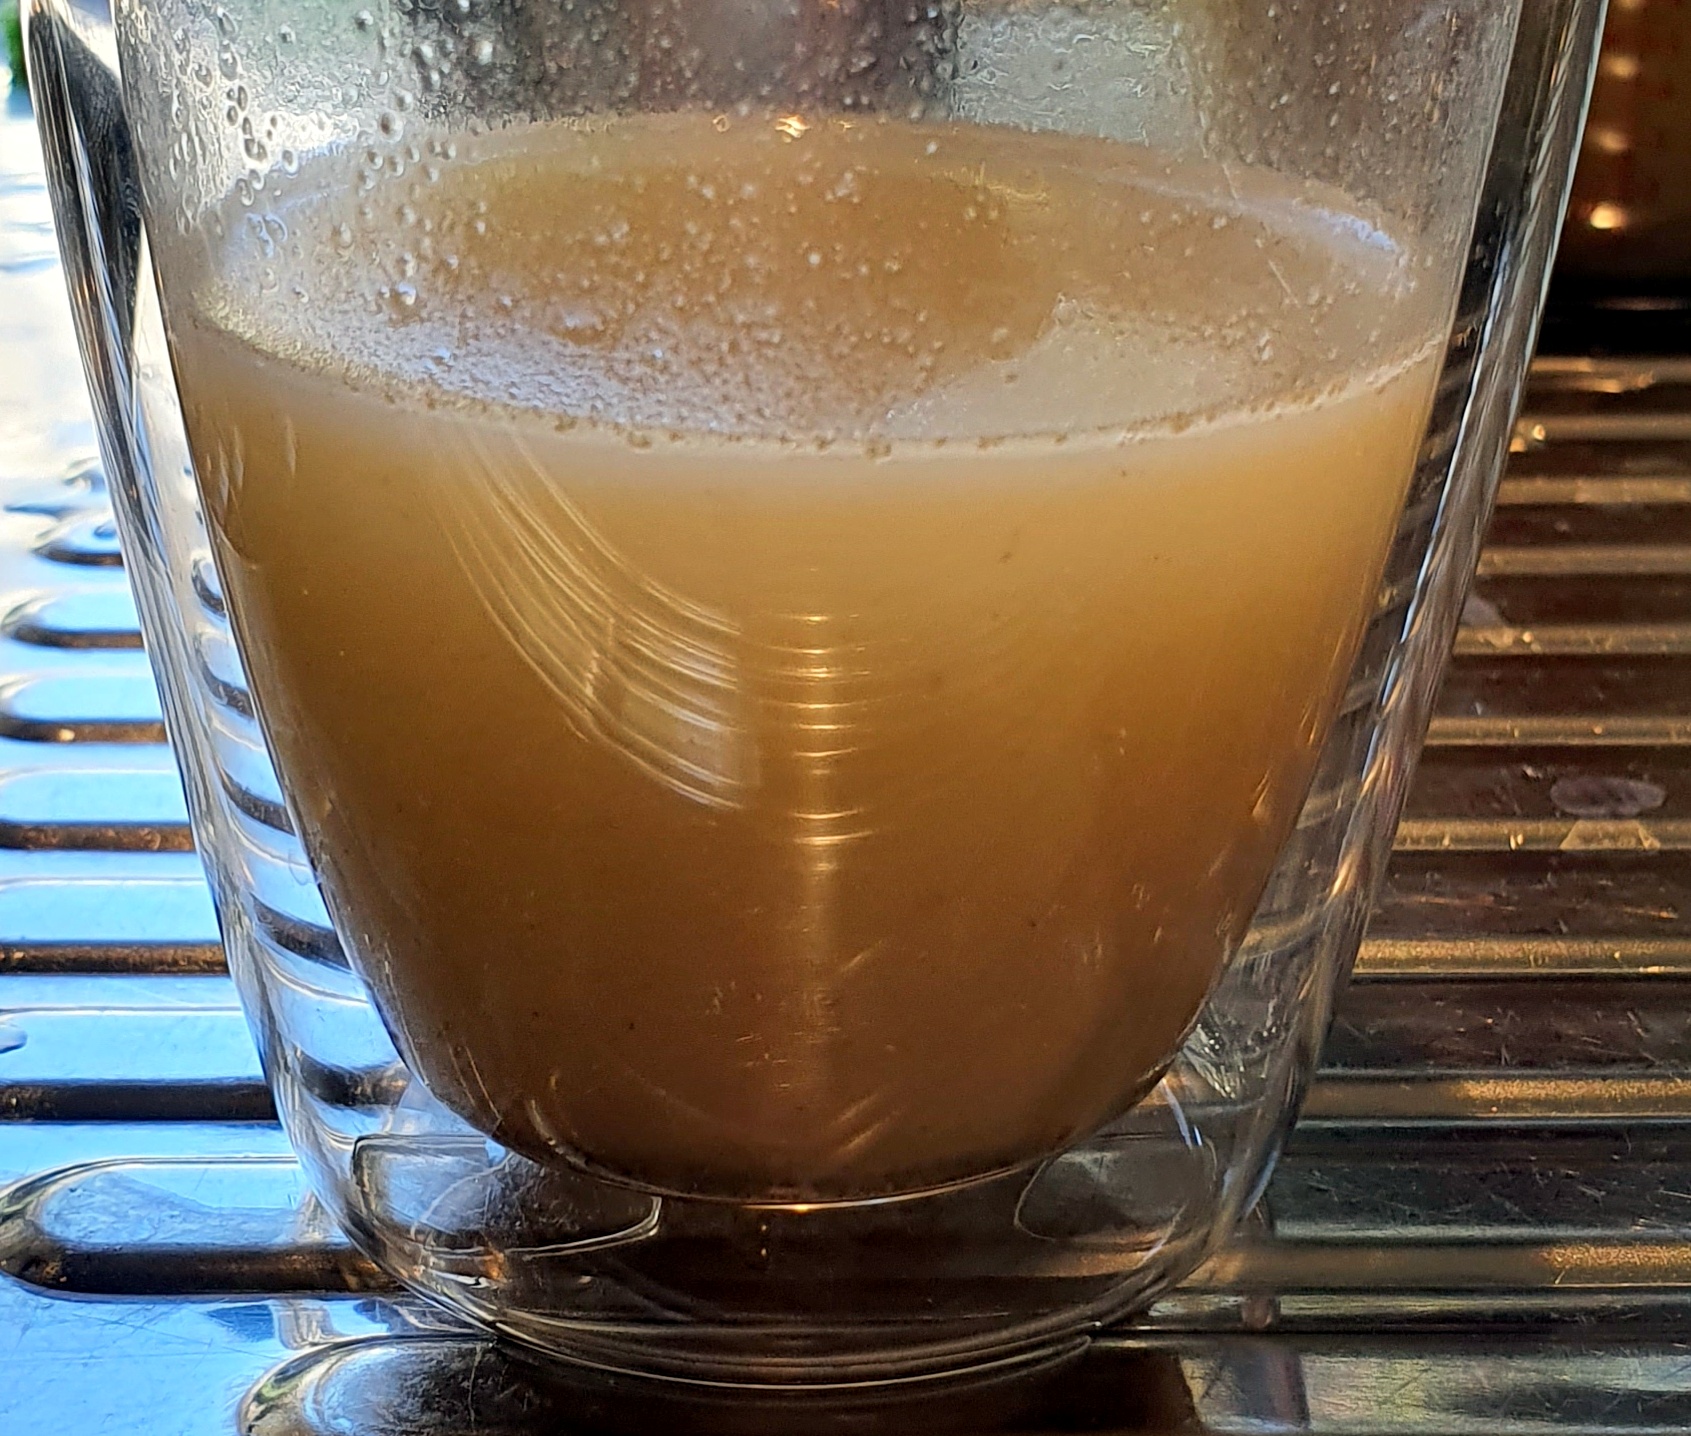
When chilled it will set and keep for a several days in the fridge:

Steps
- Preparing the frames
- Simmering
- Straining and removing fat
- Storing and using
Equipment
- 1 chef’s knife
- 1 slow cooker
- Small meshed sieve/strainer
Ingredients
- 3L water
- 1 brown onion, halved
- ~4 chicken frames or the equivalent in mixed off cuts
- Salt, a small amount to bring out the flavours
Preparing the frames
- Blanche all of the chicken frames to get a cleaner bone broth.
- Peel the onion then slice in half.
- Add everything to your slow cooker pot and cover with water to the max limit.

Simmering
Slowly reduce the liquid you have about 2 cups remaining. I used my slow cooker for 8 hours and then a high simmer until I got the consistency I was after.

Straining and removing fat
I use a fat seperating jug to remove the skim of fat you will get as the liquid cools. Then you can use a fine mesh to remove any small bones and the onion.

Storing and using
If you are using a portion in the next few days, simply pour some into a reused glass jar and pop it in the fridge.
Otherwise, you can use an ice cube tray to make handy to use portions.


You can then defrost the cubes, add some water and hey presto, you have liquid broth.

Enjoy,
PK
Here are some more stock\broth making posts and kitchen related thriftiness :
Written by
·
-
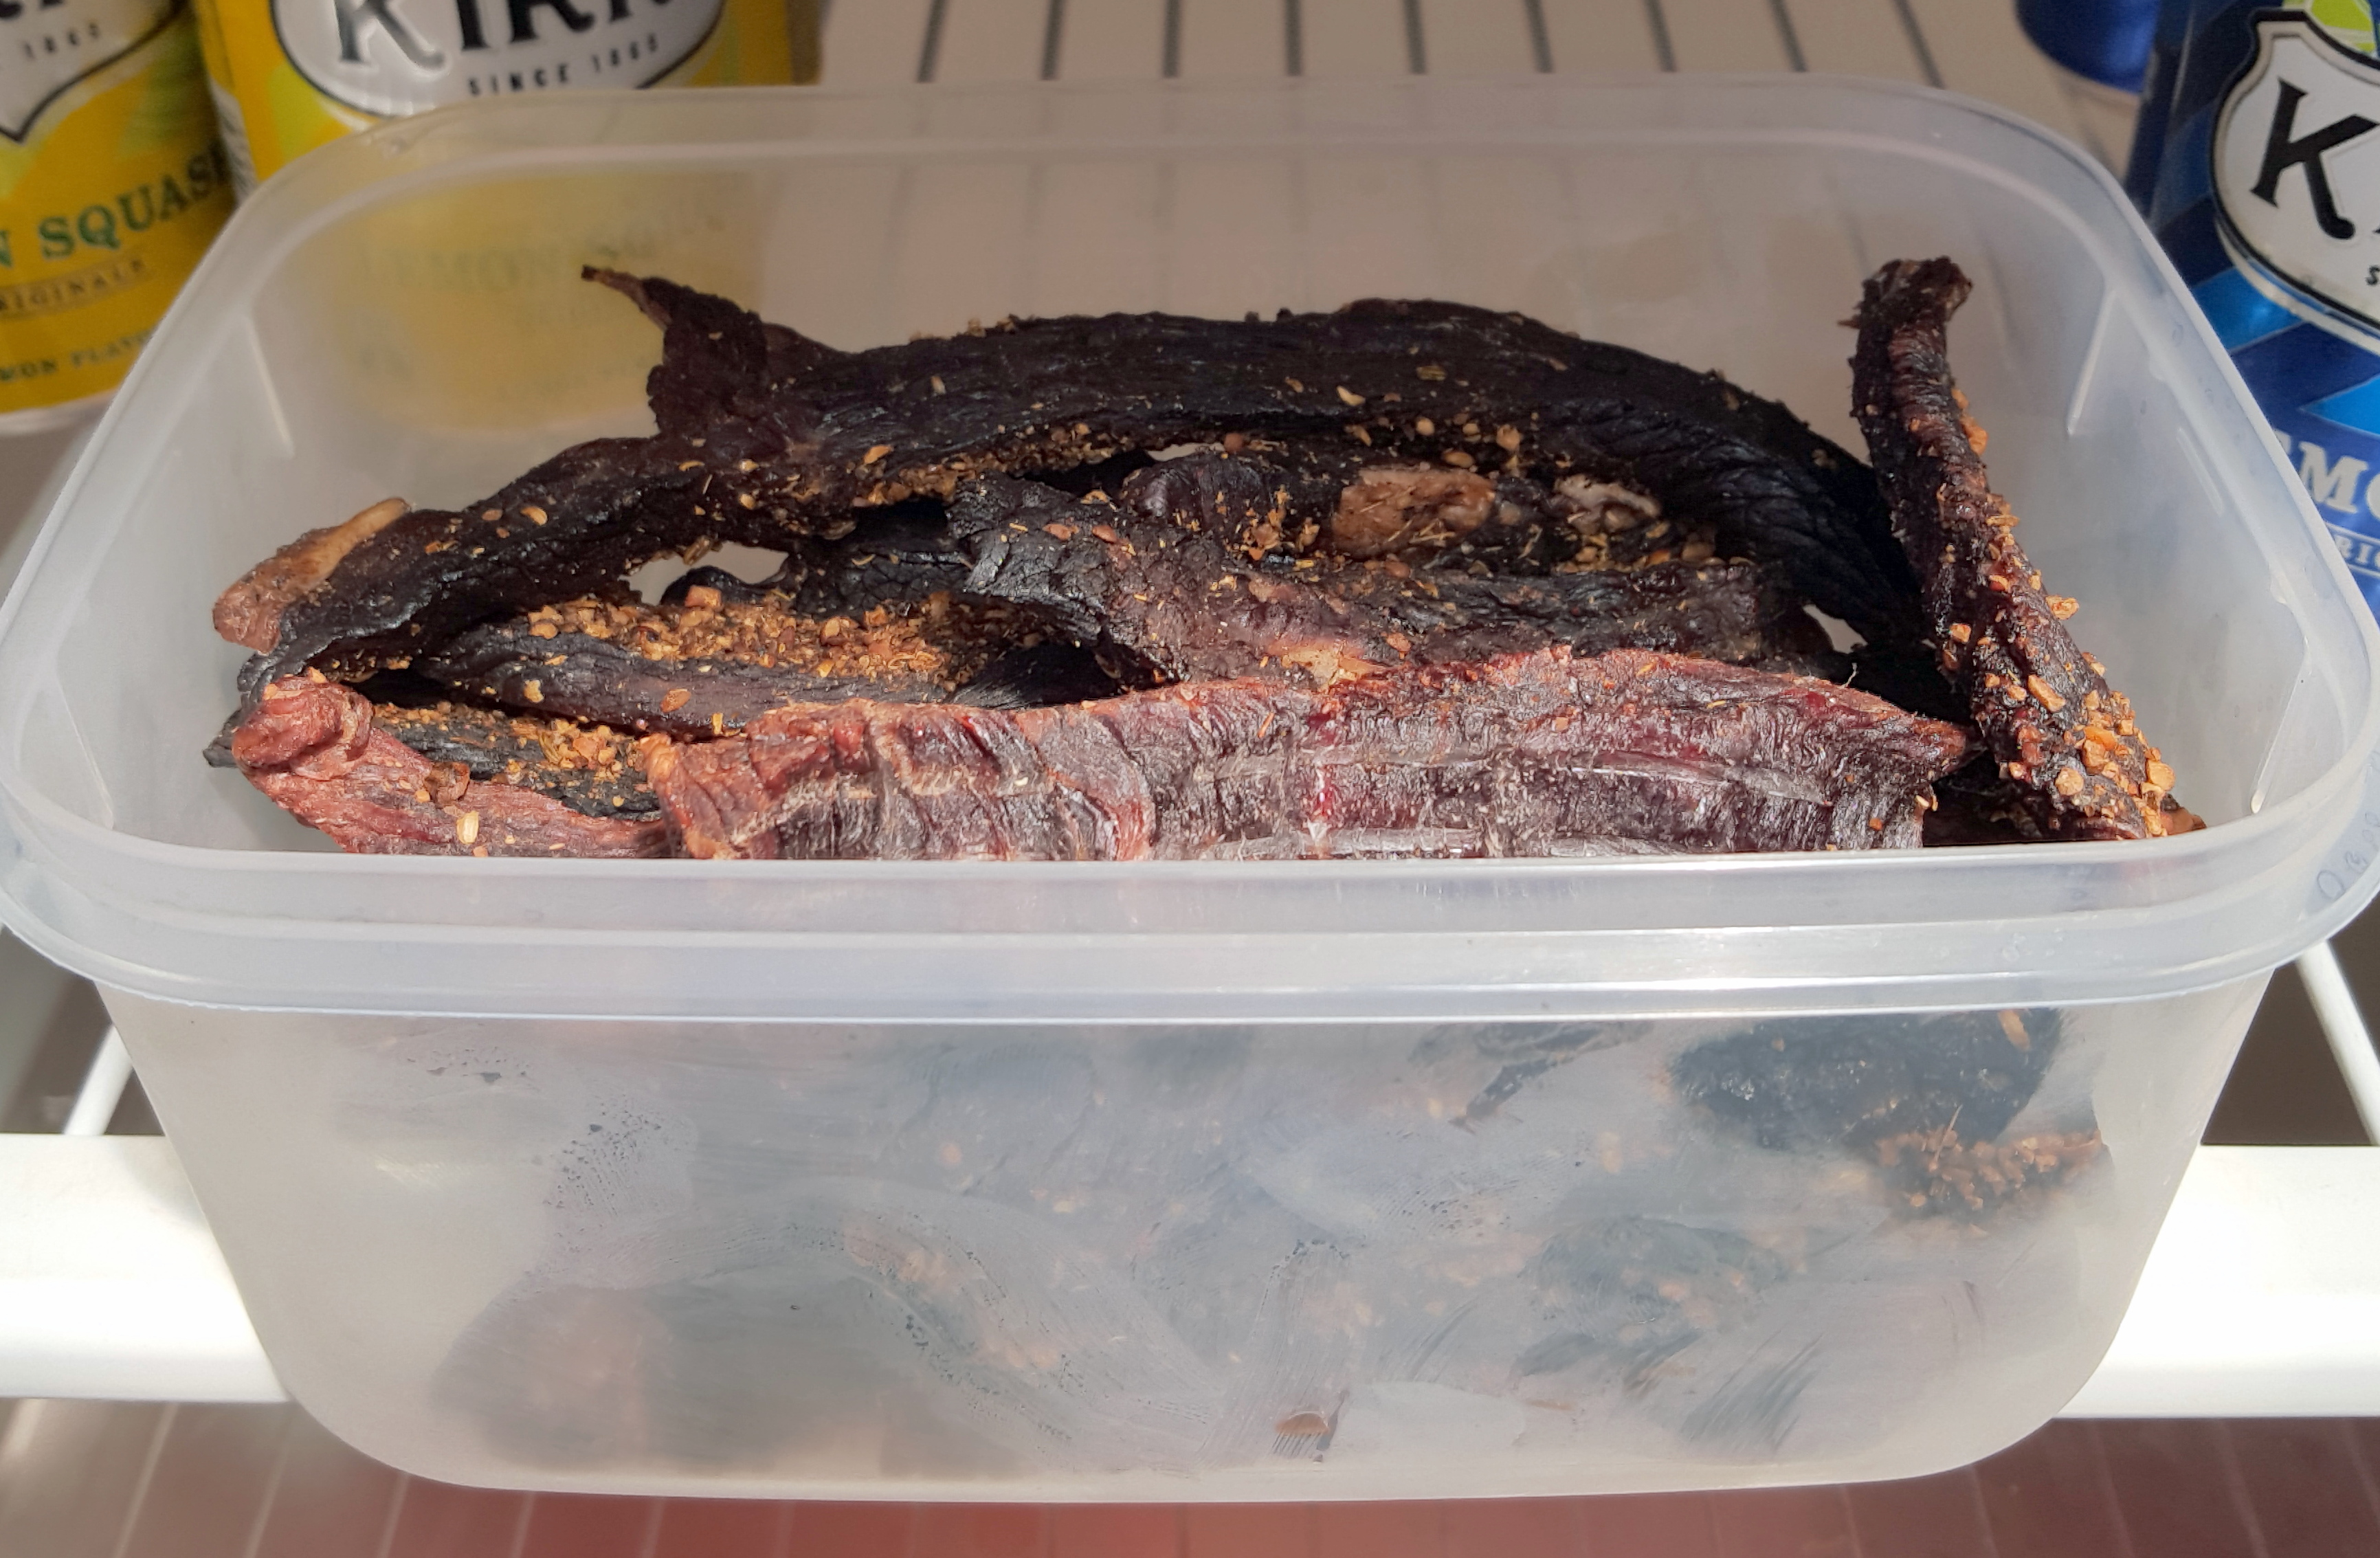
How Do You Make Beef Jerky At Home?
Beef Jerky is a great way to preserve meat. Making it at home you can save money and take control of the ingredients.
We have several recipies on the blog for you to try.
PK’s Beef Jerky #1
Using corned beef and featuring fennel and coriander seeds, this recipe is great for first timers or if you are in a hurry.

PK’s Beef Jerky #2
Also using corned beef (silverside) this recipe features onion, garlic and worchestershire sauce.

Ben’s Beef Jerky
By far the best jerky recipe on the blog, Ben’s method allows you to use any cut of meat. He even suggests using a light box for a slower drying process.


Here are some additional preserving food ideas and beef recipes:
Written by
·
-
PK’s Slow Cooker Corned Beef
Corned beef is the salted brisket (a cut from below the neck) or silverside (a cut from the hindquarter) of beef gently boiled in water, spices and herbs. In Australia, it is almost always the silverside that is sold as corned beef.
You’ll get a great result if you gently boil the meat for 3 – 4 hours in a sauce pan but I like to go for 8-10 hours in my slow-cooker. I’ll show you below how I save time and money by using home-made vegetable stock instead of adding fresh vegetables to the pot.
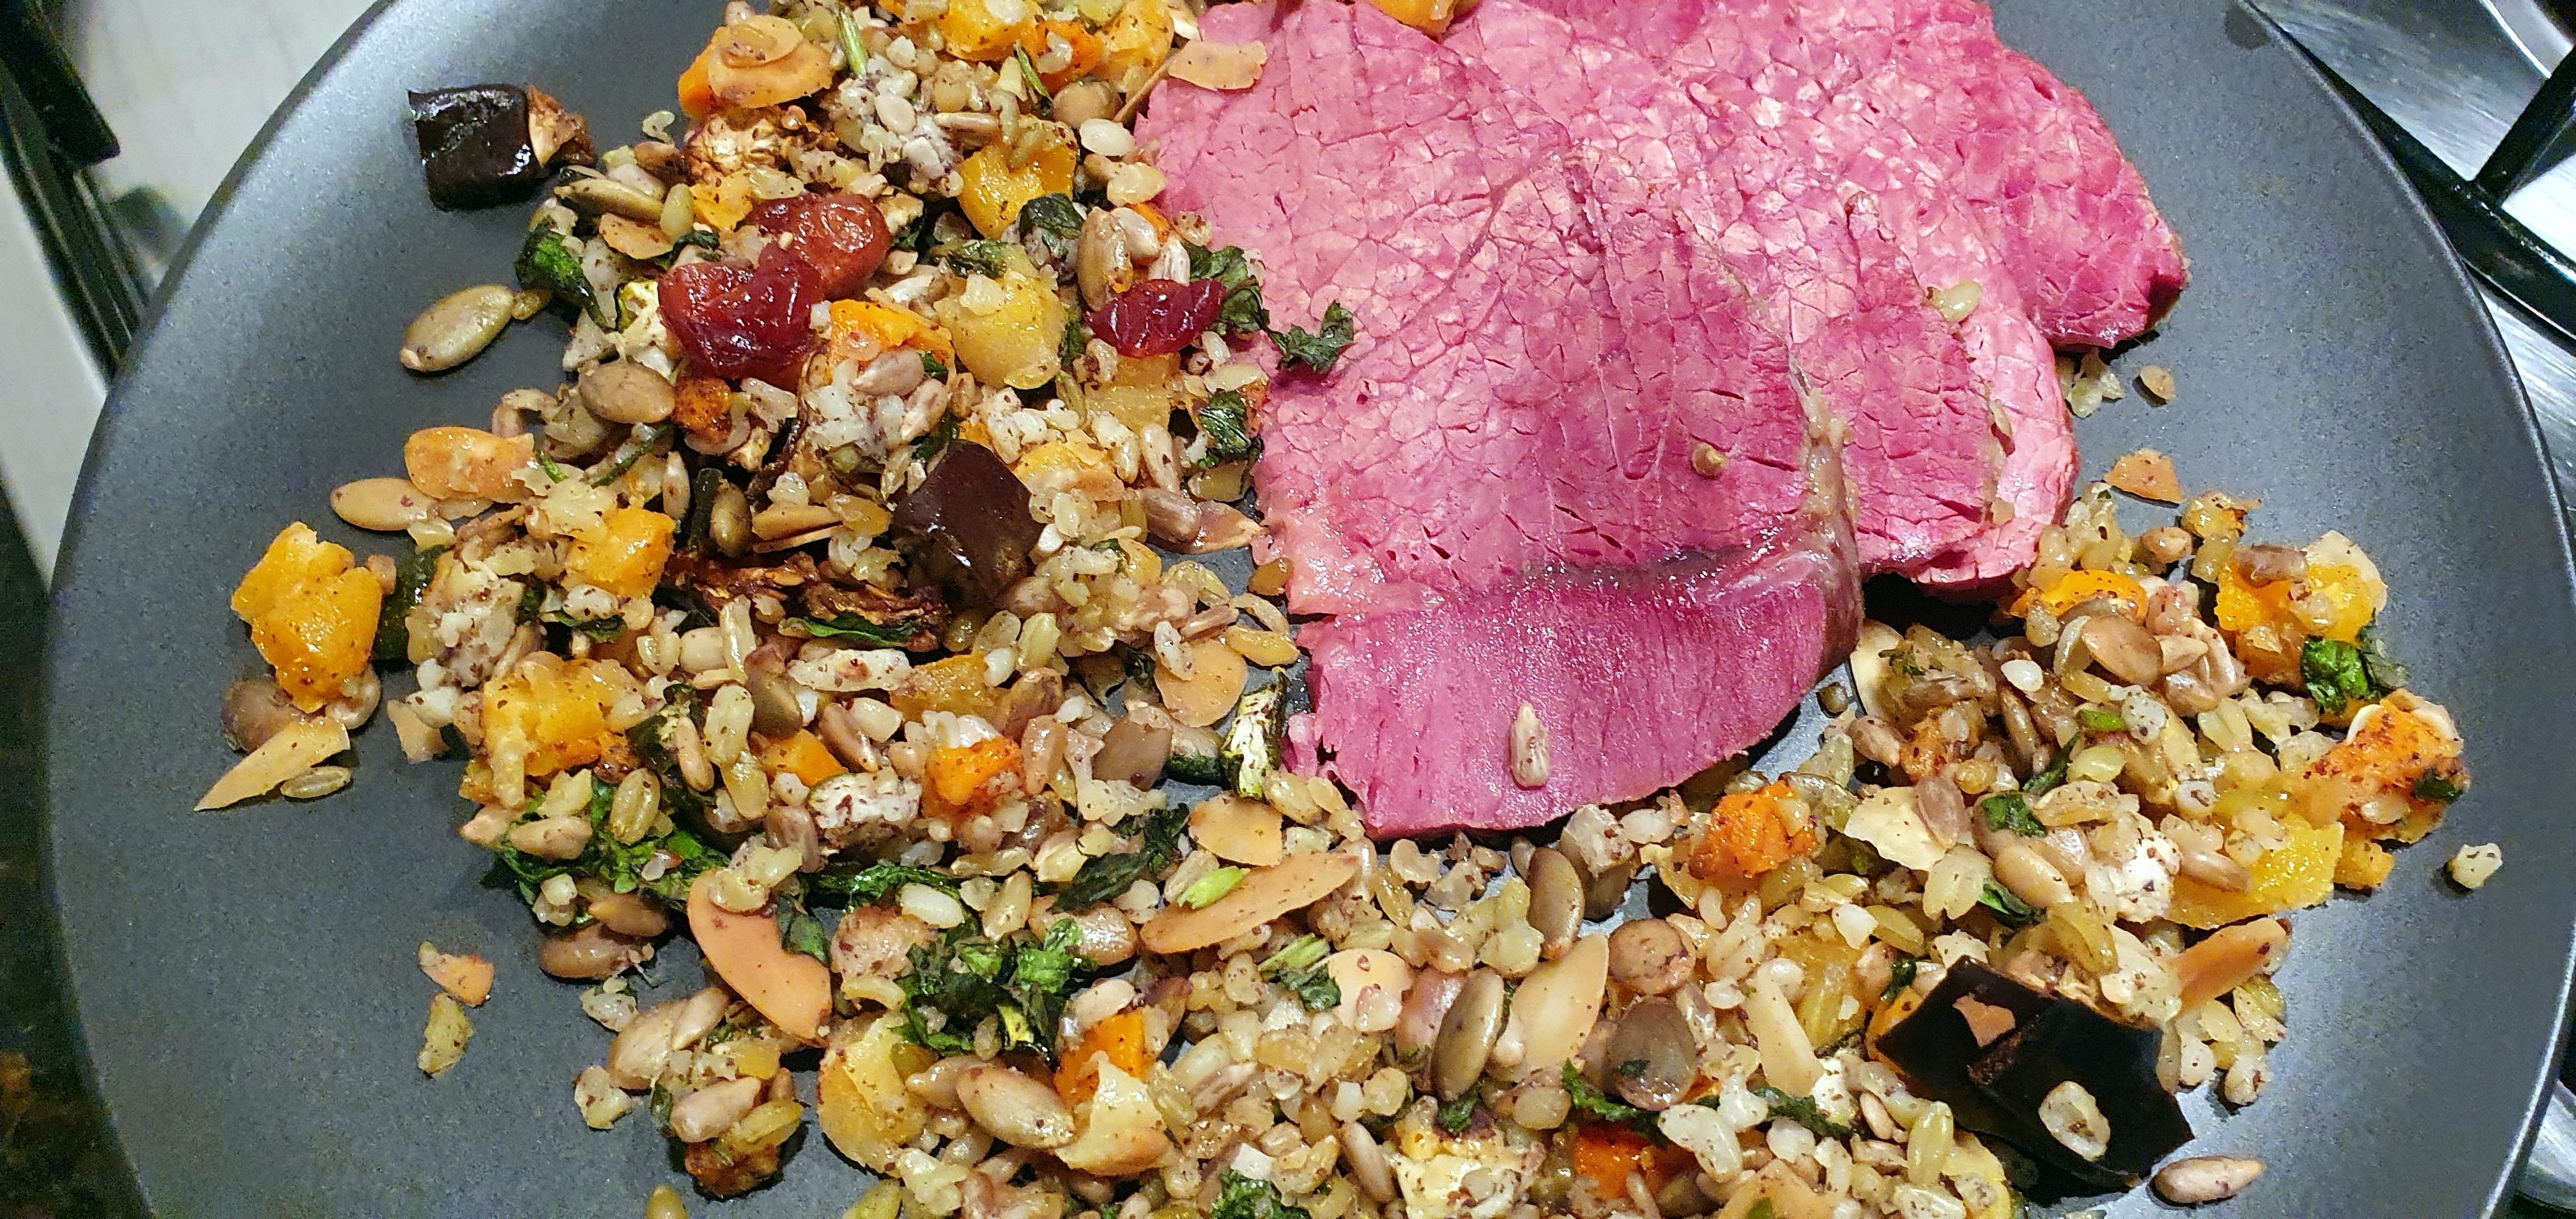
Here I am serving tender slices of corned beef with an Egyptian style cold salad:

Ingredients
- ~1.5kg Corned Beef (also called silverside in Australia)
- 1L vegetable stock
- 1 bay leaf
- 6 peppercorns
- 6 cloves
- A splash of white wine vinegar
- Water, enough to bring the liquid level up to cover the meat
Simply
Trim off any excess fat and silver-skin from the silverside:

Chuck all the ingredients above into your slow-cooker and cook on low for 8 to 10 hours:
Serving
Corned beef pairs well with almost everything. I love eating it with salads or with steamed veggies or even drowned in a cheesy sauce along side potatoes.

You can’t go past a corned beef and cheese sandwich:
Enjoy,
PK
Here are some more slow-cooker dishes and more easy to make meals:
Written by
·
-
PK’s Slow Charcoal Weber Lamb Leg Roast
There are few meals more mouth-watering than the Aussie Sunday lamb roast.
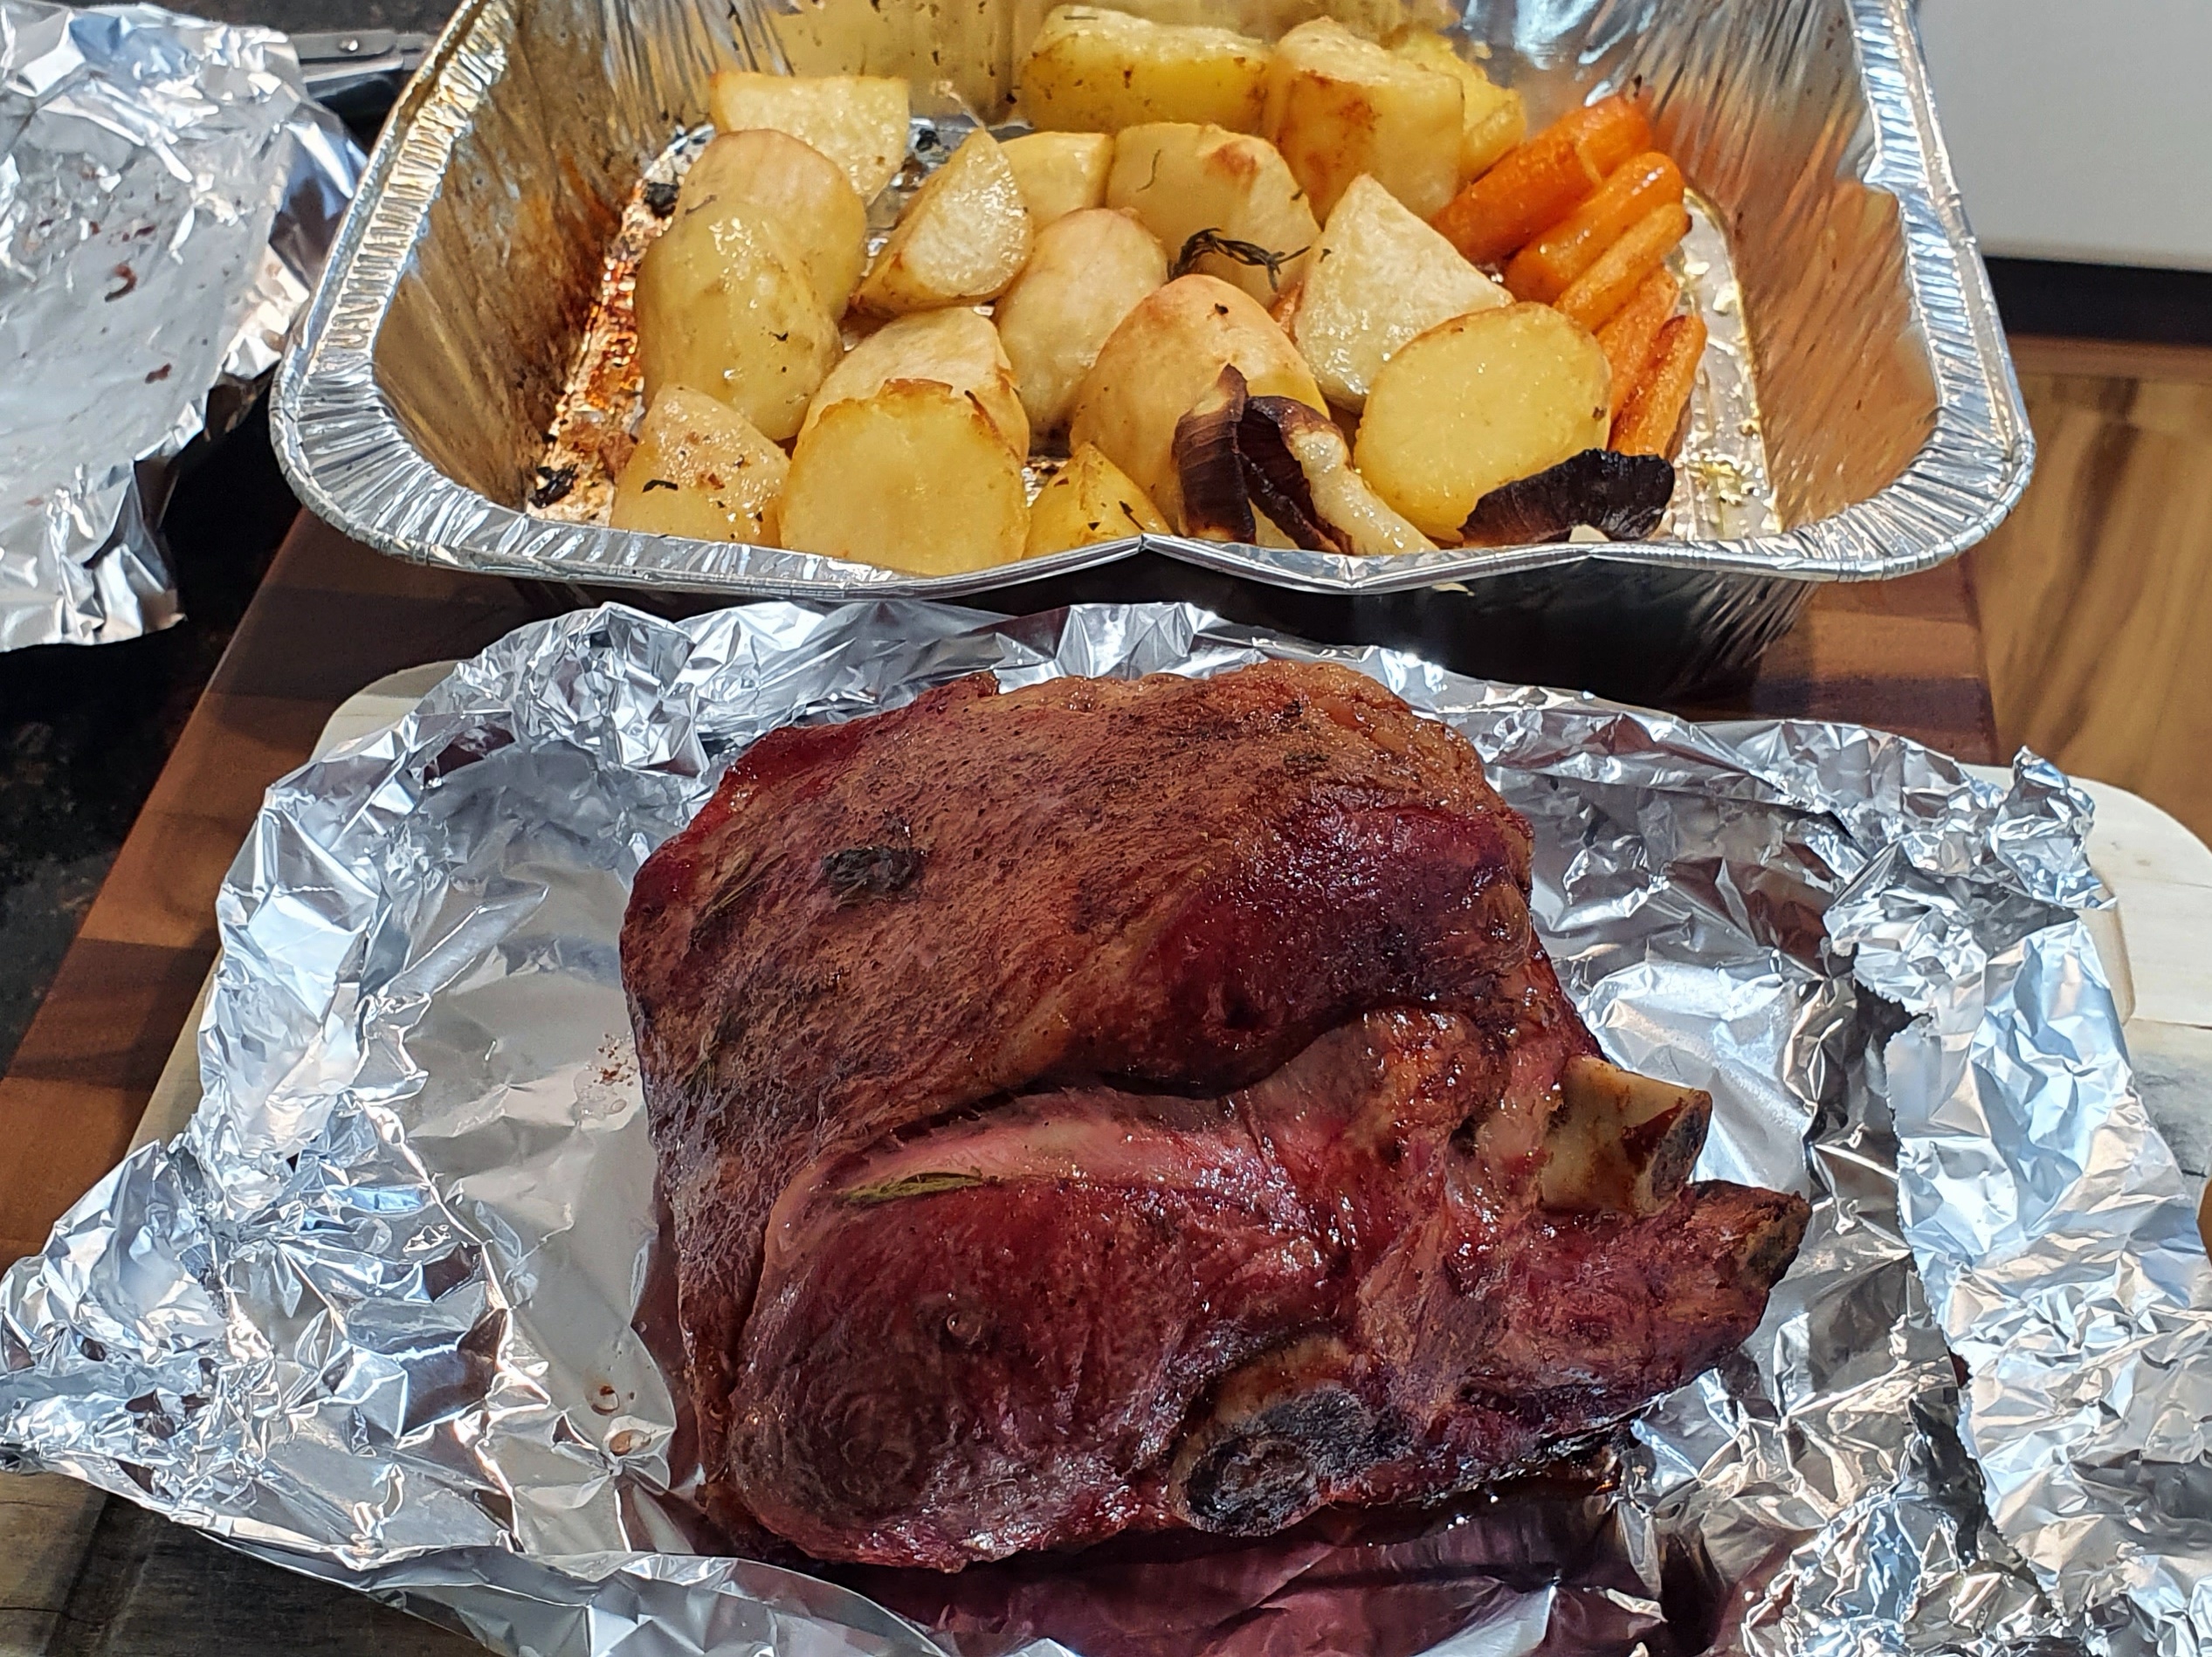
My favourite is the mini lamb leg roast because it is so cheap yet it always turns out tender across a range of cooking methods. Here I have cooked the roast in my charcoal Weber for ~2.5 hrs using a lowish (130°C) indirect coal method. The spuds needed a finish off in a hot oven to get them crispy but that was the only time I had to do anything.
Bone in it came to 1.1kg and $12.50 for 4 people. Talk about thrifty easy cooking!

Simply
Put the lamb in a zip lock bag with garlic-infused olive oil, a handful of rosemary and oregano, salt and pepper at least 2 hours prior to cooking and refrigerate. Massage the bag every now and again to spread the oil around evenly.

Take the bag out of the fridge so it can approach room temperature just as it goes onto the Weber. Use your preferred coal technique (I described mine above and the coals are off to the side in a holder) so that your meat has an internal temperature of 70 C for medium-well.
Pop the potatoes alongside the lamb at the start, carrots and pumpkin etc in about an hour later. Transfer them to a piping hot oven about 30 minutes prior to serving to get them crispy.
When you get the meat to the temperature you want, transfer it to a chopping board and cover it with aluminium foil to let it rest for at least 10 – 15 minutes.
Serving
Serve hot with Dave’s Mint and Balsamic Sauce and lots of gravy. 🙂

Enjoy,
PK
Here are some more lamb dishes and previous roast posts:
Written by
·
-
PK’s Beef Jerky #2
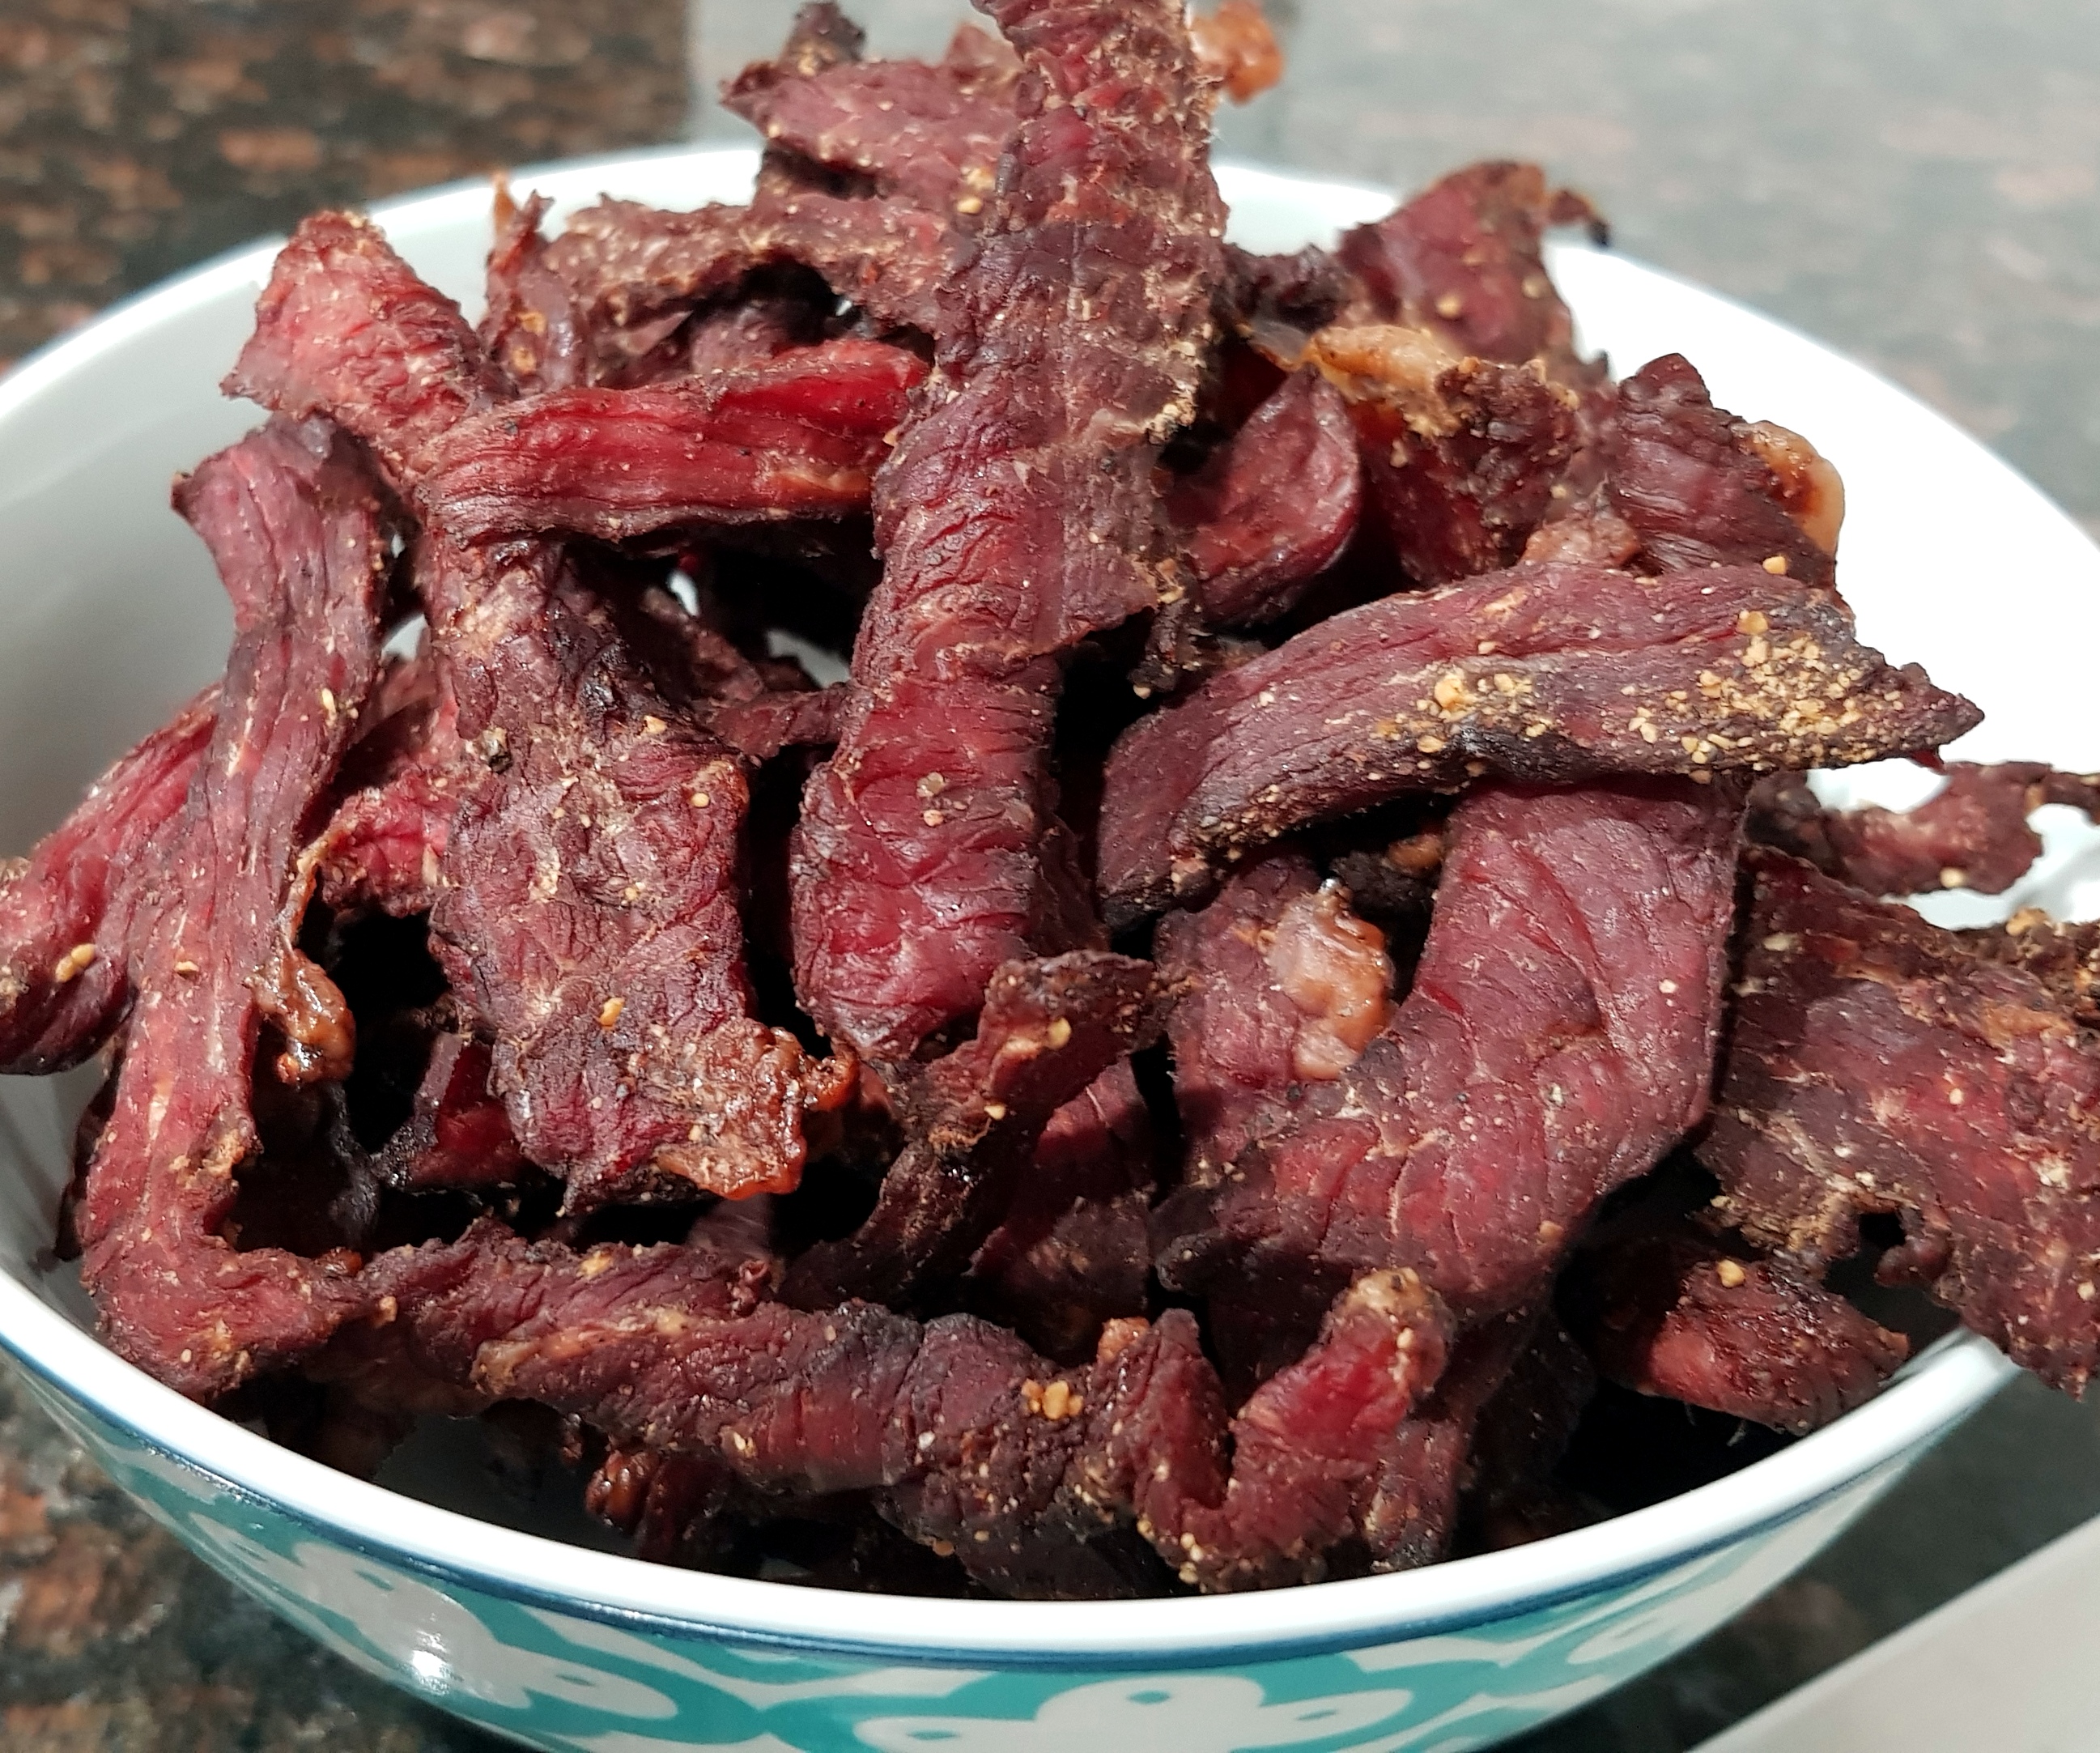
I use a couple of different recipes for making beef jerky. This is my second recipe and it uses the same marinading, drying and storing techniques as PK’s Beef Jerky Recipe #1. To that end I am only going to keep this post short.
I am already drooling 🙂
Note: I use corned beef and soy sauce and don’t use much in the way of additional salt. If you are using non-brined cured beef you will need to increase the salt content of the marinade.
Ingredients
- 1.5kg corned beef
- 1 Tbsp black peppercorns, coarsely cracked
- 1 Tbsp dried onion flakes (or onion powder), ground
- 1 tsp table salt
- 1 tsp dried garlic flakes (or garlic powder), ground
- 1/2 cup soy sauce
- 2 Tbsp Worcestershire sauce
- 1/4 tsp liquid smoke
Simply
Combine everything but the beef in a bowl and mix.
Cut the meat into hand length ribbons/strips and submerge in the marinade. Pop the whole lot into the fridge and marinade overnight.
Drain away the marinade, then arrange the strips in your dehydrator. On low or medium heat, thoroughly dry the meat.
I store my beef jerky uncovered in the fridge. This continues the drying process and lets me sneak a piece every time I go in there. 🙂

Enjoy,
PK
Here are some additional preserving food ideas and beef recipes:
Written by
·
-

PK’s Cheaters Devilled Snags
I am a bit surprised it has taken me this long to get to this dish as it is so kid and wallet friendly :). It is sausage meat based in a curry powder sauce but it is heavy on the fruit and mild in flavour. It has no heat so you will need to add your chilis. Devilled food simply means spiced by the way.
Serve it with green vegetables and/or with mashed potatoes/rice and you have a healthy hearty meal. It also freezes well so make it in bulk for extra savings.

You will be:
- Preparing your ingredients.
- One pot cooking.
- Serving.
You will need:
- Ingredients:
- a really good slug of olive oil
- 1kg plain beef sausages, chopped
- 1 medium brown onion, sliced
- 1 coriander root (optional), whole
- 2 small apples (use pears for variety), chopped/cubed
- a handful of raisins
- 2 Tbsp curry powder
- a really good slug of tomato paste
- 2 Tbsp cornflour
- 2 Tbsp Worcestershire sauce
- 3 cups water
- black peppercorns to taste, cracked
- table salt to taste
- 1 tsp brown sugar
- Equipment:
- a long sharp knife
- a chopping board
- a mixing bowl or jug
- a whisk or fork
- a deep pan or frypan
Preparing your ingredients
- Make your curry powder if doing so, I used one a pre-made blend from my local asian grocer.
- Chop the 1kg of snags (Aussie slang for sausages) into your desired segment length.
- Slice the brown onion.
- Chop the 2 small apples into cubes or the like.
- In the mixing bowl whisk the:
- 3 cups water
- 2 Tbsp curry powder
- a really good slug of tomato paste
- 2 Tbsp cornflour
- 2 Tbsp Worcestershire sauce
- 1 tsp brown sugar
One pot cooking
- Add a really good slug of oil to the pan and bring it to a medium heat.
- Chuck the snags into the pan and move them around gently until they have browned.
- Add the onions, the optional coriander and the fruit.
- Cook for a few more minutes until the onions start to soften.
- Add the raisins.
- Add the sauce you made above and give everything a gentle but thorough mix.
- Bring the sauce to the boil.
- Simmer until the sauce is reduced and sausages fully cooked through (I covered the pan but left a crack for the steam to escape).
Serving
I eat it with some green vegetables and something starchy like rice or potatoes and a slice of fresh bread :). It also goes just fine by itself.

Enjoy,
PK
Written by
·
-

Welchy’s Roasted Stuffed Capsicums
I’ve been out of action for quite some time…finishing studies and moving on with new adventures in my life meant that writing was pushed to the back burner – but cooking was still on the fore front of my mind!
Cooking for me is a release. Where some might read a book, go for a drive, gym, game, knit or garden…I cook. It’s a safe haven and an adventure all in one and it can be both disappointing and exhilarating depending on how game your ambition is.
Our grocer had bags of capsicums going out for $1.50 so I couldn’t pass up the opportunity to try out a recipe that’s been teasing me for some time. These are Greek style stuffed capsicums that can be eaten on their own or with salad and some delicious toasty bread.
Serves 4 10 minutes prep 1 hour cooking time
Ingredients:
- 4 large capsicums
- 1 large onion, finely chopped
- 2 garlic cloves, finely chopped
- 500g mince
- 1 tablespoon dried oregano
- 1/2 cup parsley, roughly chopped
- 400g can chopped/diced tomatoes
- 1/2 cup white long-grain rice
- Salad to serve (optional)
Method:
Step 1Preheat oven 180C fan-forced. Slice tops from each capsicum and put aside. Scoop out seeds and membrane and discard. Stand capsicums in a baking paper-lined roasting pan (if they don’t stand up thinly slice off the bottom until they stand – be careful not to cut through the capsicum so the filling falls out). Step 2Heat 1 tablespoon oil in a large non- stick frying pan over medium-high heat. Add onion. Cook, stirring, for 5 minutes or until softened. Add garlic. Cook for 1 minute or until fragrant. Add mince. Cook, stirring with a wooden spoon to break up mince, for 5 minutes or until browned.Step 3Add herbs, tomato, rice and 1/2 cup cold water. Season with salt and pepper. Bring to a simmer. Reduce heat to low. Simmer for 5 minutes or until sauce starts to thicken. Remove from heat.Step 4Divide mince mixture evenly between capsicums. Place 1 reserved top on each stuffed capsicum. Drizzle with remaining oil. Bake for 45 minutes or until capsicums have softened and skins start to darken. (If after 40 minutes the skins have only just blistered, turn the heat up high in the oven for the last 5 minutes but be sure to watch so they don’t burn).
 Step 5Serve immediately with a side salad, or enjoy on it’s own!Happy Eating xo
Written by
·