Tag: apple cider vinegar
-
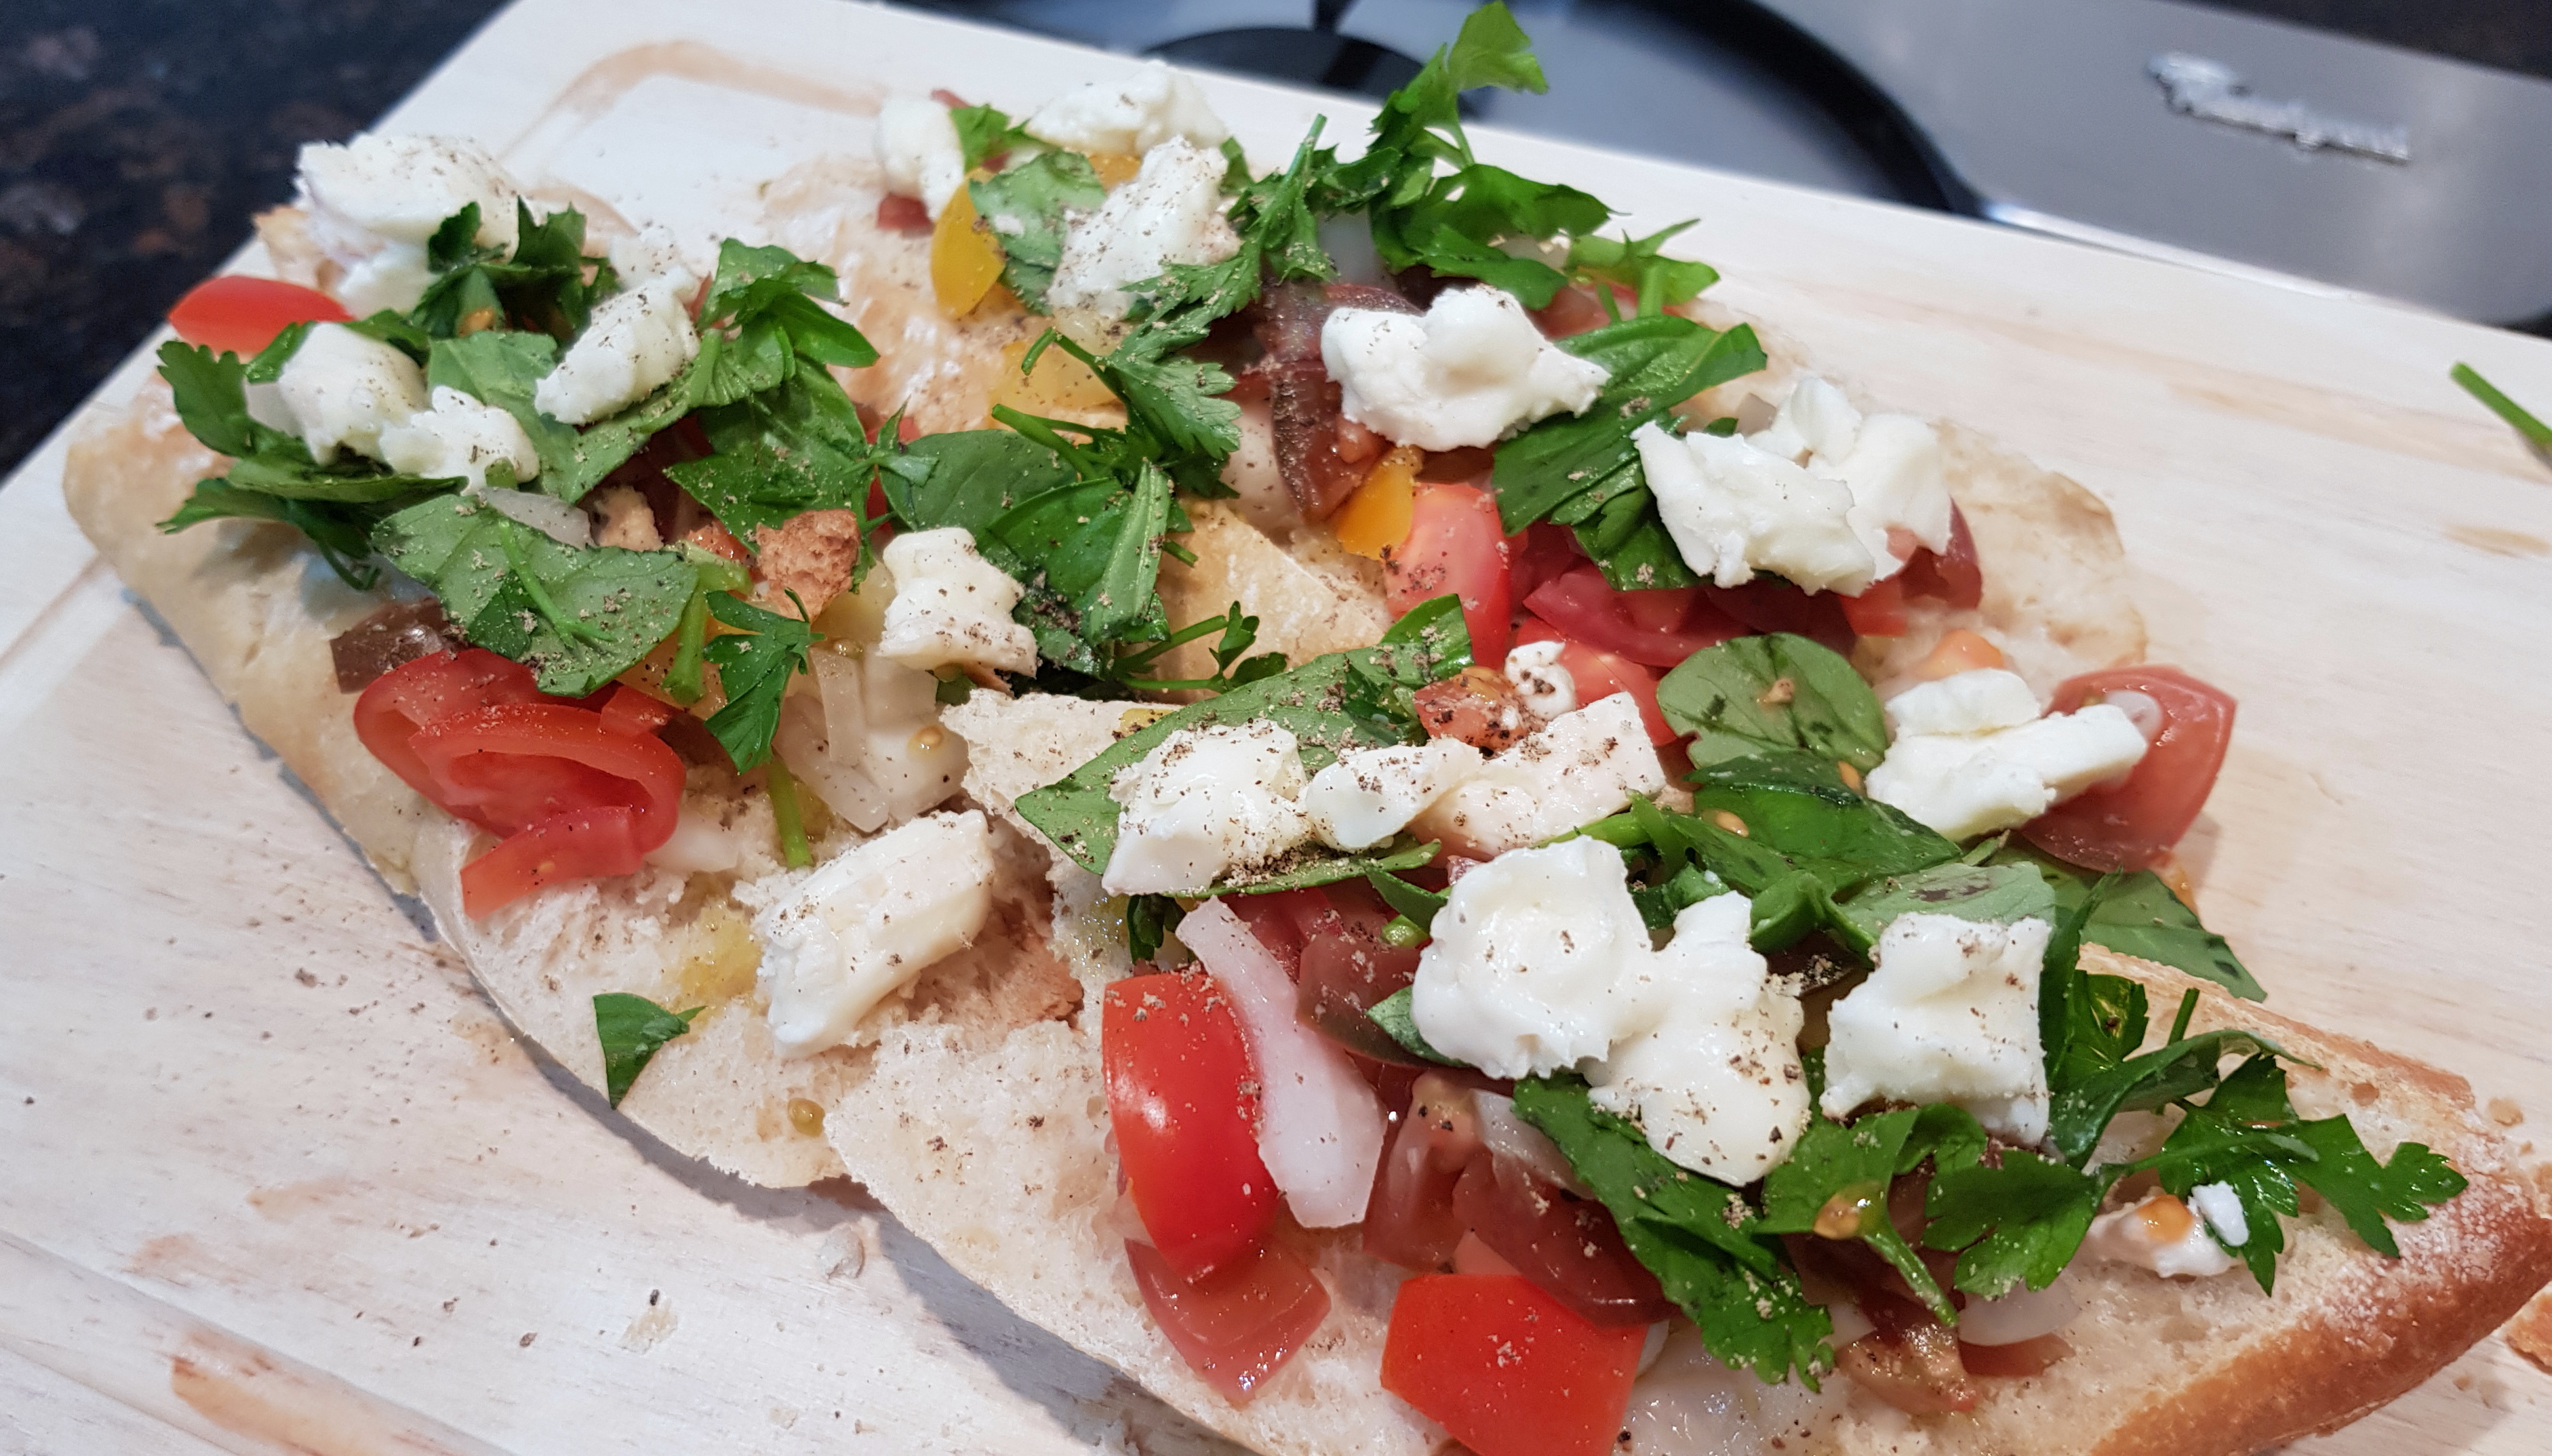
PK’S Bruschetta With Tomato And Cheese Antipasto
In Australia we tend to think of Bruschetta (an Italian antipasto) as being bread covered with tomatoes. Whilst tomatoes are often involved, Bruschetta is the garlic and olive oil rubbed grilled bread itself. You can then top it with a wide range of meats and vegetables.
This is my NoRecipe lazy way of making Bruschetta topped with tomatoes, basil, parsley, flash pickled onion and cheese. I have used an amazing Italian washed-rind soft cheese called Taleggio (Mozzarella di Bufala would go a treat too) and red, yellow and purple cherry tomatoes.
Simply
- Earlier in the day to give it time to work, dice the brown onion and put it in a bowl of vinegar (I used apple cider vinegar and the method is here).
- Rough chop the tomatoes, basil and parsley.
- Drain the onions and mix them into the chopped ingredients.
- Lightly grill the bread and smear with garlic infused olive oil.
- Cover the bread with the the chopped ingredients and slices of cheese.


Enjoy,
PK
YOU MIGHT ALSO LIKE
ITALIAN CUISINE
ANTIPASTO
MORE NORECIPE GOODNESS
Please consider subscribing to a weekly email summary of our posts or check us out on Facebook @growitcatchitcookit.
[mc4wp_form id=”15771″]
Written by
·
-

PK’s Small Batch Hard Cider
Not much tops a nice cold glass of home made hard apple cider on a hot Perth summers day. In this recipe I use a small 2L fermenting jar with a built in one way airlock. It makes just the right amount to share with a few friends over Sunday lunch.
As with my hard apple cider method, in a 5L demijohn, I don’t do a secondary fermentation and that means a flat beverage. I don’t mind and on the plus side I can simply take a jar that has been fermenting for about 4 weeks and chill it a few hours before I need it. No mess, no double handling and no decanting necessary.
Note: Please only follow this recipe if you are of a legal age to drink in your country. Don’t attempt this in an air tight glass jar, it will explode!
You will need:
- Ingredients:
- 4 apples (I use unpeeled apples that are passed their best)
- 1 small lemon or lime
- ~6 raisins (to add some wild yeasts to the mix)
- chilis to taste, sliced (optional)
- 1 teabag (to add some extra tannins to the mix)
- ~ half a sachet of yeast (I use bread yeast)
- 1 cup raw sugar
- boiling water (to sanitise everything)
- cooled boiled water
- Equipment
- a small bowl
- a fork
- a chopping board
- a long sharp knife
- a teacup
- a juicer for the lime
- a wet mixer
- a 2L fermenting jar with a built in one way airlock or similar
Steps:
- Sterilise everything with boiling water. I fill the fermenting jar with boiling water and let it sit while I prepare everything else. When it is cooled somewhat I empty half of it out. I also run boiling water over the fork, knife, measuring spoons etc.

- I also take some of the boiled water that has cooled to the point of being warm and get my yeast mix started. Bubbles let you know it is working.

- You can either puree the apples or chop them into chunks and then add to the jar. Try both methods and see which one you prefer 🙂 . I don’t use the cores but I do use the skins.

- Make a weak cup of tea and allow it to cool before adding to the jar.

- Juice your lemon or lime and add the juice to the jar.
- Add the 6 raisins, optional chilis and 1 cup raw sugar to the jar.

- Top up the fermenting jar with cooled pre-boiled water, leave a bit of room at the top though for the bubbles to come.
- Give it all a good stir with a fork and pop the lid down.

- Leave the fermenting jar somewhere out of the way until it starts bubbling well and then find a nice, dry dark place for it for about 4 weeks. In Perth you won’t have to worry about keeping it warm enough to keep the fermentation going. Most of the 4 weeks is about letting the flavours mature post fermentation really anyway.
If you ask me, cloudy is good 🙂.

Enjoy,
PK
YOU MIGHT ALSO LIKE
OUR OTHER HOME BREWING POSTS
GREAT WAYS TO PRESERVE YOUR HARVESTS
Please consider subscribing to a weekly email summary of our posts or check us out on Facebook @growitcatchitcookit.
[mc4wp_form id=”15771″]
Written by
·
- Ingredients:
-

DrippyStuff: Chicken Baste #1
This is the second in my posts on dry rubs and basting sauces for use when roasting meat, it works great regardless of whether you are using a BBQ or an oven. I used it recently on an oven roast chicken along with this dry rub as inspired by http://noblepig.com/.
Again, I take my hat off to the people over at Noble Pig and our own Growchow, you are indeed doing amazing work :).
You will need:
- Ingredients:
- 1/2 tsp ground rock salt
- 1 Tbsp fresh lemon juice
- 1/2 cup apple cider vinegar (this stuff is amazing)
- 1 Tbsp garlic infused olive oil
- 1/4 tsp tumeric powder
- 1/4 tsp beetroot powder (for colour, I make my own here)
- 2 drops of liquid smoke (mostly because a second drop fell in accidently, yum)
- Equipment:
- a small bowl for the sauce
- a fork for mixing
- a basting brush
Steps:
- Bring all the ingredients together.
- Get distracted by how amazing it looks and smells.
- Mix everything together.
- Baste your chicken.

Enjoy,
PK
Written by
·
- Ingredients:
-
PK’s Chicken Baste #1
This is the second in my posts on dry rubs and basting sauces for use when roasting meat, it works great regardless of whether you are using a BBQ or an oven. I used it recently on an oven roast chicken along with this dry rub as inspired by http://noblepig.com/.
Again, I take my hat off to the people over at Noble Pig and our own Growchow, you are indeed doing amazing work :).
You will need:
- Ingredients:
- 1/2 tsp ground rock salt
- 1 Tbsp fresh lemon juice
- 1/2 cup apple cider vinegar (this stuff is amazing)
- 1 Tbsp garlic infused olive oil
- 1/4 tsp tumeric powder
- 1/4 tsp beetroot powder (for colour, I make my own here)
- 2 drops of liquid smoke (mostly because a second drop fell in accidently, yum)
- Equipment:
- a small bowl for the sauce
- a fork for mixing
- a basting brush
Steps:
- Bring all the ingredients together.
- Get distracted by how amazing it looks and smells.
- Mix everything together.
- Baste your chicken.
Enjoy,
PK
Written by
·
- Ingredients:
-

PK Makes Apple Cider Vinegar
So I took one of my reader’s suggestions last week when I was making my hard cider that I make some apple cider vinegar at the same time.
Here you go Grant :).
I found this wonderful method on Tales of a Kitchen and gave it a go with the idea of making my own starter ‘mother‘ for next time and also getting some yummy vinegar for cooking.
Don’t forget careful hygiene with this method. I sterilised everything with boiling water before I started and if the mix starts to smell or look funky I will throw it out and start again.
Steps:
I took some of the left over apples from the cider pressing and popped them into a large glass beer stein. You can use any part of the apple, even the cores and seeds!
I added 4 tsp of raw sugar and enough filtered water to cover the apples. I had a problem keeping the apple chunks down and below the water line. I tried an orange in a bag but it got mouldy :(.
Some more Googling and I came across phickle.com. They suggested using a hessian bag and some ceramic pie weights. I can’t spruik this idea enough. The bag pushes the fruit down and stops them going off and mouldy.
I then put a tea towel over the top of the stein and placed it at the back of a cupboard. Bubbles started almost immediately showing that the fermentation had begun. A few days later and I had a nice creamy layer of ‘mother’ and a nice sweet smell.
Update (1 month in):
I checked several times over the last month that the ‘mother’ was still white and there was no mould or nasty smells. Everything looked good so I moved on to the next stage.
I strained the liquid in a metal sieve and discarded the apples. They looked nice though.

Then I added the strained liquid and the dregs from the beer stein to a clean jar. I will leave this mix for another 4 to 6 weeks, stirring it every now and again.

See you in another 6 weeks, I hope :D.
Wishing you fun in the kitchen,
PK
Related Links:
Please consider subscribing to get a weekly email summary of our posts.
[mc4wp_form id=”15771″]
Written by
·