Tag: chilis
-

Ben’s Butterflied Chook
This dish by Ben is one of his favorites and he says you can easily double the recipe so you have leftovers for tomorrow’s lunch :).
He got his friend Louise to road test the recipe recently using these steps:
- So get a butterflied chook from the butcher and brine (see Ben’s Brining Tips for how) the chook overnight.
- Dry the skin with paper towel and leave it in the fridge uncovered for the day.
- Make a rub with:
- 2 x red Chili
- 2 x cloves Garlic
- 1cm sq lump Ginger
- Small bunch Coriander or 1 tsp powder
- 2-3 tbsp Honey
- 1 tbsp mustard
- 1 x Lime juice and the zest of ½ a Lime
- a slug of vegetable oil
- ~1 tsp salt
- Rub the chook about 2 hours before cooking.
- Cook on bbq (charcoal preferred):
- Start with the skin down until it is crispy.
- Then turn bone side down, shut the lid and cook at ~150/180 till cooked.
The preparation stage is what makes this dish so tasty:
After cooking it will look as awesome as Louise’s:

Enjoy everyone and thanks again Lou,
Ben
See more of Ben’s posts here.
Hot Tip: You can recover the chicken bones to make bone meal for your garden.
Written by
·
-

Ben’s Windfall Lime Pickle
This windfall lime pickle is a prime example of preserving your harvests. I encourage you to eat fresh produce during their particular growing season and then their (hopefully made by you) preserved cousins off season. The mass produced commercial versions just don’t compare.
It’s important to use very ripe limes. I use the ones that have fallen from the tree, or are about to, that have a yellowing skin and lots of juice :).
These are the sweetest, using under ripe limes will give you a pickle that is very tart. I wash the limes in a weak vinegar:water solution prior to using, to make sure they are clean and not going to contaminate the pickle (because they have come from the floor and I have dogs).
To sterilise the jars, I put them through the dishwasher and then boil them in a pot of water. If the pickle isn’t ready when the jars are, pop them in the oven (no plastic lids) on very low to keep them hot. You should put hot pickle into hot jars for two reasons. One, because you won’t thermally shock and crack the jars and two because as the jar and mixture cool they will form a vacuum, meaning the pickle lasts longer.
The recipe:
You will need
- 30 limes, washed and diced into ~1cm blocks (skin on)
- 10-20 small chilis, sliced (add to taste)
- 2 tsp turmeric
- 2 tbsp salt (sea salt preferred always)
- 4 tbsp oil (olive or sunflower work best)
- 2 tsp fenugreek
- 2 tsp aniseed or fennel (I use fennel seed)
- 2 tsp garlic seed
- 2 tsp chilli flakes
- ~10 cm ginger grated
- 4 tbsp raw brown sugar
- 2 tbsp vinegar (i use apple cider or brown malt, but also you can use white wine)
Method
- Combine limes, chilli, salt, turmeric into a glass or ceramic bowl, mix and leave at room temperature overnight.
- Heat oil in large pot, add fenugreek, fennel seed, chilli flakes, ginger, garlic powder and cook off to release flavour (2-3 minutes).
- Add lime and chilli mixture, mix well and let it simmer and then turn the heat down for about 20 minutes, or until the lime softens and the mixture thickens.
- Add in the vinegar and sugar, mix well and cook for about 5 minutes. The vinegar acts as a preservative.
- Let the mixture cool slightly, then add to hot, sterilised jars. Seal jars, and place into a cool, dark spot for ~1 month to let the flavour develop.
Cleaning the limes:

Leave the mix overnight:

The finished product (we cracked into it early):


Hope you have more patience than me,
Ben 🙂
Here are some additional preserving food ideas and more from Ben:
Written by
·
-

PK Makes Sausages The Italian Way
Today I was invited to join an Italian family’s yearly sausage making day. Making sausages the old fashion way means lots of hard work, lots of family banter and lots of laughter. I felt like part of the family and I promised to come back next year, if only for the great lunch they fed us.
The pork mince had been seasoned the night before. Even if I did know the full list of ingredients I couldn’t tell you but I did notice a healthy amount of chili seeds. That and a carefully measured amount of salt as one would expect.
We balled the seasoned mince up and then fed those through hand cranked meat mincers and into natural sausage casings. The end result will hang for several weeks and if they are as good as last year’s we are in for a treat :).
Balling the seasoned mince:

Into the mincer they went:
Then they are hung to dry:

Some are cooked fresh as payment for the workers. 🙂
Dried they last for ages:

Thanks for the invite and a great memory,
PK
PS I have been invited back ever since (PK 2018)
YOU MIGHT ALSO LIKE
ITALIAN CUISINE
HOW TO PRESERVE FOOD
Please consider subscribing to a weekly email summary of our posts or check us out on Facebook @growitcatchitcookit.
[mc4wp_form id=”15771″]
Written by
·
-

PK’s Making Sausages The Italian Way
Today I was invited to join an Italian family’s yearly sausage making day. Making sausages the old fashion way means lots of hard work, lots of family banter and lots of laughter. I felt like part of the family and I promised to come back next year, if only for the great lunch they fed us.
The pork mince had been seasoned the night before. Even if I did know the full list of ingredients I couldn’t tell you but I did notice a healthy amount of chili seeds. That and a carefully measured amount of salt as one would expect.
We balled the seasoned mince up and then fed those through hand cranked meat mincers and into natural sausage casings. The end result will hang for several weeks and if they are as good as last year’s we are in for a treat :).
Thanks for the invite and a great memory,
PK
Balling the seasoned mince:

Into the mincer they went:
Then they are hung to dry:


Written by
·
-

The Easiest Guacamole
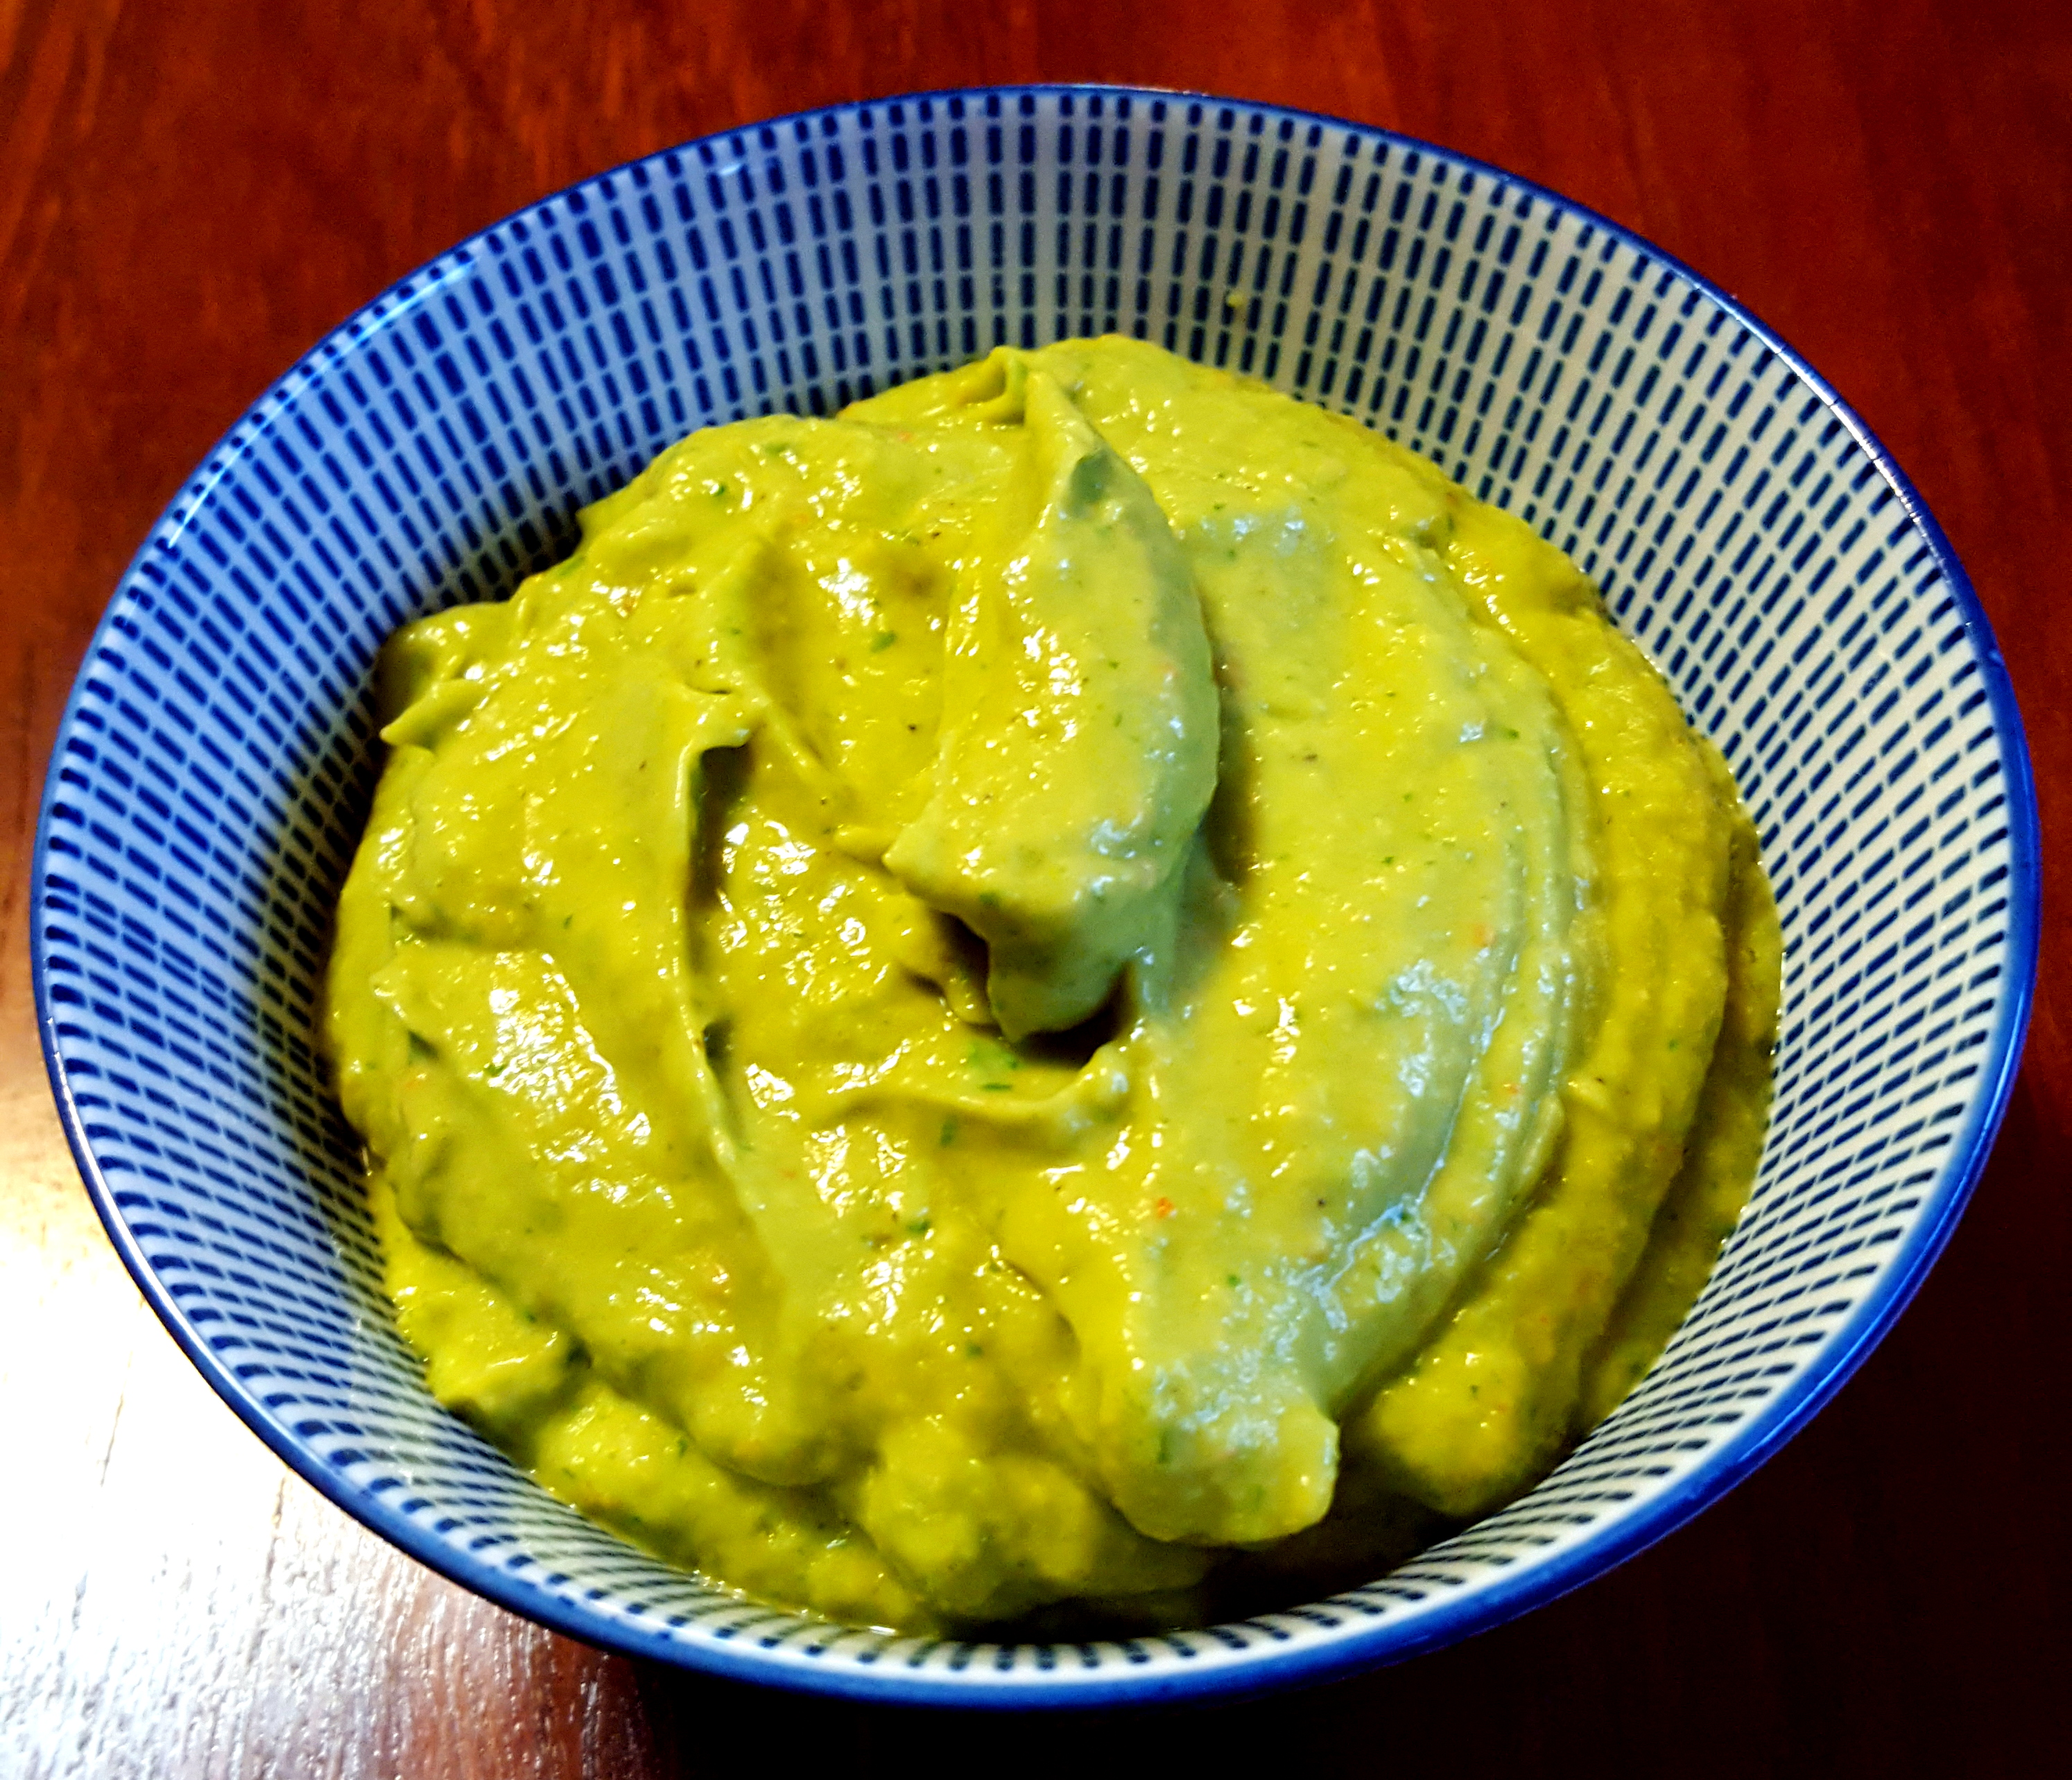
I like anything with avocado in it so it is no surprise that I love my home made ‘guac’. If only because I use as much stuff from my kitchen garden as possible. I love anything that works well with ‘make your own combination’ meals like taco or nacho night.
Every avocado lover probably has their own guacamole recipe (the first being invented by the Aztecs) and here is mine. In any other dish I tend to keep the spice factor low so that people can add their own heat factor during eating. Not this time family :).
No spice and onion = no guac.
You will need:
- Ingredients (serves about 3 – 4 people):
- chives to taste
- 1 red shallot or half a brown onion
- 1 jalapeno chili or 1 cayenne chili
- a few drops of Tabasco pepper sauce (or your home made version)
- a handful of coriander leaves and stems
- 1 avocado
- 3 cherry tomatoes or equivalent amount of your favourite type
- the juice of half a lemon or lime (to bring the avocado alive)
- cracked black peppercorns (to taste)
- table salt (an optional extra to taste but I don’t use any)
- Equipment
- a chopping board
- a sharp knife
- a wet mixer
- a serving bowl
Make the paste

Steps:
- Chuck into the wet mixer:
- the chives (amount optional)
- 1 red shallot (skin removed)
- 1 jalapeno chili or 1 cayenne (de-seeded if you prefer)
- a handful of coriander leaves and stems
- a few drops of Tabasco pepper sauce
- 1 avocado (skin and seed removed)
- 3 cherry tomatoes
- the juice of half a lemon
- cracked black pepper to taste
- Pulse the ingredients in the wet mixer until you get your desired texture and consistency.
- Pulse it a bit more because your toddler got upset he didn’t have a turn :).


Enjoy,
PK
Written by
·
- Ingredients (serves about 3 – 4 people):
-

PK’s You..Can’t..Handle..The..Guac
I like anything with avocado in it so it is no surprise that I love my home made ‘guac’. If only because I use as much stuff from my kitchen garden as possible. I love anything that works well with ‘make your own combination’ meals like taco or nacho night.
Every avocado lover probably has their own guacamole recipe (the first being invented by the Aztecs) and here is mine. In any other dish I tend to keep the spice factor low so that people can add their own heat factor during eating. Not this time family :).
No spice and onion = no guac.
You will need:
- Ingredients (serves about 3 – 4 people):
- chives to taste
- 1 red shallot or half a brown onion
- 1 jalapeno chili or 1 cayenne chili
- a few drops of Tabasco pepper sauce (or your home made version)
- a handful of coriander leaves and stems
- 1 avocado
- 3 cherry tomatoes or equivalent amount of your favourite type
- the juice of half a lemon or lime (to bring the avocado alive)
- cracked black peppercorns (to taste)
- table salt (an optional extra to taste but I don’t use any)
- Equipment
- a chopping board
- a sharp knife
- a wet mixer
- a serving bowl
Make the paste

Steps:
- Chuck into the wet mixer:
- the chives (amount optional)
- 1 red shallot (skin removed)
- 1 jalapeno chili or 1 cayenne (de-seeded if you prefer)
- a handful of coriander leaves and stems
- a few drops of Tabasco pepper sauce
- 1 avocado (skin and seed removed)
- 3 cherry tomatoes
- the juice of half a lemon
- cracked black pepper to taste
- Pulse the ingredients in the wet mixer until you get your desired texture and consistency.
- Pulse it a bit more because your toddler got upset he didn’t have a turn :).


Enjoy,
PK
Written by
·
- Ingredients (serves about 3 – 4 people):
-

PK’s Favourite Nam Jim Dressing
Wikipedia writes ‘Nam jim (น้ำจิ้ม) is Thai for “dipping sauce”. It can refer to a wide variety of dipping sauces in Thai cuisine, with many of them being a combination of salty, sweet, spicy and sour’.
I use this dressing in my PK’s Thai Beef Salad.
I use a blender (don’t tell anyone please) instead of a mortar and pestle because I am lazy. You will get a more visually appealing result if you use the former, though I hope the taste is similar. I primarily use this dressing on my Thai Beef Salads and they have a lot going on visually anyway.
Edit: Last time I made this dressing I used a mortar and pestle and the results were worth it 🙂
If you haven’t already, please go and have a read of my post PK’s Curry Paste Kit. It will show you just how off the charts bonkers I am about using whole spices and the freshest ingredients when making your own pastes etc. Actually maybe give that post a miss ;).
STEPS:
- Gather the ingredients
- Mix in the wet blender
- Serving
You will need:
- Ingredients:
- 1 tsp powdered kashmiri chili
- 5 coriander roots (cilantro)
- 3 garlic cloves
- 2.5cm piece fresh ginger root
- 3 Tbsp fish sauce
- 3 Tbsp lime juice
- 1 Tbsp palm sugar
- Equipment
- a chopping board
- a long sharp knife
- a tablespoon
- a teaspoon
- a medium sized bowl
- a wet blender with a small bowl
- a dry mill (optional)
- a small serving bowl for the middle of the table
Gather the ingredients
Steps:
- Dry mill your whole kashmiri chilis to get 1 tsb. Mostly I use store bought powder though.
- Wash the 5 coriander roots thoroughly if you have just harvested them. I have a stash in the freezer though of roots retained after using the rest of the plant. See my post Herbs – Coriander (Coriandrum sativum).
- Peel and rough chop the 3 garlic cloves.
- Peel and rough chop the 2.5cm ginger root.
- Bring the 3 Tbsp fish sauce, 3 Tbsp lime juice and 1 Tbsp palm sugar together.

Mix in the wet blender
Steps:
- Pop everything into your wet blender and pulse till you get the look you are after.
- Have a taste and add a bit more of anything you think is under represented. For example I normally add a bit more fish sauce for the saltiness factor.

Serving
Pop the lot in a serving bowl. I do this so that every one can build their own Thai salad at dinner. I haven’t tried storing this in the fridge for very long but the salt content of the fish sauce should let it keep for a while. You might just want to freshen up the citrus flavour by adding a bit of lime or lemon juice.
I would love to hear about your favourite Thai salad dressing or dipping sauce.
Enjoy,
PK
Written by
·
-

The Easiest Nam Jim Dressing
Wikipedia writes ‘Nam jim (น้ำจิ้ม) is Thai for “dipping sauce”. It can refer to a wide variety of dipping sauces in Thai cuisine, with many of them being a combination of salty, sweet, spicy and sour’.
I use this dressing in my PK’s Thai Beef Salad.
I use a blender (don’t tell anyone please) instead of a mortar and pestle because I am lazy. You will get a more visually appealing result if you use the former, though I hope the taste is similar. I primarily use this dressing on my Thai Beef Salads and they have a lot going on visually anyway.
Edit: Last time I made this dressing I used a mortar and pestle and the results were worth it 🙂
If you haven’t already, please go and have a read of my post PK’s Curry Paste Kit. It will show you just how off the charts bonkers I am about using whole spices and the freshest ingredients when making your own pastes etc. Actually maybe give that post a miss ;).
STEPS:
- Gather the ingredients
- Mix in the wet blender
- Serving
You will need:
- Ingredients:
- 1 tsp powdered kashmiri chili
- 5 coriander roots (cilantro)
- 3 garlic cloves
- 2.5cm piece fresh ginger root
- 3 Tbsp fish sauce
- 3 Tbsp lime juice
- 1 Tbsp palm sugar
- Equipment
- a chopping board
- a long sharp knife
- a tablespoon
- a teaspoon
- a medium sized bowl
- a wet blender with a small bowl
- a dry mill (optional)
- a small serving bowl for the middle of the table
Gather the ingredients
Steps:
- Dry mill your whole kashmiri chilis to get 1 tsb. Mostly I use store bought powder though.
- Wash the 5 coriander roots thoroughly if you have just harvested them. I have a stash in the freezer though of roots retained after using the rest of the plant. See my post Herbs – Coriander (Coriandrum sativum).
- Peel and rough chop the 3 garlic cloves.
- Peel and rough chop the 2.5cm ginger root.
- Bring the 3 Tbsp fish sauce, 3 Tbsp lime juice and 1 Tbsp palm sugar together.

Mix in the wet blender
Steps:
- Pop everything into your wet blender and pulse till you get the look you are after.
- Have a taste and add a bit more of anything you think is under represented. For example I normally add a bit more fish sauce for the saltiness factor.

Serving
Pop the lot in a serving bowl. I do this so that every one can build their own Thai salad at dinner. I haven’t tried storing this in the fridge for very long but the salt content of the fish sauce should let it keep for a while. You might just want to freshen up the citrus flavour by adding a bit of lime or lemon juice.
I would love to hear about your favourite Thai salad dressing or dipping sauce.
Enjoy,
PK
Written by
·
-

PK’s Coriander And Garlic Sauce
I first had this sauce (store bought) when I was in Darwin 2016.
It is simple to make but it packs a real astringent wallop. I used this recipe originally from http://www.tarladalal.com/ (this site is amazing FYI) and I am going to experiment a bit with the amount of garlic and sugar . I also blended it the first time and I think that made it too potent :).
It goes great drizzled on a green or your Asian salad of choice. You can even use it as a dipping sauce for spring rolls and the like.
You will need:
- Ingredients:
- 1 Tbsp brown sugar
- 2 cloves garlic
- 1 Tbsp coriander leaves (cilantro)
- 1 Tbsp fresh green chilis
- 0.5 Tbsp fresh lemon juice
- 2 tsp white vinegar
- 2 Tbsp water
- Equipment
- a chopping board
- a long sharp knife
- a medium sized bowl
- a serving bowl
- optional: a wet blender with a very small bowl
Make the sauce

Steps:
- Rough chop the 1 Tbsp worth of coriander leaves and add them to a bowl.
- Peel and finely chop the 2 garlic cloves. I use the knife to gently smash the garlic clove first to make it easier to peel. Chuck this in the bowl.
- Finely chop the 1 Tbsp worth of green chilis and (you guessed it) add it to the bowl.
- Squeeze about 0.5 Tbsp of lemon juice and add this to the bowl along with:
- 1 Tbsp brown sugar
- 2 tsp white vinegar
- 2 Tbsp water
- Now you can either mix the sauce with a fork or optionally blend it in the wet mixer for a few pulses.

Enjoy,
PK
Written by
·
- Ingredients:
-

The Easiest Coriander And Garlic Sauce
Coriander based sauces provide a real flavour boost to your dishes. I love drizzling them in everthing from salads to steaks and potato side dishes, If you give the ingredients below a whizz in a blender (rather than a fine chopping) you will get an amazing dipping sauce for spring rolls and the like.

I used this recipe originally from http://www.tarladalal.com (this site is amazing FYI) and I am going to experiment a bit with the amount of garlic and sugar.
You will need:
- Ingredients:
- 1 Tbsp brown sugar
- 2 cloves garlic
- 1 Tbsp coriander leaves (cilantro)
- 1 Tbsp fresh green chilis
- 0.5 Tbsp fresh lemon juice
- 2 tsp white vinegar
- 2 Tbsp water
- Equipment
- a chopping board
- a long sharp knife
- a medium sized bowl
- a serving bowl
- optional: a wet blender with a very small bowl
Making the sauce

Steps:
- Rough chop the 1 Tbsp of coriander leaves.
- Peel and finely chop the 2 garlic cloves. I use the knife to gently smash the garlic clove first to make it easier to peel.
- Finely chop the 1 Tbsp worth of green chilis.
- Pop those ingredients to a bowl.
- Squeeze about 0.5 Tbsp of lemon juice and add this to the bowl along with:
- 1 Tbsp brown sugar
- 2 tsp white vinegar
- 2 Tbsp water
Now you can either mix the sauce with a fork for a a crunchier sauce or blend it in the wet mixer for a few pulses.

Enjoy,
PK
Here are some more sauces, condiments and dips along with other cooking staples:
Written by
·
- Ingredients: