Tag: catching
-
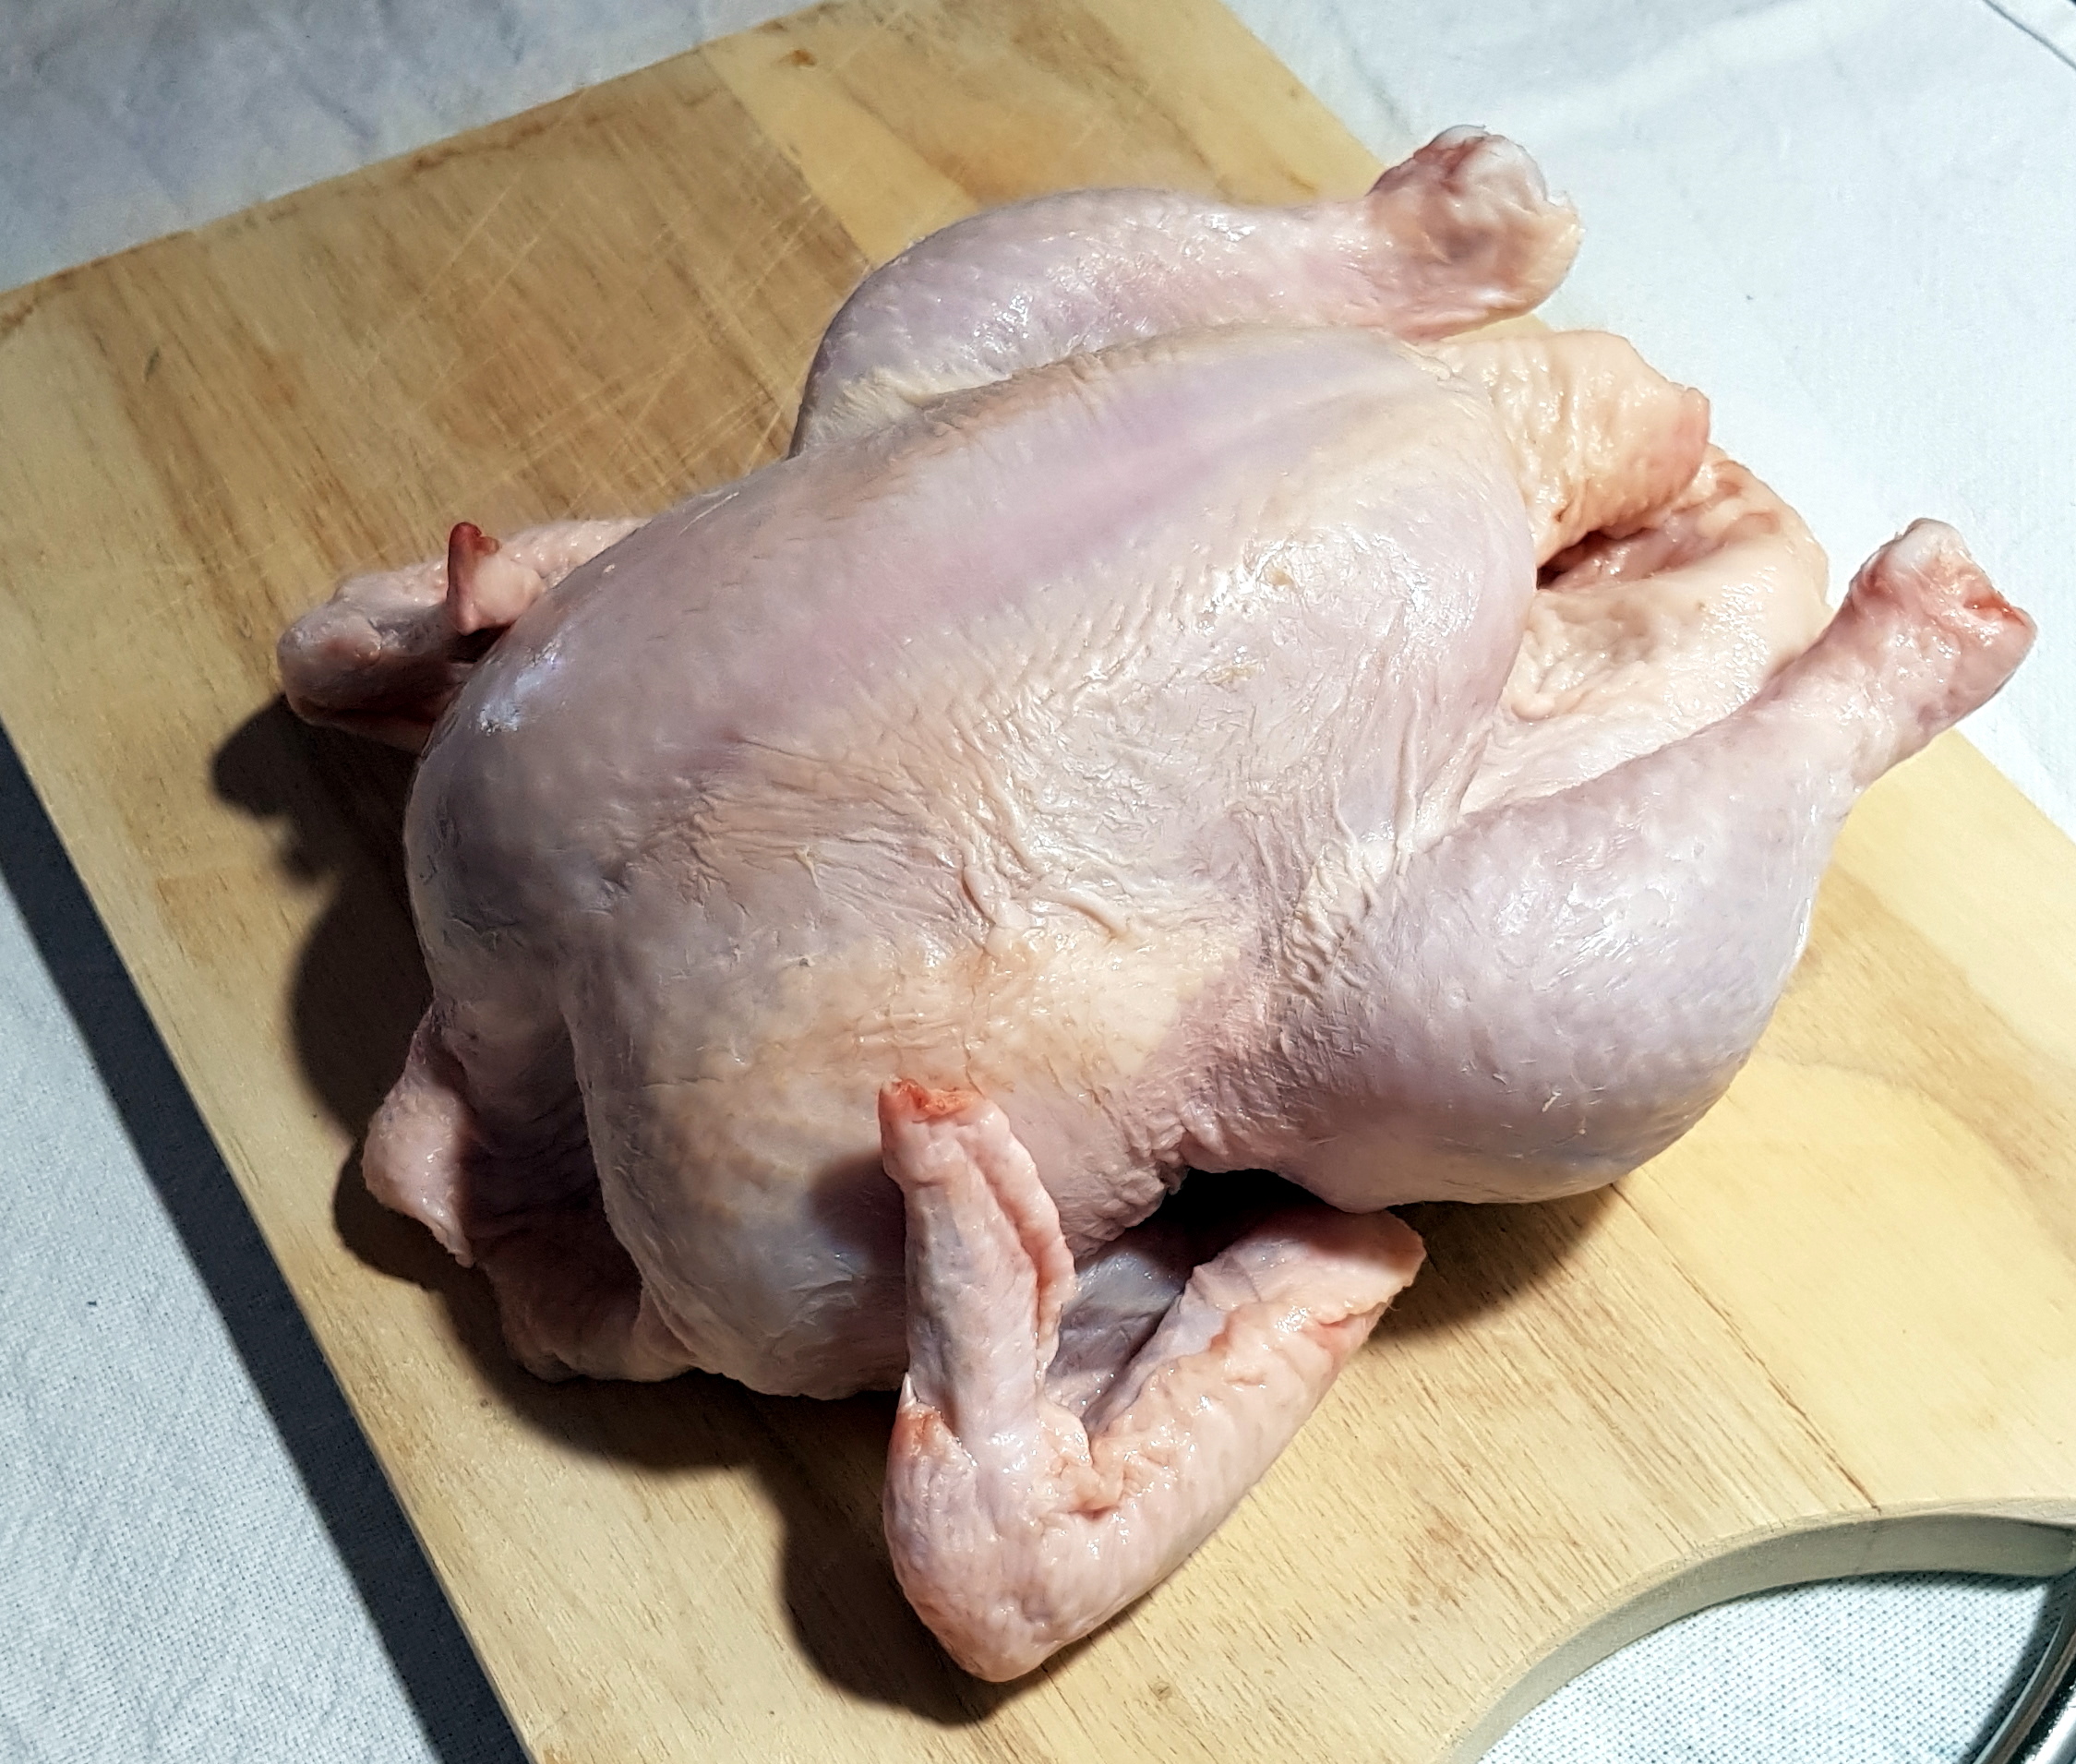
Chicken Whole
A whole roast or braised chicken is the most amazing of meals to share with friends and family. With its mix of light and dark meat everyone is a winner. Personally I like every single bit of meat but I have not had much experience with their offal and off cuts.
In Australia we don’t really categorise whole birds between fryer, boilers and roasters (as in America and Europe) in our supermarkets. We really go in there looking for a certain sized bird depending how many people we want to feed and the labels all say ‘whole chicken’.
Much of the bird’s size comes down to what they were fed and how long they were raised for. Chicken is always sold at a low price point and its lean meat makes for a really thrifty meal.
At the bottom of the post are links to some yummy recipes and you can use this table to find out about the different cuts you can get from a whole chicken.
This is what you get from one chicken:

Enjoy,
PK
More Chicken Cuts:
[table id=chicken /]
Related Links:
- see dishes using whole chickens here
- see all recipes using chicken here
- go to the main ingredients page here
Please consider subscribing to get a weekly email summary of our posts.
[mc4wp_form id=”15771″]
Written by
·
-

How Do I Butterfly Or Spatchcock A Chicken
A whole chicken, especially the larger birds, can take longer to get all of the meat to a safe temperature.
So, a great way to have a roast chicken on the bone, in less time, is to butterfly or split the whole bird. This is also called spatchcocking. It is almost as simple as cutting the chicken in half but the result is a flat profile that cooks evenly.
Chicken Halves
Halving a chicken is still a good skill to learn. Simply place the whole bird length ways in front of you, breast side up. Using a long sharp knife or cleaver simply cut straight down through the middle. The breast bone will guide you.
You could even flatten each half out a bit with the heel of your hand.

Butterflyed\Spatchcocked Chicken
Place the whole bird length ways, breast down. Using kitchen shears, cut along each side of the backbone, removing it entirely.

Then slice in into the cartilage at the top of the breastbone (see the next photo) and pop the breastbone out. Run your finger along the soft part of the breastbone and it should come out in one piece. I have embedded the excellent YouTube video that taught me how to do this at the bottom of the post.


Tidy the fat and skin up. Flip the chicken over and flatten it slightly with your hands.

Enjoy,
PK
How to remove the breastbone easily:
Here are more chicken primal cuts and uses of butterflied chicken:
Written by
·
-

Bacon
In Australia, the most common types of bacon comes from a section along the side and back of the animal called ‘middle cut bacon’ or the back of pork only called ‘short cut bacon. Both are salt cured and require cooking before consumption.
Middle bacon has a bit more fat than the loin only short cut bacon. The pork loin is a lean cut.
Middle cut bacon:
The eye part (oval shape at the top of the rasher) is from the loin with the tail end running down the animal into the middle rib area. It is from further to rear of the animal than short cut bacon.

Short cut bacon:
Features just an eye from the loin area i.e. no tail (see the photo above) and is from closer towards the front of the animal than middle cut bacon. It costs more but many people buy it as a “healthier” option.
More Bacon Goodness
You might have heard about other types of bacon (such as gammon or speck) and wondered what they are. Bacon can also come from the pork belly and cheeks and there are many ways to cure it.
Streaky bacon
Is from the pork belly and is the most commonly consumed bacon in the United States.
Gammon
Is a hind leg joint that has been dry cured by packing it in salt. It may sometimes be smoked too.
Related Links:
- see all recipes using bacon here
- see all ingredients here
- see pork posts here
- see all MeatMatters here
Written by
·
-

Jon’s Swan River Prawn and Mushroom Linguine
Sending out a massive congratulations to Jonathan Anderson for winning Grow It, Catch It, Cook It’s first ever competition. The amazing fellas at Life Cykel will be sending him out one of their Home Grown Mushroom Boxes so he can get cracking growing his own Oyster mushrooms.
‘Welchy’ chose this recipe entry as the winner because it completely captures everything that I am writing about on the blog. Fresh home grown ingredients harvested just before use, fresh seafood caught personally and locally with little to no transport footprint and supporting a small local operation’s passion. I hadn’t heard of Magpie Ridge Organics before but their Toodyay farm and products sound amazing. There is even a fishing tip buried in there too :).
Jon writes:
Ingredients:
- 20 king prawns freshly caught from the Swan River
- 3 large button mushrooms
- 1 spring onion from the garden
- 2 garlic cloves from the garden
- 50-100 ml olive oil (highly recommend, our mates fresh made – Magpie Ridge brand)
- 15 g butter
- 500 g linguine pasta (even better if home made – ask Davina how)
- 4 leaves basil from the garden
Method:
- Start boiling a large pot of water for the linguine. While you wait chop up the garlic, spring onion and mushrooms.
- Remove the heads from the prawns but leave the shell on the tails (If you like to fish, keep the prawn heads for your berley mixture).
- Once the water has boiled add the linguine and than heat a frying pan on high for the prawn mixture.
- Once the frying pan is hot add the olive oil and let it heat up for 1-2 minutes. Add the mushrooms, garlic and spring onion and reduce for about 3 minutes.
- Add the prawns and butter and cook for 3-4 minutes.
- Turn the heat off the frying pan and remove from hot area.
- Drain linguine and mix into the frying prawn sauce mixture.
- Add the chopped up fresh basil along with salt and pepper to your liking. Freshly graded Parmesan is optional.
Serving:
Although unorthodox, my wife and I really enjoy Black Chook Shiraz bubbles to make it a bit of a celebration!

Thanks from Life Cykel, ‘Welchy’ and I Jon,
PK
Written by
·
-

How To Prepare Freshly Caught Squid
My ideal fishing trip sees me catching a few squid for dinner. Unfortunately I am terrible at catching squid 🙂 . Occasionally I get lucky but mostly resort to bartering a few table fish for them with my mates.
These lovely looking squid rings came out of Owen Anchorage (just south of the port of Fremantle, Western Australia) on a recent fishing trip.
I want to share some of the tips I have picked up thanks to my mates and also a bit of experimenting in the kitchen.

On the boat
We all want to avoid being covered in black goupy squid ink when retrieving squid into the boat. Let the squid have a few squirts in the water whilst still on the jig. If you have a net, scoop it under the squid and let the net contain the ink squirts. Once they have calmed down a bit bring them on board.
I was recently given two tips that not only stop the squid from inking the inside of your eski (and the rest of your catch) but also treat the squid humanely.
Tip 1 – Take a knife and spear the squid behind each eye. This will instantly kill them and you know you have done it right when the squid completely turns white. Here is some more information on the technique https://en.wikipedia.org/wiki/Ikejime.
Tip 2 – Pop any squid you have caught in a plastic bag before adding them to the eski. I reuse the plastic bag on several fishing trips, cleaning them after each use.
Cleaning
My friends have been testing the use of scaling bags, towed behind the boat at slow speeds, to clean their squid catch. These pictures were taken after only a few minutes using the bag and the results are even better if you leave it out longer. You can see the hoods are nice and clean and the skin and wings have been removed.
My brother in law has also given me a few tips for cleaning squid the old fashion way.
Tip 1 – Work your thumb into the hood and work the cuttlebone (it runs the length of the hood) loose with your thumb until the whole lot comes out in one piece. This way you won’t (hopefully) break the ink sac when you pull the head and tentacles out of the hood.
Tip 2 – If there are some ink stains and like me you want nice clean squid rings, don’t bother trying to fight the whole hood. Nor do you have to attempt the near impossible task of turning it inside out to clean it. Simply cut the hood into several pieces, each as long as your thumb. This makes them easier to clean under the tap but still allows you to make nice thin rings later.

I pop the head, tentacles and wings into a snap-lock bag. Now frozen, they are ready for the next fishing trip as bait or berley/chum.
Tip 3 – I also freeze the rings before I cook with them as I have it on good authority that this will help make them tender due to the freezing process breaking down the fibers.
Once coated in an egg batter and Panko breadcrumbs (or a salt, pepper and flour dry coating) they will shallow fry quickly for that melt in your mouth texture.
Enjoy,
PK
Here are some squid and seafood posts:
Written by
·
-
I Caught A Squid, Now What?
My ideal fishing trip sees me catching a few squid for dinner. Shame that I am terrible at catching squid. I mostly resort to bartering a few table fish for them with my mates. That said, even a blind pig finds a truffle now and then :).
Written by
·