Tag: bbq
-
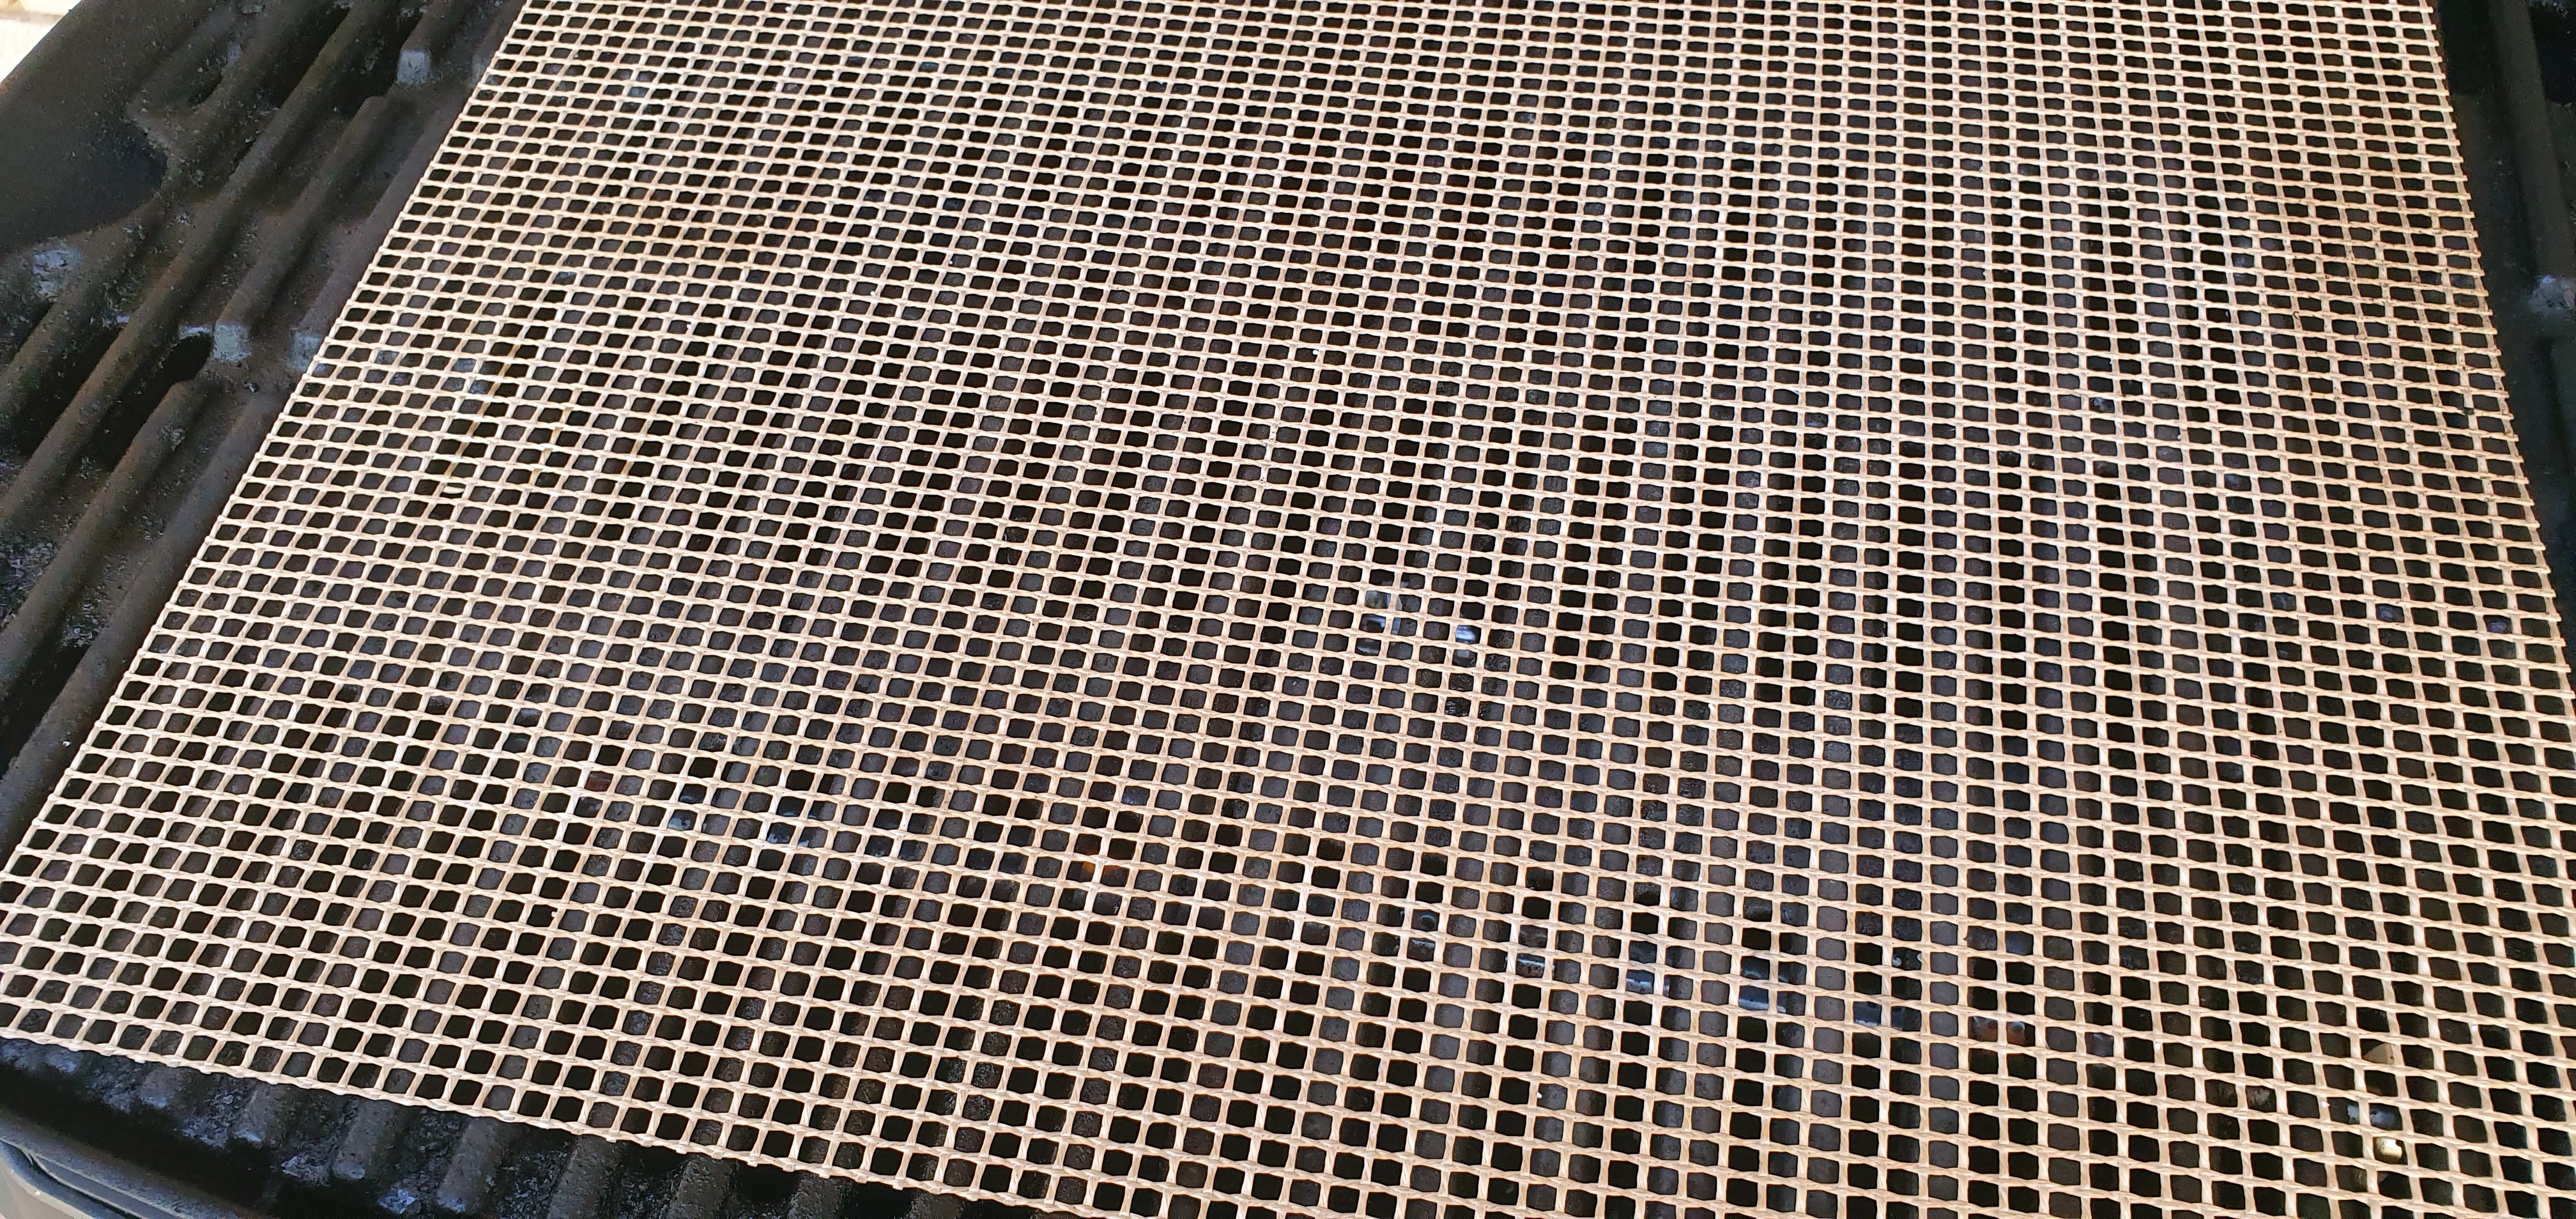
BBQ Grill Mesh Mat Review
I love my Weber Q 2000 but it doesn’t have a hot plate. That means I can’t cook cubed/diced meat easily.
I was making little tin foil trays as a work around but that is wasteful. Also they don’t let the fat drain away very well.
Solution:
There are a range of reusable, washable BBQ grill mats that solve the problem. They are non stick, washable and can even be cut to size. They are particularly great for meat like lamb where you really need the fat to render away.
Now with my Weber Trivet that lets me do roasts, my barbie is complete.

Here I am barbecuing some marinated chicken pieces.


Oh that mat is dirty!
No problem. Simply pop it in the dishwasher or wash it with the rest of your dishes.

Marked but clean and hygienic.

Enjoy,
PK
Here are some more of my reviews and bbq ideas:
Written by
·
-
The Weber Trivet Turns Your Weber Q Into An Oven
I have a Weber Q 2000 and it is the best gas BBQ I have ever owned.
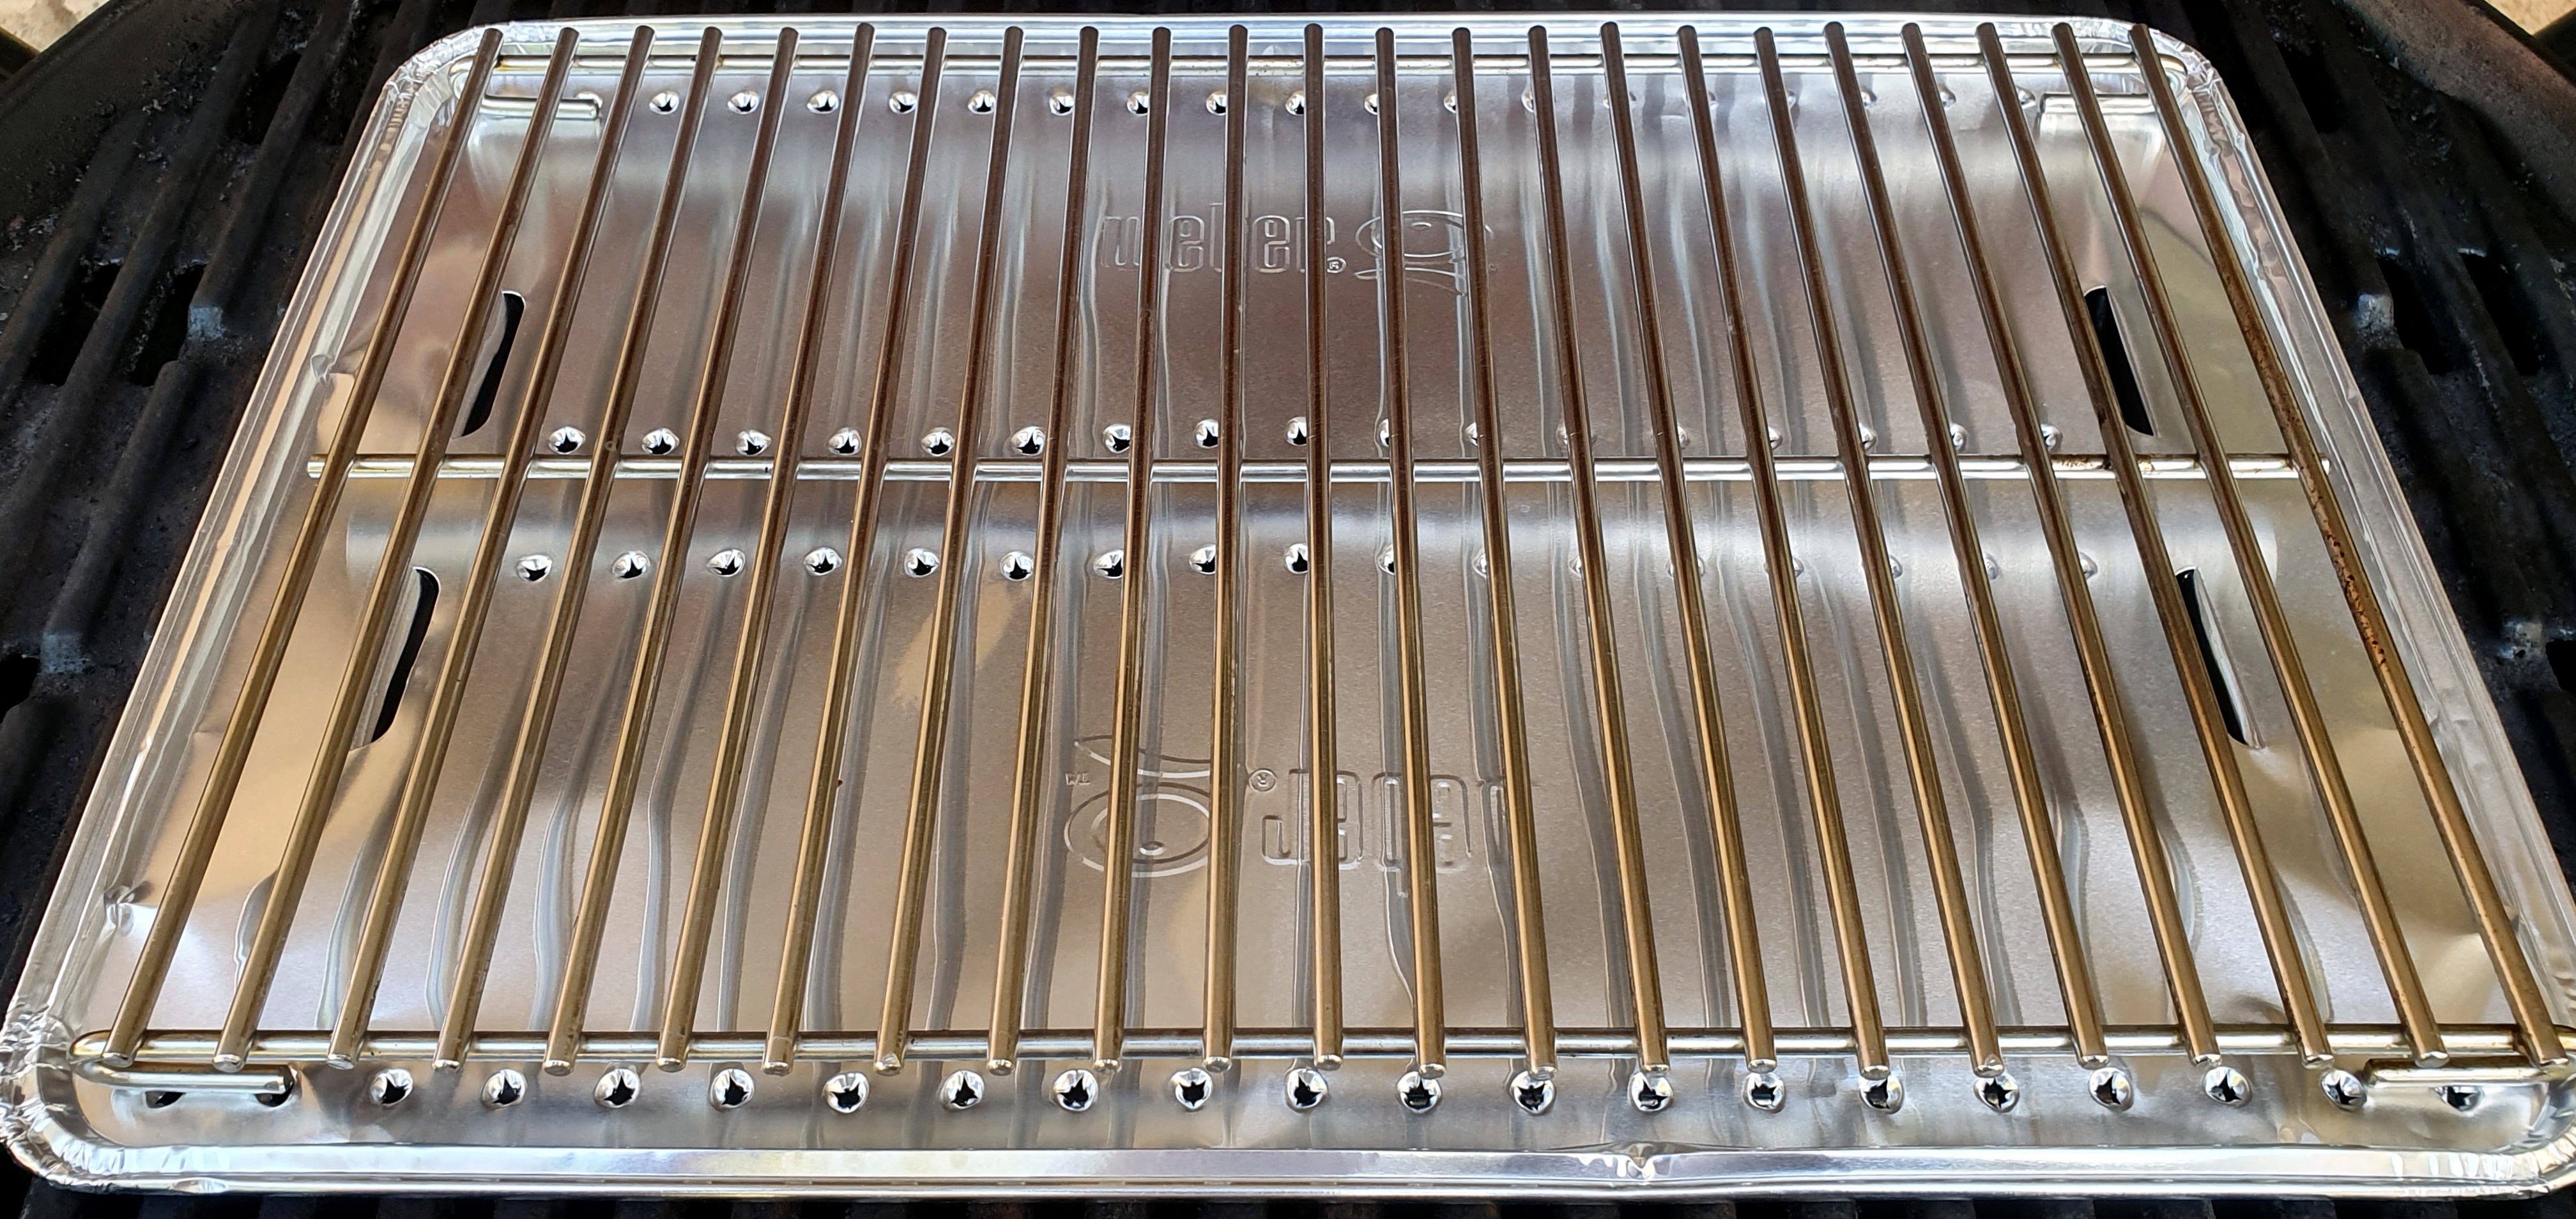
Did you know you can transform your Weber 1000, 2000 or 3000 into a roasting oven? I highly recommend the Weber Q Roasting Pack (not a paid recommendation).

The pack contains two foil convections trays and a stainless steel trivet.
The weber website shows you how to make your own trays using aluminium foil but the ones in the pack have little flaps that help you position the tray for the best drainage of fat and air circulation.


You then place the trivet (there are three sizes so make sure you get the one that matches your Weber Q) on the foil tray.

My test roast was a harissa and garlic crusted Australian lamb rack. I think it turned out pretty well. 🙂


Clean up was a dream as the trivet is stainless steel and just needed a wipe down with a soapy sponge.
Enjoy,
PK
Here are some equipment reviews and posts about roasting meat and vegetables for you.
Written by
·
-

Ben’s Magic Butterflied BBQ Chicken
A BBQ purist will argue that the term “barbeque” refers to the low and slow style of southern American cooking, which turns even the cheapest cuts of meat into delicious, tender joy.
The Aussie BBQ should really be the Aussie grill, as it is the grill on which the shrimp is thrown. Personally, I could care less, however more and more I am enjoying getting into the low and slow style of cooking. Perhaps one day I’ll do a 18 hour pulled pork like Growchow (see Grochow’s BBQ Pulled Pork). One day!
In the meantime there is the BBQ chicken. This recipe combines a bit of both – low and slow(ish) with a quick grill at the end. It also uses splayed chicken, which is probably my favourite way of cooking chicken.
Steps:
- Buy a whole chook, brine overnight in a not quite so salty brine (see Ben’s Brining Tips)
- In the morning, splay the chook by cutting out its backbone (save this to fry up for chicken gravy/sauce at a later date)
- Put together some of DryStuff: Ben’s Magic Chicken Dry Rub
- Rub 2/3 of the rub all over the chook, both sides, and put it in the fridge until later
- Make up the Ben’s Magic BBQ Sauce
- Ok, so now it’s time for the low and slow part. Get the chook out, drain the juice off of it and re-apply the magic rub
- If you are using a gas cooker, turn one on high and get the BBQ up to about 130-140c. then place the chook on the opposite side, and turn the gas down low. You want it to cook on a grill on indirect heat. My gas BBQ only has one control, so I use a hotplate on one side to try and get some indirect heat happening.
- If you are using charcoal, do the same as the above, but place the charcoal all off to one side.
- Place the chook on the grill skin side up for about 20 minutes, then flip for about 10. Be careful to rotate so you don’t overcook one side of the chook. Once it’s skin side up again, give it a quick baste with the BBQ sauce, and leave it
- Now for the hot and fast part. When the internal temp of the chook is about 65-72c (~1 hour ish), give the skin one more baste and put it on the hot grill skin side down. Keep basting and turning and basting and turning basting and turning until the internal temp is 82c. it is very important not to abandon the chook at this stage – the skin will burn at the drop of a hat, and the sugar in the sauce may catch fire (don’t worry, it looks good but won’t do any damage)
- Once cooked, set aside for 5 minutes, carve up and serve! Keep some of the BBQ sauce spare to drizzle over the final product
Low and slow:

So good:

Cheers,
Ben
Written by
·
-

PK Reviews: Tradeflame 220g Pro Heat Blow Torch Kit
You know how sometime you buy something and wonder how you survived without it to this point? The Tradeflame blow torch range is such a product. I bought the 220g Pro Heat Blow Torch Kit (see this Bunnings link) only to start charcoal chunks in my Weber Barbecue but every time I used it I had a massive smile on my face.
So I decided to see what else I could use it for. I already had a sub-par chef’s torch for cooking and this product blows it away, no pun intended. The flame’s intensity and amount of air injection can be adjusted so you can pretty much handle any task, small or large.
Here is a list of uses I found after 5 minutes googling:
- cocktails (not going to do this as I can see me in flames)
- crisping pork crackling (I have done this)
- starting charcoal barbecues (best tool ever)
- shrink wrapping eg. rubber coating your fishing sinkers so they don’t scratch the boat on the way up
- stripping paint
- stripping wires
- making s’mores (whatever they are)
- browning roast chickens (yep done this one)
Product Reviewed:
Tradeflame 220g Pro Heat Blow Torch Kit
Pros:
- The instructions were well laid out, clear and listed all relevant safety information.
- Auto ignition system.
- Easy and clearly labelled adjustment for air and flame intensity.
- Comes with a gas cartridge that lasts well (website says 105 minutes) and the replacements are ~$10 AUD (at time of writing).
- Consistent flame characteristics at all times unlike my useless chef’s torch that wavers a bit and often needs refuelling mid cooking.
- Can be used inverted and that is great for BBQ use.
Cons:
Being a novice and not having anything to compare it too I can’t find any. My main concern was fuel costs but that is not a problem.
The Verdict:
Great product at a reasonable price. Suitable for the budding pit-master that might also only have minimal handy man skills :).
Hope this helps and feel free to send me any comments.
PK
Portable and easy to store:

Impressive flame quality and length:

Hope this review helps,
PK
Related Links:
- See more kitchen kit posts here
- See our other product reviews here
- See more growing, catching and cooking equipment here
Please consider subscribing to get a weekly email summary of our posts.
[mc4wp_form id=”15771″]
Written by
·
-

PK’s Chicken Baste #1
This is the second in my posts on dry rubs and basting sauces for use when roasting meat, it works great regardless of whether you are using a BBQ or an oven. I used it recently on an oven roast chicken along with this dry rub as inspired by http://noblepig.com/.
Again, I take my hat off to the people over at Noble Pig and our own Growchow, you are indeed doing amazing work :).
You will need:
- Ingredients:
- 1/2 tsp ground rock salt
- 1 Tbsp fresh lemon juice
- 1/2 cup apple cider vinegar (this stuff is amazing)
- 1 Tbsp garlic infused olive oil
- 1/4 tsp tumeric powder
- 1/4 tsp beetroot powder (for colour, I make my own here)
- 2 drops of liquid smoke (mostly because a second drop fell in accidently, yum)
- Equipment:
- a small bowl for the sauce
- a fork for mixing
- a basting brush
Steps:
- Bring all the ingredients together.
- Get distracted by how amazing it looks and smells.
- Mix everything together.
- Baste your chicken.

Enjoy,
PK
Written by
·
- Ingredients:
-
DrippyStuff: Chicken Baste #1
This is the second in my posts on dry rubs and basting sauces for use when roasting meat, it works great regardless of whether you are using a BBQ or an oven. I used it recently on an oven roast chicken along with this dry rub as inspired by http://noblepig.com/.
Again, I take my hat off to the people over at Noble Pig and our own Growchow, you are indeed doing amazing work :).
You will need:
- Ingredients:
- 1/2 tsp ground rock salt
- 1 Tbsp fresh lemon juice
- 1/2 cup apple cider vinegar (this stuff is amazing)
- 1 Tbsp garlic infused olive oil
- 1/4 tsp tumeric powder
- 1/4 tsp beetroot powder (for colour, I make my own here)
- 2 drops of liquid smoke (mostly because a second drop fell in accidently, yum)
- Equipment:
- a small bowl for the sauce
- a fork for mixing
- a basting brush
Steps:
- Bring all the ingredients together.
- Get distracted by how amazing it looks and smells.
- Mix everything together.
- Baste your chicken.
Enjoy,
PK
Written by
·
- Ingredients:
-

Weber Q Baby: Josh Reviews
Weber has been around since the 1950’s and we have seen the shape change ever so slightly over the years, with each new model keeping the “round” kettle shape.
In 2004 a new model (and shape) was released, known as the “Weber Q” Series. A couple of years later, a “Weber Q Baby” was released, and it’s as it sounds, a smaller version of the Weber Q.
Here are the differences – the Baby Q is on the right:

I acquired the Baby Q Q1000 from Myer when they had a special on a few weeks back for $289, normally they are around the $320-$330 price range. The Baby Q was purchased for camping mainly, and events where a small BBQ would come in handy. My old man has a Q2000 (The big guy) and it’s a great BBQ to use, whether it be for smoking meats, or just simply grilling them.
Once it was home it was an easy assembly, you just need a Philips Screw Driver. The new grill and flat plate, being cast iron, was then lightly oiled with Extra Virgin Olive Oil and then with low heat, was left running for 15 minutes, to burn the new BBQ in. Once this was completed, a quick wipe down and it was boxed back up.
If you purchase one of these, based on this or any other review, the Baby Q only comes with the grill on each side, and I would recommend getting the flat plate for the right hand side (around $60) as its definitely worth having a flat plate!
It uses a normal LPG gas bottle, with the POL fitting. BCF sells a 4kg bottle which is more than enough gas for a week away, with it being used for dinner and breakfast.
For those who wish to be prepared, it would be about 30-45mins a day burn time, 5 days total usage and we have about 2kg left of the 4kg of GAS we left with.
A week ago, my partner and I left for Bremer Bay and Albany. A week later and we absolutely LOVE the Baby Q and it’s the perfect size for portability! We cooked multiple types of food, being: bacon, eggs, toast, tomatoes, burgers, steak, corn and chorizo sausage.


Like with any review, there are a few things worth noting that would make the unit better.
I also have a few tips that will help you get the most out of your Baby Q:
- The hose requires a bit of stretching. It took a couple of days cooking to get the LPG hose to the right movability to connect to the gas bottle.
- A hook to hang your cooking utensils on would be welcomed. This is an easy fix by getting the stand. Depending on size of course!
- Get a couple of spare drip tray’s, or have some spare alfoil (aluminum foil) around. We used the alfoil to make a drip tray and it worked just as good as the Weber branded ones.
- Keep the lid down while cooking, there is a lot of heat loss when it’s up. Remember it’s more like a portable oven than a BBQ.
- When you have finished with it, wash it and keep it clean. A well cleaned BBQ is easier to cook with and will produce a better taste. Also ensure a light oil coating is applied before storing it away long team to protect from rust on the Cast Iron.
Would I recommend this?
YES I WOULD 🙂
Josh
Related Links:
Please consider subscribing to get a weekly email summary of our posts.
[mc4wp_form id=”15771″]
Written by
·
-
Josh’s Weber Q Baby Review
Weber has been around since the 1950’s and we have seen the shape change ever so slightly over the years, with each new model keeping the “round” kettle shape.
In 2004 a new model (and shape) was released, known as the “Weber Q” Series. A couple of years later, a “Weber Q Baby” was released, and it’s as it sounds, a smaller version of the Weber Q.
Here are the differences – the Baby Q is on the right:
I acquired the Baby Q Q1000 from Myer when they had a special on a few weeks back for $289, normally they are around the $320-$330 price range. The Baby Q was purchased for camping mainly, and events where a small BBQ would come in handy. My old man has a Q2000 (The big guy) and it’s a great BBQ to use, whether it be for smoking meats, or just simply grilling them.
Once it was home, it was an easy assembly and you simply need a Philips Screw Driver. The new grill and flat plate, being cast iron, was then lightly oiled with Extra Virgin Olive Oil and then with low heat, was left running for 15 minutes, to burn the new BBQ in. Once this was completed, a quick wipe down and it was boxed back up.
If you purchase one of these, based on this or any other review, the Baby Q only comes with the grill on each side, and I would recommend getting the flat plat for the right hand side (around $60) as its definitely worth having a flat plate!
It uses a normal LPG gas bottle, with the POL fitting. BCF sells a 4kg bottle which is more than enough gas for a week away, with it being used for dinner and breakfast.
For those who wish to be prepared, it would be about 30-45mins a day burn time, 5 days total usage and we have about 2kg left of the 4kg of GAS we left with.
A week ago, my partner and I left for Bremer Bay and Albany. A week later and we absolutely LOVE the Baby Q and it’s the perfect size for portability! We cooked multiple types of food, being: bacon, eggs, toast, tomatoes, burgers, steak, corn and chorizo sausage. None of the times, did the food come out undercooked and was flavoursome.
Like with any review, there are a few things worth noting that would make the unit better.
I also have a few tips that will help you get the most out of your Baby Q:
- The hose requires a bit of stretching. It took a couple of days cooking to get the LPG hose to the right movability to connect to the gas bottle.
- A hook to hang your cooking utensils on would be welcomed. This is an easy fix by getting the stand. Depending on size of course!
- Get a couple of spare drip tray’s, or have some spare alfoil (aluminum foil) around. We used the alfoil to make a drip tray and it worked just as good as the Weber branded ones.
- Keep the lid down while cooking, there is a lot of heat loss when it’s up. Remember it’s more like a portable oven than a BBQ.
- When you have finished with it, wash it and keep it clean. A well cleaned BBQ is easier to cook with and will produce a better taste. Also ensure a light oil coating is applied before storing it away long team to protect from rust on the Cast Iron.
Would I recommend this?
YES I WOULD 🙂
Josh
Written by
·
-

Beer Can Chicken Roasting Rack
I got this beer can chicken roasting rack from Bunnings, for a steal. I used it with a half full can of beer the first time and the result was very pleasing. The rack keeps the chicken vertical, allowing the fat to drip away. The beer keeps the inside of the chicken moist.
Between you and me though, I prefer to skip the beer can and use a lemon instead. The lemon keeps the stuffing inside the chicken, imparts a beautiful citrus aroma and keeps the chicken just as moist.


Check out the result:


Try your favourite dry rub or marinade.
Enjoy,
PK
Here are more chicken dishes and kitchen kit posts:
Written by
·
-
PK Reviews: Beer Can Chicken Roasting Rack
I got this beer can chicken roasting rack from Bunnings for a steal. I used it with a half full can of beer the first time and the result was very pleasing.
Between you and me though, I prefer to skip the beer can and use a lemon instead. The lemon keeps the stuffing inside the chicken, imparts a beautiful citrus aroma and keeps the chicken just as moist.
Check out the result:


Cheers,
PK
Written by
·