Category: cooking
-

How To Thicken Gravy, Sauce, Stew And More With Cornflour
When you are making stews, casseroles, sauces and the like, it is sometimes hard to get the balance between flavour and thickness. Your dish might have the right taste but be too watery.
Continue to cook it and you might ruin the flavours by over cooking it.
So what do you do?
Well you can use cornflour. You don’t want to stir it into what you are making however. This will just make the liquid lumpy.
Instead, take remove some of the hot cooking liquid and add a tablespoon of cornflour to it. Mix until you have no lumps.

Add a little to the dish and mix it in. Repeat until you get the consistency you want.
Here I had a pie filling that tasted right but would have made for soggy pies. Now it is ready:

Enjoy,
PK
Here are some more tips and posts about cooking ingredients:
Written by
·
-
Italian Chicken Stock: Brodo Di Pollo
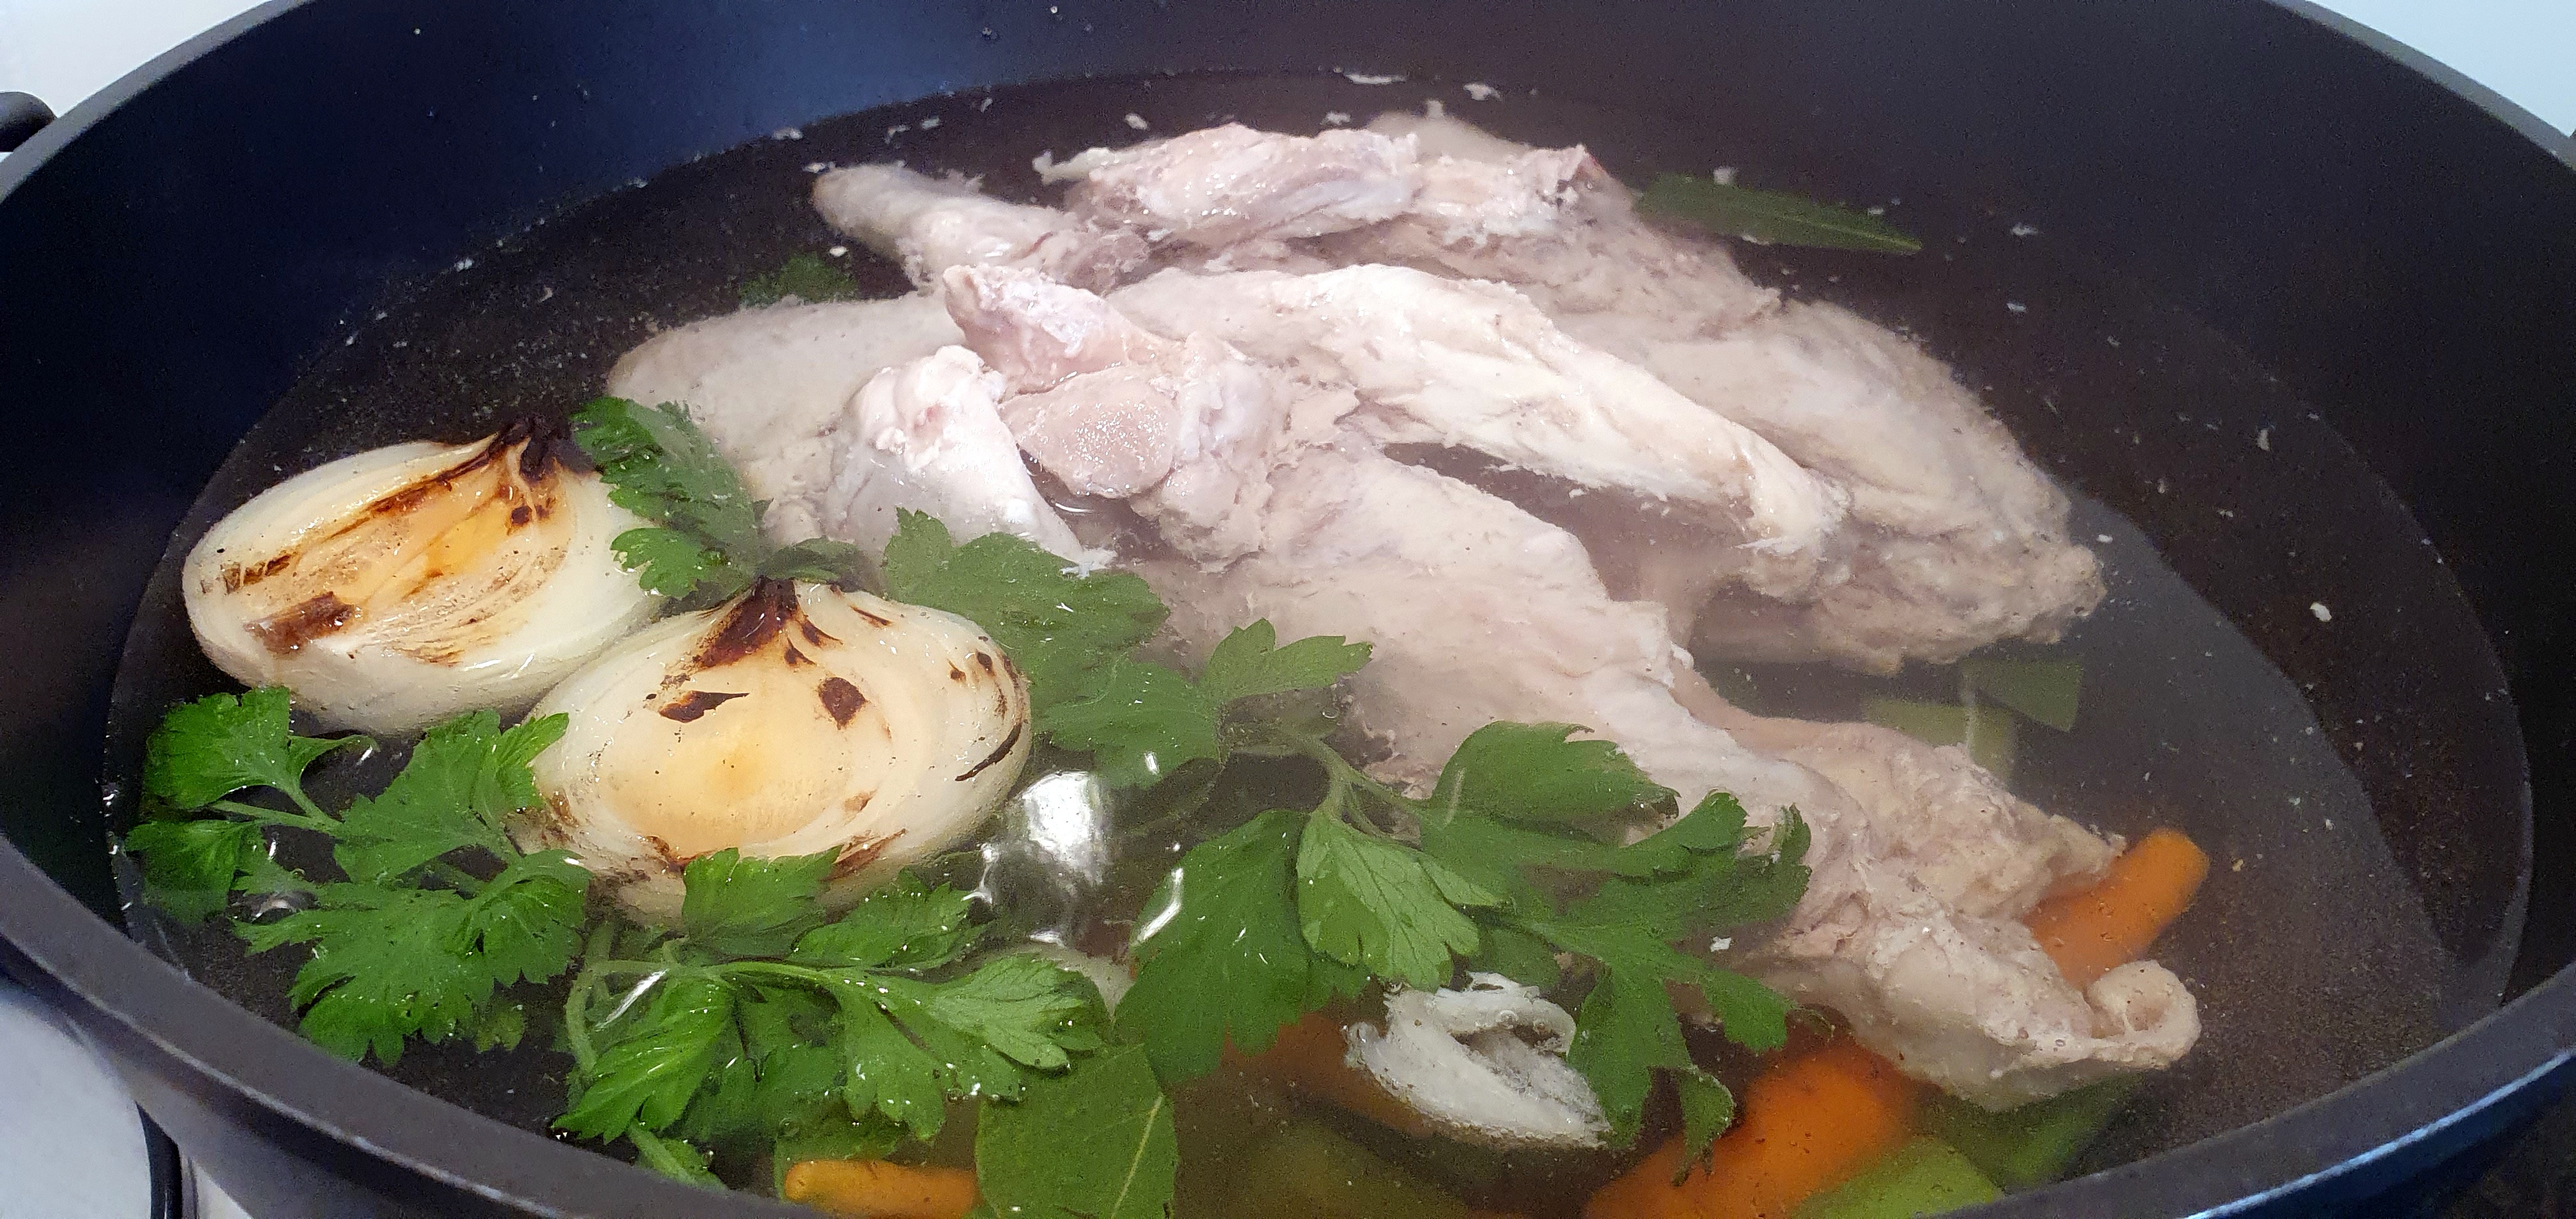
This is another amazing Italian stock recipe from giallo zafferano. Traditionally it calls for an old hen (una gallina) but I have used two free-range chicken carcasses that still had some meat on them.
I want to share with you my experience following the recipe. The result is a lovely clear broth that tastes and smells amazing!
Note:
- Takes about 20 minutes to prepare and an hour to simmer.
- You will get about 1 – 1.5 litres of stock.
- I wrote about their beef stock here and the vegetable version here.
Steps
- Blanching the chicken
- Preparing the vegetables
- Simmering
- Sieving the broth
- Freezing and using
Equipment
- 1 chef’s knife
- 1 fry pan
- 1 large sauce pan or stock pot
- Small meshed sieve/strainer
- Paper towel (optional)
Ingredients
- ~1kg of the chicken frames, off cuts etc
- 2L water
- 2 celery sticks, chopped
- 2 carrots, chopped
- 1 onion, halved
- 2 garlic cloves
- 2 bay leaves
- A few parsley sprigs
- Salt to taste
- Black peppercorns (whole or ground) to taste
Blanching the chicken
This is my addition to the recipe. I blanch the chicken quickly first to remove the scum you get when you boil chicken. It reduces the fat of the finished stock too. See my method here – blanching chicken.

Much cleaner:

Preparing the vegetables
- Roughly chop the 2 celery sticks and 2 carrots and add them to the stock pot.
- Peel the onion then slice it in half.
- Splash a bit of olive oil in a fry pan and cook the inside face of onion halves until slightly charred.
- Add the now charred and softened onion halves to the stock pot.
- Add to the stock pot the:
- 2 garlic cloves
- 2 bay leaves
- parsley
- 2L of water;
- Salt and peppercorns.
- Finally, add the chicken.


Simmering
Bring to to a rolling boil and then simmer on low heat for about an hour, stirring occasionally.
Sieving the broth
- Use a small meshed sieve or strainer to remove the meat, bones and vegetables.
- If using straight away to make a meal, you can use a Gravy And Fat Separator or chill slightly and remove the fat layer as it forms with a ladle/spoon or paper towel.
- If you are not using the broth immediately (and this is my preference), use the above techniques and then freeze the broth.
Freezing and using
When I come to use the frozen broth I scrape off the fat layer, if any, with a spoon. Then I let the stock defrost.

Enjoy,
PK
Here are some more Italian cooking secrets and uses for stock :
Written by
·
-
How To Make Boiled Eggs With A Steamer
I recently stumbled across this method of making boiled eggs when searching online for egg recipes.
It is pretty handy if you have to make soft boiled and hard boiled eggs for the same meal. If everyone wants the same amount of ‘doneness’ I would recommend using KT’s Dippy Eggs and Soldiers or PK’s Perfect Hard Boiled Eggs instead.
Simply add water to your strainer and bring to a medium boil. You will have to experiment with your steamer, the amount of water and heat to work out the exact times to get different yolk hardness.


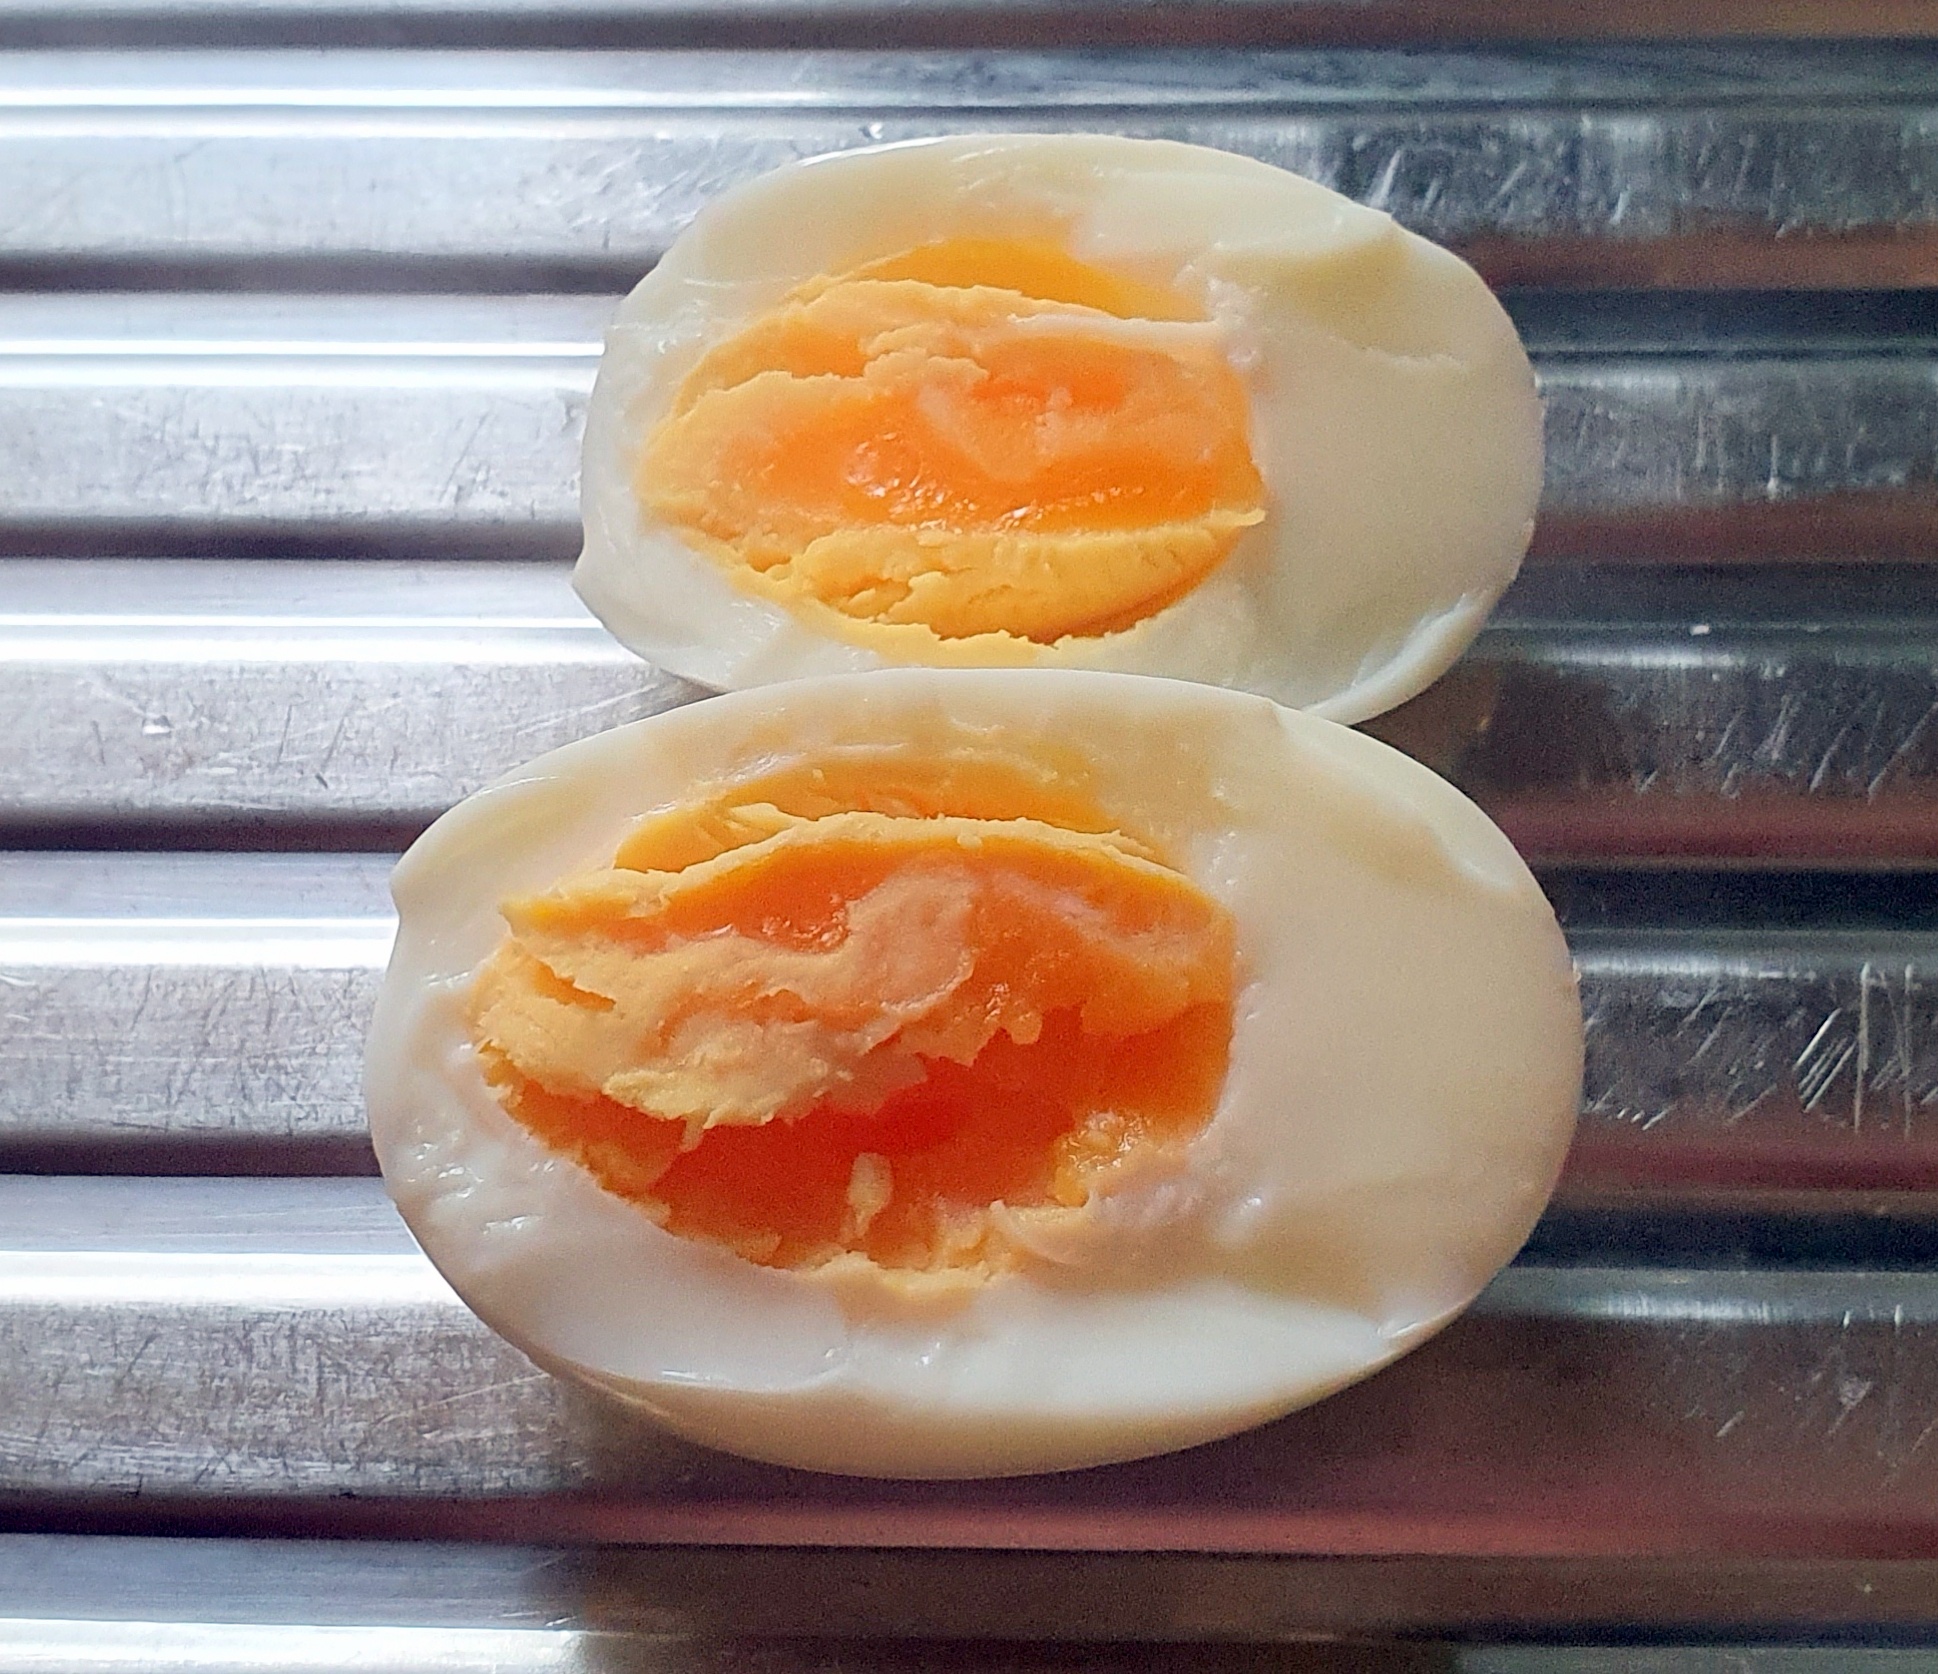
Last time, I used a medium boil for 6 minutes to get the one egg perfect for dipping soldiers into:

I left one egg in for an additional 5 minutes to get a hard boiled egg.

Enjoy,
PK
Here are some more eggs recipies and tasting plate ideas:
Written by
·
-
Refillable Cooking Oil Sprayers
I recently bought a refillable cooking oil sprayer.
Yes it is made out of plastic. Yes we all hate plastic but please hear me out. 🙂I bought it because:
- I get to control the quality and source of the oil
- My one off hard plastic cost has reduced my consumption of soft plastic, metals, propellants and food transport miles going forward
- I buy my cooking oil in bulk metal cans (rather than lots of plastic or glass containers) to further reduce my use of soft plastics and other precious resources;
- My costs for cooking oil are therefore also reduced.
The questions I think we should ask of our kitchen kit is:
- Does it work as intended?
- Is it really necessary?
- Is it easy to clean?
What does it do?
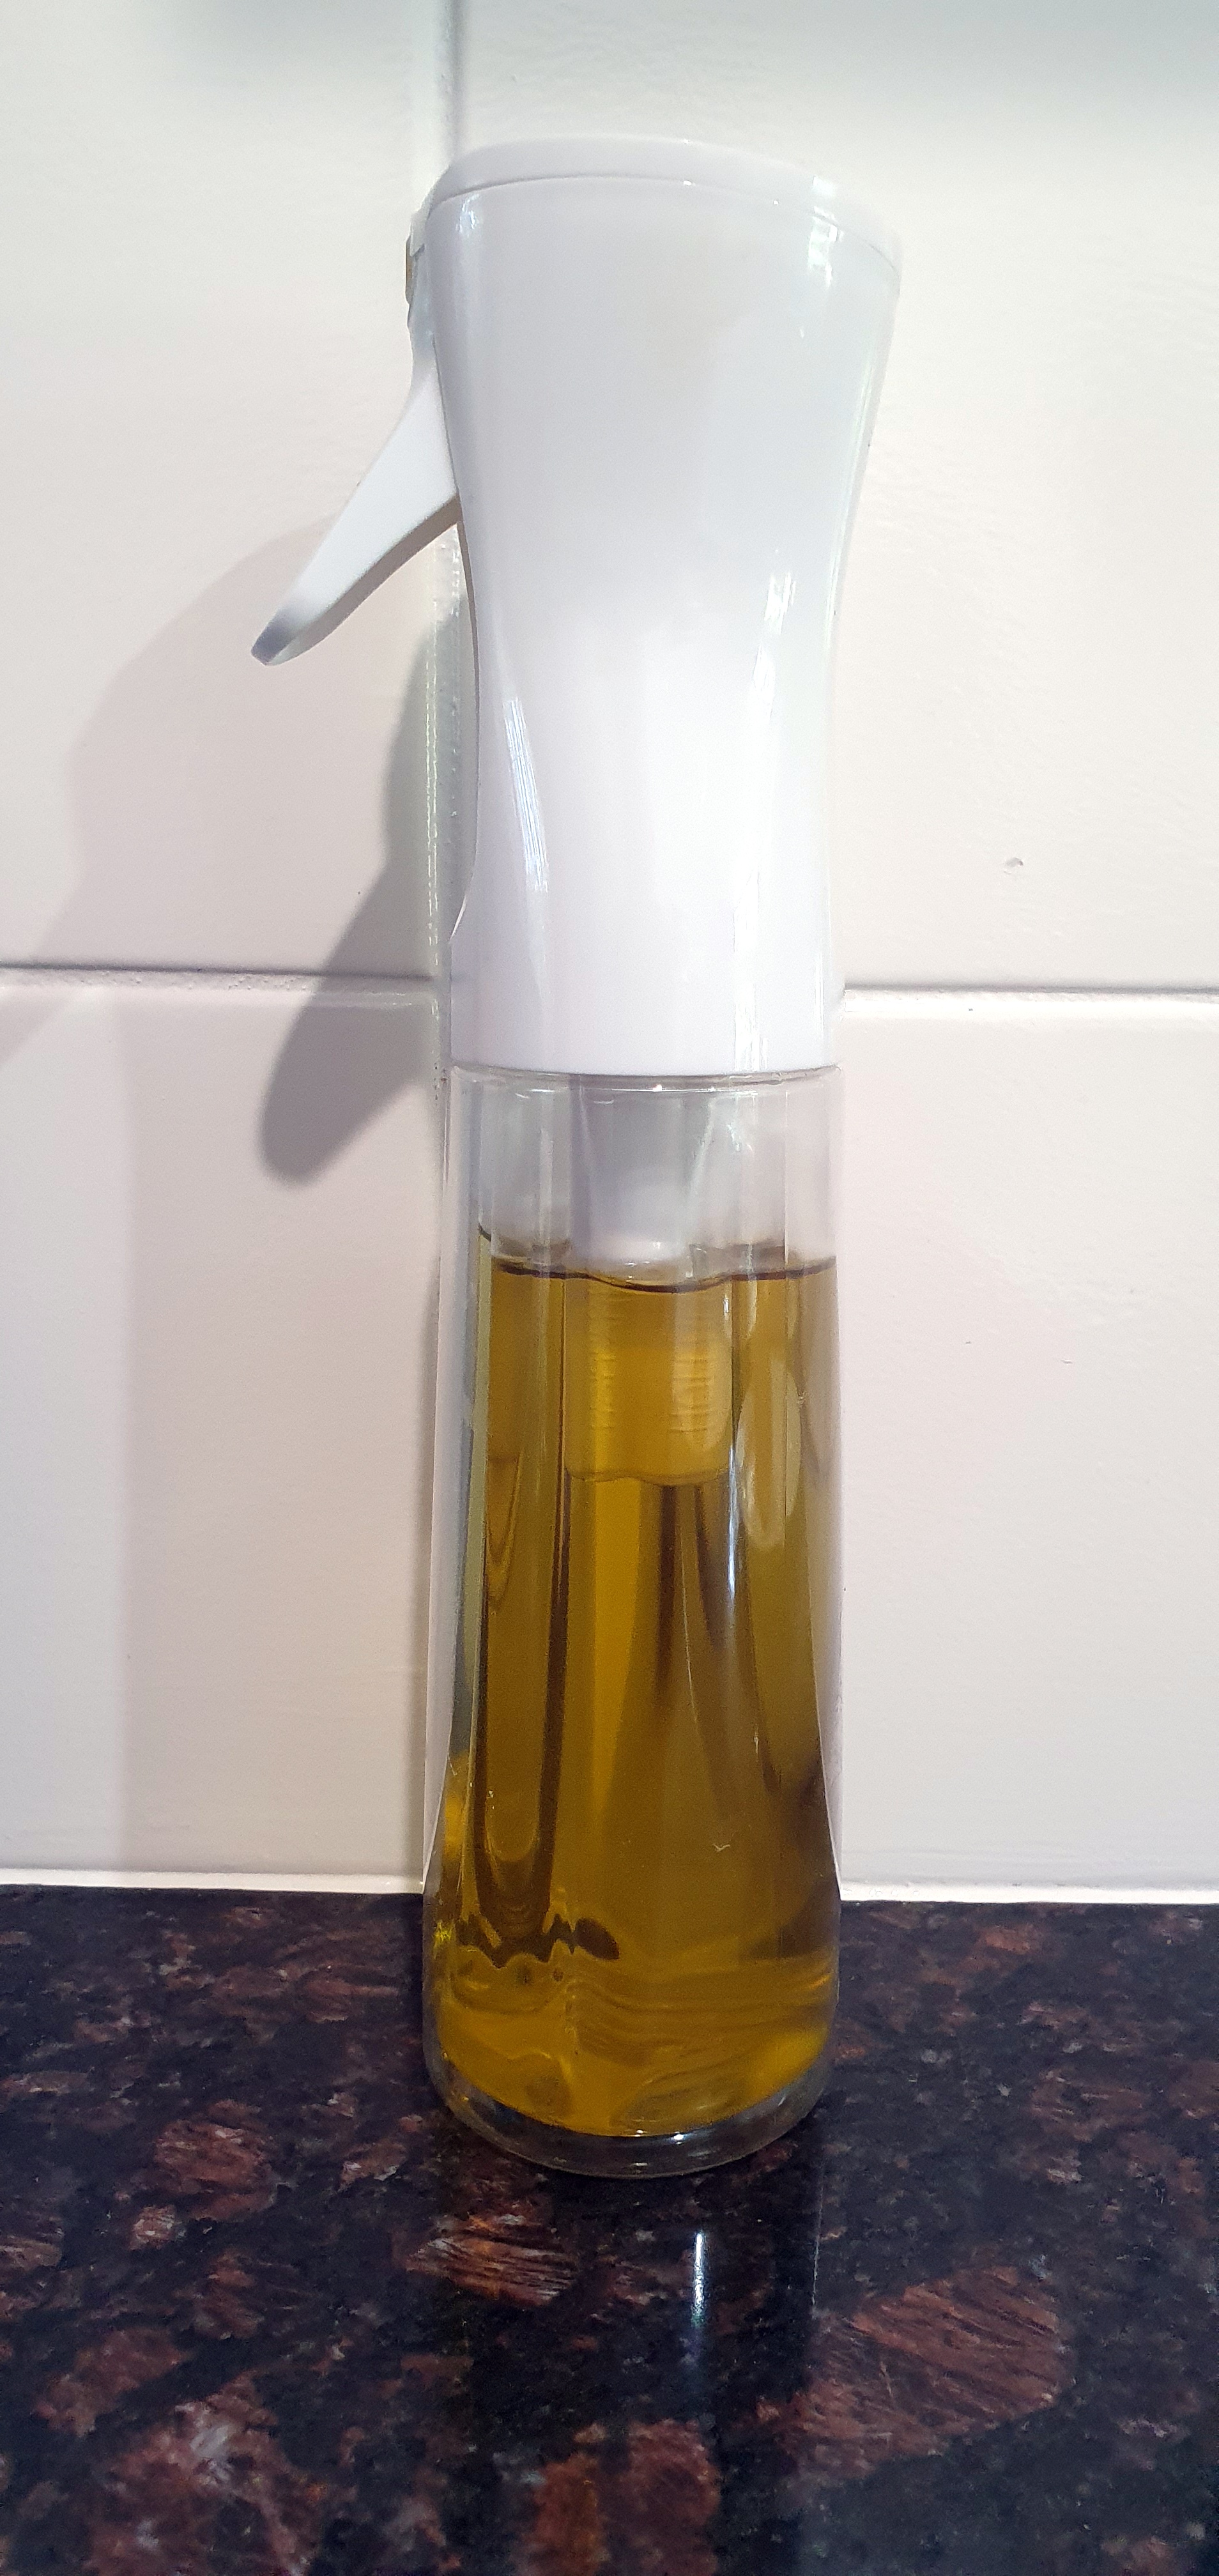
The oil sprayer (mine is made by Decor) sprays a fine mist of cooking oil. Spraying oil is perfect for lightly coating cooking surfaces and food.

Easily refilled with your choice of oil:

The one I bought sprays a list mist of oil with every pump and rarely needs maintenance/cleaning. The pump mechanism and the bottle itself feel well made.
I think it is a neat bit of kitchen kit and am very happy that it reduces my dependance on disposal spray cans.
Enjoy,
PK
Here are some more of my reviews and kitchen kit:
Written by
·
-
Sunbeam Pie Maker Review
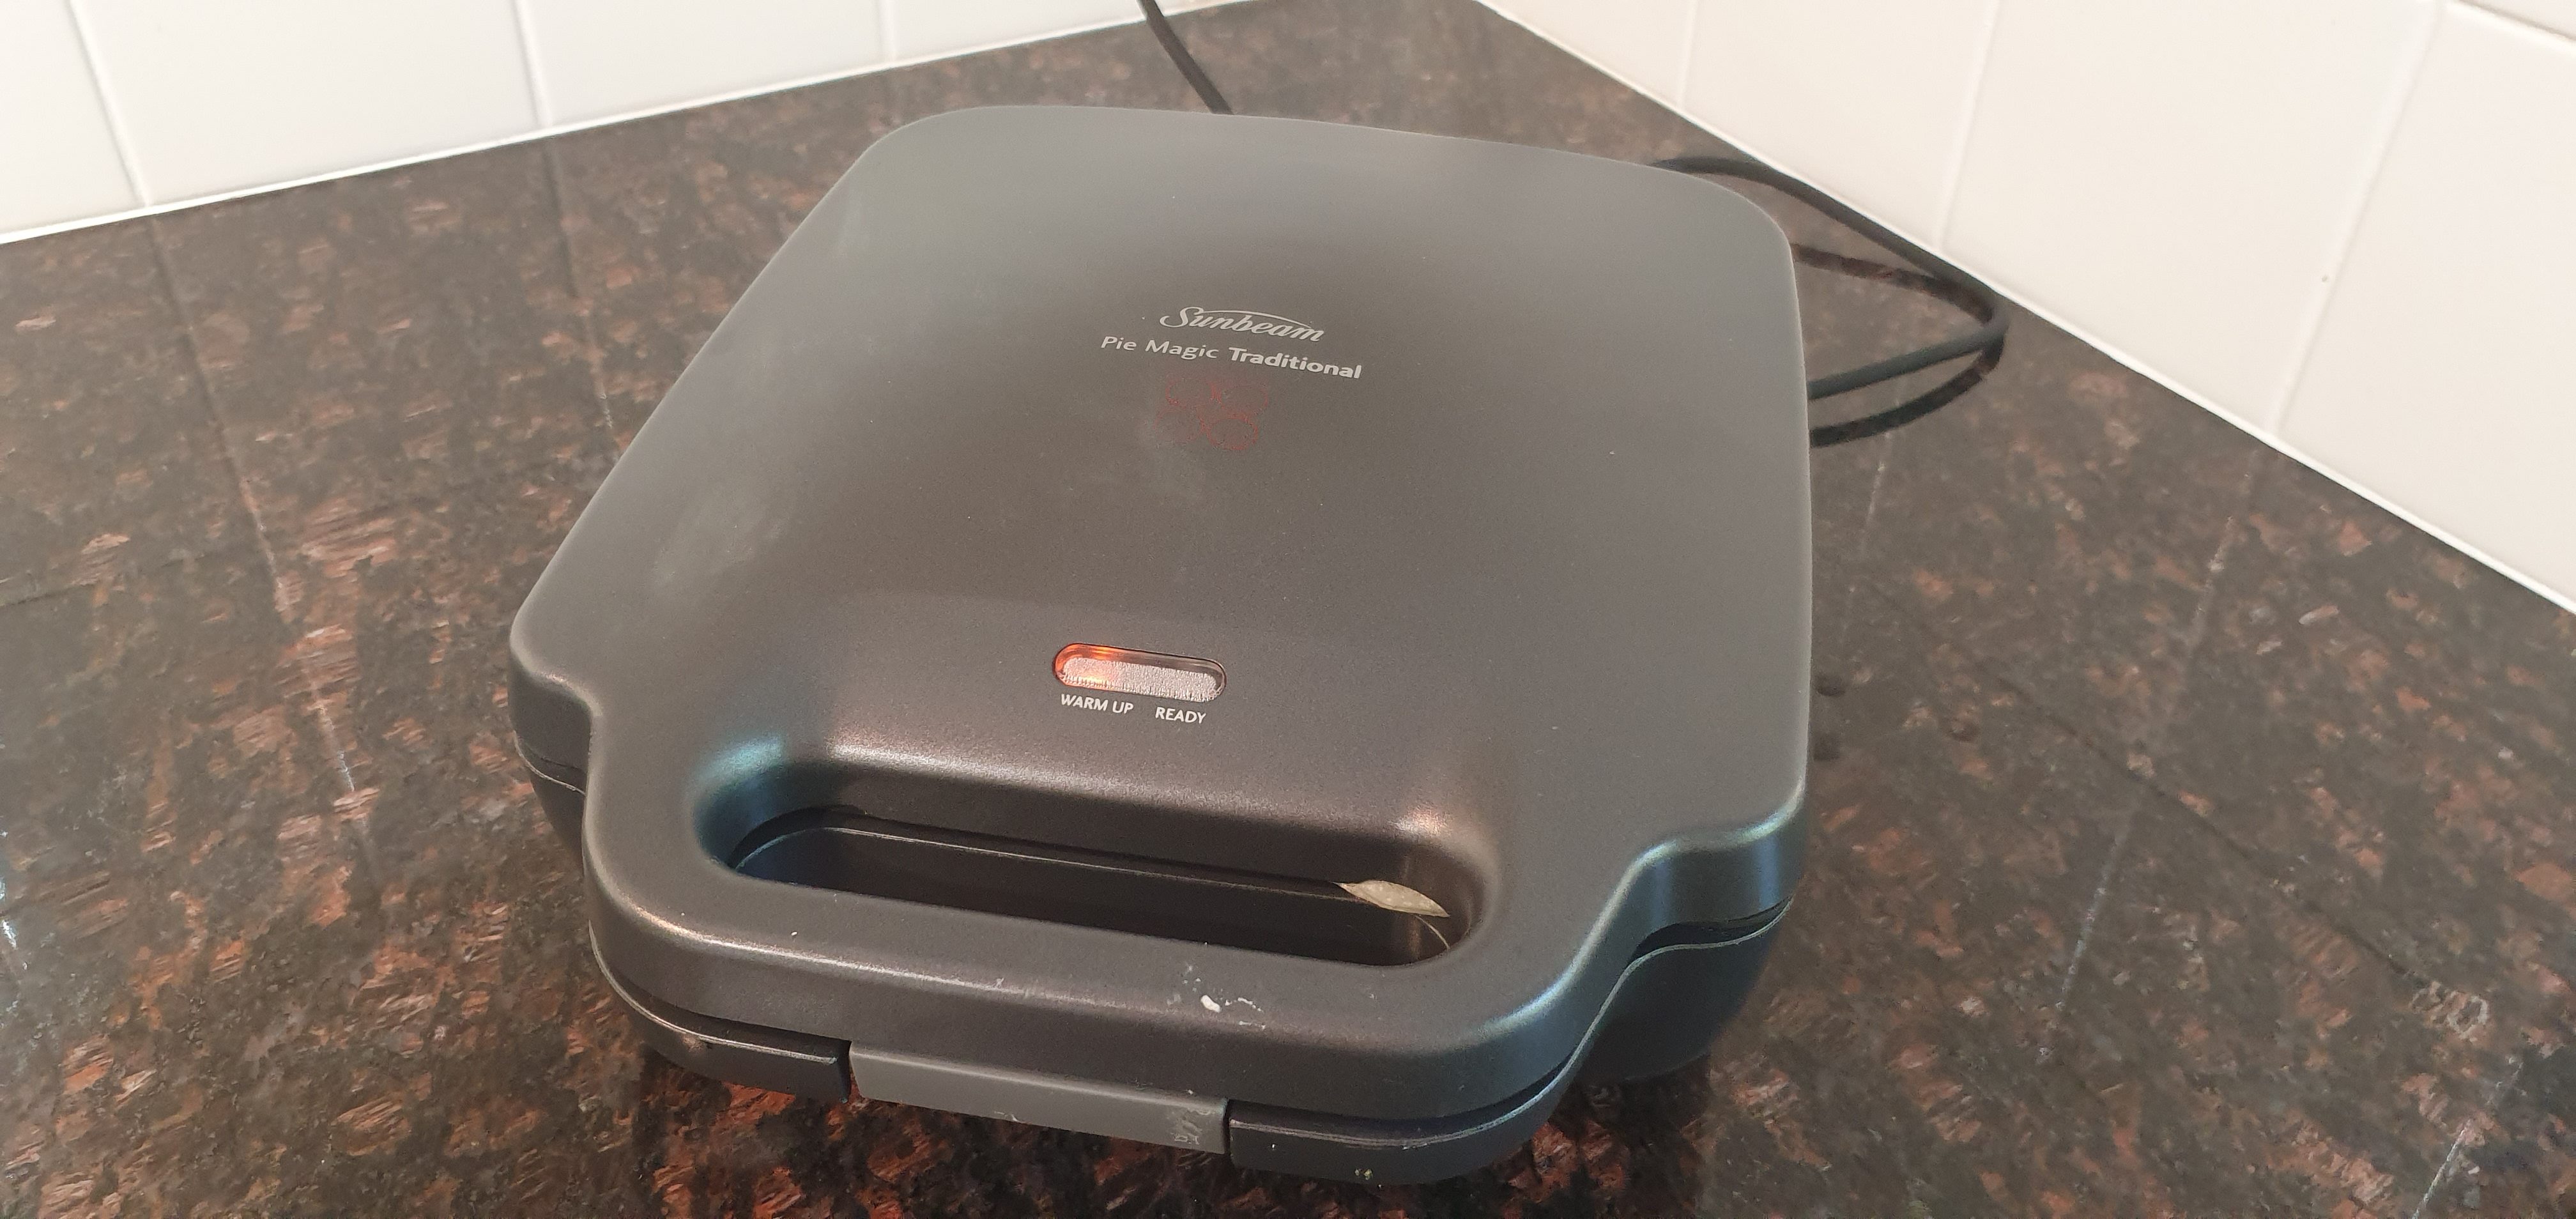
I have been using my Sunbeam Pie Maker now for almost a year and a half! It makes tasty home made pies with healthy ingredients and has shown no sign of any issues
Note: This is not a paid post and is just how I find the equipment fares for me personally.
Product Review
Sunbeam Pie Maker 4 cup
Unboxing is always fun:


Everything feels well made and the instructions are clear.
There is a white cutting disc. One side make the bottom of the pies. The other the tops. I use short crust pastry for the bases and puff pastry for the tops.
Often you have to use two overlapping pieces of pastry. Just overlap the pieces and then use a bit of water to join them. It looks ugly now but after cooking it all looks seamless.


Place the bases in the unit and then add the filling.


Add the lids and close the unit. It will tell you when the pies are ready.


My Likes:
- Good looking unit in my opinion.
- Easy to clean.
- I get to choose the ingredients and lack there of of preservatives
- Less soft plastic and food miles created by the pies I eat.
- The pies freeze and reheat well so I can make them in larger batches
- Instructions come with easy recipes.
My Dislikes:
- None
My Manufacturer Feedback:
- None
Final Thoughts:
I love this unit and I imagine I would like other pie makers too. Avoiding soft plastics and controlling ingredients is important to me.
Enjoy,
PK
YOU MIGHT ALSO LIKE
BROWSE ALL REVIEWS
MORE KITCHEN KIT
SHOW ME JUST EQUIPMENT REVIEWS
Please consider subscribing to a weekly email summary of our posts or check us out on Facebook @growitcatchitcookit.
[mc4wp_form id=”15771″]
Written by
·
-
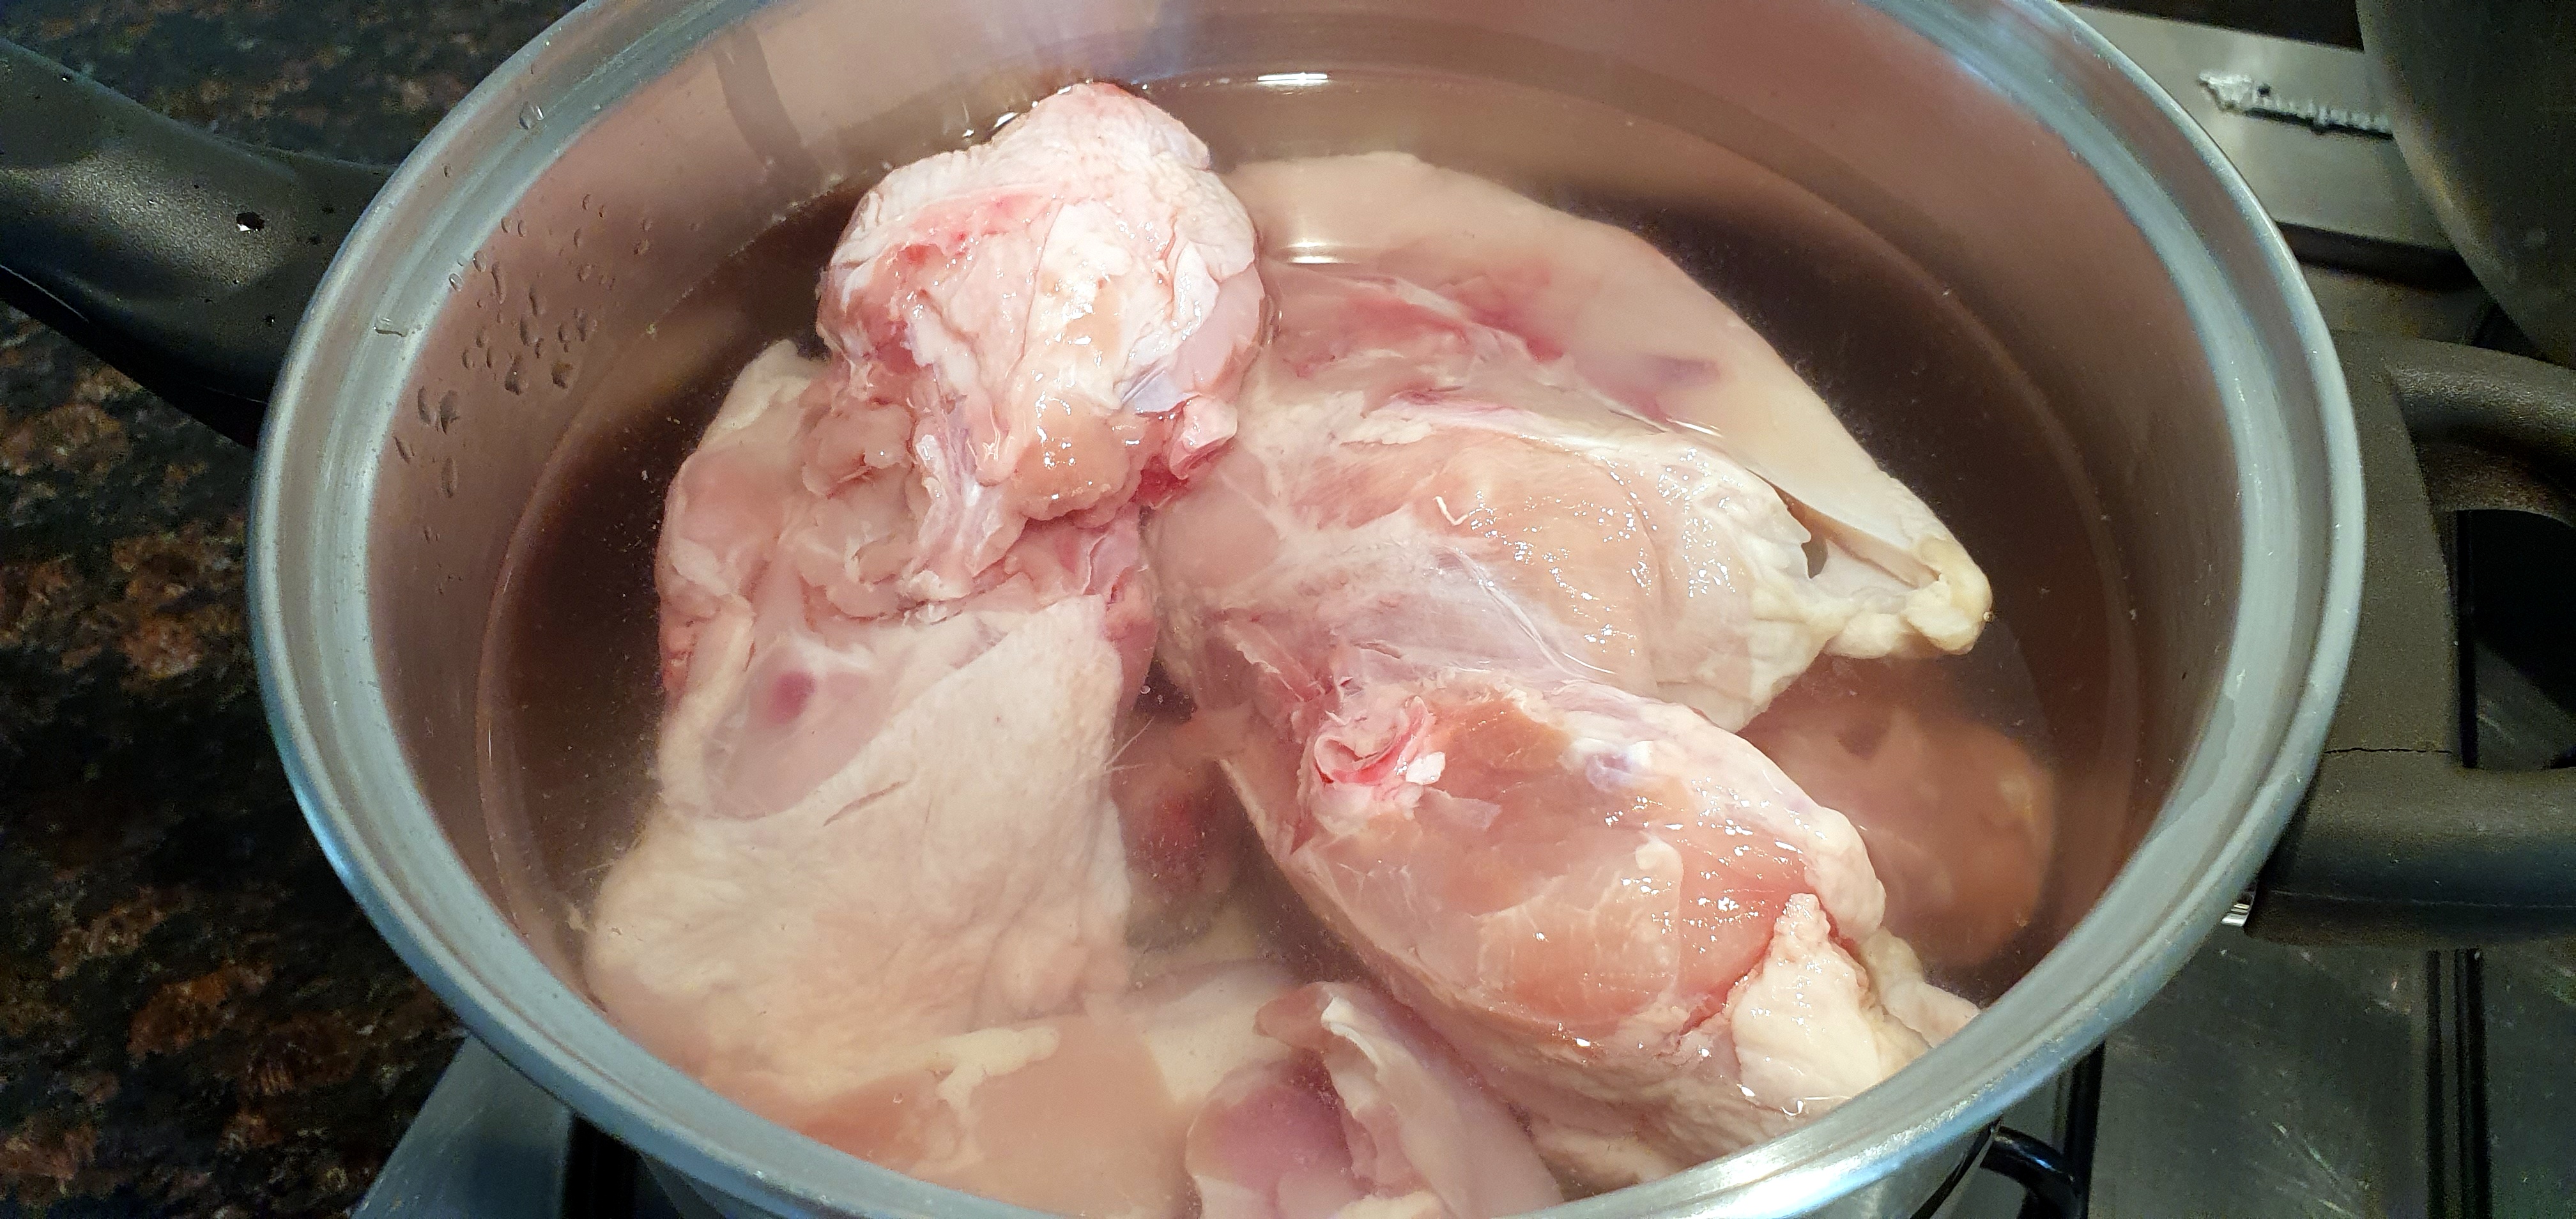
Stock Tip Blanching Chicken
Blanching chicken meat before using it to make stock or broth removes fat and other impurities. This results in a clearer healthier broth!
You aren’t cooking the chicken, just preparing/cleaning it.
Simply
Add the chicken meat, frames etc into a pot of cold water.
Bring the water to a boil and then remove the scum by pouring it through a sieve. I even give the meat a quick rinse.
So instead of your stock looking like the picture above when you start making it, you get this:

Enjoy,
PK
Here are some more stock and chicken recipes:
Written by
·
-
Italian Beef Stock: Brodo Di Manzo
The amazing Italian cooking website giallo zafferano presents this traditional Italian beef broth just perfectly.
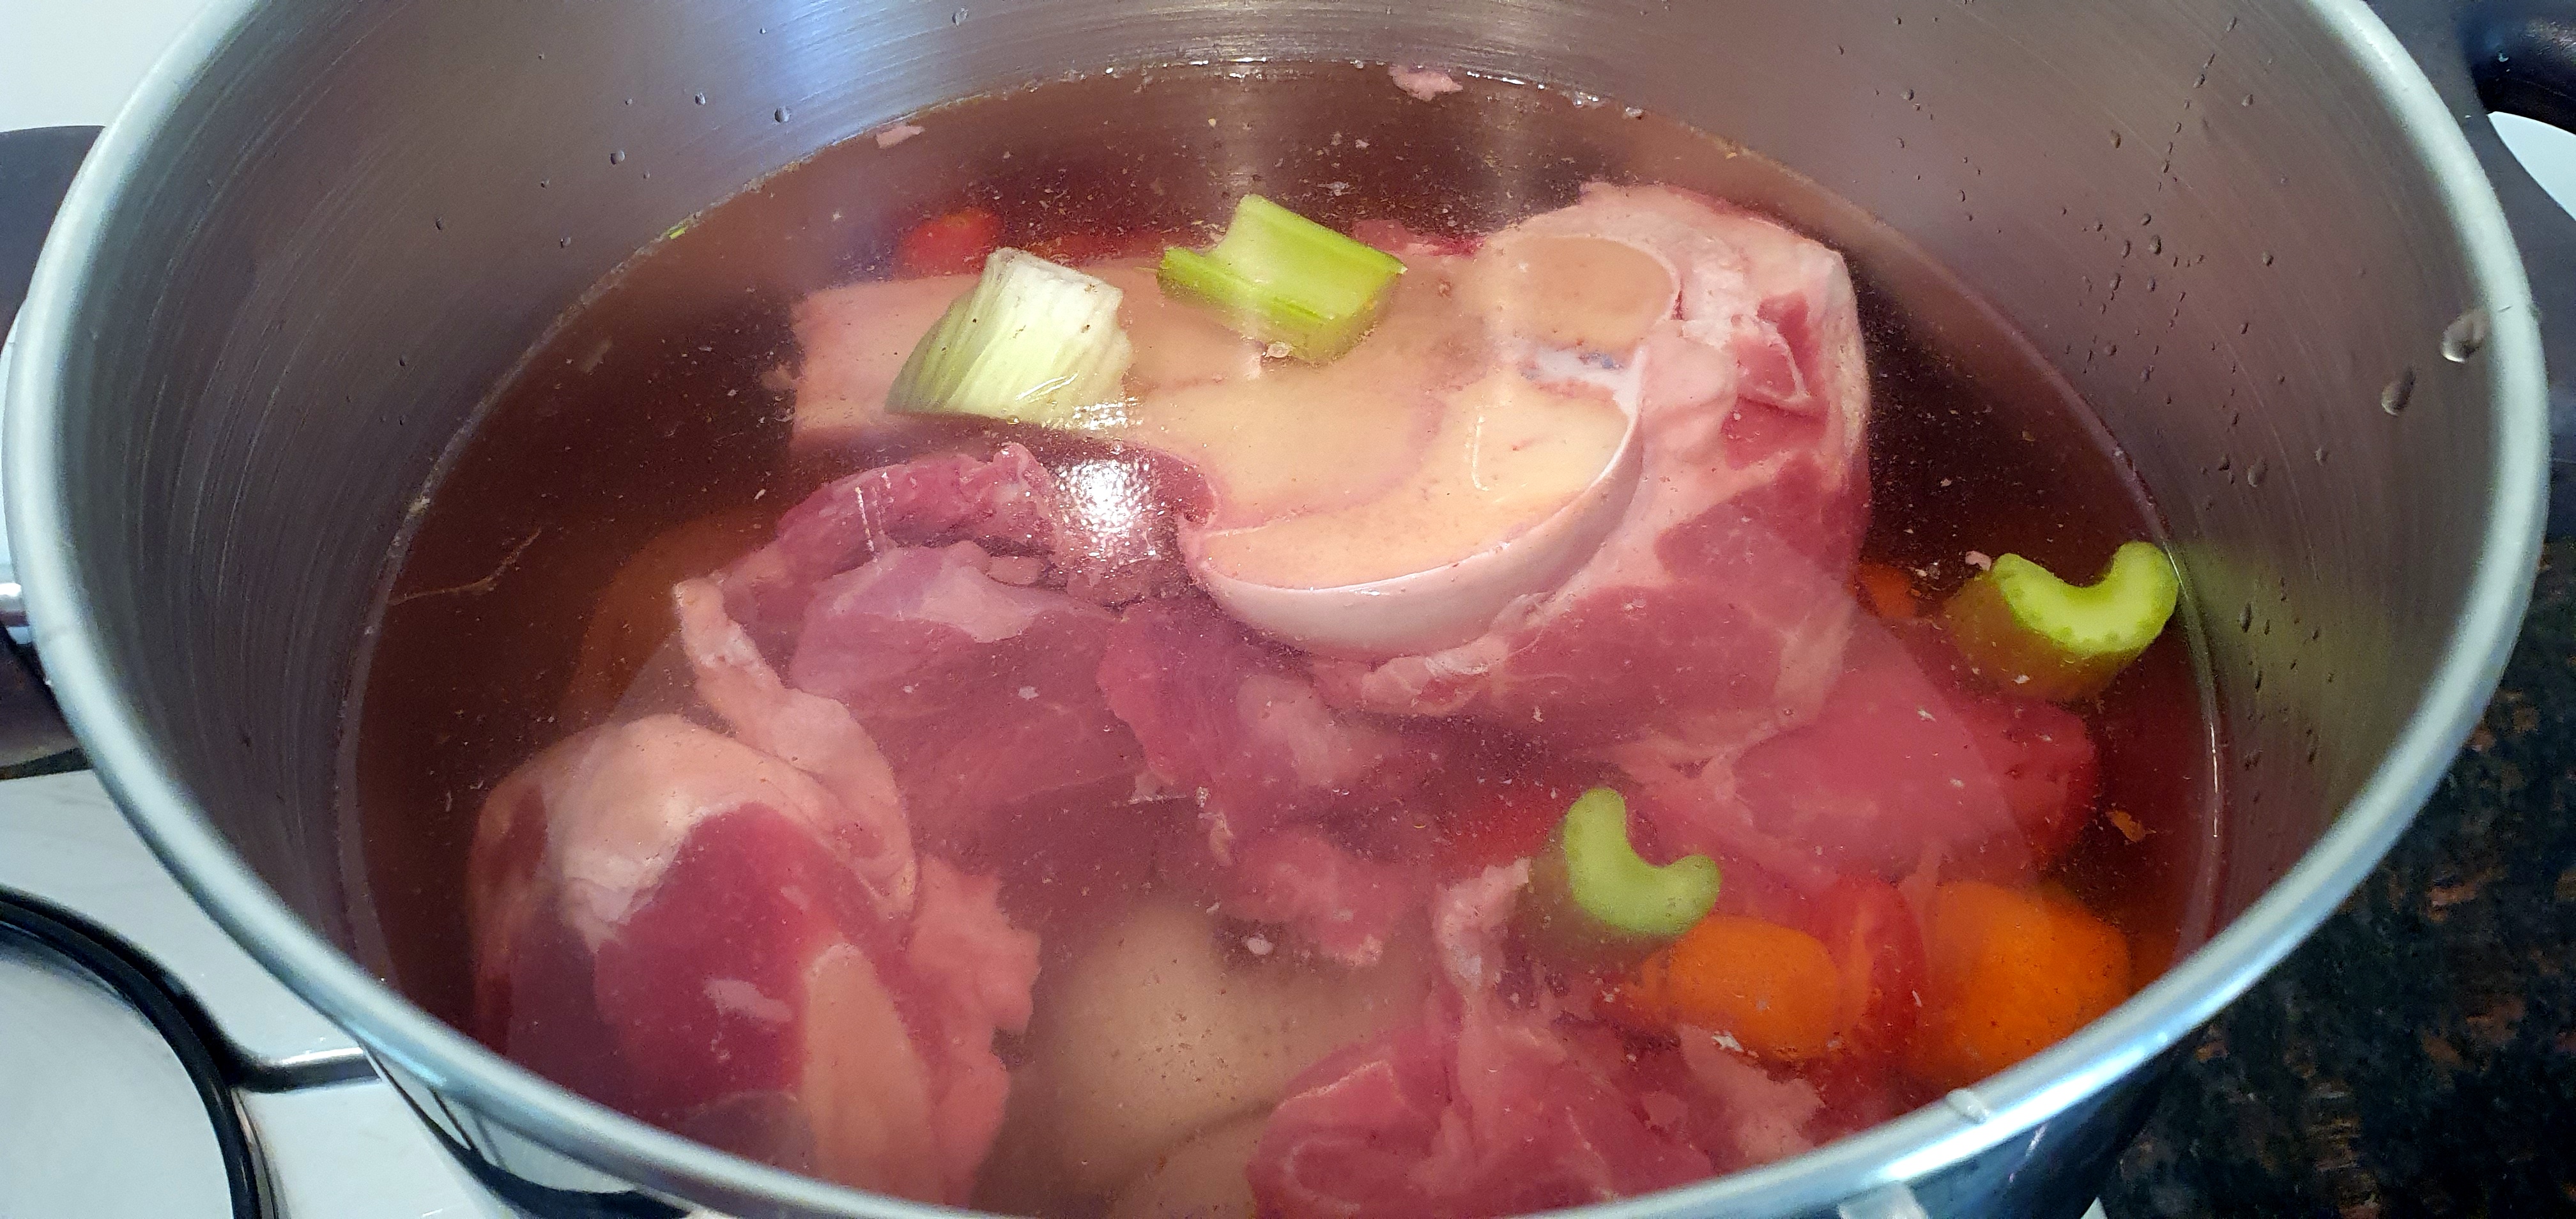
I made it the other day and share with you the steps below along with a few tricks to remove most of the fat. The result is a lovely clear broth that tastes and smells amazing!
Note:
- Takes about 20 minutes to prepare and 3 hours to simmer.
- You will get about 1 litre of stock.
- I wrote about their chicken stock here and will post the vegetable version soon.
Steps
- Preparing the vegetables
- Adding the meat and bones
- Simmering
- Sieving the broth
- Freezing and using
Equipment
- 1 chef’s knife
- 1 fry pan
- 1 large sauce pan or stock pot
- Small meshed sieve/strainer
- Fat separator (optional)
- Paper towel (optional)
Ingredients
- ~1kg of the cheaper beef cuts
- ~400g of beef bones
- 2 celery sticks, chopped
- 2 carrots, chopped
- 1 onion, halved
- 100g tomatoes, halved
- 4L water
- A dash of olive oil
- 2 cloves
- Salt to taste
- Black peppercorns (whole or ground) to taste
Preparing the vegetables
- Roughly chop the 2 celery sticks and 2 carrots and add them to the stock pot.
- Cut the 100g of fresh tomatoes in half and add them too.
- Peel the onion then slice it in half.
- Splash a bit of olive oil in a fry pan and cook the onion until it is slightly charred.
- Add the now charred and softened onion halves to the stock pot.
- Add the 2 cloves and then pepper to taste.

Adding the meat and the bones
- Add the ~1kg beef and the ~400g of beef bones to the stock pot.
- Add 4L of water to the stock pot.
- Bring to the boil and then reduce the heat.


Simmering
Simmer on very low heat for about 3 hours or until there is about 1L of liquid remaining. Stir occasionally.
Sieving the broth
- Use a small meshed sieve or strainer to remove the meat, bones and vegetables.
- If using straight away to make a meal, you can use a Gravy And Fat Separator or chill slightly and remove the fat layer as it forms with a ladle/spoon or paper towel.
- If you are not using the broth immediately (and this is my preference), use the above techniques and then freeze the broth.


Freezing and using
When I come to use the frozen broth I do this:
- Scrape off the fat layer with a spoon.
- Let it defrost slowly, you can use a spoon or paper towel to absorb even more fat.

Looking clean:


Enjoy,
PK
Here are some more Italian cooking secrets and uses for stock :
Written by
·
-

How To Steam And Pickle Artichoke Hearts
Artichokes have a mild earthy taste and intriguing texture that pairs well with meat, cheese and crispy vegetables. They are a common occurrence on anitpasti tasting plates and pizza.
My preferred method of preparing and preserving artichokes is to steam them and then drowning them in white wine vinegar or apple cider vinegar.
Steaming the artichokes
I take each artichoke, they are beautiful to look at aren’t they, remove the stem and chop the top off.

I then steam them with water that has a good slug of lemon juice in it for 30 – 40 minutes. The outer leaves should pull off easily at this stage. Prolong the process if not.

Looking good:

I then remove the outer leaves one by one until I get to the soft tender heart.
The inner heart, is then sliced cross-wise.

Pickling and storing the artichokes
You can serve them now or pickle the hearts in a vinegar solution.
Sanitise a glass jar and lid by submersing them in boiling water. Layer the artichoke heart slices in the jar along with some black peppercorns.
Fill the jar with your favourite vinegar. Use slices of onions if need be to bulk up the jar and to keep the artichokes down in the vinegar solution.

They will last several months in the fridge but use your best judgement.
Enjoy,
PK
Here are some more posts about preserving food and antipasti:
Written by
·
-
Gravy And Fat Separator Review
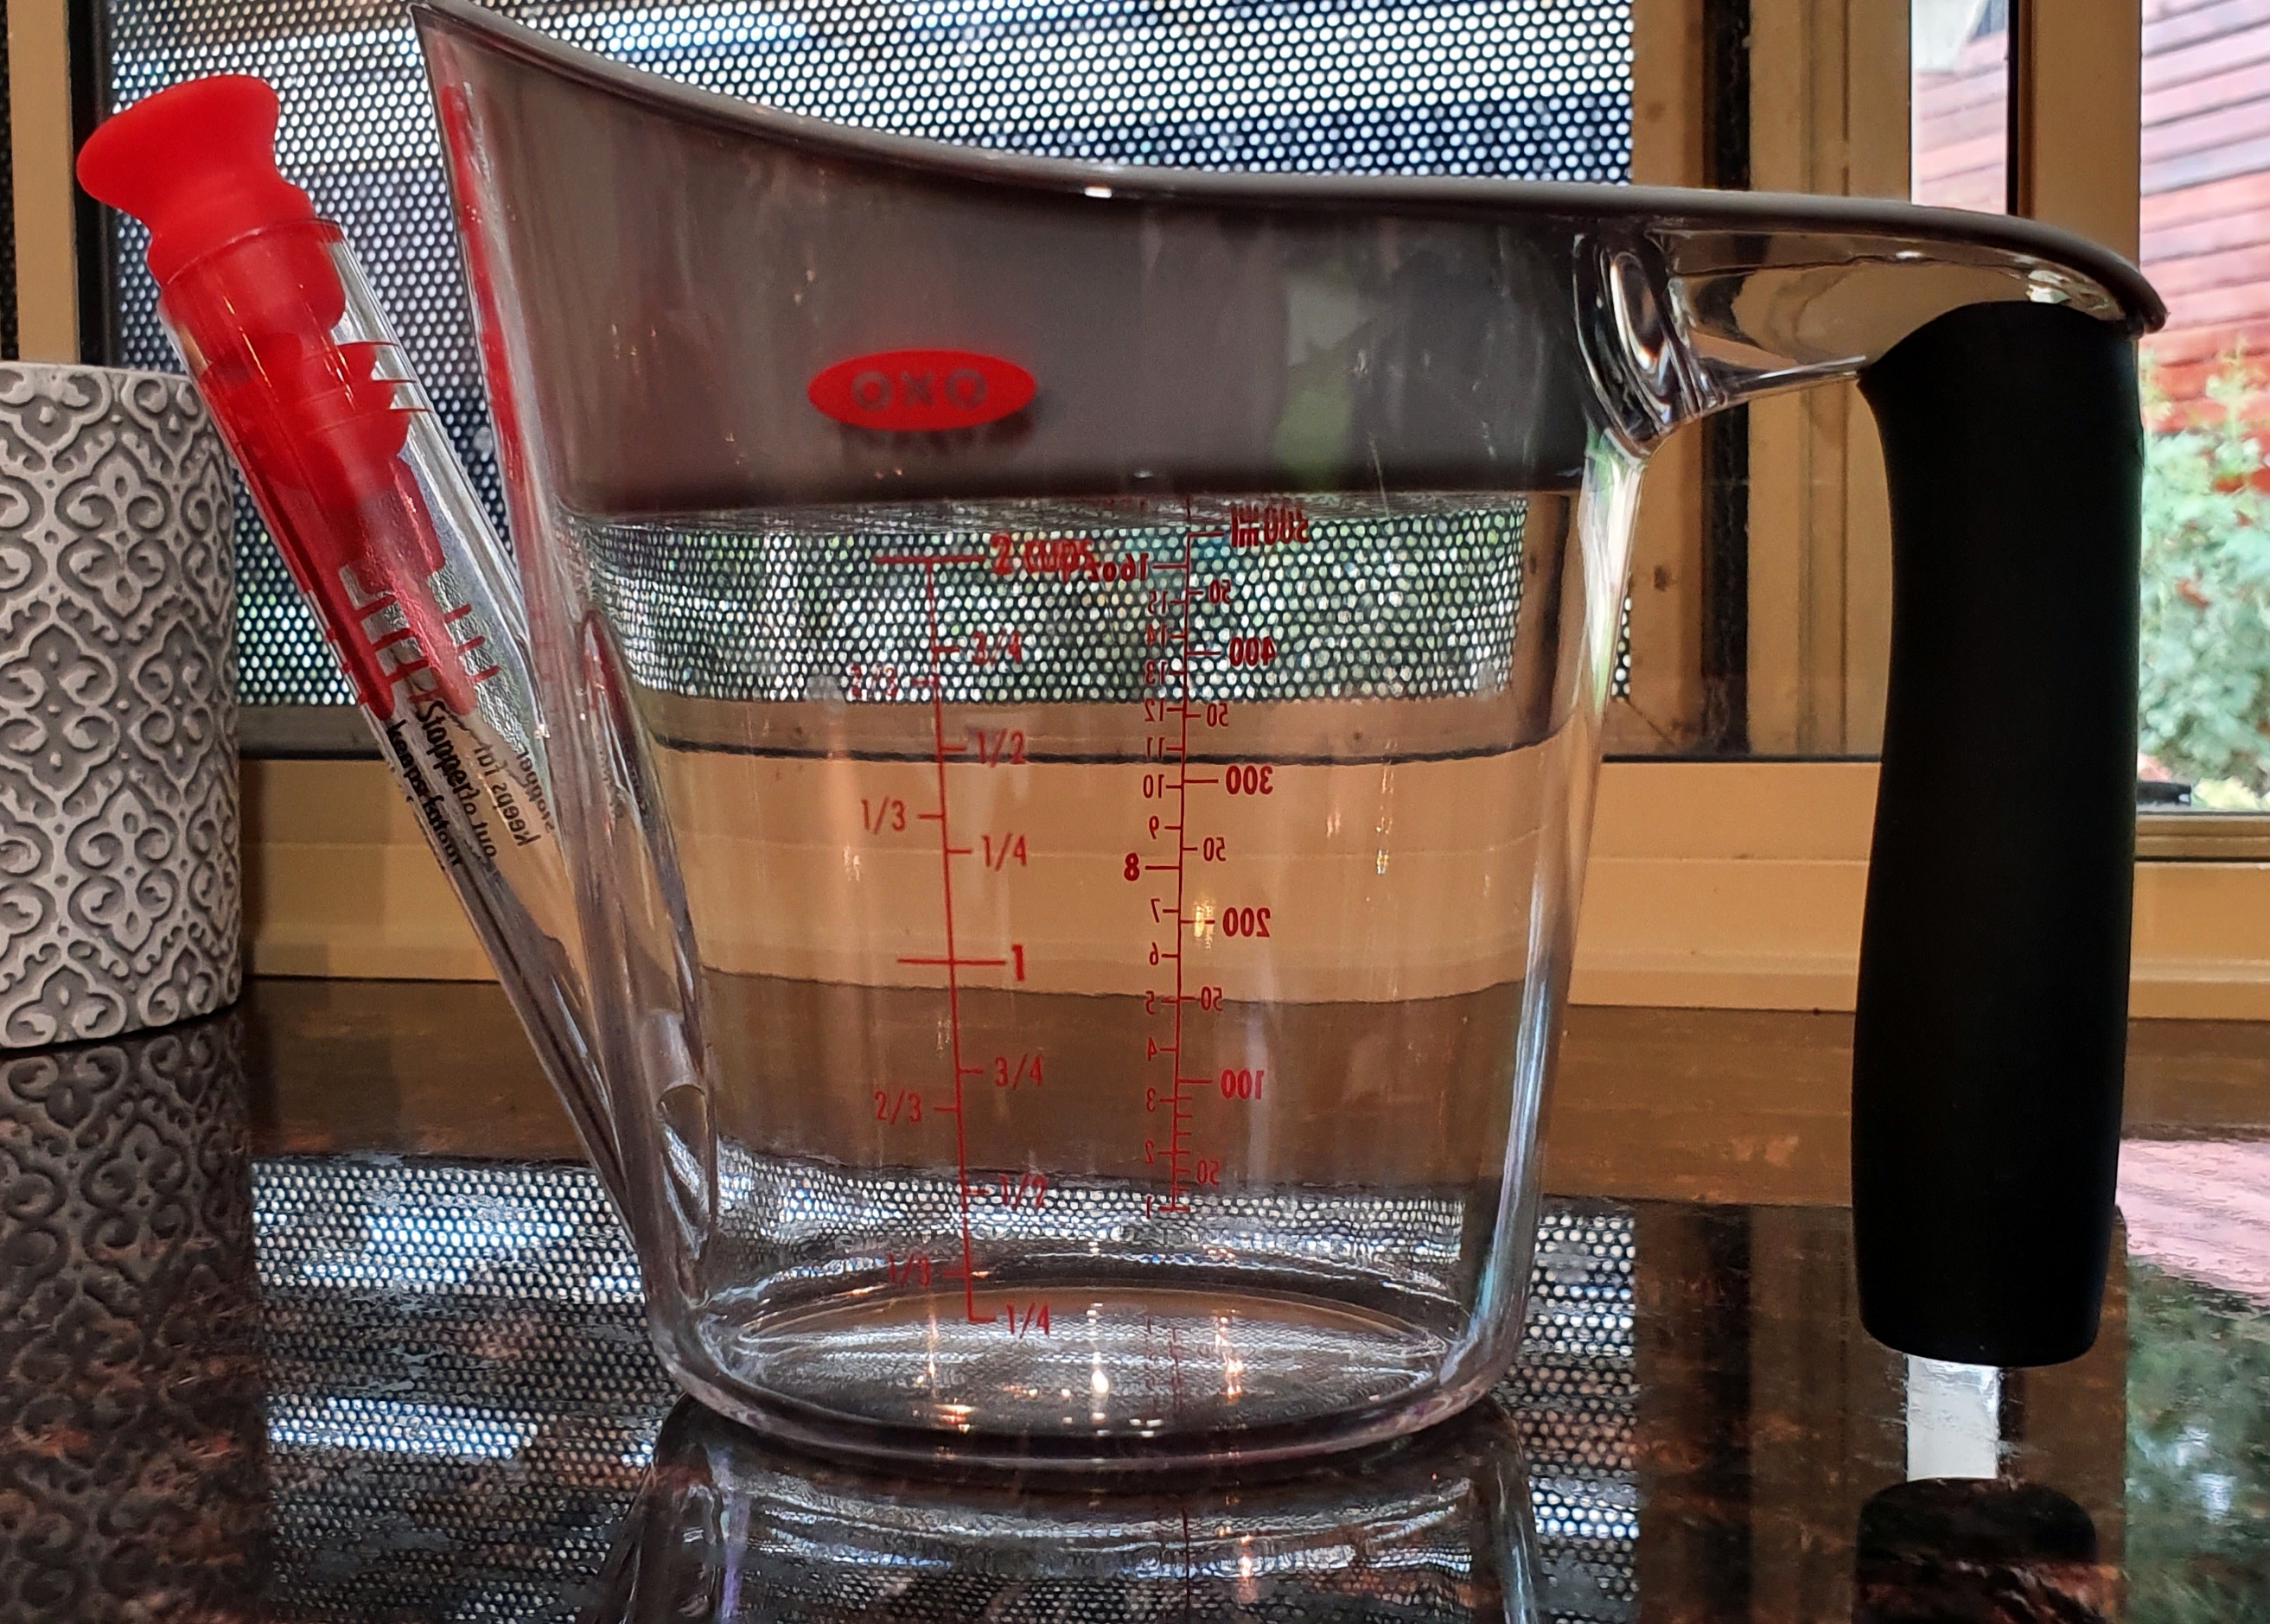
I was given this OXO fat separator recently by a friend.
I accepted it in part because I love new kitchen kit. The main reason though is that while I try not to buy unnecessary plastic, I hate plastic being thrown out or wasted even more.
The two questions I think we should ask of our kitchen kit is:
- Does it work as intended?
- Is it easy to clean?
What does it do?
The jug is designed to take the meat juices from the bottom of your roasting pan so you can make homemade gravy.

You don’t want all that fat though!

That is where the jug comes in. As you pour the meat juices out the fat is left in the jug because the opening to the spout is at the bottom.


You are left with fat free juices that you can thicken into a hearty gravy by whisking in some cornflour.

Happy sigh.

The cleanup
Cleanup is a breeze. Simply wash in warm soapy water or in the dishwasher.
Enjoy,
PK
Here are some more of my reviews and kitchen kit:
Written by
·
-
Cheese: Massdam
Massdam is a moreish Gouda cheese from Holland. It is a light well rounded all purpose cheese.

Milk
Cow
Origin
Holland
Aged
Briefly 4 – 12 weeks
Aroma
It almost reminds me a bit of dried fruit but then the milky smell takes over. It is tantalising.
Taste
I get a strong nutty flavour with a buttery finish that is sweet rather than salty. It is delightfully squeaky on the teeth.
Texture
A semi-hard pliable cheese with many large cavities.
Look
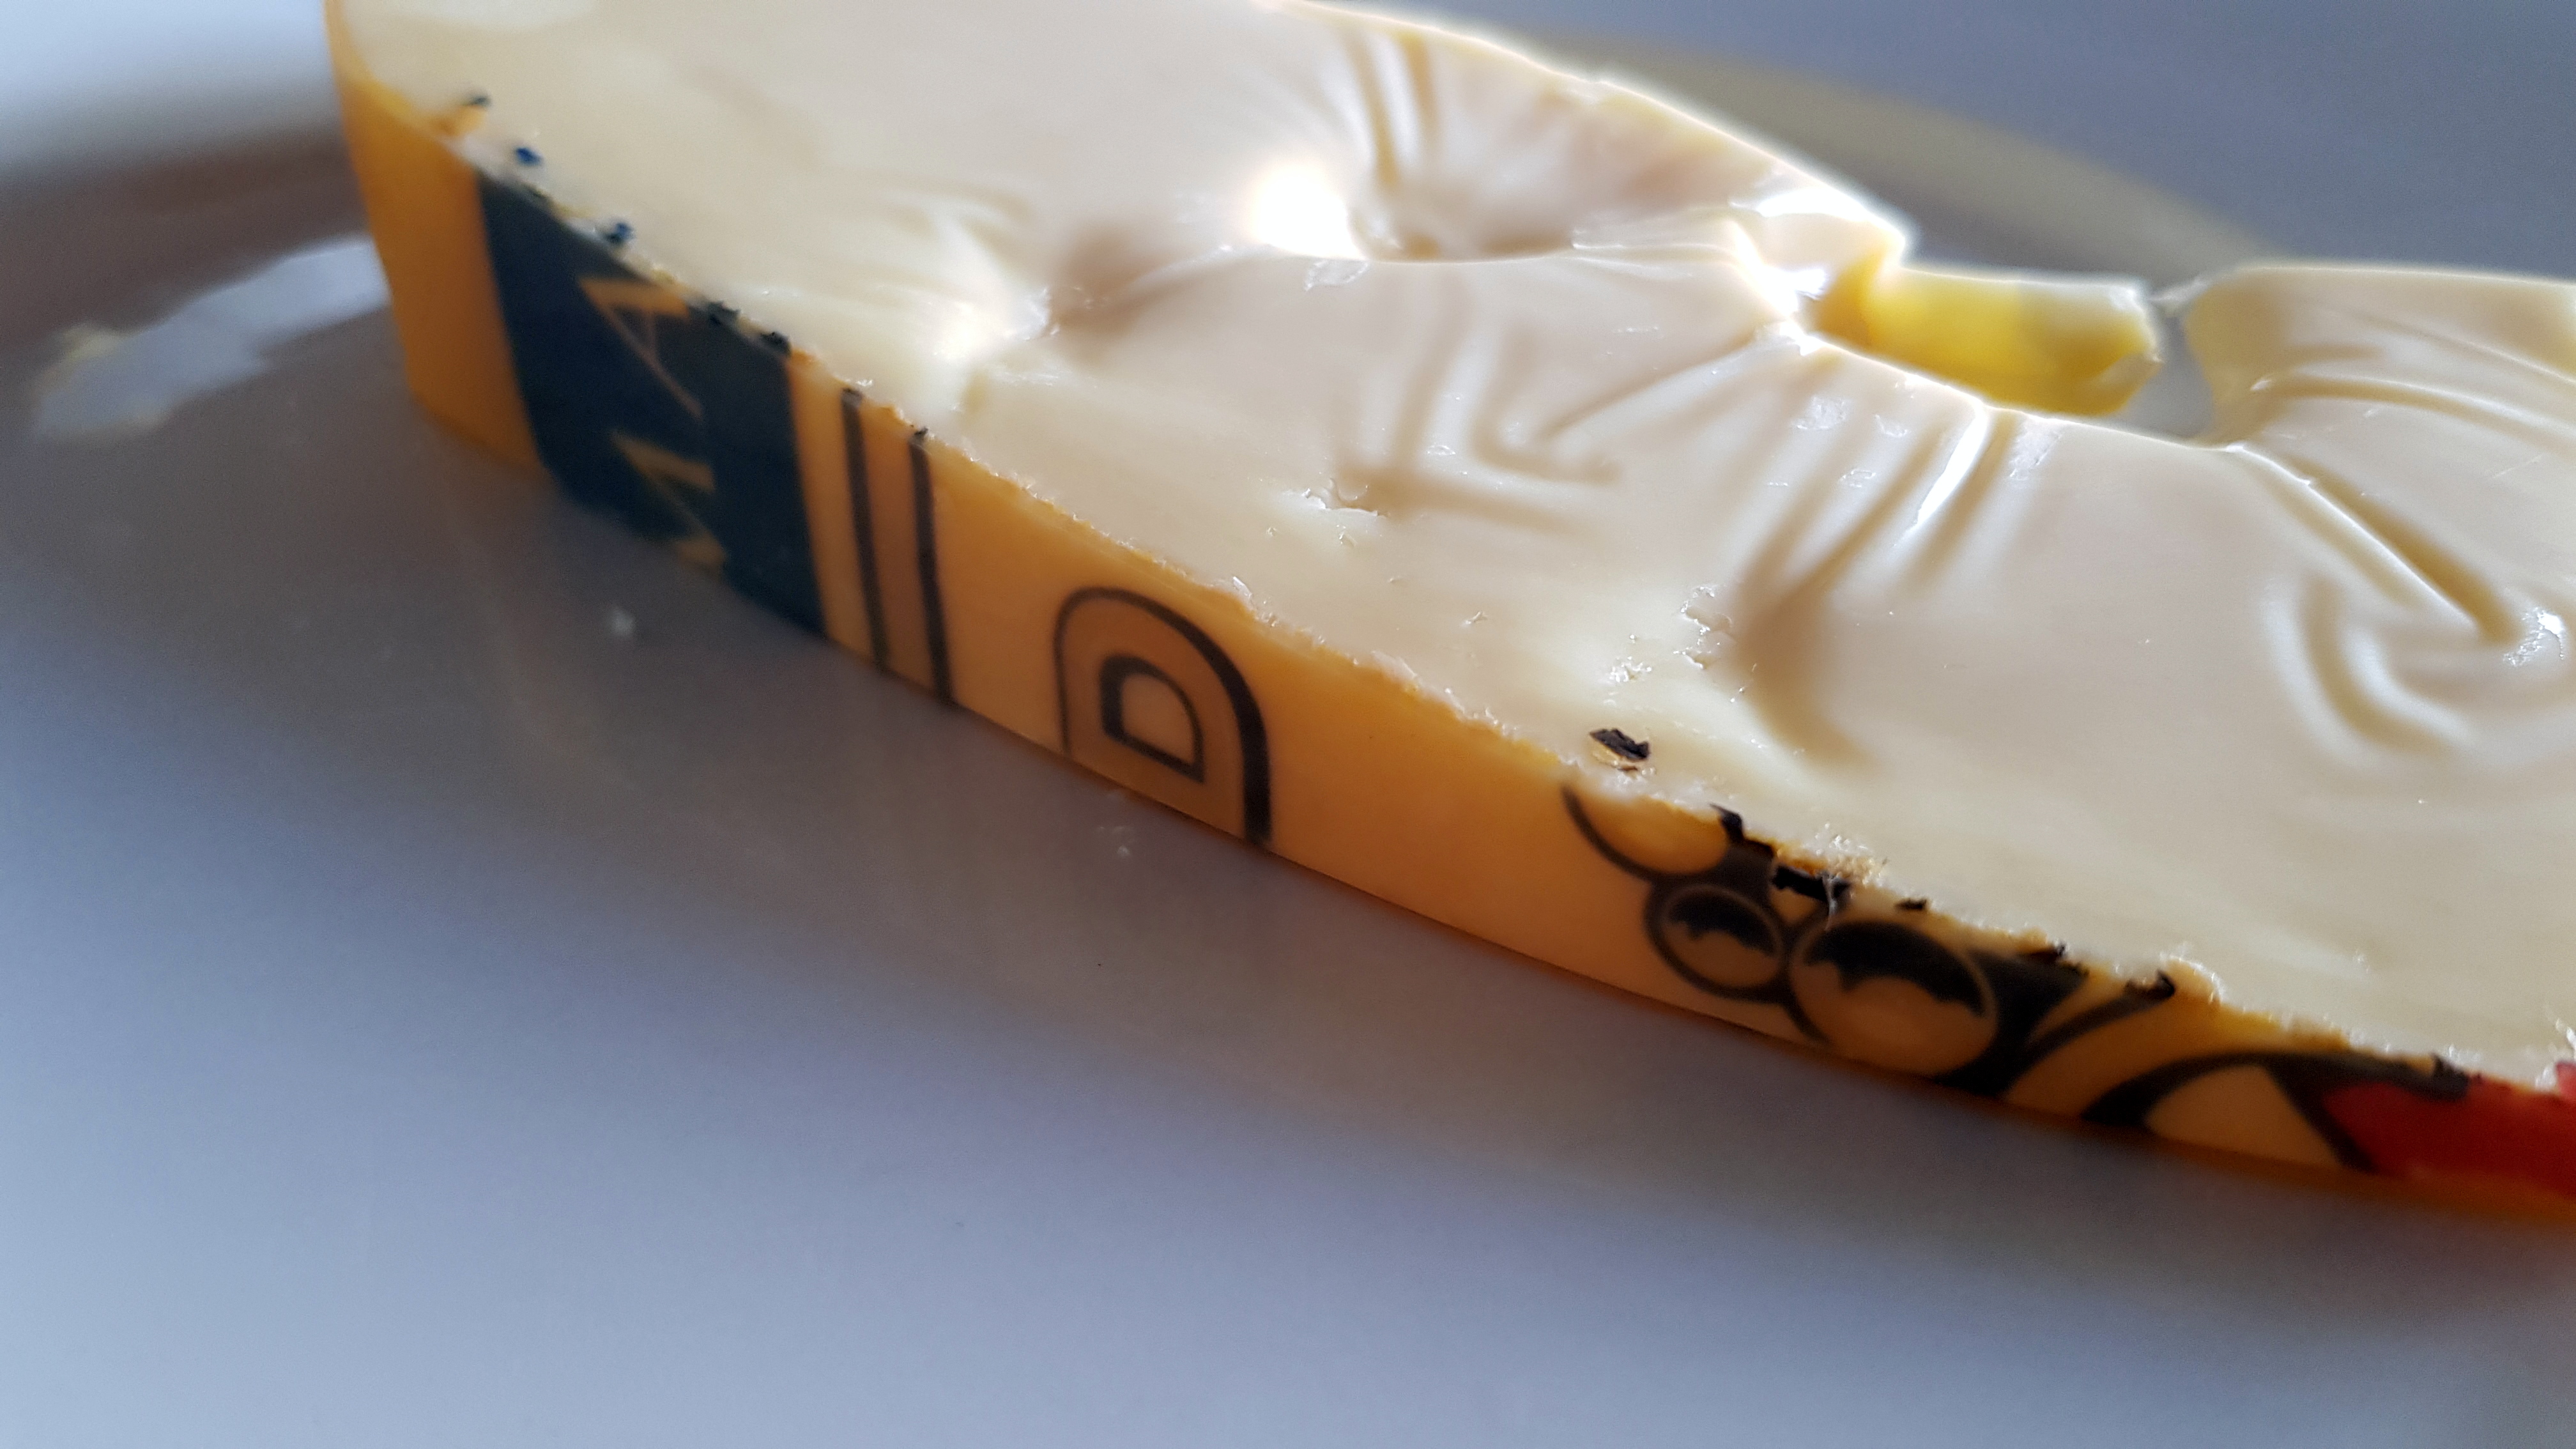
Pale yellow and waxy. The thin rind has been waxed and so it not edible. The interior has large eyes and is very open.

Manufacturing and Salting Method
Curds are pressed into cylindrical mold and excess water is removed. THe wheel is then salt brined before ageing. They are regularly turned.
Serving
It is the perfect cheese board, sandwich, salad and munch by the chunk kind of cheese. It also melts very well.

Wine
I am not a wine paring expert but the team at cheese.com say to try this with:
- White Zinfandel
- Gewurztraminer (PK here, I reckon this wine is the best)
- Chardonnay
- Merlot
- Sauvignon Blanc
- Chianti
Here are some more posts about cheese:
Written by
·