Tag: chicken bones
-
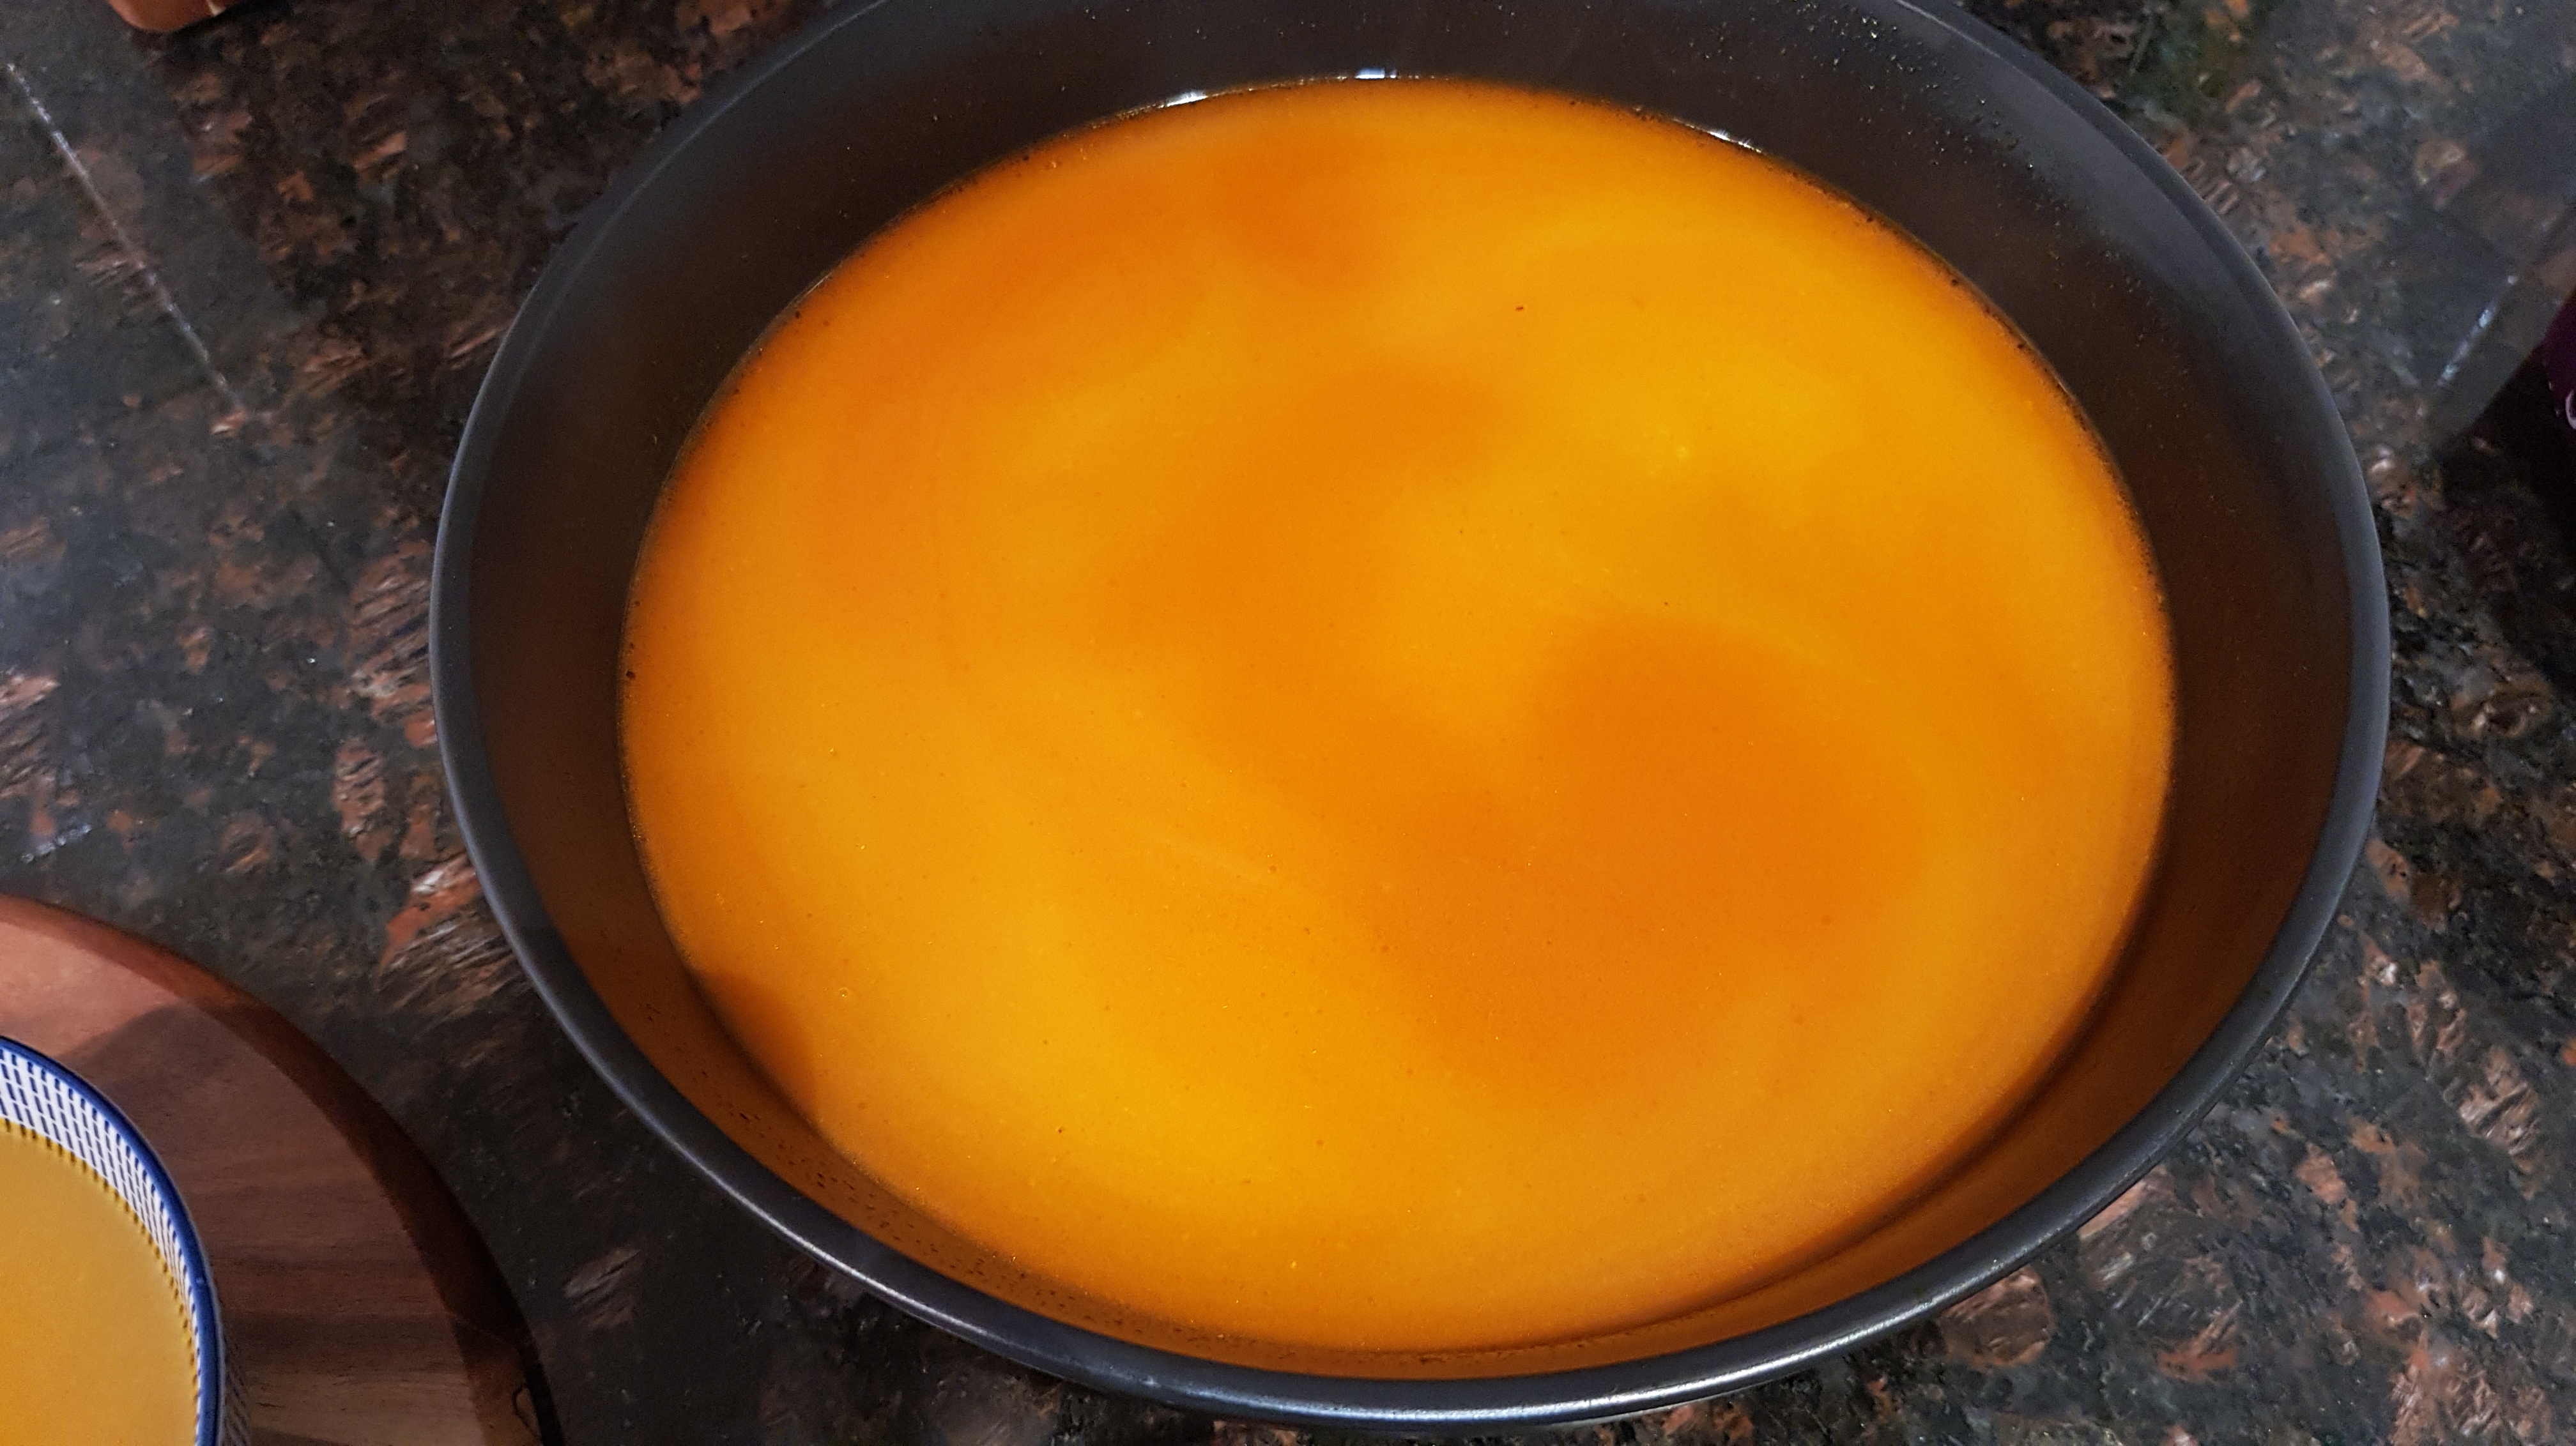
Bombay Brasserie’s Chicken Shorba Soup
Making this spicy Indian chicken soup was a labour of love. It was however very worth the effort.
The recipe comes from an collection called The Bombay Brasserie Cookbook. It tastes and smells amazing with a hearty but flavoursome kick to it.
I love the colours of the ingredients and also that it uses chicken frames to get the base flavour. Talk about thrifty!
From this.

To this heavenly result.

Steps
- Boiling the chicken frames
- Frying the ingredients for half an hour
- Simmering for 1 hour
- Thickening and straining the soup
- Serving
Ingredients
Halved from original recipe.
- 2 chicken frames
- a good slug of olive oil
- 1 brown onion, sliced
- 2 large tomatoes, diced
- 1/2 cup Greek yogurt
- 1 tsp minced ginger
- 6 garlic cloves, diced
- 3 small green chilies
- 2 sprigs coriander
- 1 sprig fresh mint
- 1/2 tsp coriander seeds
- 1/2 Tbsp Garam masala
- 1/2 Tbsp ground turmeric
- 1/2 tsp ground cumin
- 1 tsp Kashmiri chili powder
- table salt, to taste
- 2.5L water
- 1/2 Tbsp gram flour
- 1/2 tsp cumin seeds
Equipment
- 1 chef’s knife
- 1 chopping board
- 1 wooden spoon
- 1 saucepan
- 1 stockpot
- 1 sieve or fine strainer
Boiling the chicken frames
- Bring a sauce pan of water to the boil.
- Add your chopped up chicken frames.
- After a few minutes drain the water.

Frying the ingredients for half an hour
- Put a good slug of olive oil into your stockpot on medium heat.
- Add the 1 brown onion and fry until golden and soft.
- Add the:
- 1 brown onion
- 2 large tomatoes
- 1/2 cup Greek yogurt
- 1 tsp minced ginger
- 5 of the garlic cloves
- 3 small green chilies
- 2 sprigs coriander
- 1 sprig fresh mint
- 1/2 tsp coriander seeds
- 1/2 Tbsp Garam masala
- 1/2 Tbsp ground turmeric
- 1/2 tsp ground cumin
- 1 tsp Kashmiri chili powder
- Fry for another 15 minutes.
- Add the chicken bones and fry for another 15 minutes breaking the bones up as you go.


This is the consistency you want.

Simmering for 1 hour
- Add the 2.5L of water and bring everything to the boil.
- Simmer for about 1 hour.

Thickening and straining the soup
- We don’t want add room temperature flour to a hot stock so heat some more olive oil (about 1 Tbsp) in your saucepan.
- Add the:
- 1/2 Tbsp gram flour
- 1/2 tsp cumin seeds
- and 1 sliced garlic clove
- Fry until the flour is golden brown.
- Very carefully slowly add this to the soup, stirring as you go.
- Strain the soup back into the stockpot and briefly return to the boil.
- Season with salt to taste.


Serving
No spoon required, just lots of naan, coriander leaves and lots of slurping. 🙂

Enjoy,
PK
YOU MIGHT ALSO LIKE
INDIAN CUISINE
CHICKEN DISHES
SOUP
Please consider subscribing to a weekly email summary of our posts or check us out on Facebook @growitcatchitcookit.
[mc4wp_form id=”15771″]
Written by
·
-
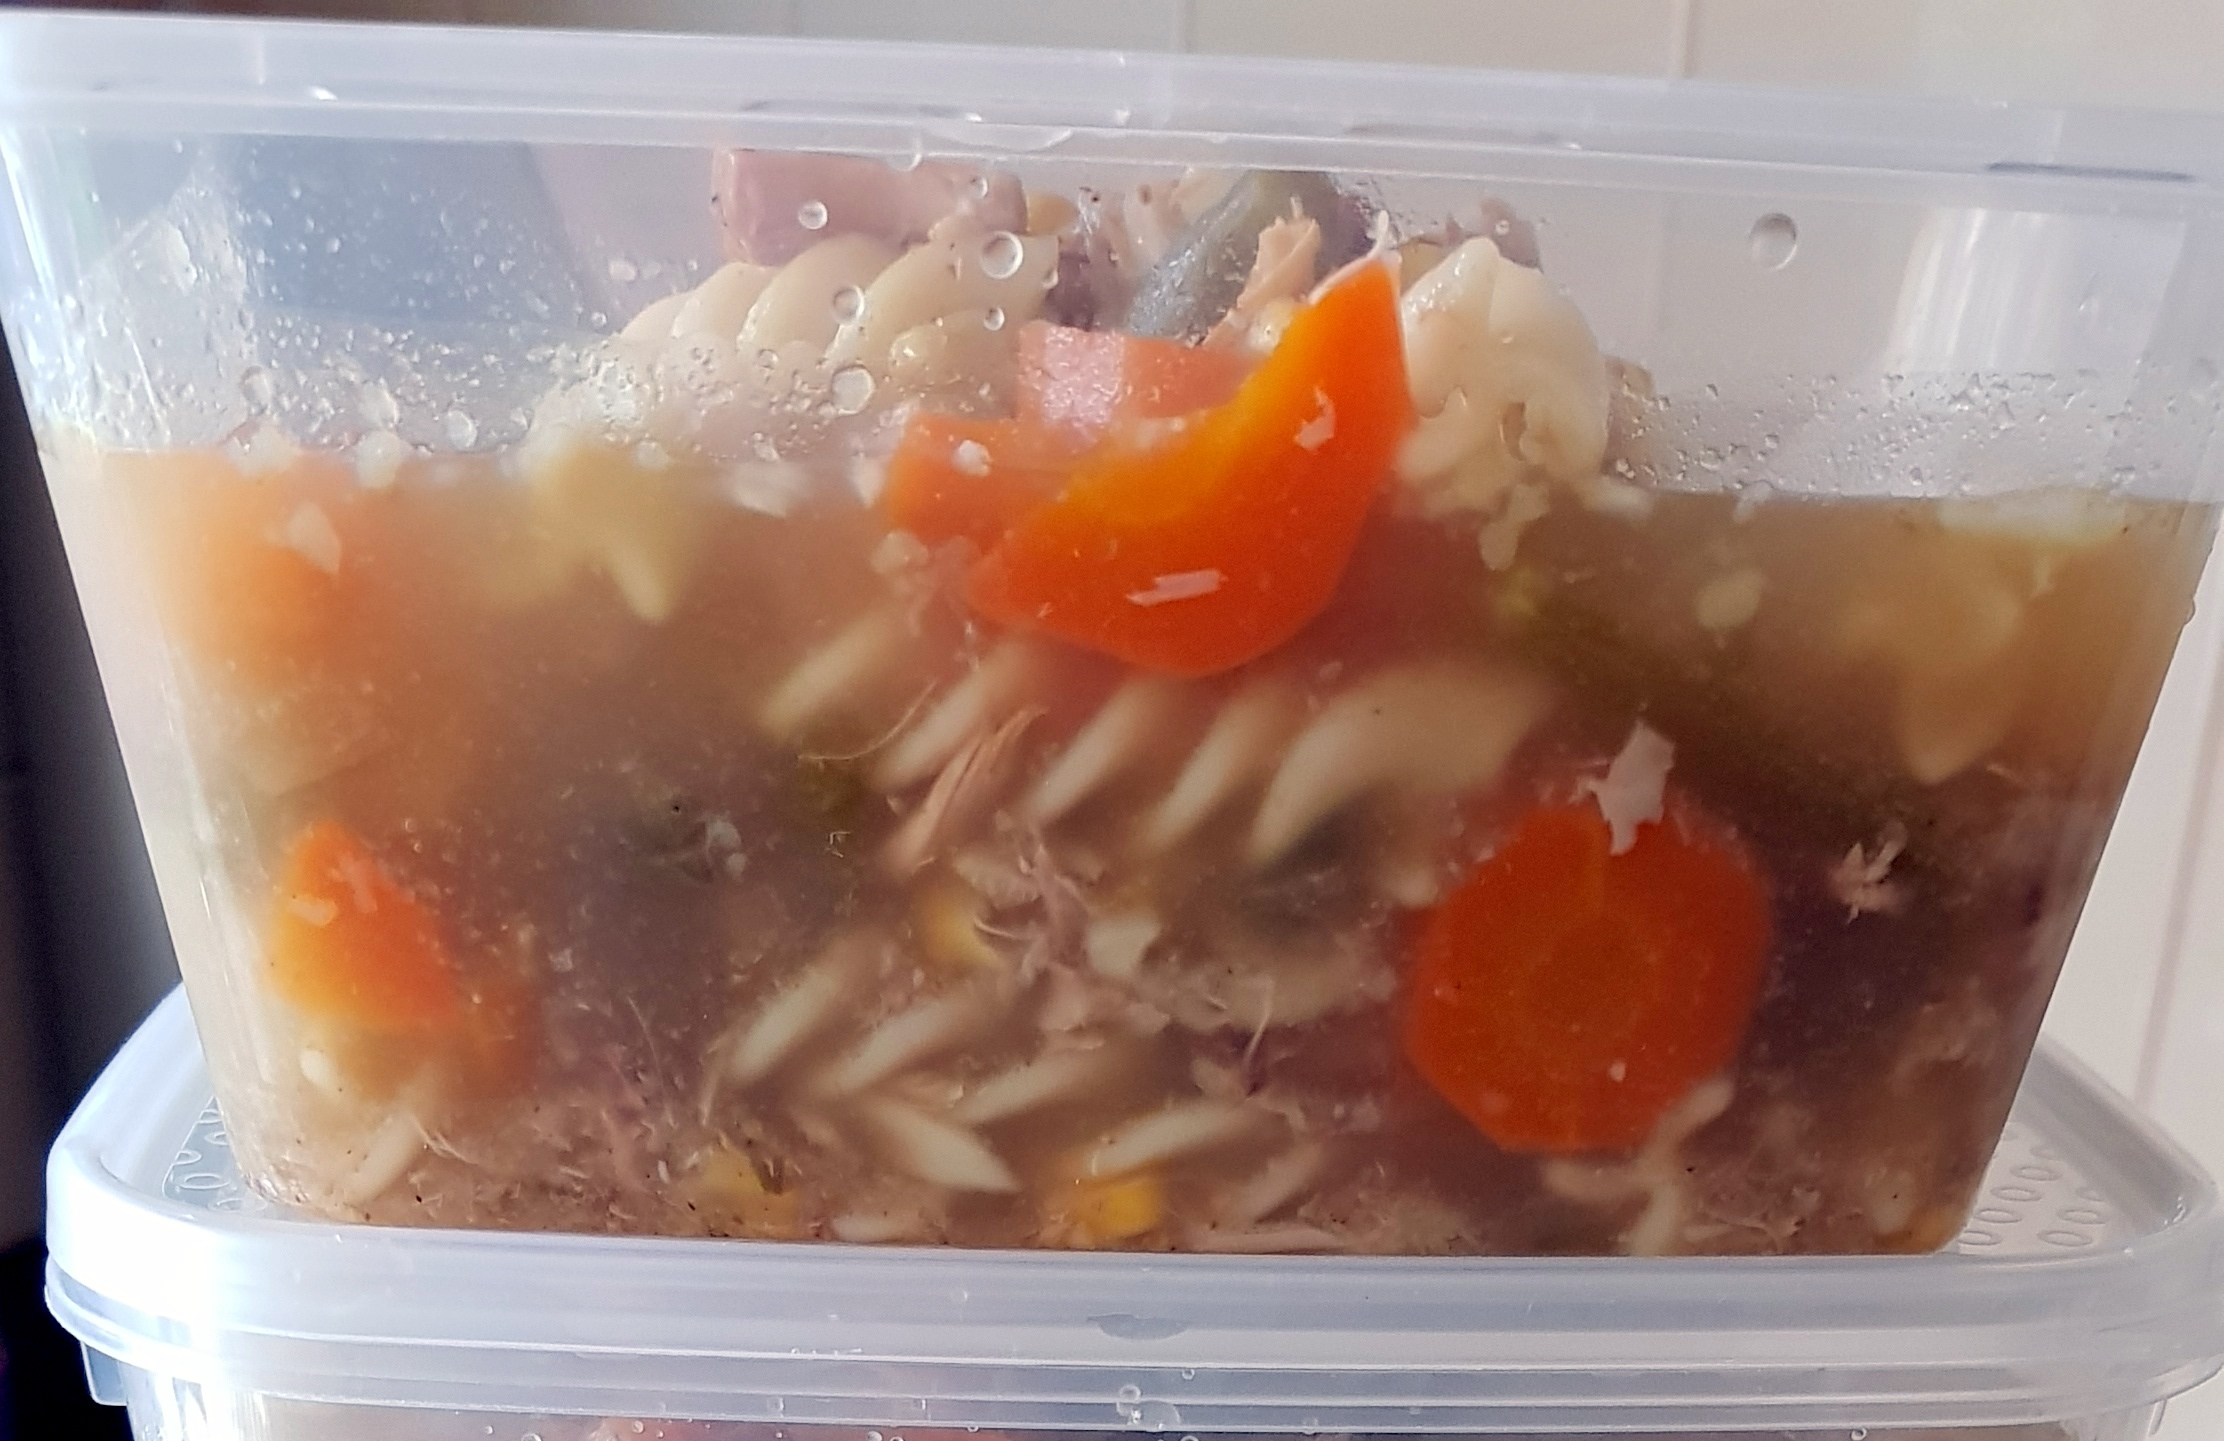
PK’s Chicken And Pasta Soup
Simply take a chicken frame or two (hopefully from the whole chicken you just deboned) and place in your slow cooker. Now add water until the frames are covered. Sometimes I also throw in a chicken leg or two (on the bone).
Chop up a brown onion, several celery sticks and several carrots (I leave them pretty chunky) and add them to the slow cooker. Add salt and pepper to taste and a bay leaf.
Let it cook overnight on low, if you have time, to really get a tasty broth going. By this stage the meat is falling off the bone. I pull the bones out at this point to make Bone Meal (a great source of slow release nitrogen) for my garden.
Serving
Just before serving I add 2 cups of pre-cooked pasta and a bit more water if needed.
This soup freezes well so I keep several portions aside for the ultimate in thrifty work lunches 🙂

Enjoy,
PK
Related Links:
Written by
·
-

PK’s Slow Cooker Chicken Stock
This was the first time I have made my own stock. Up until this point I had thought it wasn’t worth the time and effort required. I couldn’t have been more wrong :).
After a quick bit of prep I left it to its own devices overnight. In the morning I recovered the left over ingredients, filtered the stock and froze it in 2 cup batches.
I got so much joy and reward from making this stock because I:
- got to be in the kitchen cooking :).
- gave a second chance to some carrots at the back of the fridge.
- picked fresh vegetables from the garden with my young son.
- used parts of chickens that normally go to waste.
- didn’t add any packaging to landfill.
- recovered the cooked vegetables for my compost bin.
- recovered the bones to make my own bone meal for soil improvement (post coming soon).
- retained some rendered chicken fat for cooking (hey I never said this was a good health blog hehehehe).
- got an amazingly tasty stock that is salt, sugar and preservative free.
STEPS:
- Get some chicken bones
- Gather/harvest and chop your vegetables
- Slow cooker time
- Straining
- Storing
- Recovery and resuse (optional)
- Defrosting
You will need:
- Ingredients:
- 2 onions
- 4 carrots
- 2 – 4 celery stalks (leaves on)
- 1 Tbsp peppercorns
- 1 handful of basil leaves
- 2kg of chicken bones and/or carcasses
- 2.5L of water
- Equipment
- a chopping board
- a long sharp knife
- a tablespoon
- a 1 cup measuring cup
- a strainer (like you would use for pasta)
- a fine mesh sieve
- a large pot
- several deep dishes to hold the leftover vegetables and bones
- a slow cooker
- freezer containers or glass jars
- a butter knife when it comes time to defrost the stock
Get some chicken bones
There must be tons of methods for doing this but I went to the butchers and bought 6 chicken carcasses. It cost me $5 AUD and they weighed approximately 2.2kgs. There was a little bit of meat on them too.

Steps:
- I took each carcass and wrenched them in the middle to separate them into halves. I only did that to help them fit into the slow cooker though.
- Put them aside and turn your slow cooker on its lowest setting.
Gather/harvest and chop your vegetables

Steps:
- Take about 4 stalks of celery (leaves on and hopefully fresh from your garden) and give them a good wash. Tap dry and then rough chop.
- Rough chop the 4 carrots (skin on) and 2 onions.
- Rough chop a handful of basil leaves (not stems). I used some from my garden that I had previously frozen.
- Add all the vegetables to the now warmed up slow cooker along with 1 Tbsp of peppercorns.
Slow cooker time

Steps:
- Place the chicken carcasses on top of the vegetables and pour in enough boiling water to cover everything. In my case this was 2.5L.
- Don’t worry if the slow cooker is full to the brim and a bit squishy. By the end everything will have shrunk down and there will be plenty of room to stir everything.
- Let it simmer for as long as you can but at least 8 hours on low. I didn’t have to add any water the whole time but keep an eye on the water levels.
- As you notice a bit of space developing you can start to give it the odd stir.
In this picture you can see how everything has reduced down:

Straining
The last few steps can be a little time consuming if you want to make the best use of the left over ingredients.
Steps:
- Pour everything into a pasta colander (or a strainer that will catch most of the larger ingredients but still let the liquid through easily) over a large saucepan. I was worried that using a fine mesh sieve at this point would end with stock all over the place so I used this two part process.
- Now run the stock through the fine mesh sieve over the slow cooker and pour the stock in slowly.
- Clean the sieve under the tap and then run the stock through it again but into the original saucepan.
- Keep putting the vegetables and bones aside if you intend to recover them.
- Let the now filtered stock cool in the fridge slightly to get the skim of fat on the top.
- Spoon a tiny bit of the fat skim off but don’t be too fastidious as I have a tip for that later. We don’t want to lose any more of the precious stock than we have too :).
Storing
At this stage the stock should be super tasty but it will also be oily. I trialled two methods for dealing with this.
Steps:
- Initially I placed a sheet of paper towel on the surface of the stock and let it slowly draw in the fat beads. I carefully removed the paper towel and disposed of it.
- I then used a 1 cup measuring cup to ladle the stock into several freezer containers.
- I then turned the containers upside down and froze them. This means that most of the fat beads will rise to the surface.
In this picture you can see the beads of fat on the top and nice clean stock underneath:

Recovery and Reuse
I will expand on this in a later post but here are a few tips if you want to reuse the leftover ingredients. I had fun doing it but making the bone meal was a labour of love.
- Keep the bones for making your own bone meal.
- Chuck the vegetables into the compost bin.
Defrosting
I would like to show you now the advantage of freezing them upside down in a slightly concave shaped container.
Steps:
- Pop the lid off the container and let it ever so slightly thaw.
- Turn the container upside down again and pop the stock out.
- Using a butter knife, scrape the fat off the top of the stock block.
I got about 1 Tbsp of fat off two cups of stock, enough to fry up some potatoes I bet :).
I would love to hear from you if you have any tips you want to share about making stock.
Enjoy,
PK
Written by
·