Tag: cheddar
-
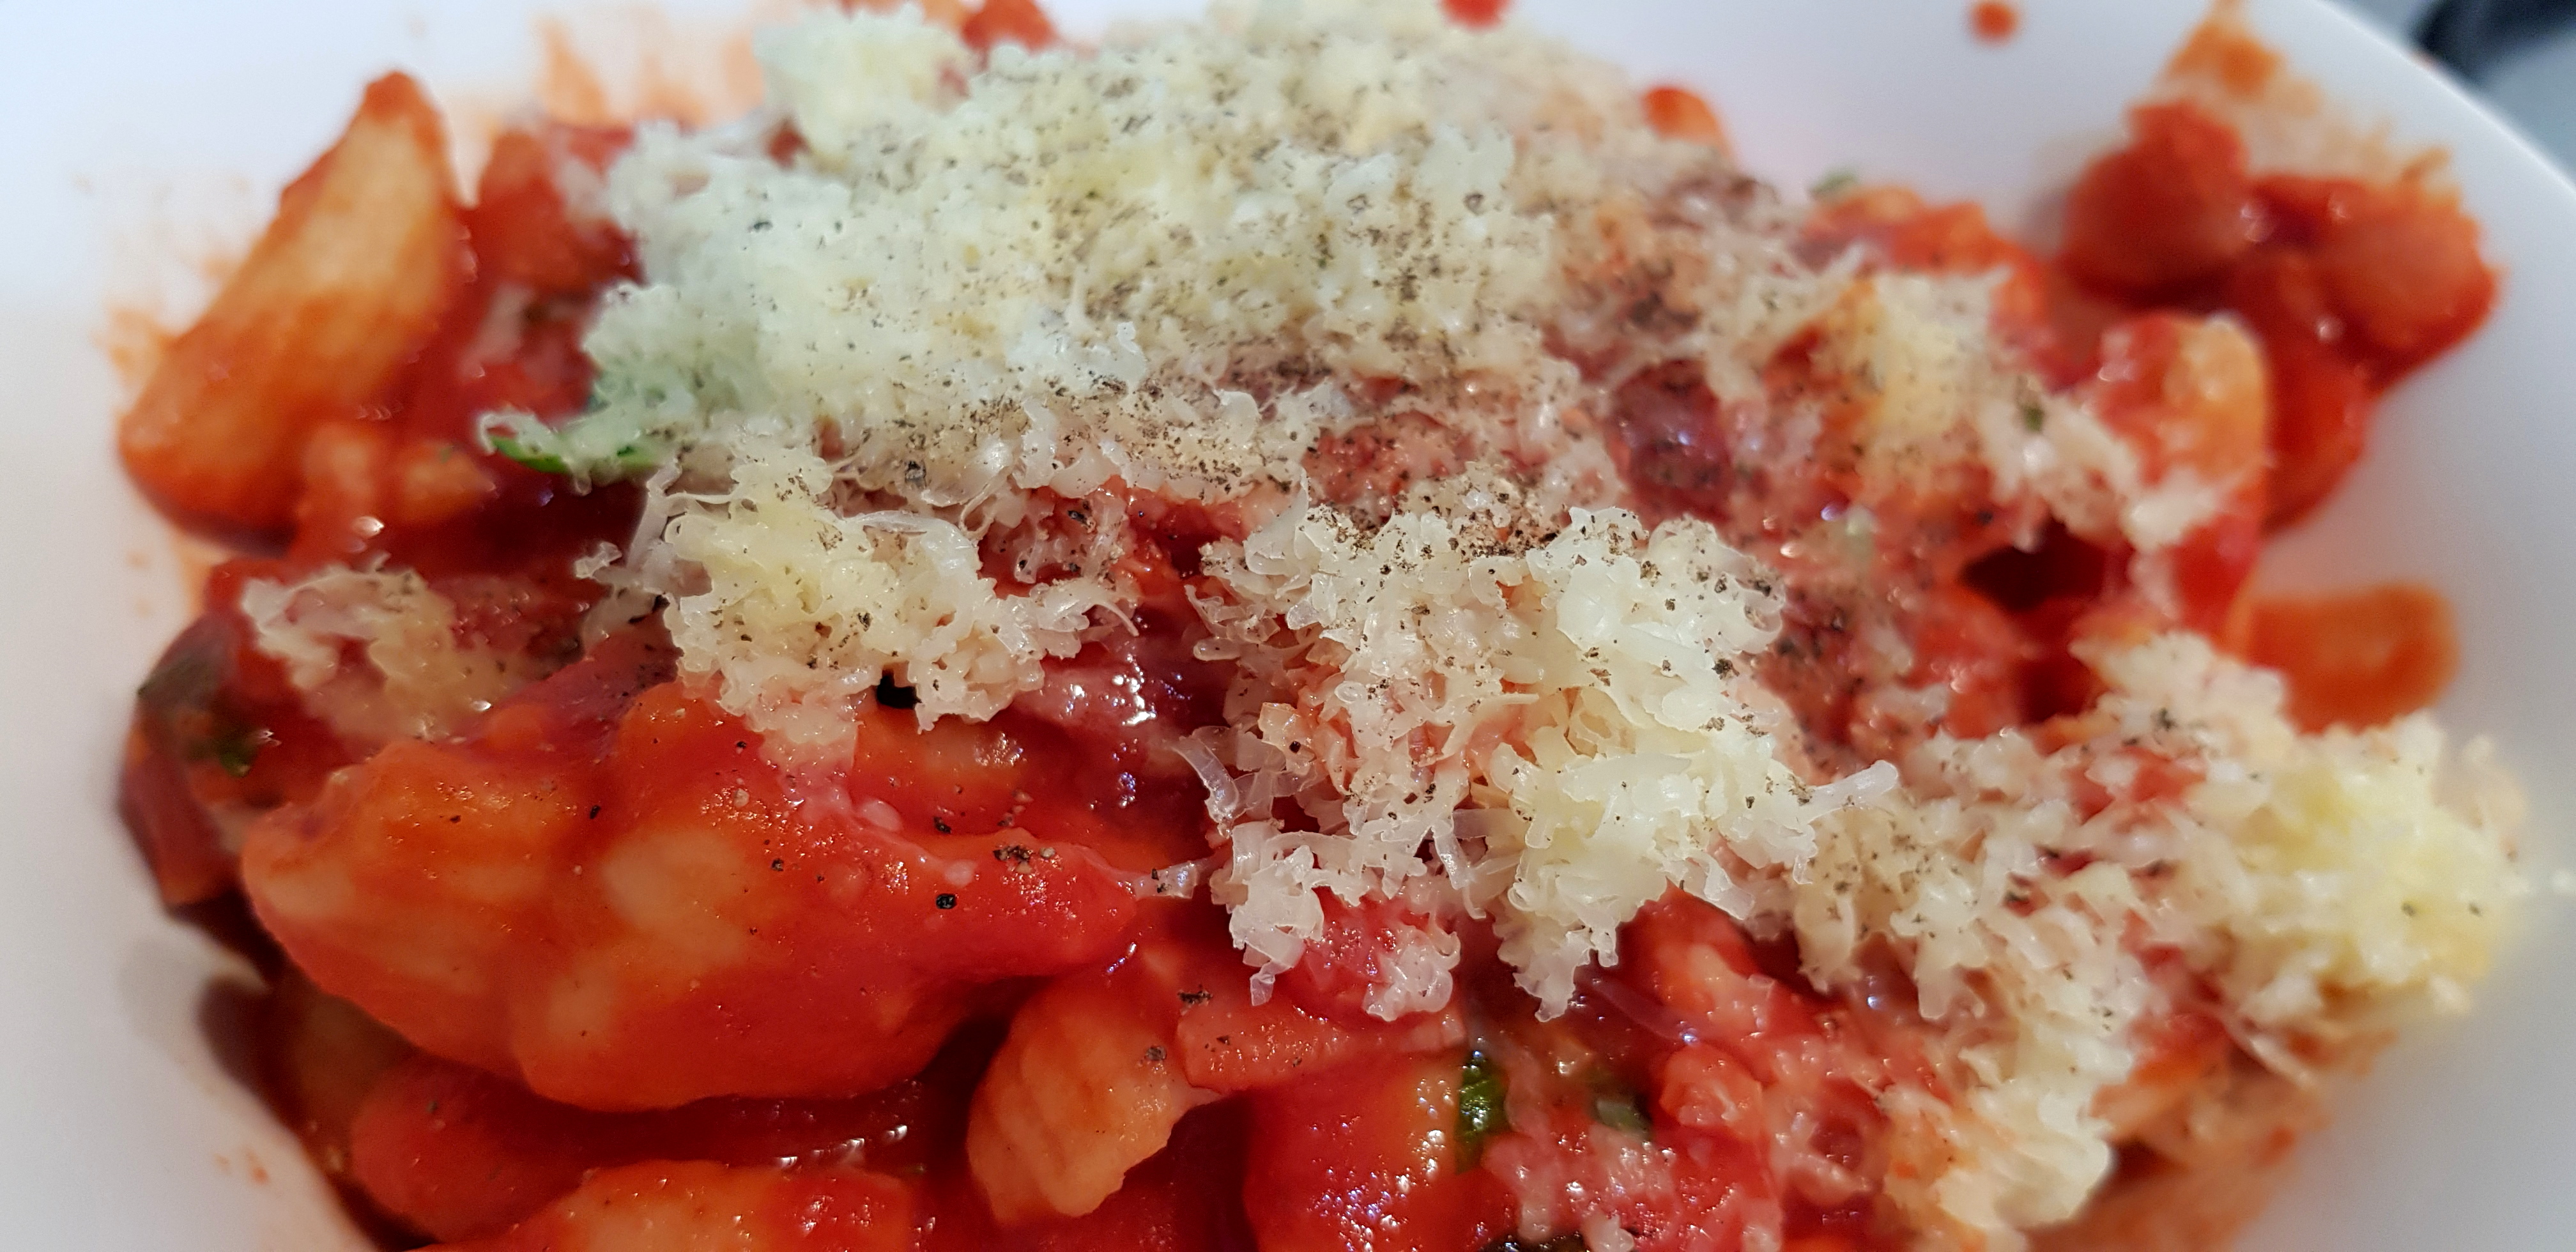
Tomato Passata Pasta: 15 Minute Meals
This simple tomato passata pasta is a tasty example of 15 minute meal. 🙂
The trick to making dinner in under 15 minutes is to minimise the so called “rules” you must follow for a dish and instead cook by feel.
I simply brought a pot of water to the boil whilst I heated a slug of olive oil in a frypan and started cooking some garlic, onions and bacon in it.
About 2 cups of home-made pasta went into the boiling water whilst I added a bottle of tomato passata to the frypan. When the sauce was hot I added some basil and sage.
All I had to do then was drain the pasta, mix it into the sauce and grate some cheese (I used cheddar).


Yum!

Make this recipe your own by using adding your own ingredients. I am going to add some black olives next time for example.
Enjoy,
PK
YOU MIGHT ALSO LIKE
MORE MAKE IT YOUR WAY POSTS
SHOW ME PASTA DISHES
CRAVING ITALIAN?
15 MINUTE MEALS
Please consider subscribing to a weekly email summary of our posts or check us out on Facebook @growitcatchitcookit.
[mc4wp_form id=”15771″]
Written by
·
-

PK’s Baked Mashed Potato, Bacon and Cheese Balls
I normally have enough leftovers for at least one lunch when I cook dinner for my family. So you can imagine how good these potato balls are if I had to buy lunch at work the next day :).
Really easy to make ahead of time and sort of healthy as they are baked and not shallow fried, you and your kids will love them.
Notes:
- Make more than you think you need, they are addictive
- You could work in mashed sweet potato and or pumpkin to get vegetables into picky eaters
- They will need to set in the fridge for a bit before cooking
You will be:
- Prepping the ingredients
- Making the potato balls and rolling in breadcrumbs
- Cooking the potato balls
- Serving them up hot
You will need:
- Ingredients:
- 2 cups cooled mashed potato
- 1/2 cup finely diced vegetables (I used celery and spring onions)
- 1/4 cup of cooled finely chopped crispy bacon
- 1/2 cup of breadcrumbs
- 3/4 cup of grated cheese (I used a mix of Parmigiano-Reggiano and cheddar)
- 1 egg (beaten)
- some spray olive oil
- Equipment:
- a chopping board
- a long sharp knife
- a saucepan for the mashed potatoes
- a potato masher
- a frypan for the bacon
- a fork or whisk to beat the egg
- a mixing bowl
- several plates
- an oven tray lined with baking paper
Prepping the ingredients
- Make your mashed potatoes, aiming for 2 cups worth, and pop it in the fridge to cool.
- Fine chop the bacon to end up with 1/4 cups worth, cook to your liking and then pop them in the fridge too.
- Chop the 1/2 cup of vegetables.
- Grate the 3/4 cup of cheese.
- Beat the single egg.
- Mix the above ingredients in a mixing bowl.
- Put the 1/2 cup of bread crumbs on a plate.


Making the potato balls and rolling in breadcrumbs
- Roll small balls of the potato mix and then roll those in flour.
- Pop them onto an oven tray and then into the fridge to set for at least 15 minutes.
They look pretty yummy already:

Ready for the oven:

Cooking the potato balls
- Give the top of the balls a quick spray with spray olive oil and pop the tray into a fan-forced oven (pre-heated to 200C).
- Cook for about 20 minutes or until golden brown.
Perfection:

Firm on the outside with a lovely soft cheesy texture inside:

Serving them up hot
Perfect with some fresh vegetables, sauerkraut and some dipping sauces (tomato and sour cream mixed with fresh coriander) or in a bowl by themselves as finger food :).

Enjoy,
PK
YOU MIGHT ALSO LIKE
MORE POTATO DISHES
MORE KID FRIENDLY MEALS
Please consider subscribing to a weekly email summary of our posts or check us out on Facebook @growitcatchitcookit.
[mc4wp_form id=”15771″]
Written by
·
-

PK’s NoRecipe Bacon Wrapped, Cheese Stuffed Jalapenos
As I mentioned in my last post, I am drowning in home-grown Jalapeños. I have decided to eat my way out one recipe at a time :).
These cheese stuffed Jalapeños, wrapped in bacon to make them irresistible, are so easy to make but not for the faint hearted.
Take a chili and cut it almost in half leaving a lip and the stalk attached to one side. Scoop out the pith and the seeds. Then stuff the cavity with your favourite cheese, I used a mix of mozzarella, parmesan and cheddar.
Next, put the lid back on and wrap the whole thing in a strip of bacon.
Pop them on an oven tray as you go and then into a fan-forced oven (pre-heated to 200C) for about 20 minutes or the bacon is crispy enough for your liking.

Served hot or chilled, your guests are going to love them.

Enjoy,
PK
Written by
·
-
PK’s Bacon Wrapped, Cheese Stuffed Jalapenos
As I mentioned in my last post, I am drowning in home-grown Jalapeños. I have decided to eat my way out one recipe at a time :).
These cheese stuffed Jalapeños, wrapped in bacon to make them irresistible, are so easy to make but not for the faint hearted.
Take a chili and cut it almost in half leaving a lip and the stalk attached to one side. Scoop out the pith and the seeds. Then stuff the cavity with your favourite cheese, I used a mix of mozzarella, parmesan and cheddar.
Next, put the lid back on and wrap the whole thing in a strip of bacon.
Pop them on an oven tray as you go and then into a fan-forced oven (pre-heated to 200C) for about 20 minutes or the bacon is crispy enough for your liking.
Served hot or chilled, your guests are going to love them.
Enjoy,
PK
Related Links:
- Dishes using Parmigiano-Reggiano (parmesan)
- Dishes using cheese
Please consider subscribing to get a weekly email summary of our posts.
[mc4wp_form id=”15771″]
Written by
·
-

KT’s NoFuss Mini Quiches
Thankfully these are as easy to make as they are to eat. In our house they have a habit of disappearing when my wife isn’t looking :).
I didn’t even get to take a photo of the finished products cooling on the racks.
Oh wait here is one from last time she made them:

You will be:
- Preparing the filling.
- Cutting and pressing puff pastry into baking tins to make the bases.
- Spooning the mixture to bases and cooking.
You will need:
- Ingredients:
- 2 sheets of puff pastry
- 125g cheddar cheese, grated (use your favourite hard cheese)
- 125g ham slices, finely chopped
- 3 Tbsp heavy cream (whipping cream)
- 0.5 Tbsp whole grain mustard
- 1 egg
- ground black peppercorns to taste
- ground rock salt to taste (I don’t use any as the cheese and bacon are salty enough)
- Equipment
- a chopping board
- a long sharp knife
- a mixing bowl
- 7cm diameter biscuit cutter
- 2 shallow mini pie/bun trays (12 depressions per tray)
Steps:
Prepare the filling
- In a mixing bowl add the:
- 125g grated cheddar cheese
- 125g finely chopped ham
- 3 Tbsp heavy cream
- 0.5 Tbsp whole grain mustard
- 1 egg
- ground black peppercorns to taste
- Mix everything thoroughly but gently.

Cutting and pressing puff pastry into baking tins to make the bases
- Lay the sheets of puff pastry out.
- Cut 24 circles out of them using the cookie cutter and press these into the trays.

Spooning the mixture to bases and cooking
- Spoon a small amount of the filling into each base.

- Cook for 15 minutes at 200°C in a fan forced oven.

Eat them hot or freeze them. Personally I like them cold and think they make a great lunch box snack.
If they last that long :).
Enjoy,
PK
Written by
·
-
KT’s Easy Mini Quiches
Thankfully these are as easy to make as they are to eat. In our house, they have a habit of disappearing when my wife isn’t looking :).
I didn’t even get to take a photo of the finished products cooling on the racks.

You will be:
- Preparing the filling.
- Cutting and pressing puff pastry into baking tins to make the bases.
- Spooning the mixture to bases and cooking.
You will need:
- Ingredients:
- 2 sheets of puff pastry
- 125g cheddar cheese, grated (use your favourite hard cheese)
- 125g ham slices, finely chopped
- 3 Tbsp heavy cream (whipping cream)
- 0.5 Tbsp whole grain mustard
- 1 egg
- ground black peppercorns to taste
- ground rock salt to taste (I don’t use any as the cheese and bacon are salty enough)
- Equipment
- a chopping board
- a long sharp knife
- a mixing bowl
- 7cm diameter biscuit cutter
- 2 shallow mini pie/bun trays (12 depressions per tray)
Steps:
Prepare the filling
- In a mixing bowl add the:
- 125g grated cheddar cheese
- 125g finely chopped ham
- 3 Tbsp heavy cream
- 0.5 Tbsp whole grain mustard
- 1 egg
- ground black peppercorns to taste
- Mix everything thoroughly but gently.
Cutting and pressing puff pastry into baking tins to make the bases
- Lay the sheets of puff pastry out.
- Cut 24 circles out of them using the cookie cutter.
- Press the circles gently into the trays.
Spooning the mixture to bases and cooking
- Spoon a small amount of the filling into each base.
- Cook for 15 minutes at 200°C in a fan forced oven.
Serving
Eat them hot or freeze them. Personally I like them cold and think they make a great lunch box snack.
If they last that long :).
Enjoy,
PK for KT
Here are some more egg dishes and posts by KT:
Written by
·
-
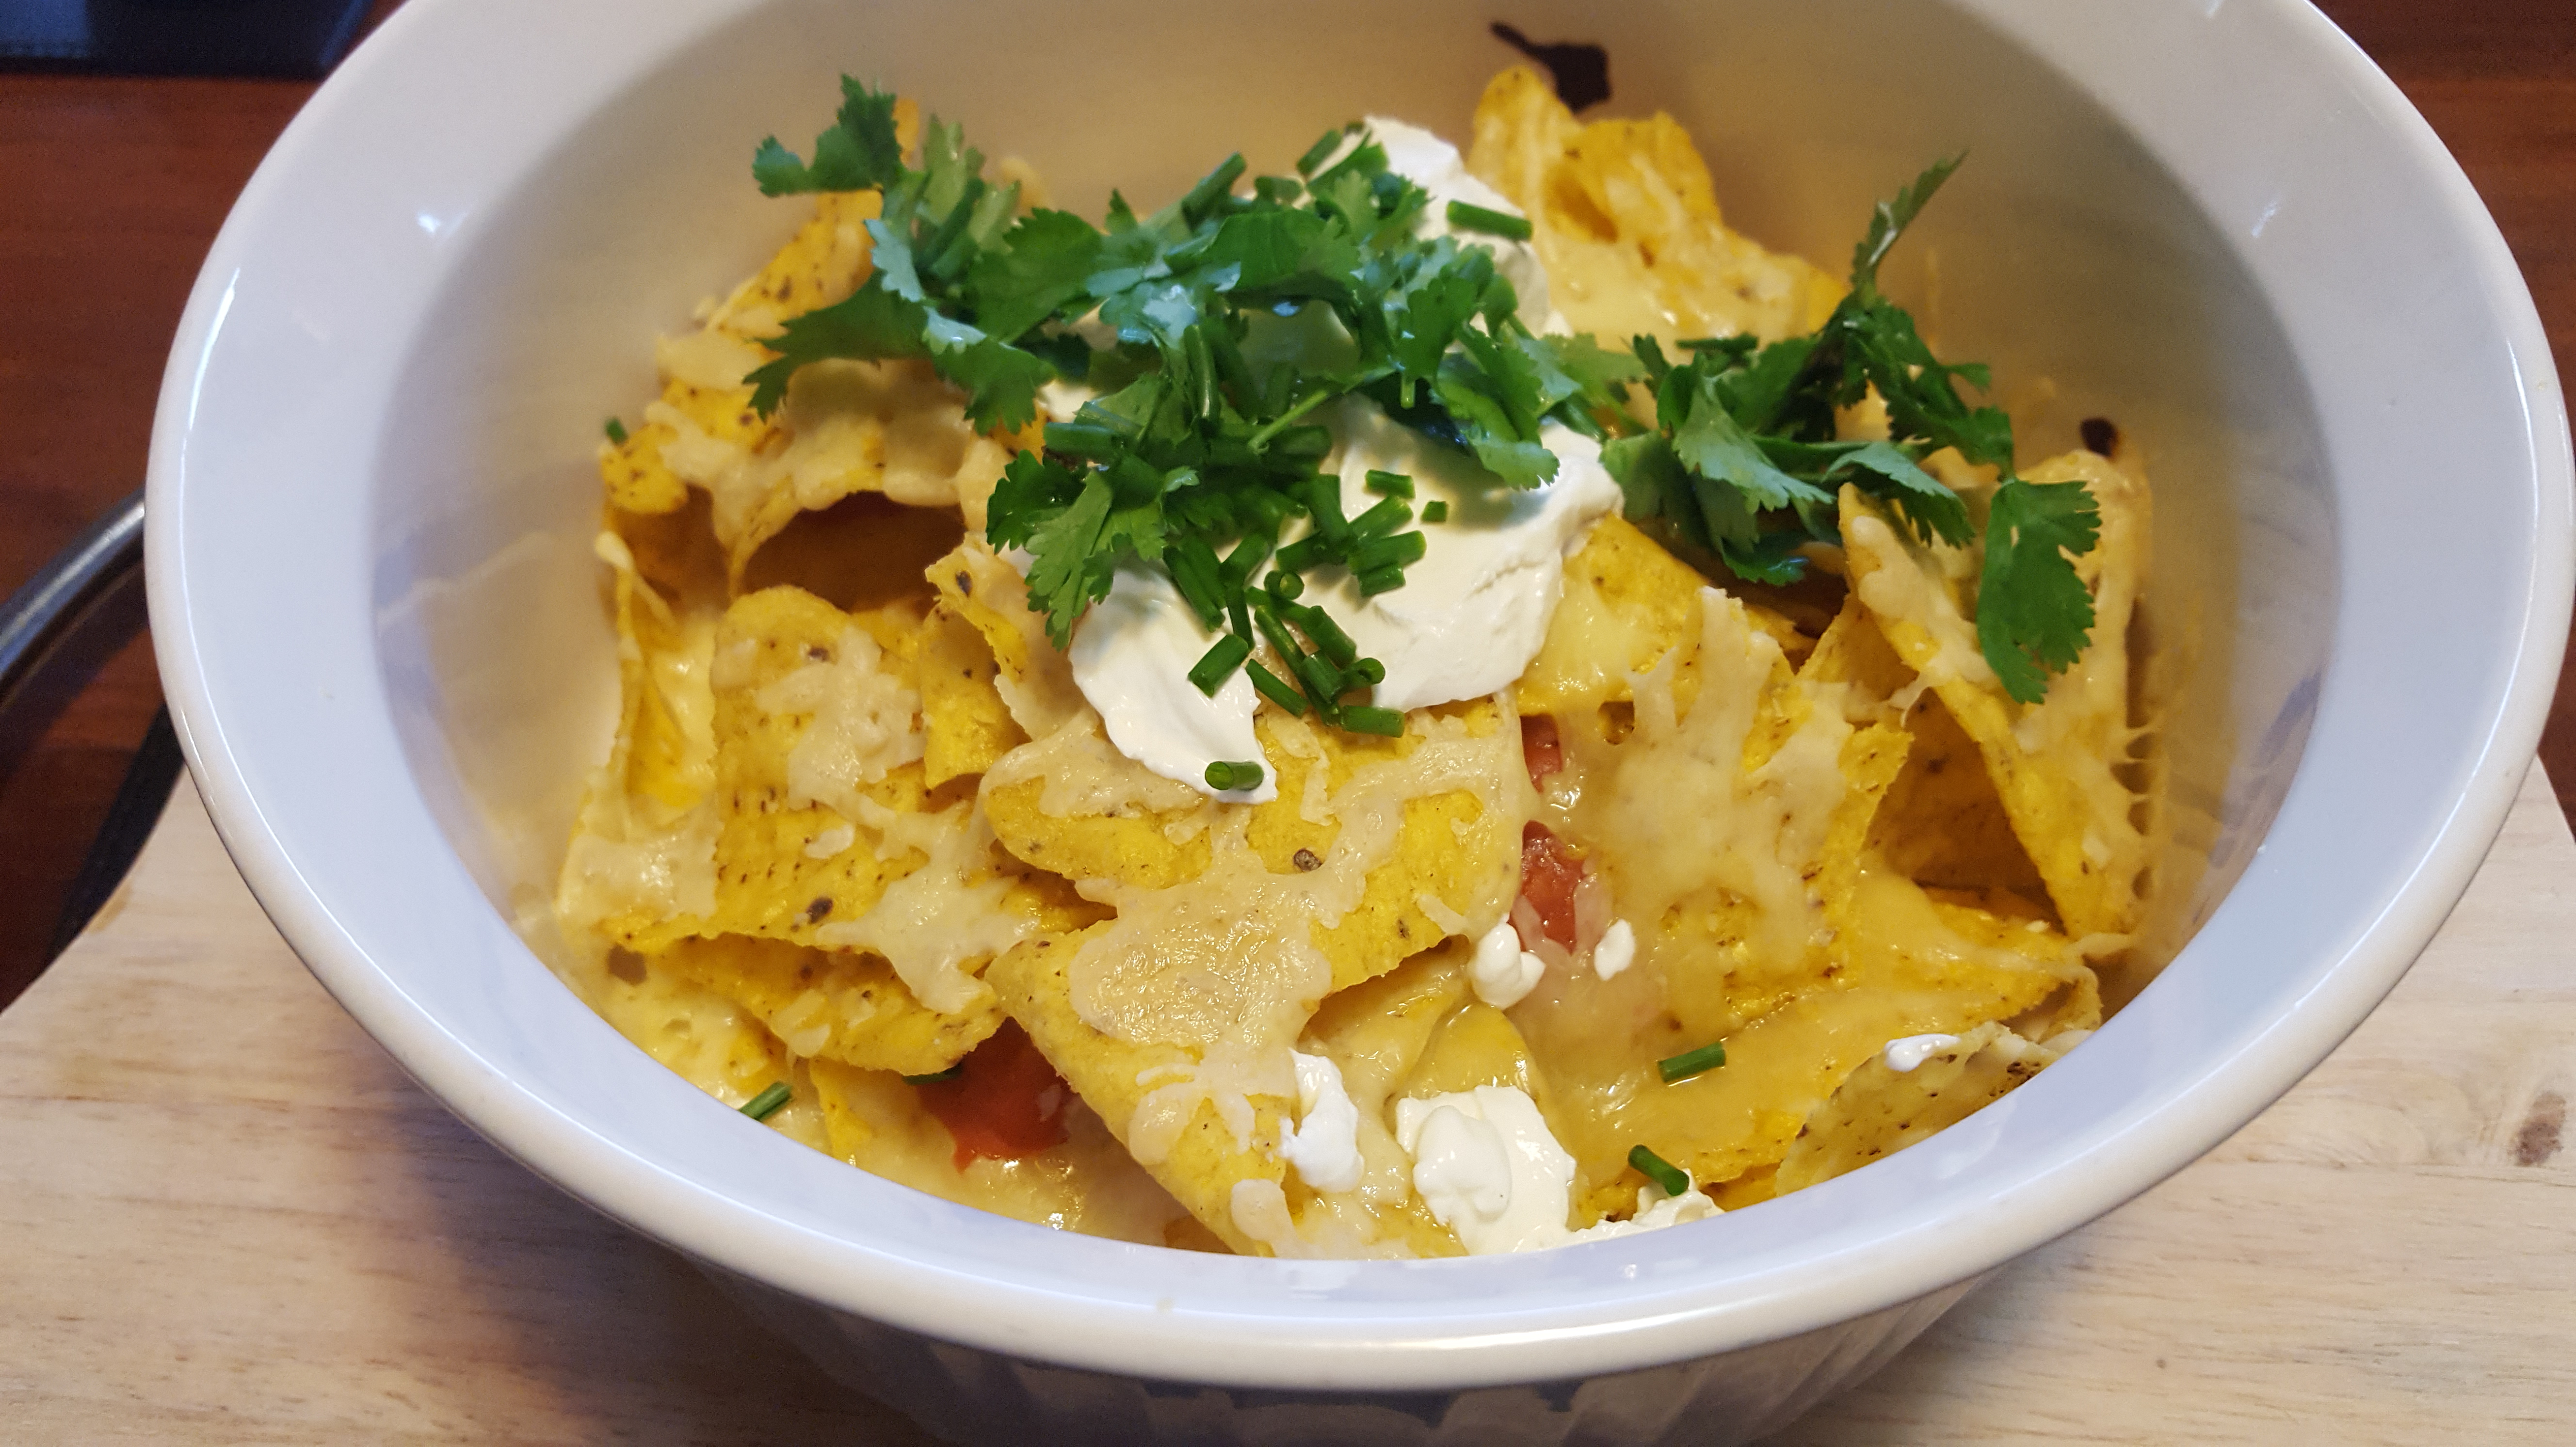
PK’s NoRecipe Nachos
This is one of my favourite family meals. Everyone gets their own dish of the nacho base and once these come out of the oven, we put our favourite toppings on.
The secret to making awesome nachos is to layer the corn chips then some nacho sauce then some cheddar cheese and repeat. Pop them in a say 180 °C until the cheese has melted and that is it.
There is only one other rule to making awesome nachos: Sour Cream!
Magic 🙂


Enjoy,
PK
Pair this with my guacamole (see PK’s You..Can’t.. Handle..The..Gwock).
Written by
·
-
PK’s Simple Nachos
This is one of my favourite family meals. Everyone gets their own dish of the nacho base and once these come out of the oven, we put our favourite toppings on.
The secret to making awesome nachos is to layer the corn chips then some nacho sauce then some cheddar cheese and repeat. Pop them in a say 180 °C until the cheese has melted and that is it.
There is only one other rule to making awesome nachos: Sour Cream!
Magic 🙂
Enjoy,
PK
Pair this with my guacamole (see PK’s You..Can’t.. Handle..The..Gwock).
Written by
·
-
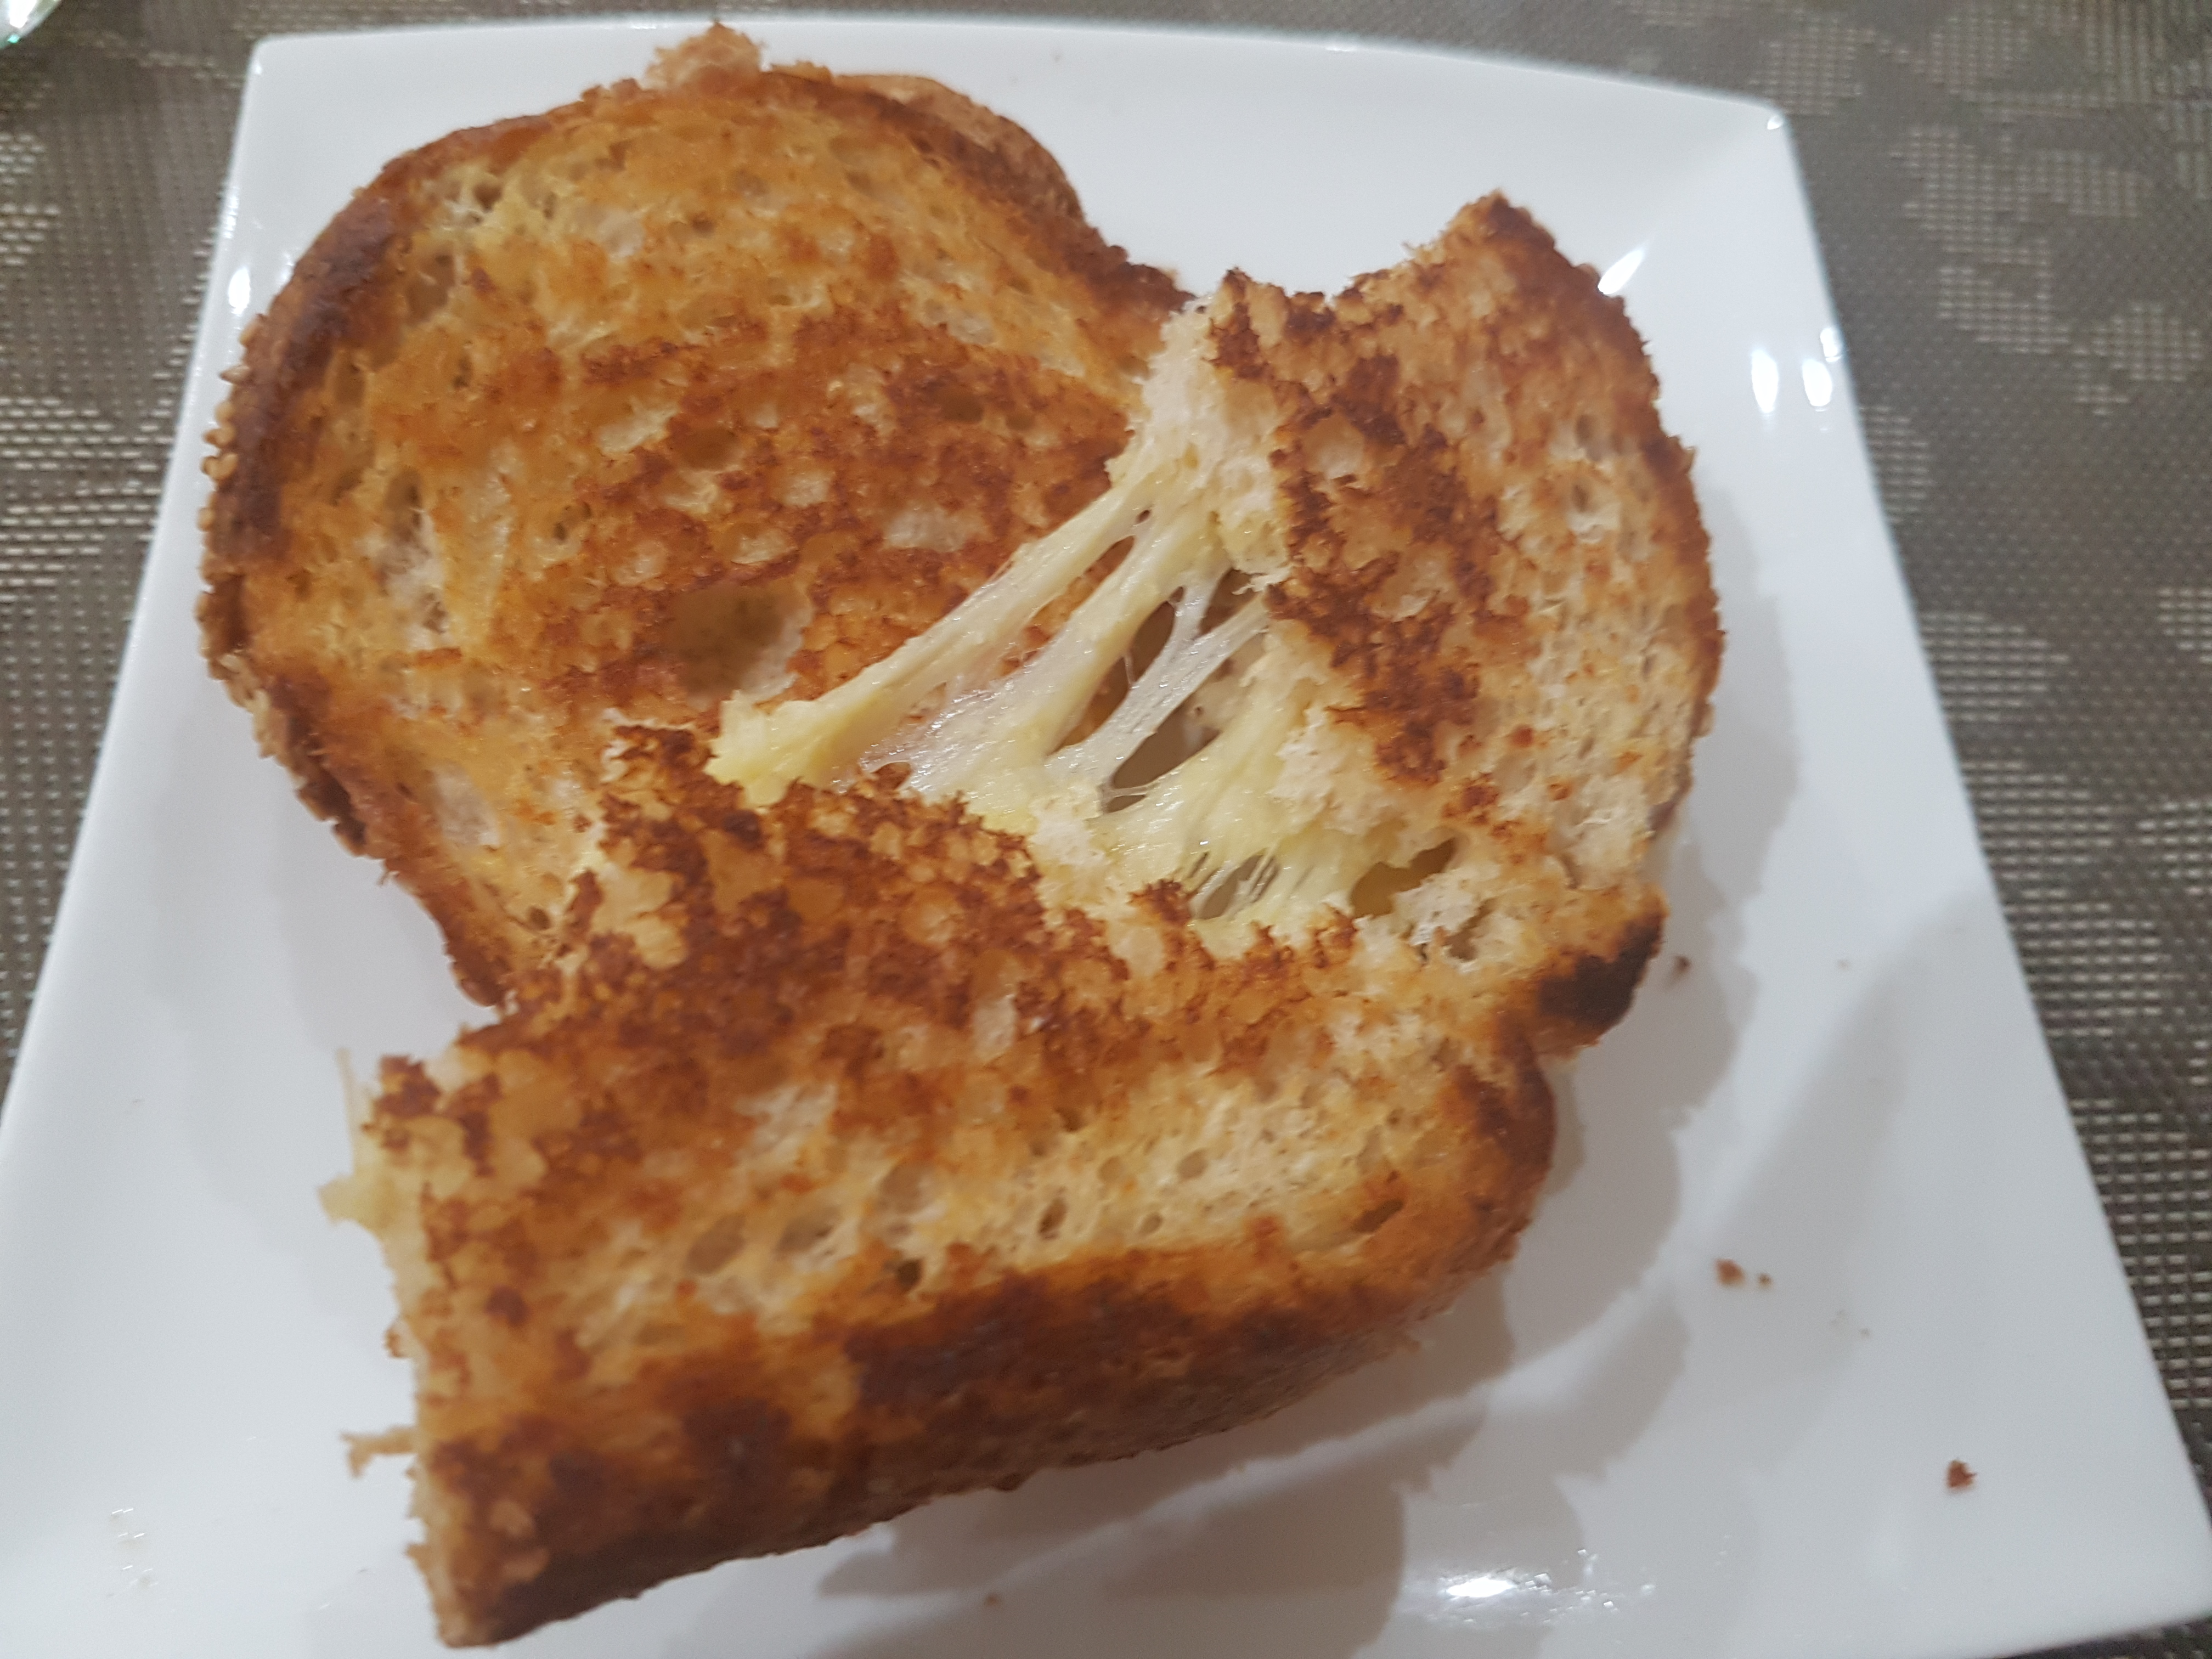
Welchy’s Ultimate Cheese Toastie
As a kid, the ultimate treat was one of Mum’s cheese toasted sandwiches. This wasn’t just your run of the mill, use-a-toaster type of toasted sandwich though. Mum perfected the Ultimate Cheese Toastie in the fry-pan! Buttery, toasted, crunchy goodness on the outside with superbly melted and stringy cheese in the middle…served with you know…a heaping side of motherly love.

First off, I’d start with a range of cheeses. I chose Cheddar, 4 cheese blend and Parmesan. Pick any cheese you like though really, Gruyere, Mozzerella, anything that melts well. I then cut up some fresh bread and butter and we’re ready to go!
Ingredients/Utensils
- Fresh bread
- Butter
- Cheeses (a few slices/enough for a sandwich) – Cheddar, American, Gruyere, Mozzarella, Parmesan, Four Cheese mix, whichever you prefer/have handy.
- Frying pan
Method
1. Butter both sides of the bread. Put a dollop of butter in the pan too for extra buttery crunch!

2. Place one side of the bread into the pan. Layer with the cheddar, then the four cheese mix and top off with the Parmesan. Allow the bread to fry in the pan, usually about 30 seconds. Use a spatula to lift the corner and check if it’s browning. Once it starts to brown, add the lid of the sandwich and flip!

3. Fry the second side for 30 seconds to 1 minute, or until nicely browned.

And you are done!
This recipe isn’t much, it’s not overly difficult, and can be made fairly quickly once you get the hang of it. Great to eat wrapped in some parchment paper as you race out the door, or as I prefer, at the table with a glass of ice cold milk. Enjoy…!

Written by
·
-
Welchy’s Ultimate Fry Pan Cheese Toastie
As a kid, the ultimate treat was one of Mum’s cheese toasted sandwiches. This wasn’t just your run of the mill, use-a-toaster type of toasted sandwich though. Mum perfected the Ultimate Cheese Toastie in the fry-pan! Buttery, toasted, crunchy goodness on the outside with superbly melted stringy cheese in the middle…served with you know…a heaping side of motherly love.
Look how simple the ingredient list is:

First off, I’d start with a blend of cheeses. I chose Cheddar, Kraft’s 4 cheese blend and Parmesan. Pick any cheeses you like though, Gruyere, Mozzerella, Havarti, anything that melts well. I cut up some fresh bread and butter and we’re ready to go!
Ingredients/Utensils
- Fresh bread
- Butter
- Cheeses (a few slices/enough for a sandwich) – Cheddar, American, Gruyere, Mozzarella, Parmesan, Four Cheese mix, whichever you prefer/have handy.
- Frying pan
Method
1. Butter both sides of the bread. Put a dollop of butter in the pan too for extra buttery crunch!

2. Place one side of the bread into the pan. Layer with your selected cheeses. Allow the bread to fry in the pan, usually about 30 seconds. Use a spatula to lift the corner and check if it’s browning. Once it starts to brown, add the lid of the sandwich and flip!

3. Fry the second side for 30 seconds to 1 minute, or until nicely browned.

And you are done!
This recipe isn’t much, it’s not difficult, and it can be made fairly quickly once you get the hang of it. Great to eat wrapped in some parchment paper as you race out the door, or as I prefer, at the table with a glass of ice cold milk.
Love Welchy,
Here are some more snacks and more Welchy posts”
Written by
·