Tag: bread
-
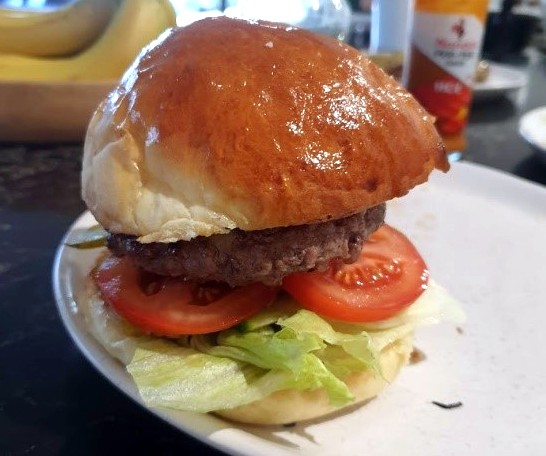
Josh Makes The Best Burger Buns Ever
I use this Joshua Weissman recipe, Japanese techniques and family bread making know how to make the tastiest, lightest burger buns on the planet.
The secret to this recipe is the incorporation of ‘Tangzhong’ (we will making our own below) into the bread dough that gives the bread a fluffy texture.

Helpful tips:
- Don’t use measuring cups for the flour. I have been taught by my partner’s mum that when making bread, to always weigh it out and to do it carefully. No guessing 🙂
- If you want initial success try and follow the recipe exactly as it is written, don’t add extras. The first time I made these buns they were super sticky but that is ok. Leave them sticky and keep to the cooking times below for sure fire success!!
Ingredients
Tangzhong:
- 20g bread flour
- 2 tablespoons (27g) water
- 4 tablespoons (60g) whole milk (not hi-lo etc)
Dough:
- 1/2 cup(120g) whole milk @ 30c – I have got this to about 35 degree’s and still ok. Heat only when at the part of the recipe where it asks for it
- 1 tablespoons (9g) instant yeast
- 320g Bread flour
- 1 teaspoon (7g) fine sea salt
- 2.5 tablespoons (35g) granulated sugar
- 1 whole egg
- 1 egg yolk – Save the egg white and make Meringues (something like “1 egg meringue”)
- 3 tablespoons (42g) unsalted butter, softened
Egg wash:
- 1 whole egg
- splash of whole milk
Step by Step to make the bun’s
Mix the ingredients of the tangzhong. Cook for about 30 seconds on a medium heat (gas cooktop, electric may be different timing). But it should look like porridge. Once its ready, take it out of the saucepan and re-use the sauce pan for the next step.
Using the same pot, heat the milk till it gets to about ~30-35 degree’s. Once it gets to the temperature, remove from heat and add the 9 grams of yeast. Mix together, set a 10 minute timer and set the pan aside.


In the mixing bowl, put the flour, sugar and salt in and combine using a spatula. Put the dough hook on. Put it on a low-medium speed. My Kenwood mixer was set to “2”. Slowly add the tengzhong, milk/yeast and the 1x egg and 1x egg yolk. Move to a “3” or “4” speed on the mixer to a medium speed. Mix until its combined.
SLOWLY add the butter, roughly a 1/3 of it at a time. Keep the mixer going till its well combined and looks smooth.

Wet a clean tea towel (so that its damp) and find a warm place for it to sit for the next 1 to 1.5 hours till its doubled in size. But don’t put it in direct sunlight
Push the mix down and lay it onto a table. Make 6 rolls from the mix.
It will be very sticky, so it will take patience here to get them into a roll shape. It should equate to ~110 grams a roll.
Put them about an inch or so apart, as they rise again, potentially joining together.

Once your happy with the rolls, cover the tray with something like a large baking dish, and move it to warm spot so that they can rise. This will take another 1-1.5 hours

Put the oven on 190 degrees Celsius, about 10 minutes before your bread is finished rising.
Get the egg wash ready and once the rolls are finished rising, brush the entire top of them with the egg wash.

Cook for ~15 minutes or until golden brown.
Serving
I like to make my burger patties out of a special mince from Perth’s very own Gussface Grillah. His mince is fantastic. See https://www.facebook.com/gusfacegrillah/
Roll the gussface mince into 125 gram balls. cook them and assemble your burger how you like it.
Enjoy!!!
Josh
Here is some more from Josh and other baked goodies:
Written by
·
-
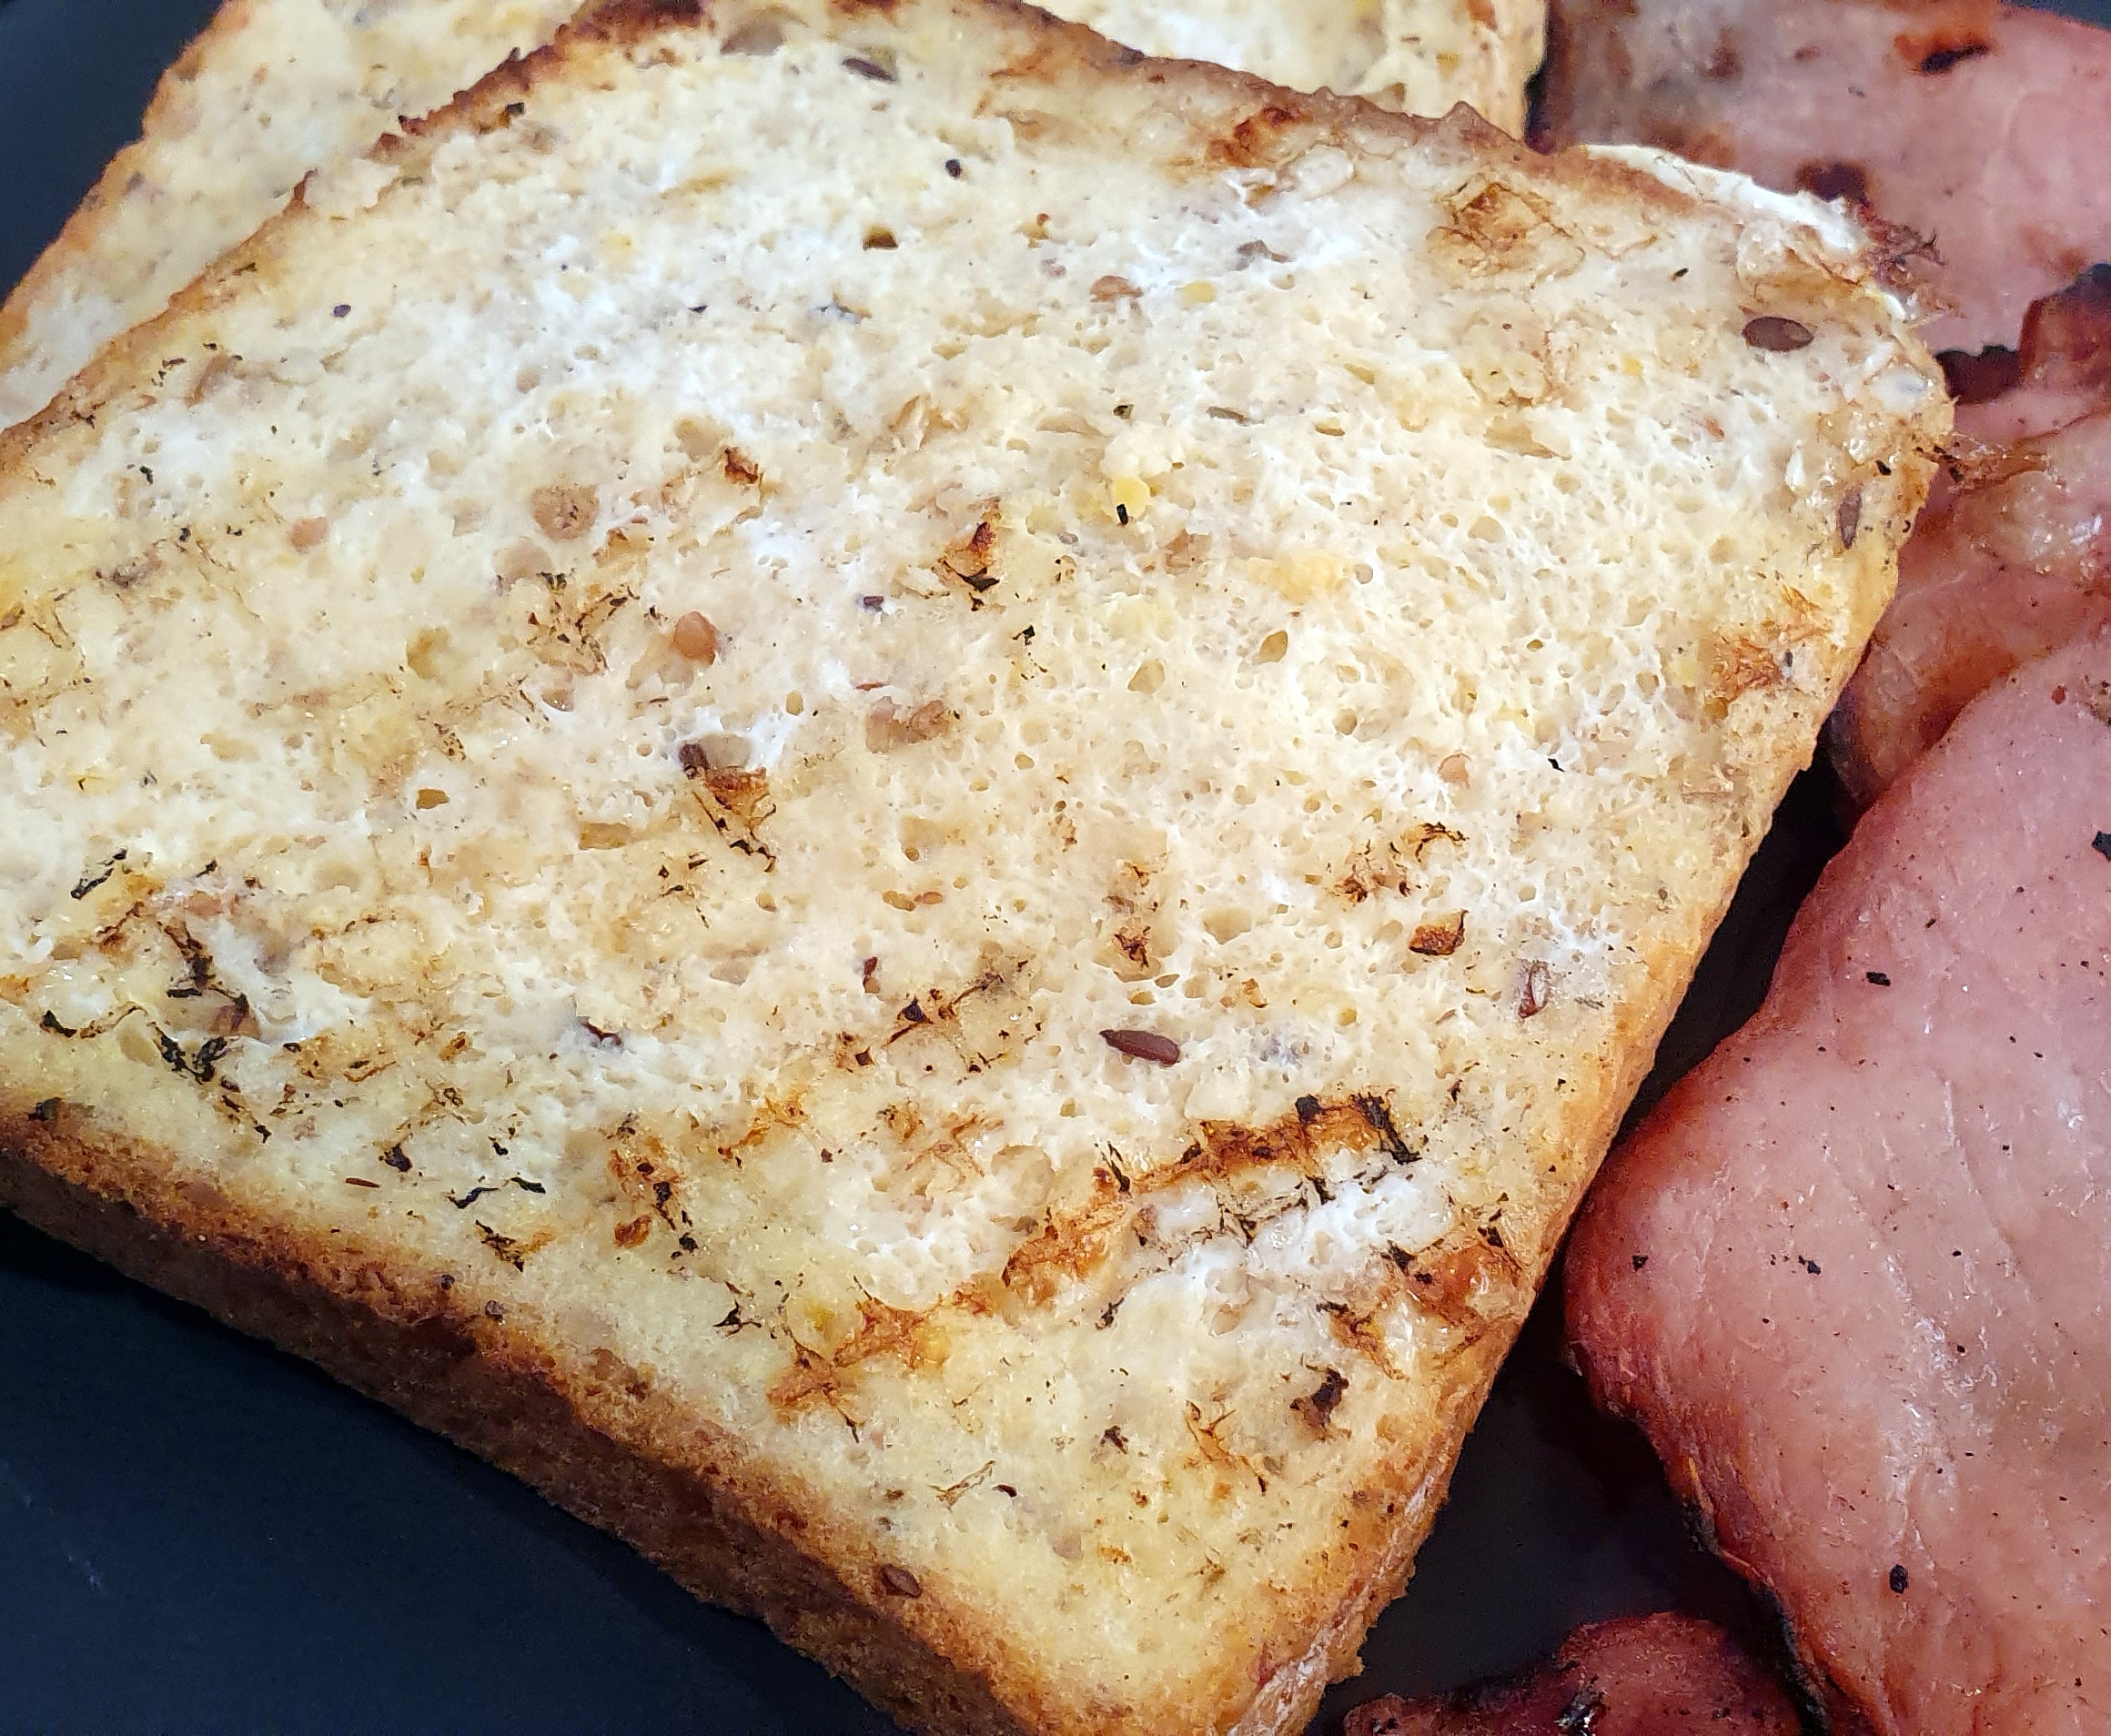
Simple French Toast
Bread soaked in an egg and milk mixture and then fried in butter!
How wonderful is French toast?It is so simple and quick to make that you can enjoy it for breakfast even on your busiest day.
Simply
Whisk an egg (for every few slices of bread) and add a dash of milk. Add a bit of sugar and cinnamon to the mixture if you want some sweetness.
Then pour the mix over the bread and wait for it to be absorbed.

Melt a bit of butter in a fry pan and cook the bread until the egg has set, flipping it over midway.
Serving
Serve hot with some bacon, fried mushrooms and tomatoes.

Enjoy,
PK
Here are some more easy to prep recipes and posts about egg:
Written by
·
-
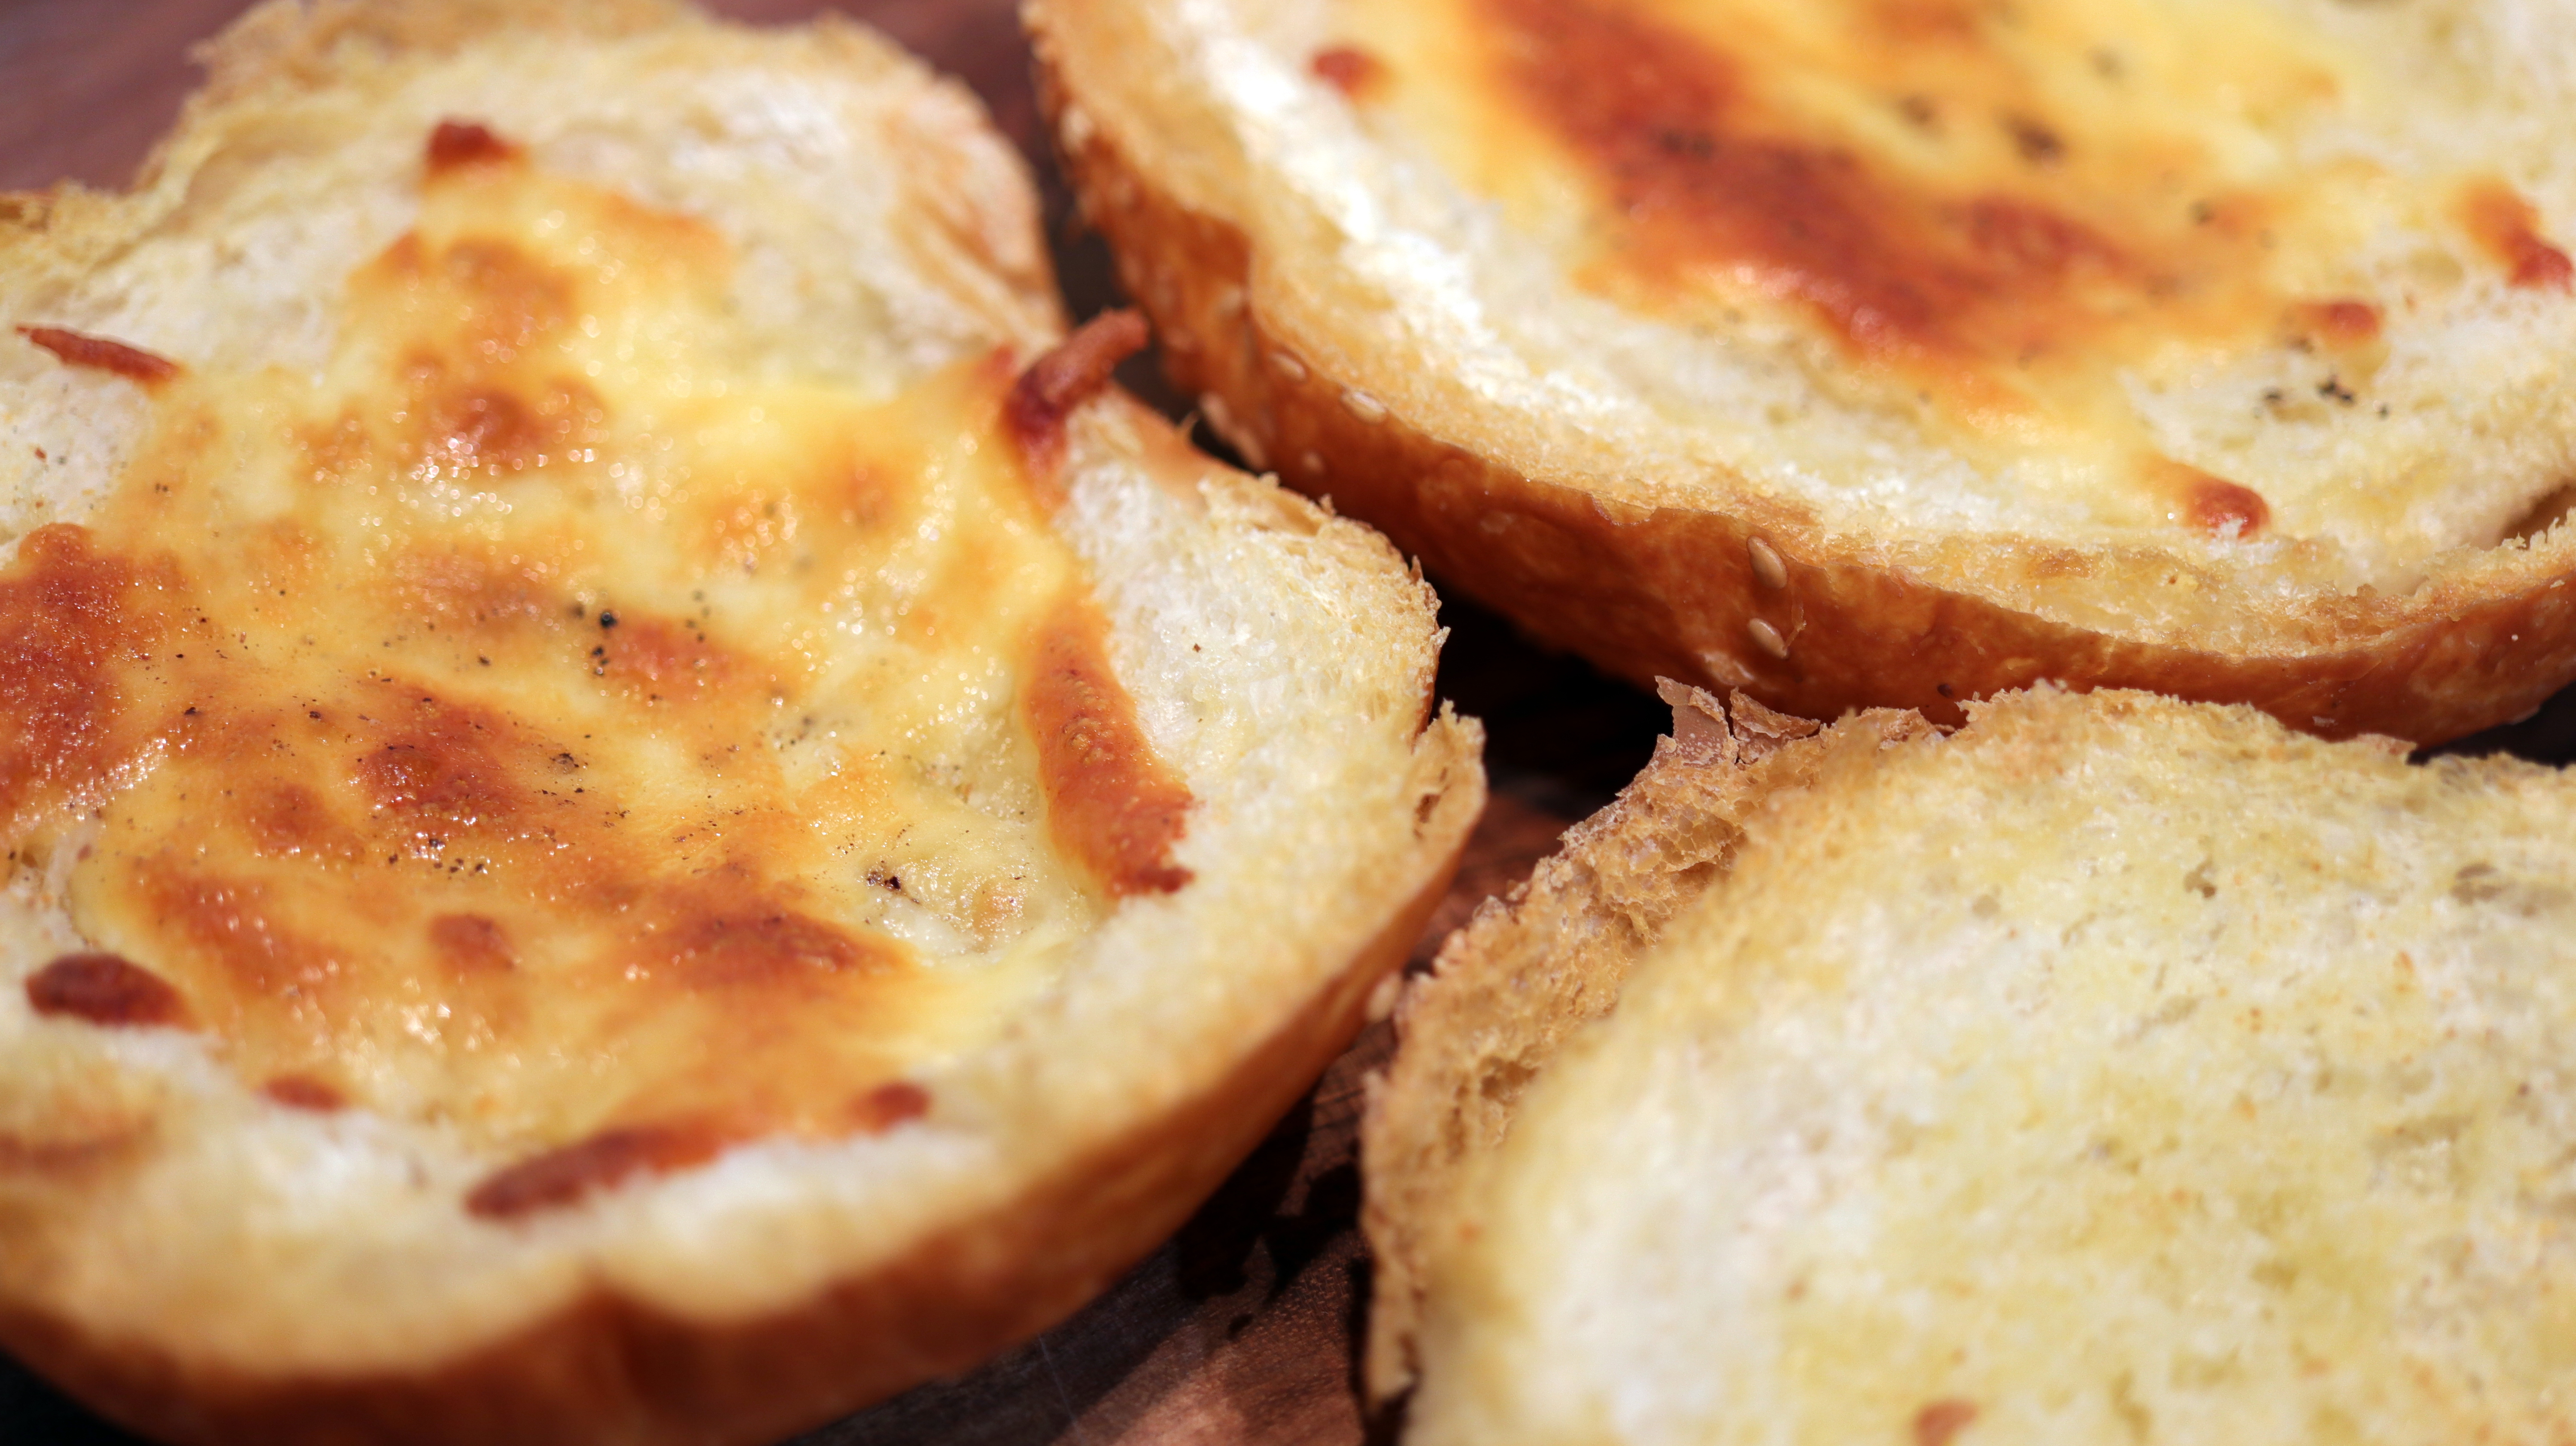
Homemade Garlic Bread
I had a hankering for garlic bread the other day. When I went to the freezer to see if we had some in I came up empty handed however.
I did a quick google and there were a lot of posts using bread, ground garlic and butter. So easy and the result was perfect. I will never buy frozen garlic bread again. 🙂
For the perfect garlic bread simply butter slices of bread and sprikle them with garlic powder.

Then pop them on an oven tray and into an oven on 210 C for about 10 minutes or until golden brown.

You can even add cheese!

Perfect with some spaghetti carbonara.

Enjoy,
PK

If you liked this post you might like these too. 🙂
Bread:
More Italiano (yes I know garlic bread is American haha)
Written by
·
-
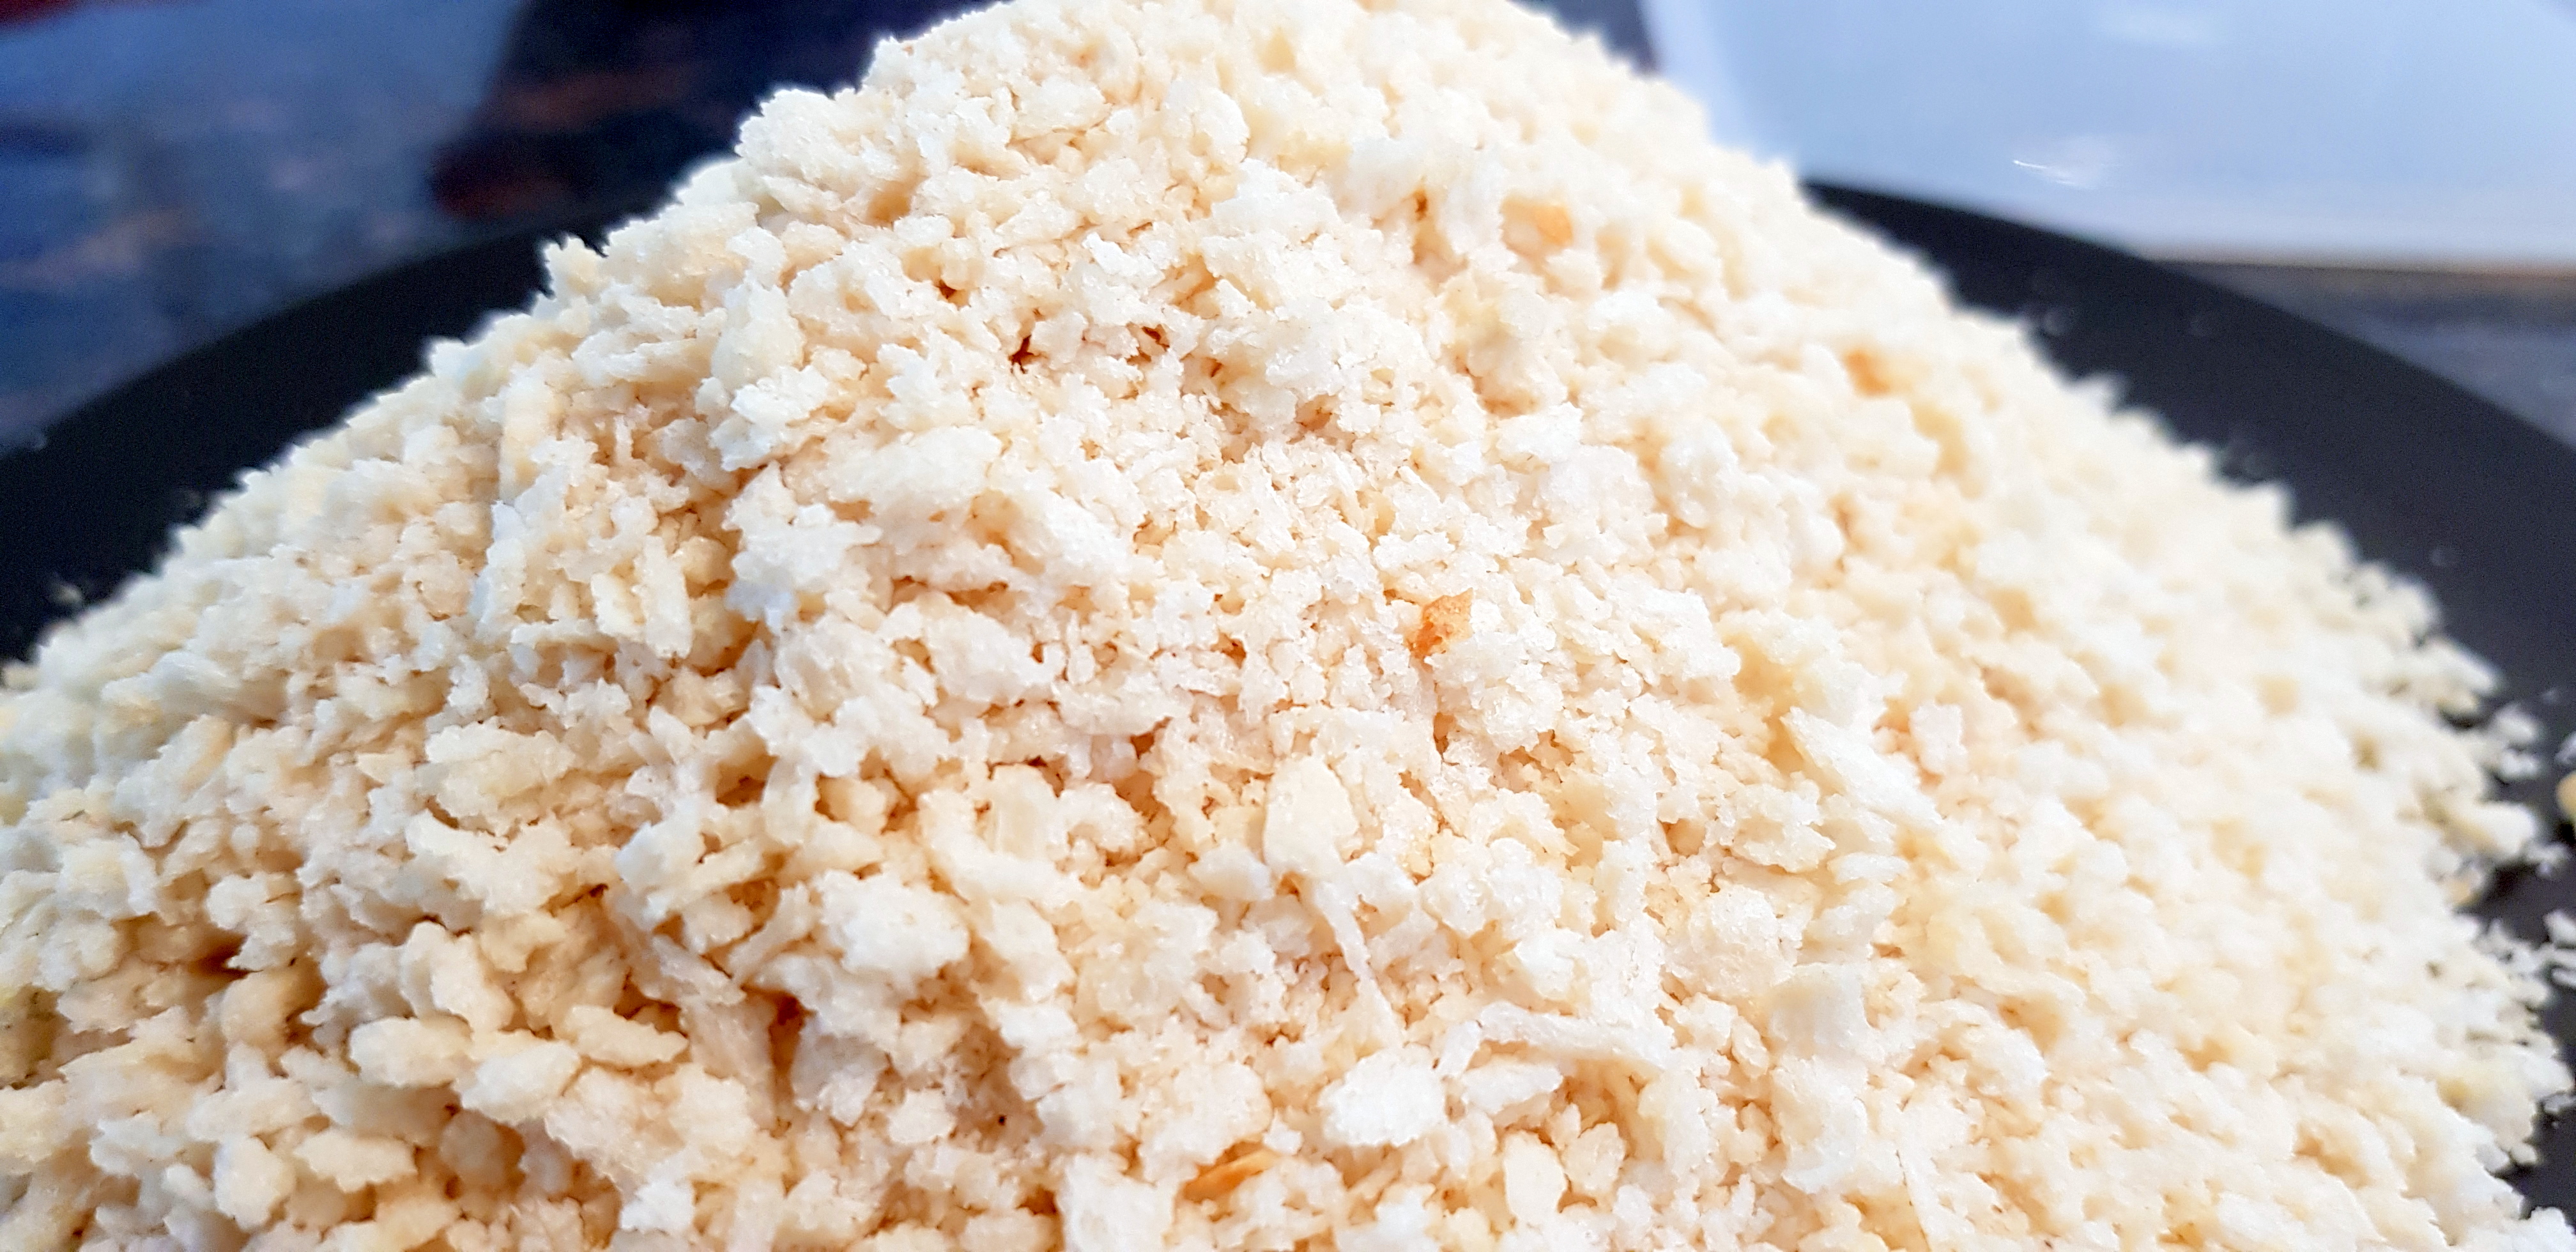
Panko Breadcrumbs
Panko breadcrumbs are made from white bread using a technique that gives large coarse flakes. This makes them fluffy and light when used.

I use them anywhere you would use regular breadcrumbs, especially when shallow frying crumbed meat and vegetables. If you haven’t used them before, drop what you are doing and go and buy some. 🙂
Look how light and golden they go when shallow fried in peanut oil.
I have some more recipes using panko for you in the links below. 🙂
This particular cooking ingredient is in PK’s Essential Pantry Cupboard Contents.
Enjoy,
PK
YOU MIGHT ALSO LIKE
MORE ON USING PANKO BREADCRUMBS
MORE ASIAN CUISINE
THE FULL GICICI INGREDIENTS LIST
Please consider subscribing to a weekly email summary of our posts or check us out on Facebook @growitcatchitcookit.
[mc4wp_form id=”15771″]
Written by
·
-
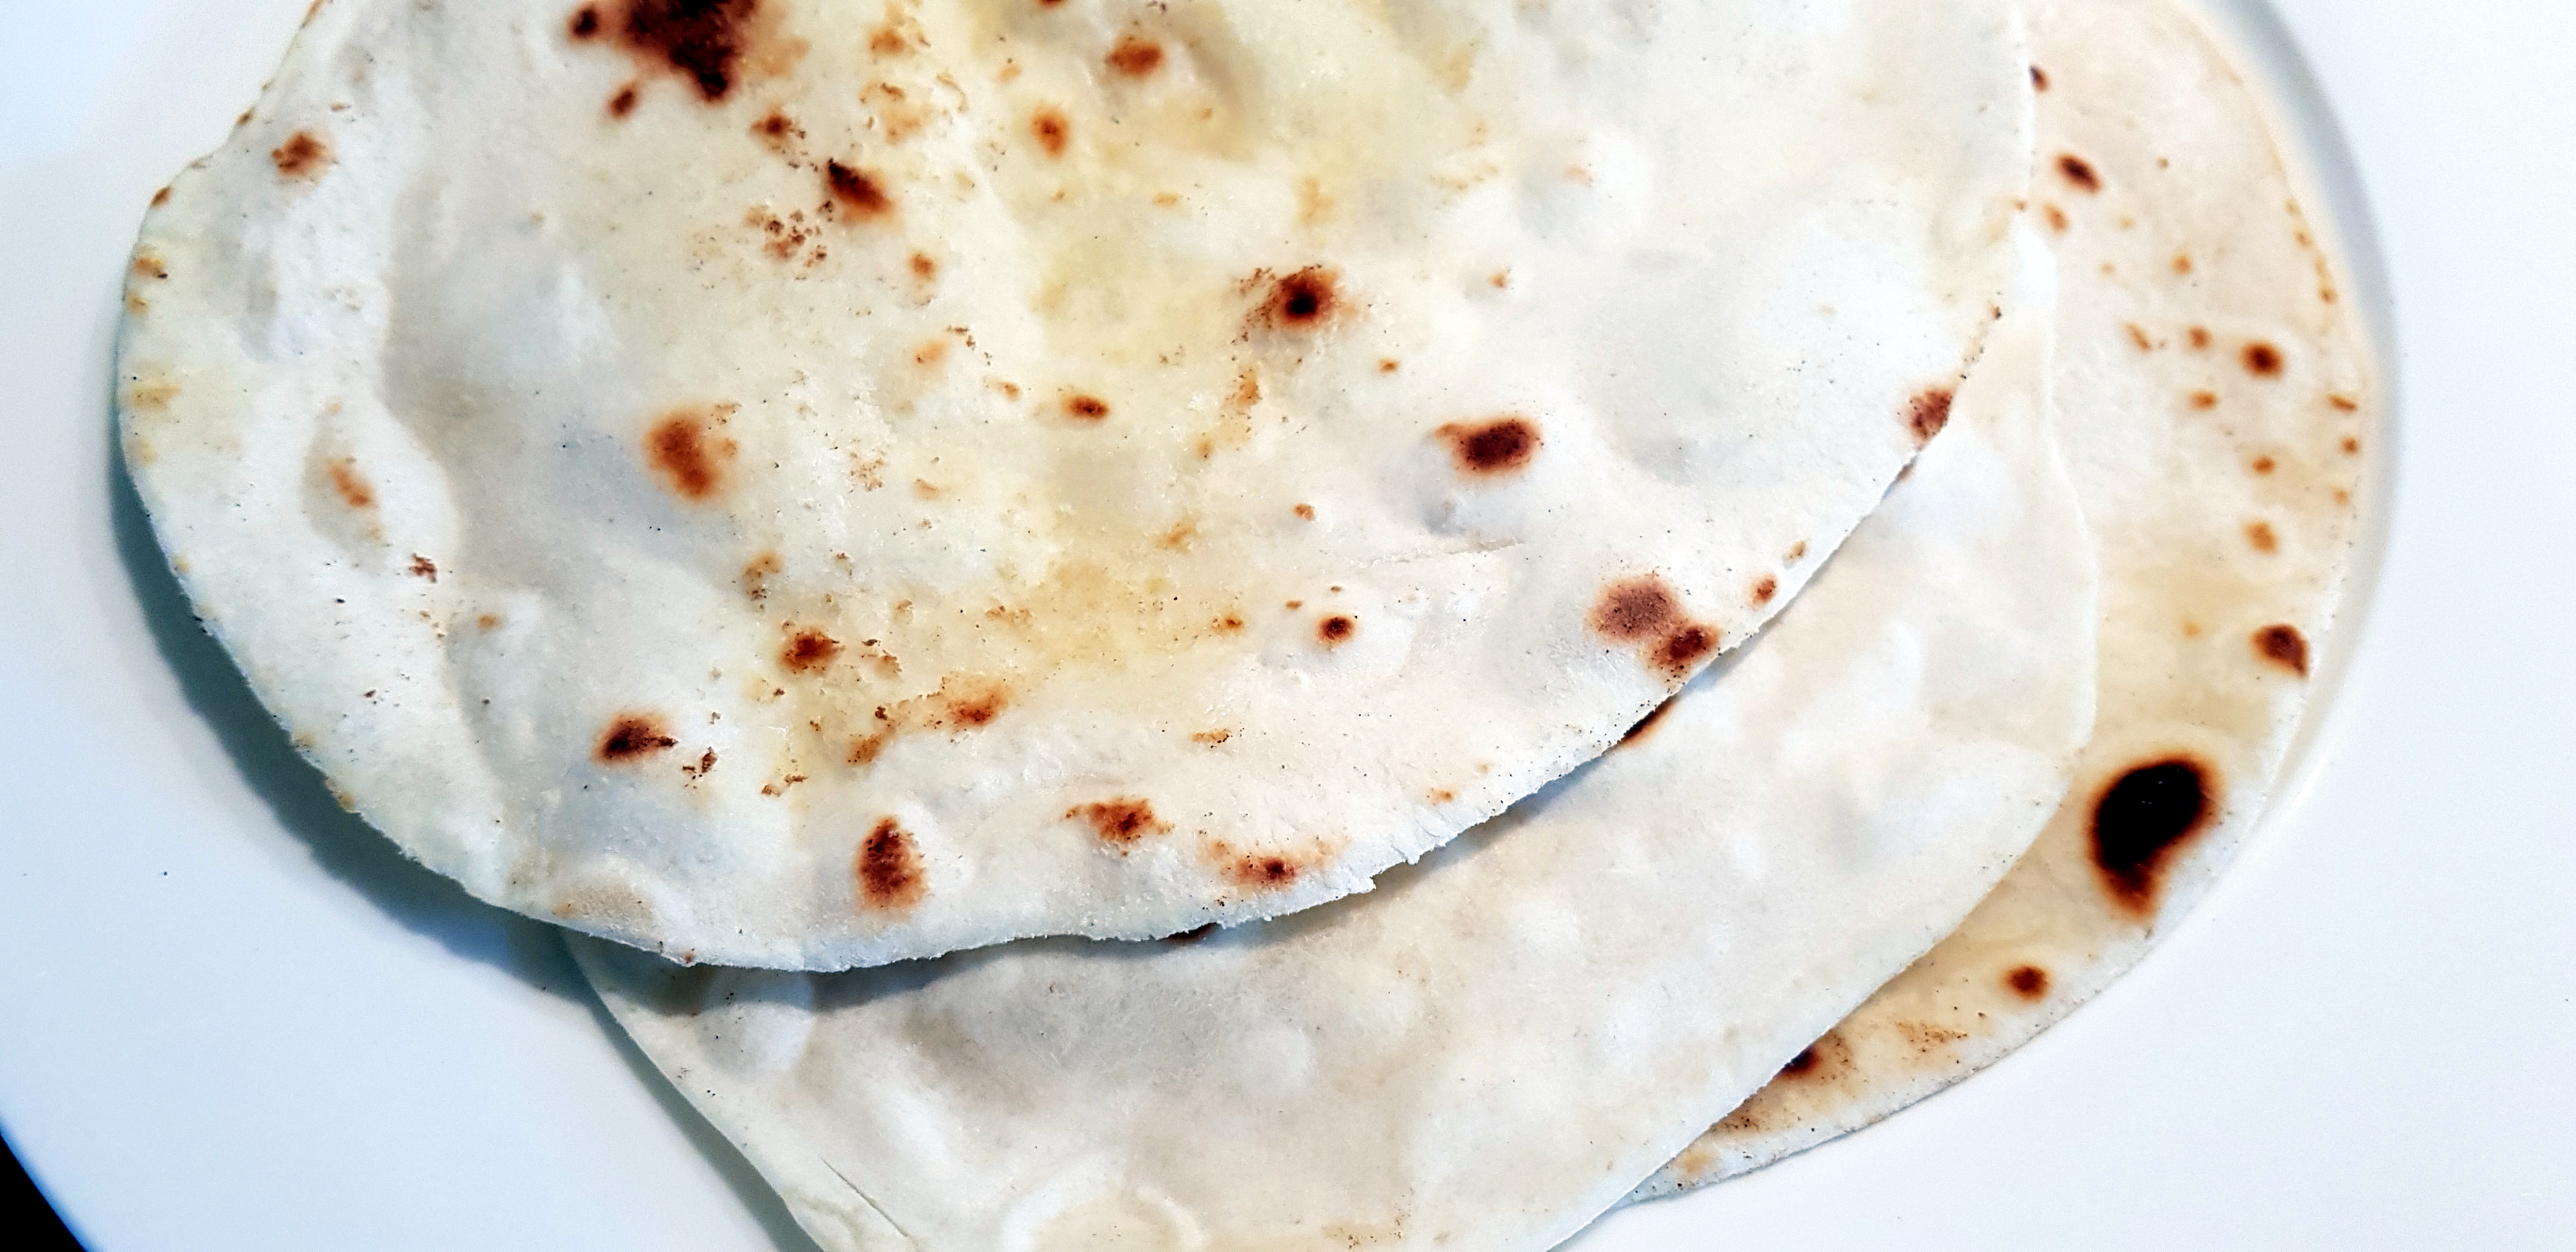
Semolina Flatbread: Rougag
This was my first time making flat bread and I am not much of a baker to begin with so I was stoked with the result. This has to be the oldest form of bread making (that long history in itself is exciting) and you are going need a lot of elbow grease and a bit of practice.

I tend to be drawn to dishes where the simplicity of the ingredients give no hint to the joy that the final product makes you feel. It is what compels me to cook and share my experiences with you.
Steps
- Making the dough
- Kneading the dough
- Cooking the bread
Ingredients (for 3 pieces)
- 100g wheat semolina (preferably from durum wheat and yellow colour)
- 1 tsp salt (I don’t use salt in the rest of my cooking so this was perfect, reduce if needed)
- Cold water
- Plain white flour, to dust work surfaces and hands
- Olive oil to coat fry pan each time
Equipment
- 1 mixing bowl
- 1 rolling pin
- 1 fry pan
Making the dough
- Put the semolina and salt into a mixing bowl.
- Add a tiny bit of cold water and mix with your hands.
- Keep adding cold water and mixing until the dough is elastic and smooth.

Kneading the dough
- Knead the dough for about 15 minutes (if like me you are new to this I have included an external youtube video with a great technique).
- Let the dough sit for 15 minutes and then break into balls (100g of semolina should about get you 3 balls).
- Sprinkle your work surface with some plain white flour and roll the balls out into very flat discs.
Cooking the bread
- Oil your fry pan and bring to a medium low heat.
- Cook one side of the bread, then the other, waiting for it to bubble before flipping.
- Turn the heat down a bit if you find the bread is burning before it is ready to be flipped.
- Wipe the pan clean.
- Repeat steps 1 to 4 for each piece of bread.


Serving
I roughly tore the bread and added them to a Moroccan Style Chickpea Stew With Lamb (ala Chakhchoukha) that I was trying to reverse engineer. It was the perfect taste and texture addition to the meal.
I even used it as a ‘spoon’ to get the last of the sauce from the bowl. A good sign of success and a use of the bread that I understand was probably the whole point mists of time.

Enjoy and please feel free to help me improve my bread making,
PK
YOU MIGHT ALSO LIKE
BAKING
NORTH AFRICAN CUISINE
Please consider subscribing to a weekly email summary of our posts or check us out on Facebook @growitcatchitcookit.
[mc4wp_form id=”15771″]
Written by
·
-

PK’s Jalapeno, Cheese and Bacon Hot Pockets
A good friend of mine recently asked me where my inspiration comes from when I decide what to cook.
Well, there are a number of factors, sometimes I need to use something in the garden that is going gang busters :).
For example, I have so many home grown Jalapeños and I am always looking for ways to avoid wasting them. There are only so many frozen chilis this family needs and all my friends’ freezers are full of them too.
I came across a recipe called Bacon Jalapeno Cheese Bombs and I knew I had found a winner (see it here). I thought it was excellent but I wanted to use home-made bread dough as I am a dough making newbie.
The result is something that growing up (in Perth, Western Australia) we called ‘hot pockets’. Basically a small chewy bread product full of cheesy goodness.
Notes:
- I was experimenting so they all look a bit different. Next time I am going to glaze them more with the egg mix and also add chopped coriander and diced capsicum.
- My taste-testers also suggested the best ones had a higher ratio of filling to dough and that adding a bit of salt to the dough mix would be good.
You will be:
- Prepping the fillings.
- Making the bread dough.
- Making the hot pockets.
- Cooking the hot pockets.
- Serving them up hot.
You will need:
- Ingredients:
- 600g bread flour and yeast (about enough to make 1 large white loaf)
- extra plain white flour to knead the dough
- a large handful of chopped jalapeños
- 2 large handfuls of cooled chopped crispy bacon
- a large chunk of mozzarella (in brine or vacuum packed is best)
- a small cup of milk or a whisked egg for glazing
- Equipment:
- a chopping board
- a long sharp knife
- a rolling pin
- a large bowl for making dough
- a large bowl for proofing the dough
- an oven tray line with a sheet of baking paper
- a pastry brush
Steps:
Prepping the fillings
- Chop the bacon rashers, cook them on the barbecue (for that smoky taste) and then pop them into the fridge to cool (you need about 2 handfuls).
- Finely chop the jalapeños with the result being about a handful.
- Slice sections of mozzarella, I went for discs about the size of an Australian 20c coin.
Making the bread dough
- Follow the standard method of making bread dough to just after the first rising (making bread dough is so much fun!).
- Give the dough ball a quick kneading and then roll it out somewhat.

Making the hot pockets
- Take a small ball of dough and flatten it down with your hand.
- Pop a disc of mozzarella on it, followed by some crispy bacon bits and chopped jalapeños.
- Then fold the dough around the fillings, crimp and then mould a bit with your hands.
- Pop them on a baking paper lined oven tray as you go.
- When you are finished, glaze each ball with egg or milk and then sprinkle any filling leftovers on the tops :).
Balls of dough ready for fillings:
They see me rollin’ (albeit badly):
Cooking the hot pockets
- Pop the tray into a pre-heated fan forced oven set to 200C.
- Cook for about 15 minutes and or they look golden brown.
Serving them up hot
Even though they can be improved, the result looked, tasted and smelt amazing :).
They were even good the next day after a quick zap in the microwave.

Enjoy,
PK
Related Links:
- see more recipes using chilis here
Please consider subscribing to get a weekly email summary of our posts.
[mc4wp_form id=”15771″]
Written by
·
-
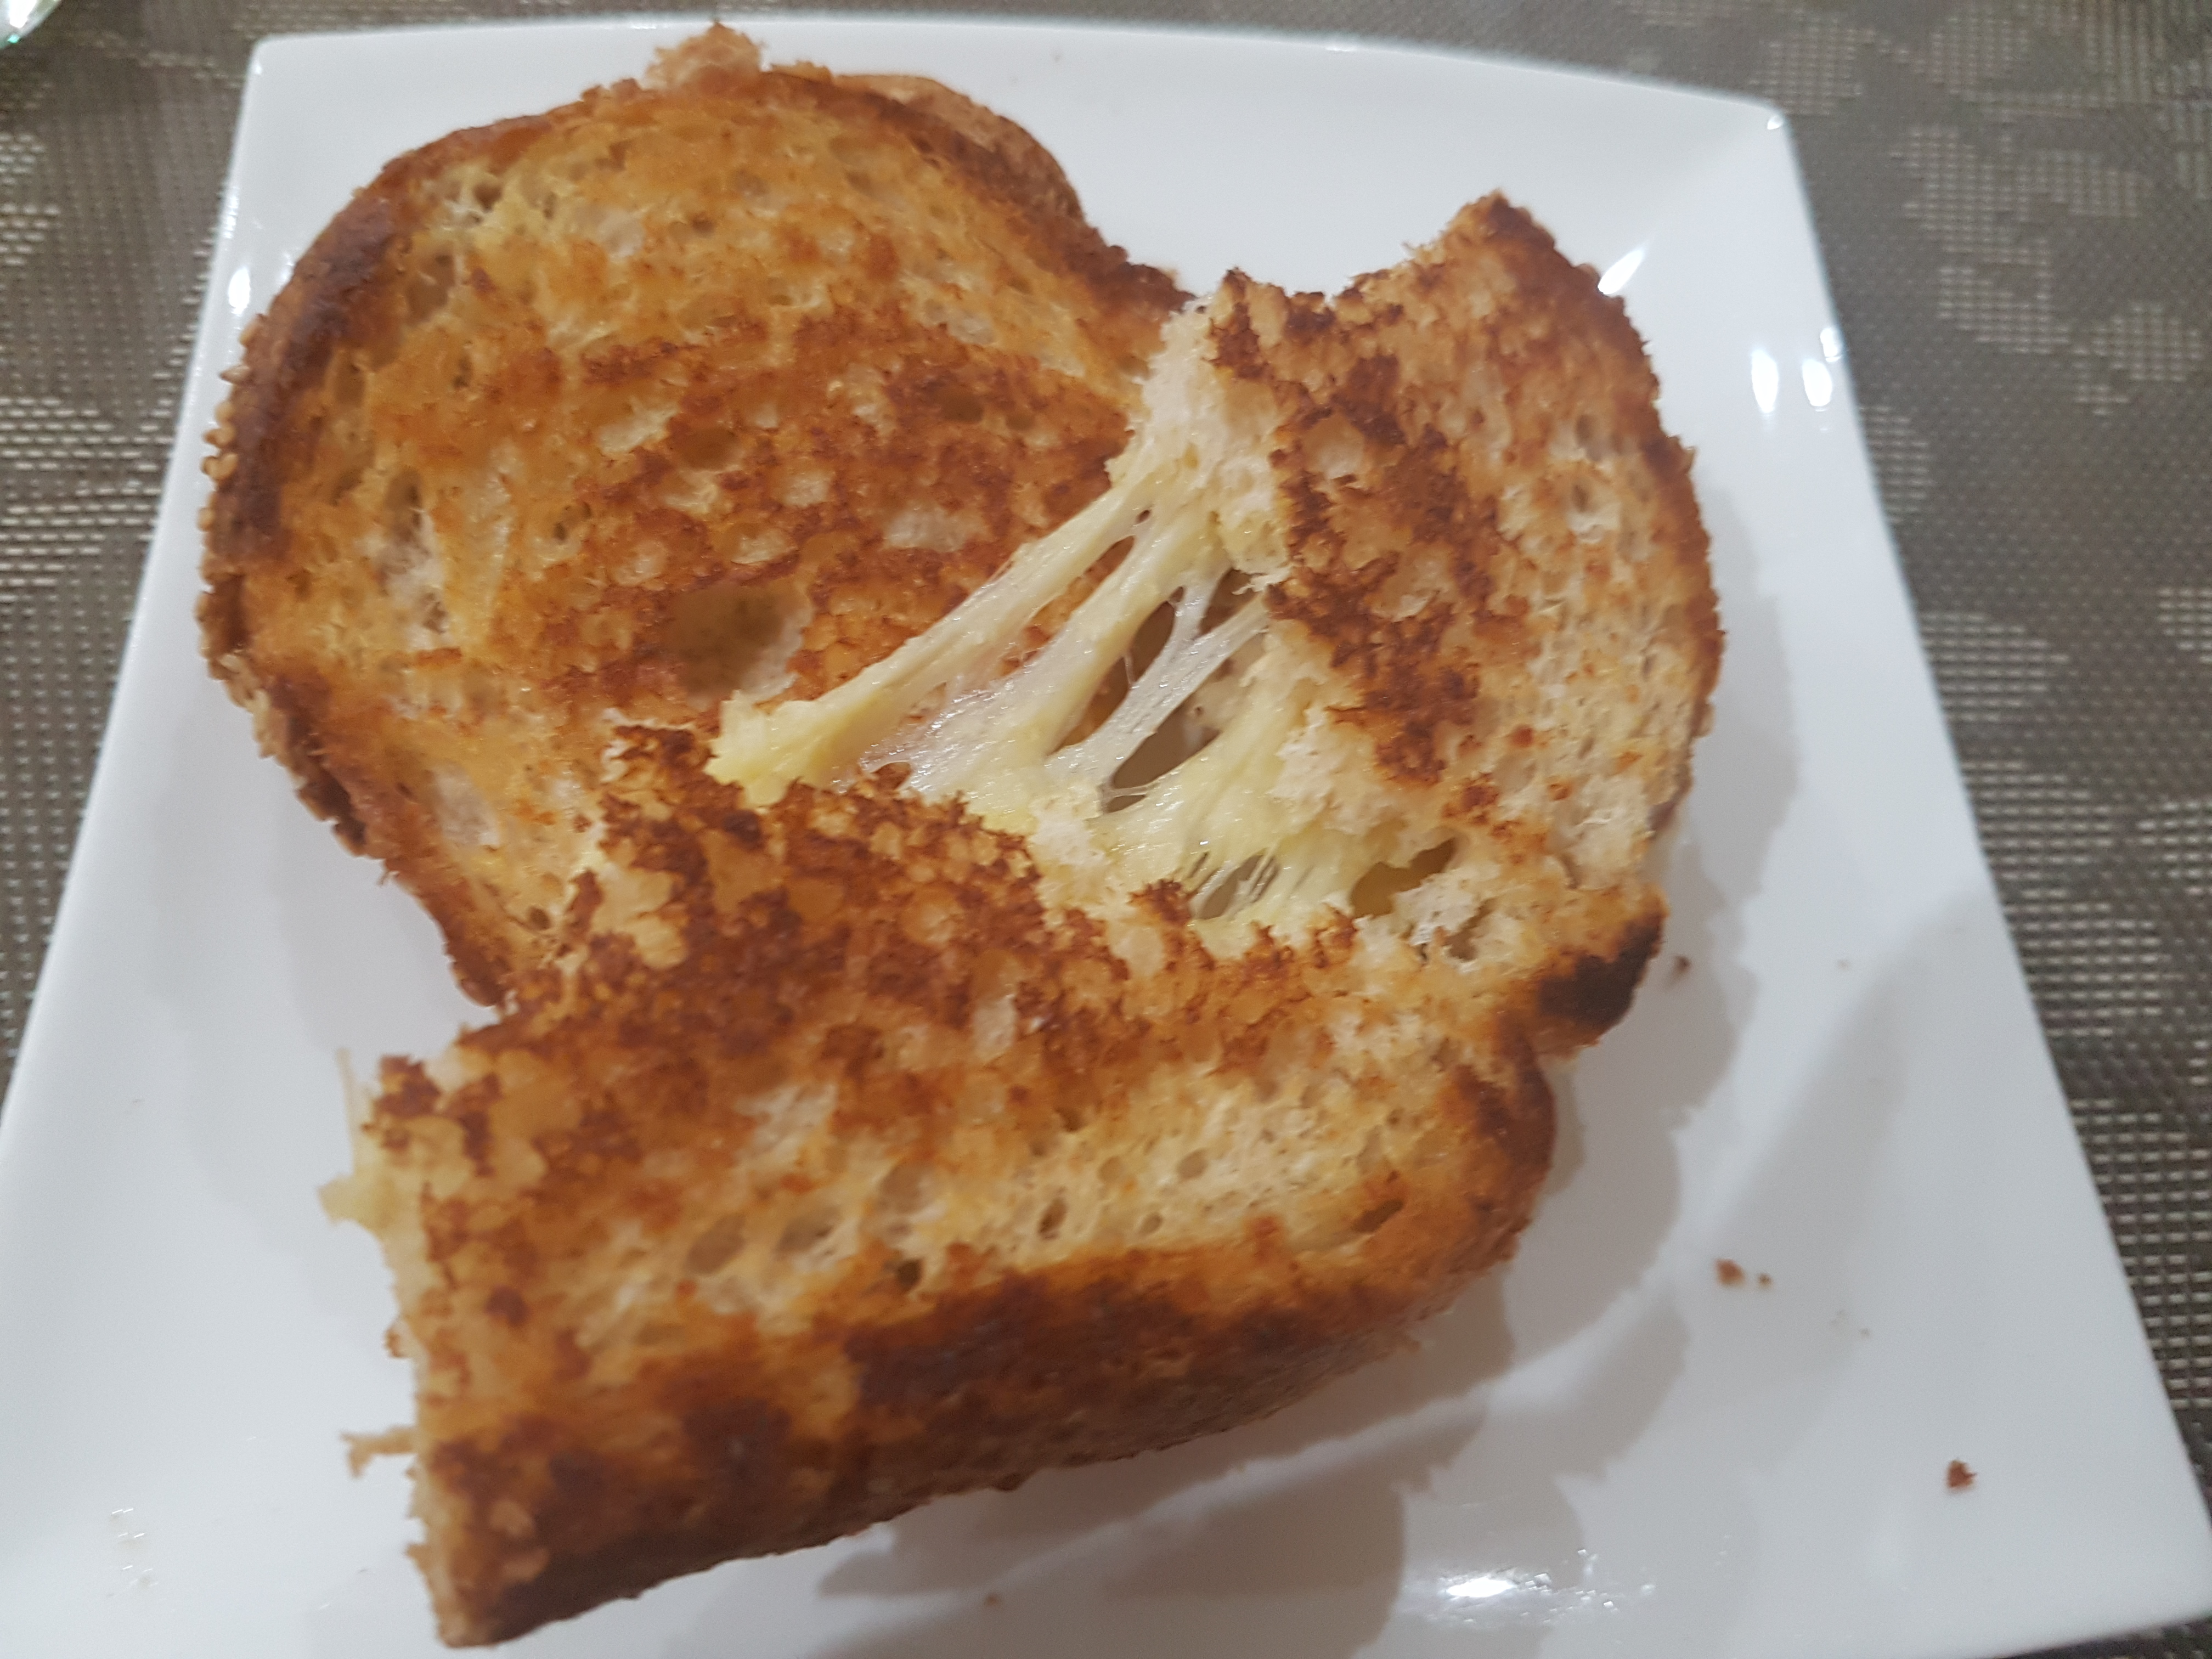
Welchy’s Ultimate Fry Pan Cheese Toastie
As a kid, the ultimate treat was one of Mum’s cheese toasted sandwiches. This wasn’t just your run of the mill, use-a-toaster type of toasted sandwich though. Mum perfected the Ultimate Cheese Toastie in the fry-pan! Buttery, toasted, crunchy goodness on the outside with superbly melted stringy cheese in the middle…served with you know…a heaping side of motherly love.
Look how simple the ingredient list is:

First off, I’d start with a blend of cheeses. I chose Cheddar, Kraft’s 4 cheese blend and Parmesan. Pick any cheeses you like though, Gruyere, Mozzerella, Havarti, anything that melts well. I cut up some fresh bread and butter and we’re ready to go!
Ingredients/Utensils
- Fresh bread
- Butter
- Cheeses (a few slices/enough for a sandwich) – Cheddar, American, Gruyere, Mozzarella, Parmesan, Four Cheese mix, whichever you prefer/have handy.
- Frying pan
Method
1. Butter both sides of the bread. Put a dollop of butter in the pan too for extra buttery crunch!

2. Place one side of the bread into the pan. Layer with your selected cheeses. Allow the bread to fry in the pan, usually about 30 seconds. Use a spatula to lift the corner and check if it’s browning. Once it starts to brown, add the lid of the sandwich and flip!

3. Fry the second side for 30 seconds to 1 minute, or until nicely browned.

And you are done!
This recipe isn’t much, it’s not difficult, and it can be made fairly quickly once you get the hang of it. Great to eat wrapped in some parchment paper as you race out the door, or as I prefer, at the table with a glass of ice cold milk.
Love Welchy,
Here are some more snacks and more Welchy posts”
Written by
·
-
Welchy’s Ultimate Cheese Toastie
As a kid, the ultimate treat was one of Mum’s cheese toasted sandwiches. This wasn’t just your run of the mill, use-a-toaster type of toasted sandwich though. Mum perfected the Ultimate Cheese Toastie in the fry-pan! Buttery, toasted, crunchy goodness on the outside with superbly melted and stringy cheese in the middle…served with you know…a heaping side of motherly love.

First off, I’d start with a range of cheeses. I chose Cheddar, 4 cheese blend and Parmesan. Pick any cheese you like though really, Gruyere, Mozzerella, anything that melts well. I then cut up some fresh bread and butter and we’re ready to go!
Ingredients/Utensils
- Fresh bread
- Butter
- Cheeses (a few slices/enough for a sandwich) – Cheddar, American, Gruyere, Mozzarella, Parmesan, Four Cheese mix, whichever you prefer/have handy.
- Frying pan
Method
1. Butter both sides of the bread. Put a dollop of butter in the pan too for extra buttery crunch!

2. Place one side of the bread into the pan. Layer with the cheddar, then the four cheese mix and top off with the Parmesan. Allow the bread to fry in the pan, usually about 30 seconds. Use a spatula to lift the corner and check if it’s browning. Once it starts to brown, add the lid of the sandwich and flip!

3. Fry the second side for 30 seconds to 1 minute, or until nicely browned.

And you are done!
This recipe isn’t much, it’s not overly difficult, and can be made fairly quickly once you get the hang of it. Great to eat wrapped in some parchment paper as you race out the door, or as I prefer, at the table with a glass of ice cold milk. Enjoy…!

Written by
·