Tag: vinegar
-

Ben’s Beef Jerky
Beef jerky is a great snack.
Its healthy, flavoursome, and gives you a little burst of energy. I never follow a recipe, so everything is quantity based and taste based. I use a dehydrator to dry the beef, however a light box will be just as good (if not better), it just takes longer.
If I had to roughly write down what I do, this would be it:
- Put into a bowl ~2 tbsp each of Soy sauce and Worcestershire sauce. Add in ~1 tsp malt or brown vinegar, and ~3 tbsp sugar. Mix till dissolved, taste and adjust as necessary until you have a nice flavour.

- Add in any other flavours you like. I will usually add a combination of chilli, smoked paprika, smoke water, coriander seeds (ground), onion or garlic powder.
- Cut ~1 -1.5 kg beef (try to get a topside or silverside) into strips ~1x1cm, as long as you like.
- Trim any fat off.
- Soak the beef in the sauce for 2-3 hours, making sure it is all well mixed.
- Place beef into dehydrator/light box, turn on and leave until you are happy with the toughness of the jerky (I like it tough, so ~24 -36 hours in the dehydrator). Also make sure it is preserved well enough to avoid food poisoning.
Couldn’t be easier,
Ben
Here are some additional Jerky recipes and more from Ben:
Written by
·
- Put into a bowl ~2 tbsp each of Soy sauce and Worcestershire sauce. Add in ~1 tsp malt or brown vinegar, and ~3 tbsp sugar. Mix till dissolved, taste and adjust as necessary until you have a nice flavour.
-

Ben’s Windfall Lime Pickle
This windfall lime pickle is a prime example of preserving your harvests. I encourage you to eat fresh produce during their particular growing season and then their (hopefully made by you) preserved cousins off season. The mass produced commercial versions just don’t compare.
It’s important to use very ripe limes. I use the ones that have fallen from the tree, or are about to, that have a yellowing skin and lots of juice :).
These are the sweetest, using under ripe limes will give you a pickle that is very tart. I wash the limes in a weak vinegar:water solution prior to using, to make sure they are clean and not going to contaminate the pickle (because they have come from the floor and I have dogs).
To sterilise the jars, I put them through the dishwasher and then boil them in a pot of water. If the pickle isn’t ready when the jars are, pop them in the oven (no plastic lids) on very low to keep them hot. You should put hot pickle into hot jars for two reasons. One, because you won’t thermally shock and crack the jars and two because as the jar and mixture cool they will form a vacuum, meaning the pickle lasts longer.
The recipe:
You will need
- 30 limes, washed and diced into ~1cm blocks (skin on)
- 10-20 small chilis, sliced (add to taste)
- 2 tsp turmeric
- 2 tbsp salt (sea salt preferred always)
- 4 tbsp oil (olive or sunflower work best)
- 2 tsp fenugreek
- 2 tsp aniseed or fennel (I use fennel seed)
- 2 tsp garlic seed
- 2 tsp chilli flakes
- ~10 cm ginger grated
- 4 tbsp raw brown sugar
- 2 tbsp vinegar (i use apple cider or brown malt, but also you can use white wine)
Method
- Combine limes, chilli, salt, turmeric into a glass or ceramic bowl, mix and leave at room temperature overnight.
- Heat oil in large pot, add fenugreek, fennel seed, chilli flakes, ginger, garlic powder and cook off to release flavour (2-3 minutes).
- Add lime and chilli mixture, mix well and let it simmer and then turn the heat down for about 20 minutes, or until the lime softens and the mixture thickens.
- Add in the vinegar and sugar, mix well and cook for about 5 minutes. The vinegar acts as a preservative.
- Let the mixture cool slightly, then add to hot, sterilised jars. Seal jars, and place into a cool, dark spot for ~1 month to let the flavour develop.
Cleaning the limes:

Leave the mix overnight:

The finished product (we cracked into it early):


Hope you have more patience than me,
Ben 🙂
Here are some additional preserving food ideas and more from Ben:
Written by
·
-

PK Makes Apple Cider Vinegar
So I took one of my reader’s suggestions last week when I was making my hard cider that I make some apple cider vinegar at the same time.
Here you go Grant :).
I found this wonderful method on Tales of a Kitchen and gave it a go with the idea of making my own starter ‘mother‘ for next time and also getting some yummy vinegar for cooking.
Don’t forget careful hygiene with this method. I sterilised everything with boiling water before I started and if the mix starts to smell or look funky I will throw it out and start again.
Steps:
I took some of the left over apples from the cider pressing and popped them into a large glass beer stein. You can use any part of the apple, even the cores and seeds!
I added 4 tsp of raw sugar and enough filtered water to cover the apples. I had a problem keeping the apple chunks down and below the water line. I tried an orange in a bag but it got mouldy :(.
Some more Googling and I came across phickle.com. They suggested using a hessian bag and some ceramic pie weights. I can’t spruik this idea enough. The bag pushes the fruit down and stops them going off and mouldy.
I then put a tea towel over the top of the stein and placed it at the back of a cupboard. Bubbles started almost immediately showing that the fermentation had begun. A few days later and I had a nice creamy layer of ‘mother’ and a nice sweet smell.
Update (1 month in):
I checked several times over the last month that the ‘mother’ was still white and there was no mould or nasty smells. Everything looked good so I moved on to the next stage.
I strained the liquid in a metal sieve and discarded the apples. They looked nice though.

Then I added the strained liquid and the dregs from the beer stein to a clean jar. I will leave this mix for another 4 to 6 weeks, stirring it every now and again.

See you in another 6 weeks, I hope :D.
Wishing you fun in the kitchen,
PK
Related Links:
Please consider subscribing to get a weekly email summary of our posts.
[mc4wp_form id=”15771″]
Written by
·
-

The Easiest Coriander And Garlic Sauce
Coriander based sauces provide a real flavour boost to your dishes. I love drizzling them in everthing from salads to steaks and potato side dishes, If you give the ingredients below a whizz in a blender (rather than a fine chopping) you will get an amazing dipping sauce for spring rolls and the like.

I used this recipe originally from http://www.tarladalal.com (this site is amazing FYI) and I am going to experiment a bit with the amount of garlic and sugar.
You will need:
- Ingredients:
- 1 Tbsp brown sugar
- 2 cloves garlic
- 1 Tbsp coriander leaves (cilantro)
- 1 Tbsp fresh green chilis
- 0.5 Tbsp fresh lemon juice
- 2 tsp white vinegar
- 2 Tbsp water
- Equipment
- a chopping board
- a long sharp knife
- a medium sized bowl
- a serving bowl
- optional: a wet blender with a very small bowl
Making the sauce

Steps:
- Rough chop the 1 Tbsp of coriander leaves.
- Peel and finely chop the 2 garlic cloves. I use the knife to gently smash the garlic clove first to make it easier to peel.
- Finely chop the 1 Tbsp worth of green chilis.
- Pop those ingredients to a bowl.
- Squeeze about 0.5 Tbsp of lemon juice and add this to the bowl along with:
- 1 Tbsp brown sugar
- 2 tsp white vinegar
- 2 Tbsp water
Now you can either mix the sauce with a fork for a a crunchier sauce or blend it in the wet mixer for a few pulses.

Enjoy,
PK
Here are some more sauces, condiments and dips along with other cooking staples:
Written by
·
- Ingredients:
-
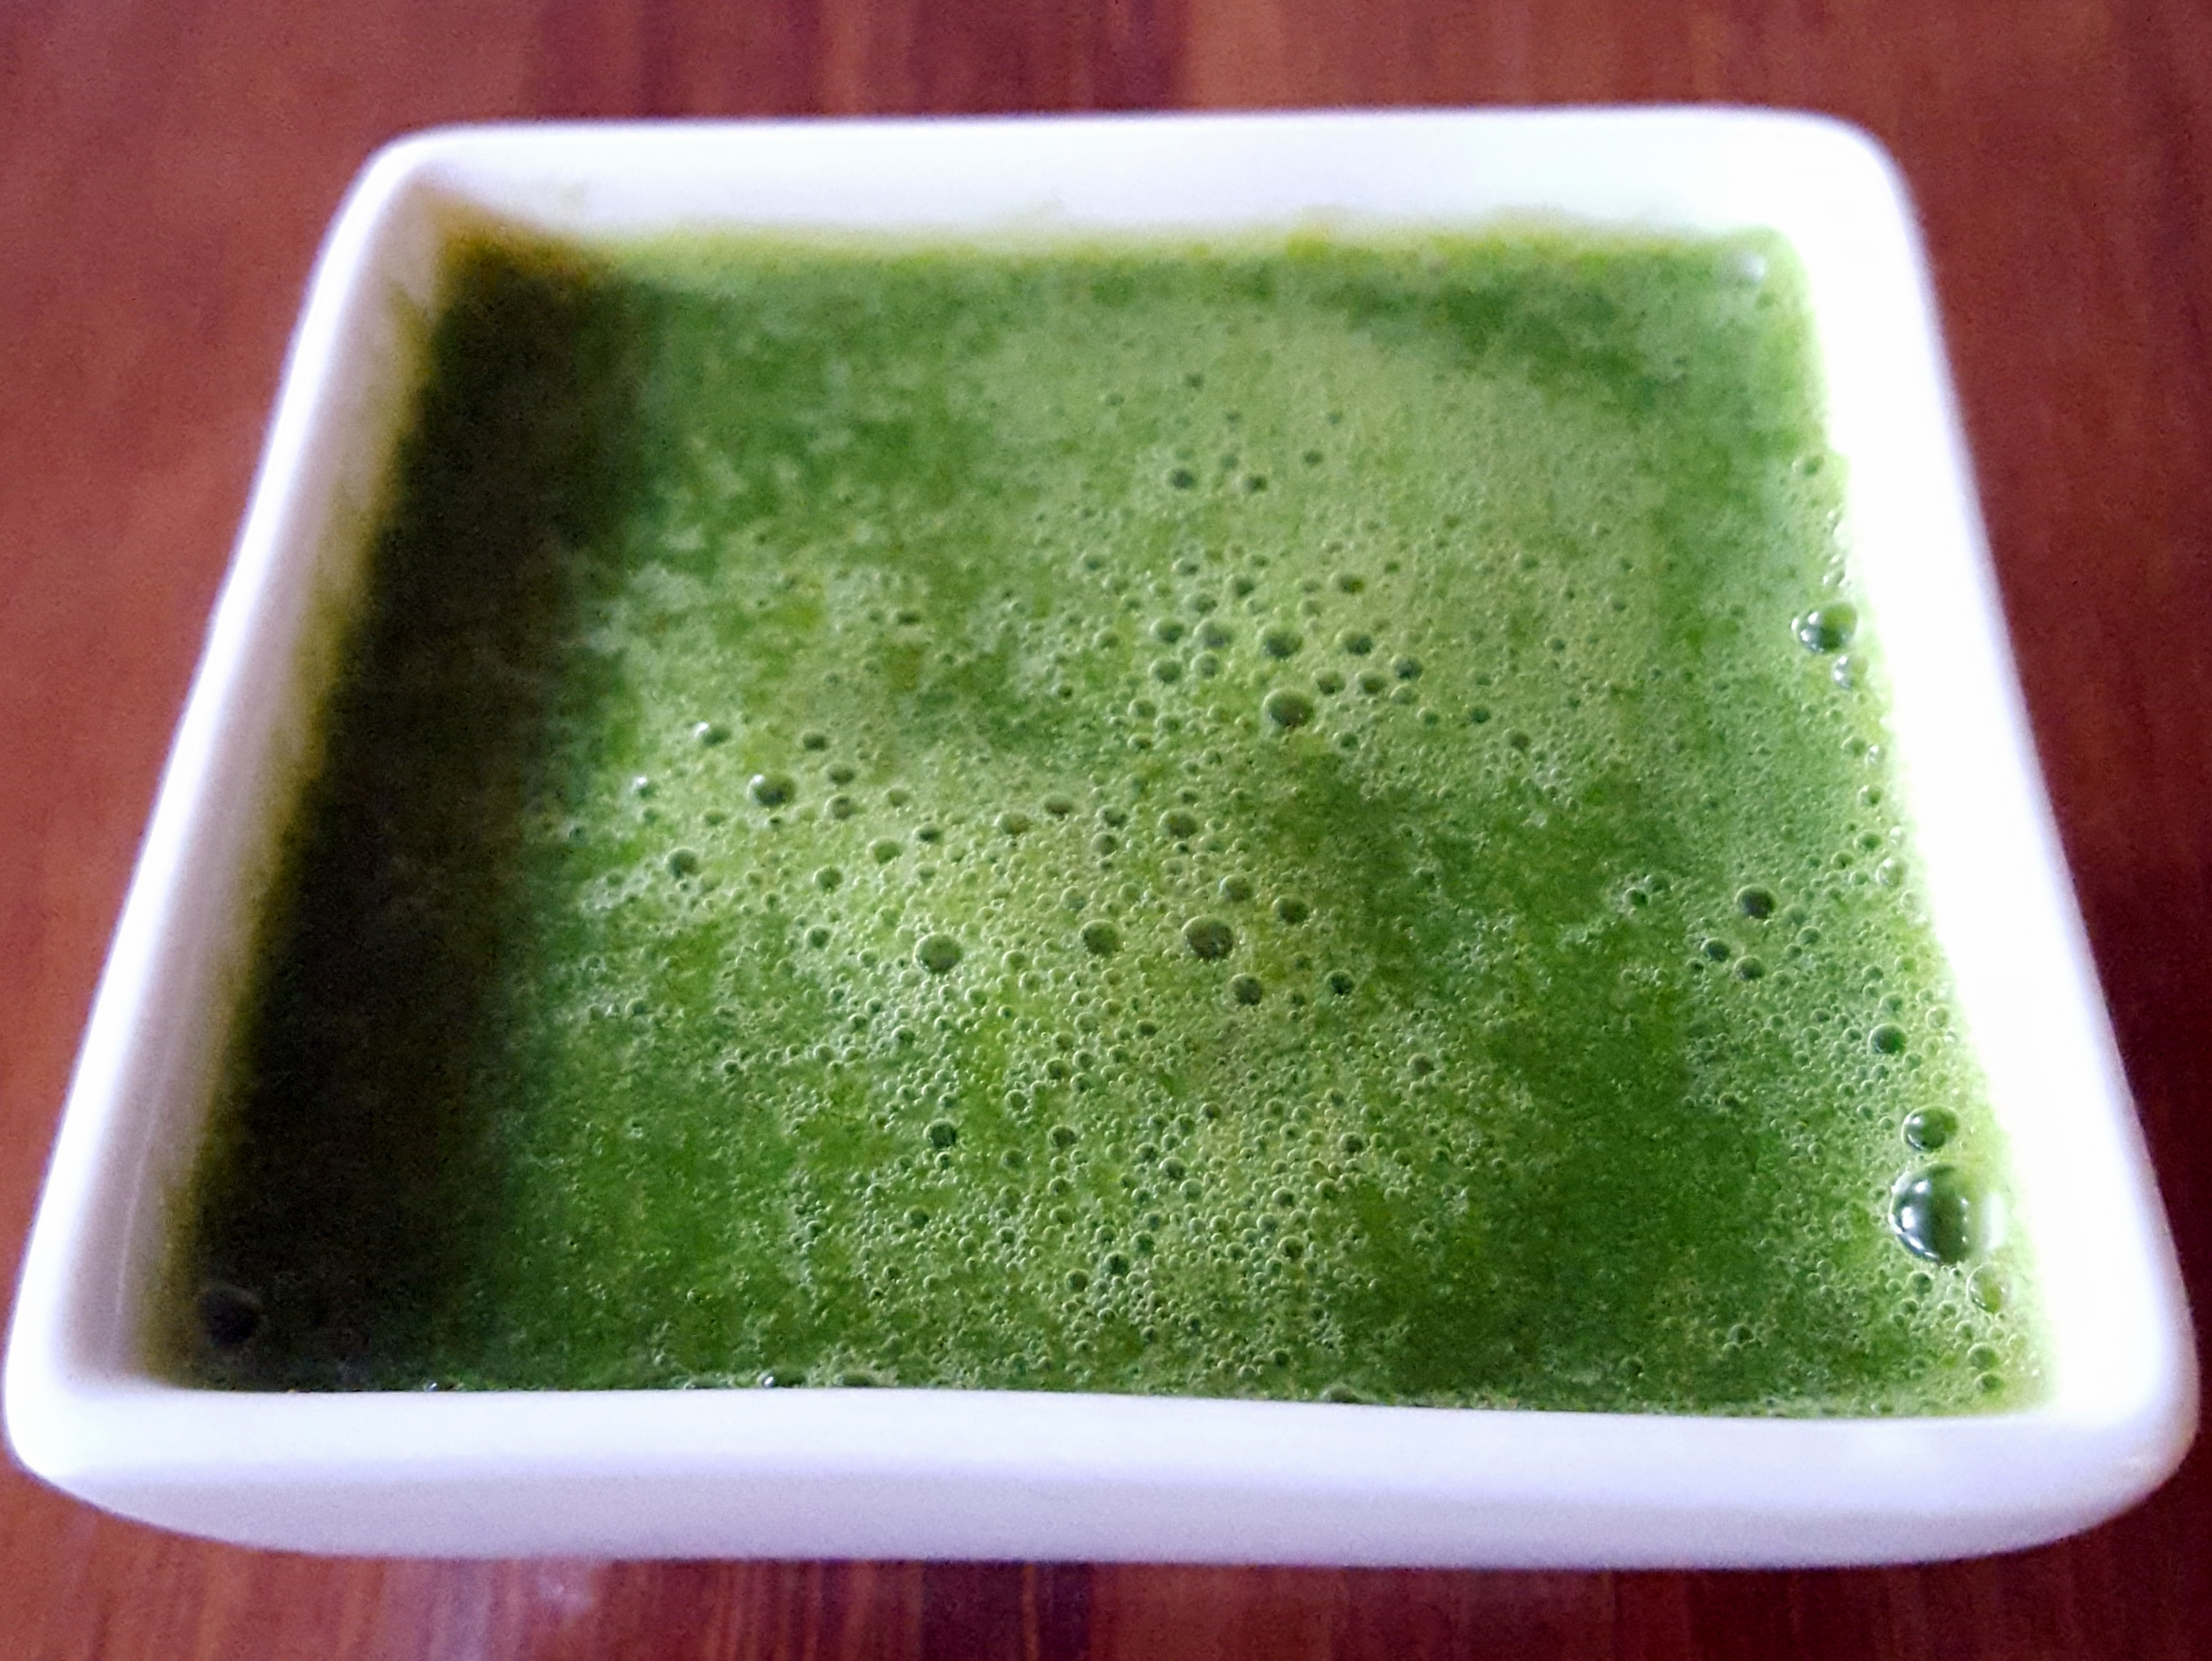
PK’s Coriander And Garlic Sauce
I first had this sauce (store bought) when I was in Darwin 2016.
It is simple to make but it packs a real astringent wallop. I used this recipe originally from http://www.tarladalal.com/ (this site is amazing FYI) and I am going to experiment a bit with the amount of garlic and sugar . I also blended it the first time and I think that made it too potent :).
It goes great drizzled on a green or your Asian salad of choice. You can even use it as a dipping sauce for spring rolls and the like.
You will need:
- Ingredients:
- 1 Tbsp brown sugar
- 2 cloves garlic
- 1 Tbsp coriander leaves (cilantro)
- 1 Tbsp fresh green chilis
- 0.5 Tbsp fresh lemon juice
- 2 tsp white vinegar
- 2 Tbsp water
- Equipment
- a chopping board
- a long sharp knife
- a medium sized bowl
- a serving bowl
- optional: a wet blender with a very small bowl
Make the sauce

Steps:
- Rough chop the 1 Tbsp worth of coriander leaves and add them to a bowl.
- Peel and finely chop the 2 garlic cloves. I use the knife to gently smash the garlic clove first to make it easier to peel. Chuck this in the bowl.
- Finely chop the 1 Tbsp worth of green chilis and (you guessed it) add it to the bowl.
- Squeeze about 0.5 Tbsp of lemon juice and add this to the bowl along with:
- 1 Tbsp brown sugar
- 2 tsp white vinegar
- 2 Tbsp water
- Now you can either mix the sauce with a fork or optionally blend it in the wet mixer for a few pulses.

Enjoy,
PK
Written by
·
- Ingredients: