-

Cheese: Emmental
View recipe: Cheese: EmmentalEmmental is a hard cow milk cheese that hails from Switzerland.
It is what we refer to in Australia as ‘Swiss Cheese’ because of the characteristic holes caused by helpful bacteria. When the cheese cools, during the ageing process, the bubbles formed in the molds remain.

Milk
Cow
Origin
Switzerland
Aged
Varies from weeks to a few years
Aroma
Mild but fruity.
Taste
Very mild and a bit squeaky on the teeth.
Texture
Firm.
Look
Slightly yellow with a thin rind.
Serving
Perfect by itself or on a tasting plate. I love it in a toasted sandwhich.

Wine
Fruity, late harvest whites.
Here are some more posts about cheese:
-
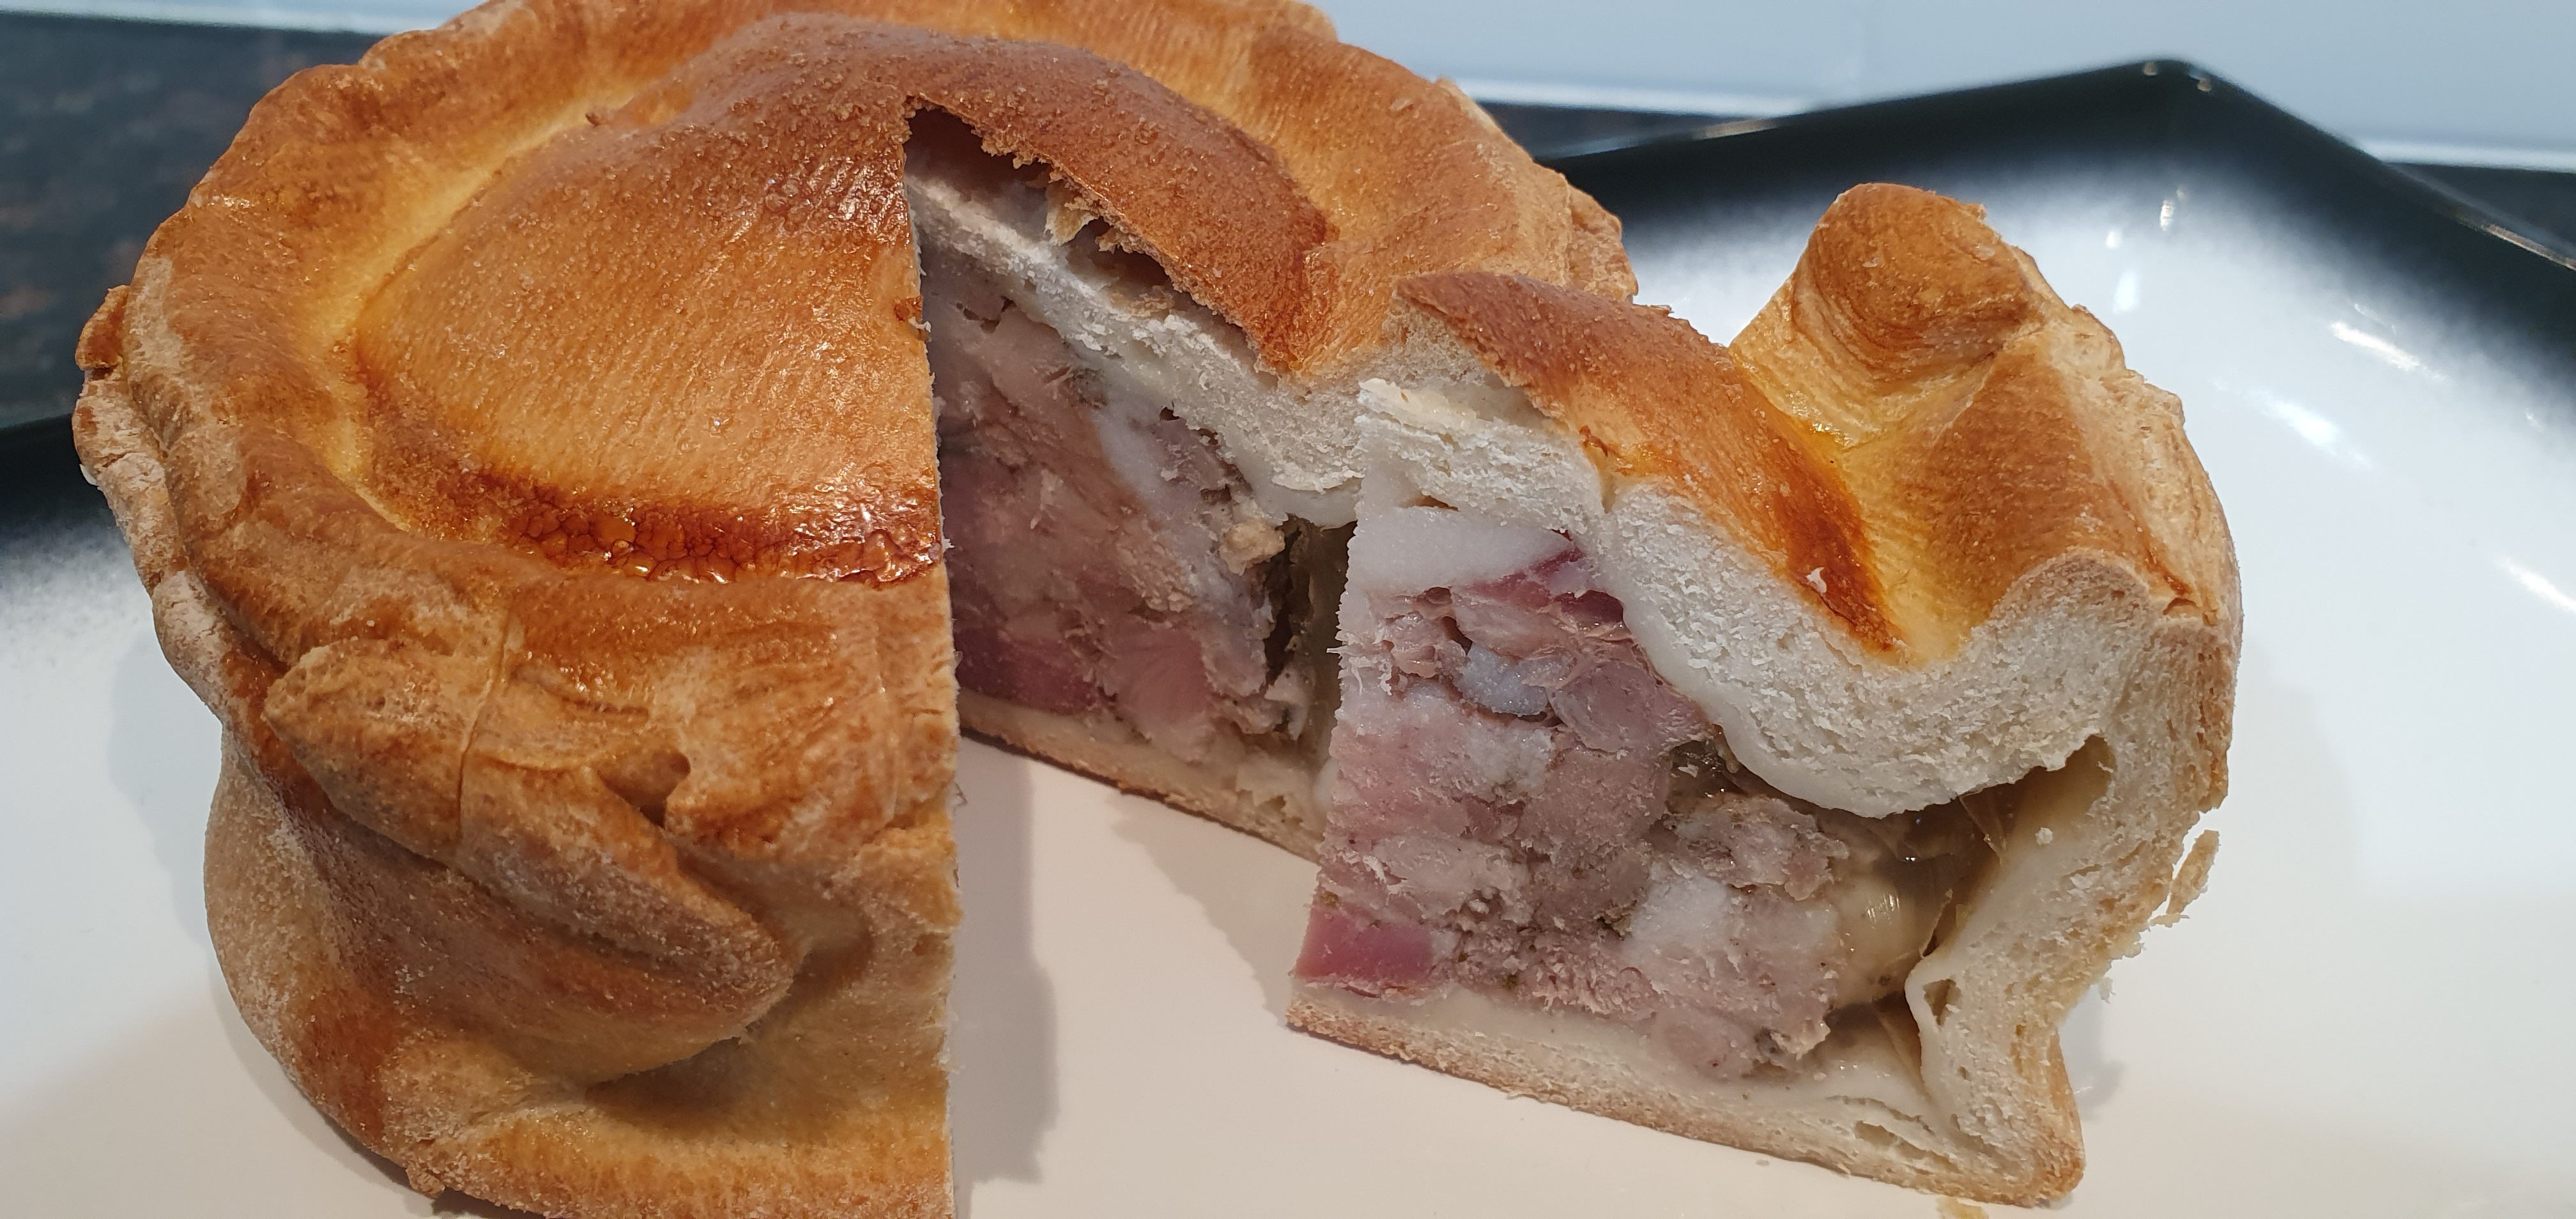
What Is An English Pork Pie?
View recipe: What Is An English Pork Pie?Pork pies consist of a thick pastry filled with pork, pork fat and jellied pork stock.
They are served cold and were a traditional way of keeping the pork filling edible before the advent of refrigeration. Often the crust was discarded like the top of a Cornish pastie.

I like to eat slices of the pie with a stiff cheddar. Takes me back 🙂
Enjoy,
PK
Here are more ways to preserve food and English cuisine posts:
-
How do I use Saffron?
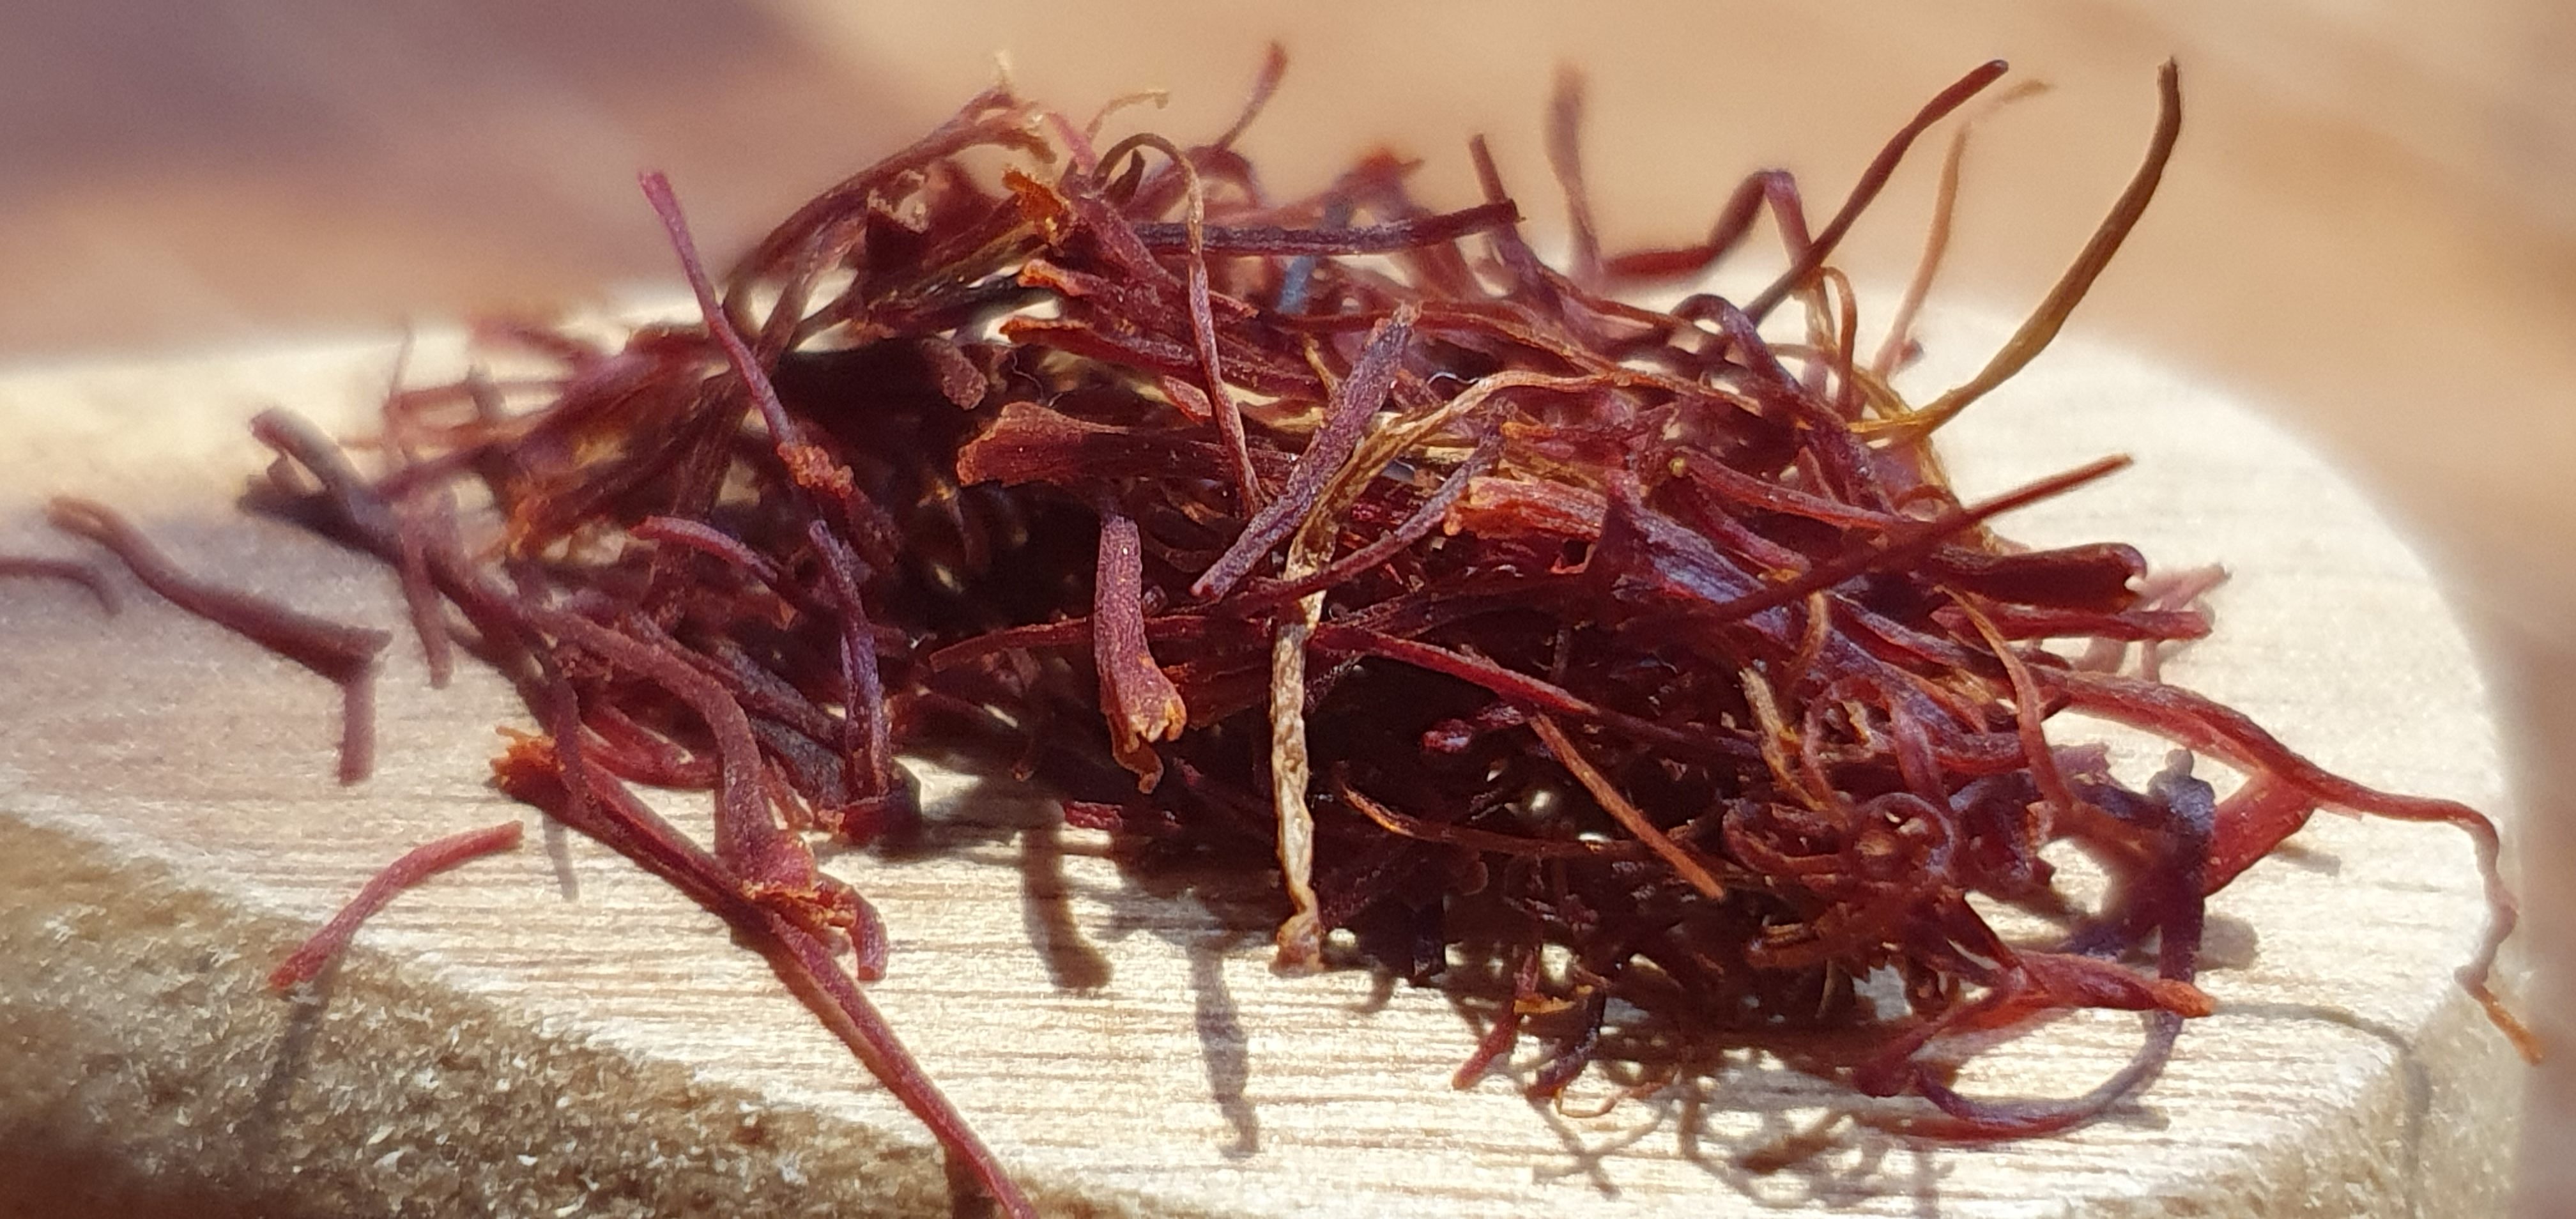
View recipe: How do I use Saffron?Saffron is a spice that adds a rich crimson yellow colour and grassy flavours to many dishes.
The red threads of the saffron crocus flower (see below) are collected and dried. Real saffron is considered expensive but ‘worth it’s weight in gold’. If you are simply chasing its colouring effect, there are cheaper alternatives such as food colouring.
 Serpico, CC BY-SA 3.0 <https://creativecommons.org/licenses/by-sa/3.0>, via Wikimedia Commons
Saffron is widely used in old-world cuisines, flavouring and colouring everything from rice dishes, meat, liquors, deserts and teas.
The dried threads have a grassy/hay aroma:

Try making saffron infused tea for that something different:

Enjoy,
PK
Here are more herbs, spices and ingredients posts.
-
Glutinous Rice Battered Air Fryer Pork
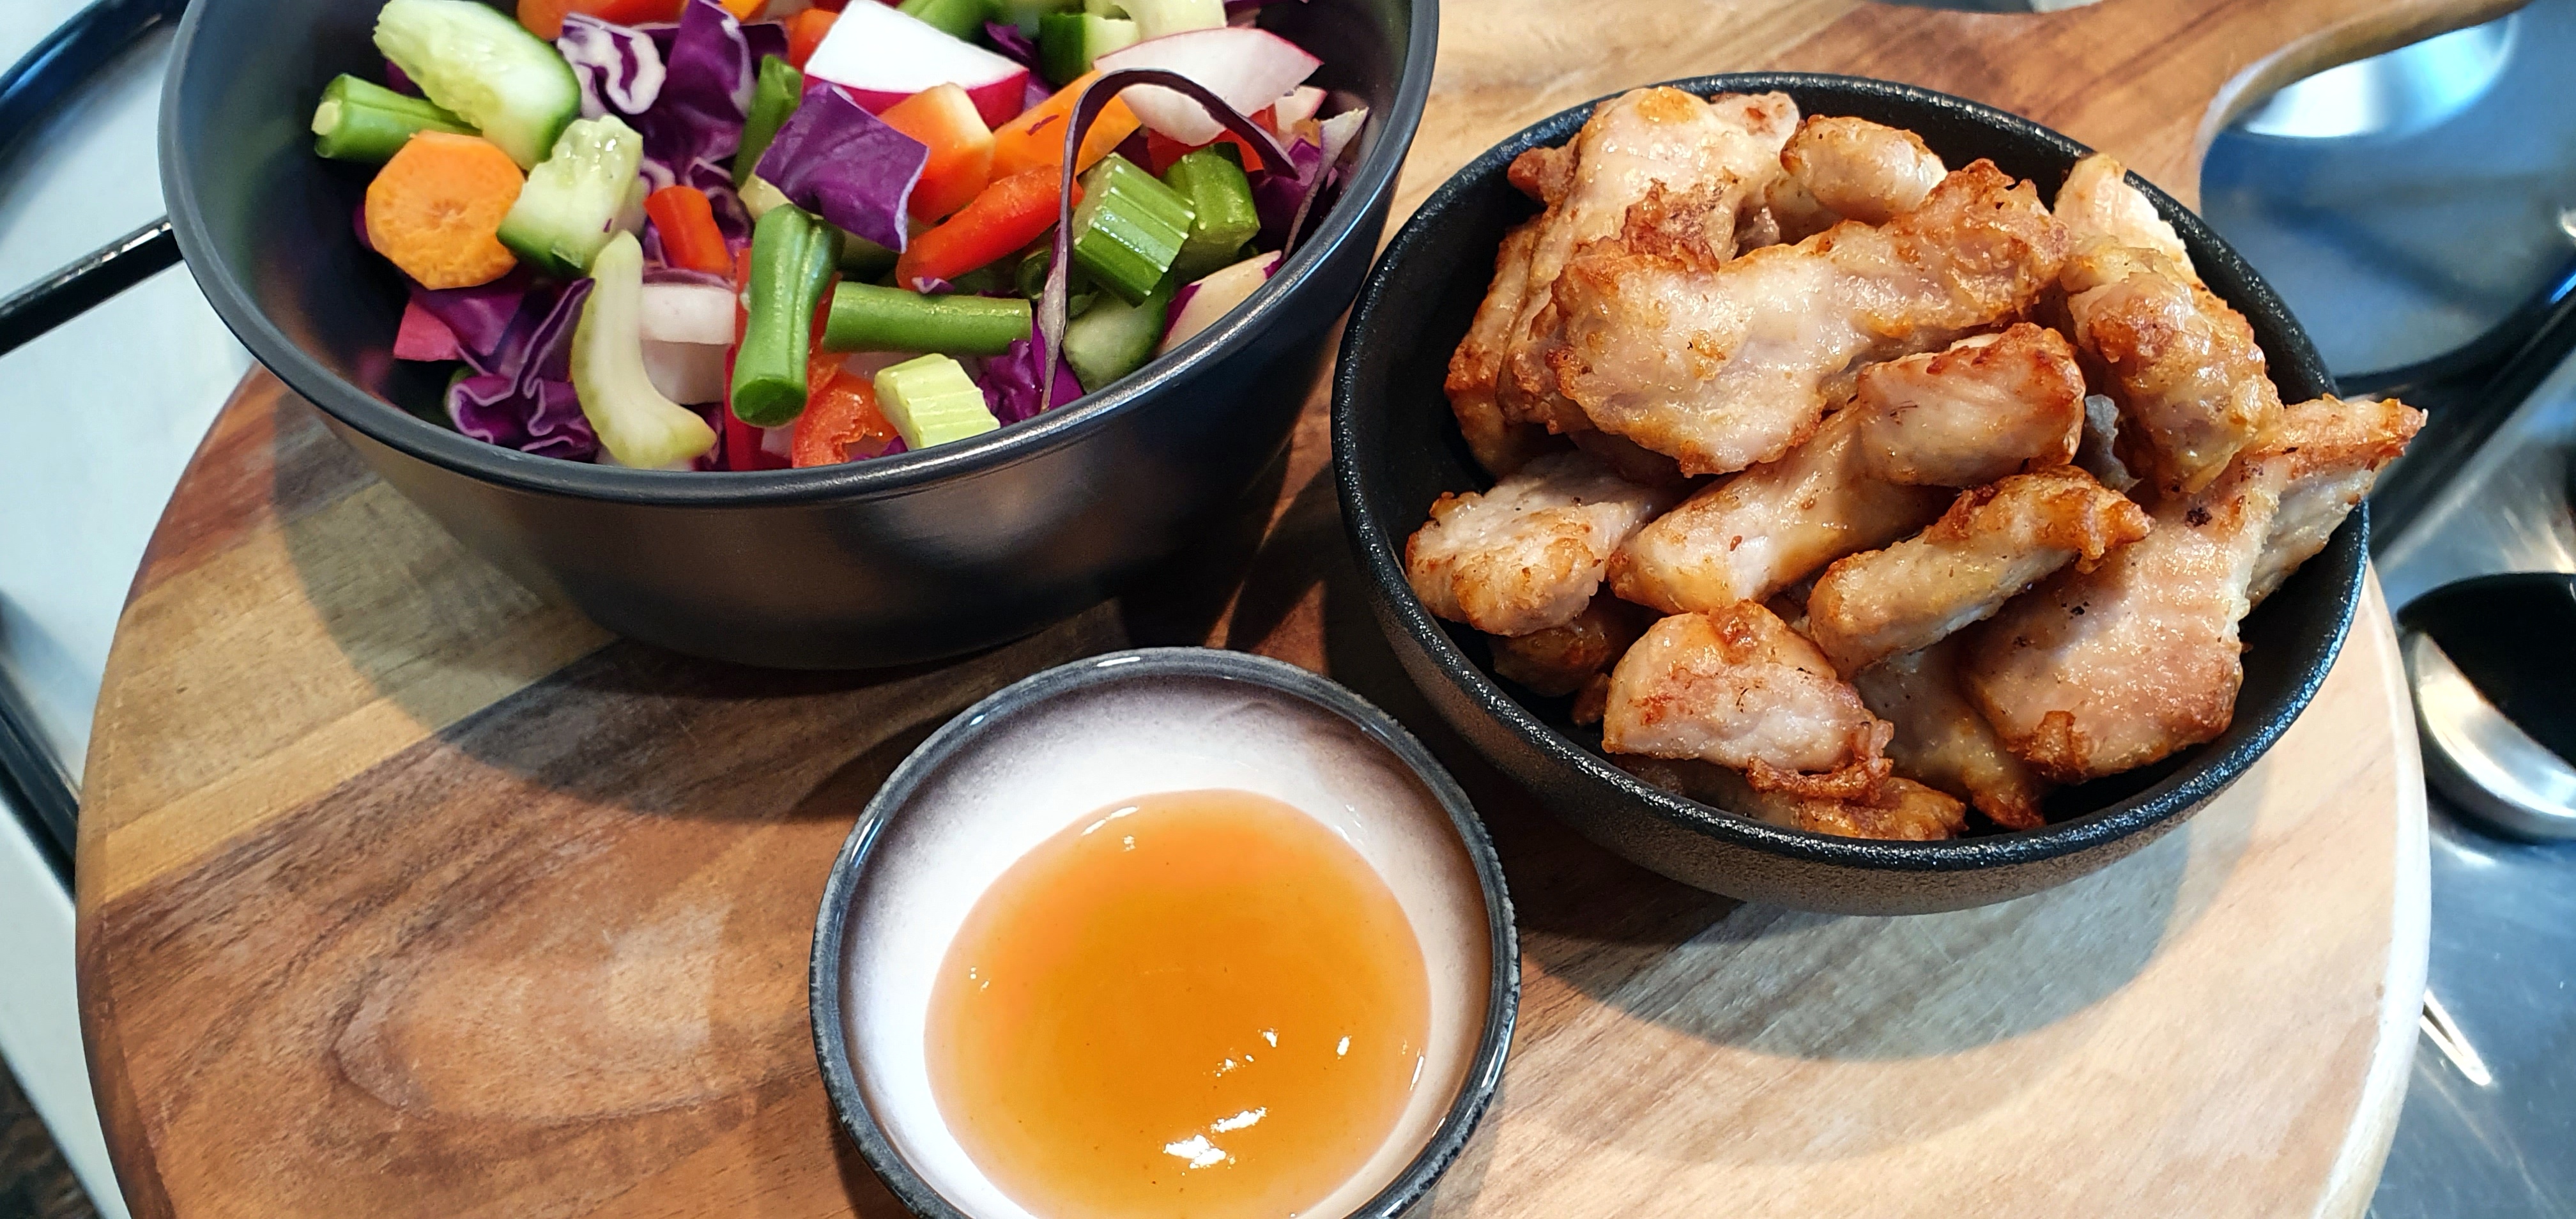
View recipe: Glutinous Rice Battered Air Fryer PorkI recently tried a wet batter, made from glutinous rice flour and water my in air fryer. Air frying is perfect for those looking to use less oil in their diet.
You get a lovely light yet chewy coating. Worked a treat and they were gobbled up in no time.

Simply
Mix some rice flour and water. Go for a thicker batter than normal, it works better in the air fryer (see Can I Use A Wet Batter In My Air Fryer?).

Add the pork, mix gently but thoroughly and refrigerate until you are ready to cook.

Pre-heat the air fryer and then cook at 180c for 15 minutes. If they are not crispy enough, shake the pan and cook for another 5 minutes.

Serving
The options are endless. 🙂
Here I simply served the pork bites with sides of vegetables, white rice and a plum dipping sauce:

Enjoy,
PK
Here are more pork recipes and Asian fusion:
-

Honey Brined Roast Chicken
View recipe: Honey Brined Roast ChickenBrining a chicken before you roast it enhances and locks in flavours and keeps the meat tender and moist. We have some general brining tips here (Ben’s brining tips) and today I am going to be adding honey and cinnamon.

Steps
- Making the brine
- Brining the chicken
- Cooking the chicken
- Serving
Equipment
- 1 chefs knife
- 1 large mixing bowl (big enough to submerge the chicken)
- 1 oven roasting tray
- 1 roasting rack (preferable)
Ingredients
- 1 chicken
- 1 cup of table salt
- 4 Tbsp honey
- 1 sprig of rosemary
- 1 cinnamon stick
- Several pieces of fresh thyme
- Boiling water, to make a salt slurry
- Cold water, to submerse the chicken
Making the brine
- Add the 1 cup of salt and 4 Tbsp of honey to a large mixing bowl.
- Add boiling water to make a slurry, mix until the salt is dissolved.
- Add the cinnamon stick, rosemary and thyme.


Brining the chicken
- Add cold water (so we don’t start cooking the chicken in a hot brine) to the bowl and then submerse the chicken.
- Pop the bowl in the fridge over night or for at least 4 hours.

Cooking the chicken
Pre-heat your oven to 180C. Cook the chicken for ~1 hour.
Note: You can make it hotter for a shorter cook but the meat should be at 75C in the breast.

You can even chuck some spuds in. Go hotter earlier and then reduce to 180C towards the end, checking the temperature of the meat as you finish.

I am gob-smacked every time with the result. 🙂

Serving:
Let the roast rest for about 15 minutes while you make your gravy and serve the sides.
 Enjoy,
PK
Here are some more chicken recipes and roasting posts :
-
Stacked Wraps Pizza Bases
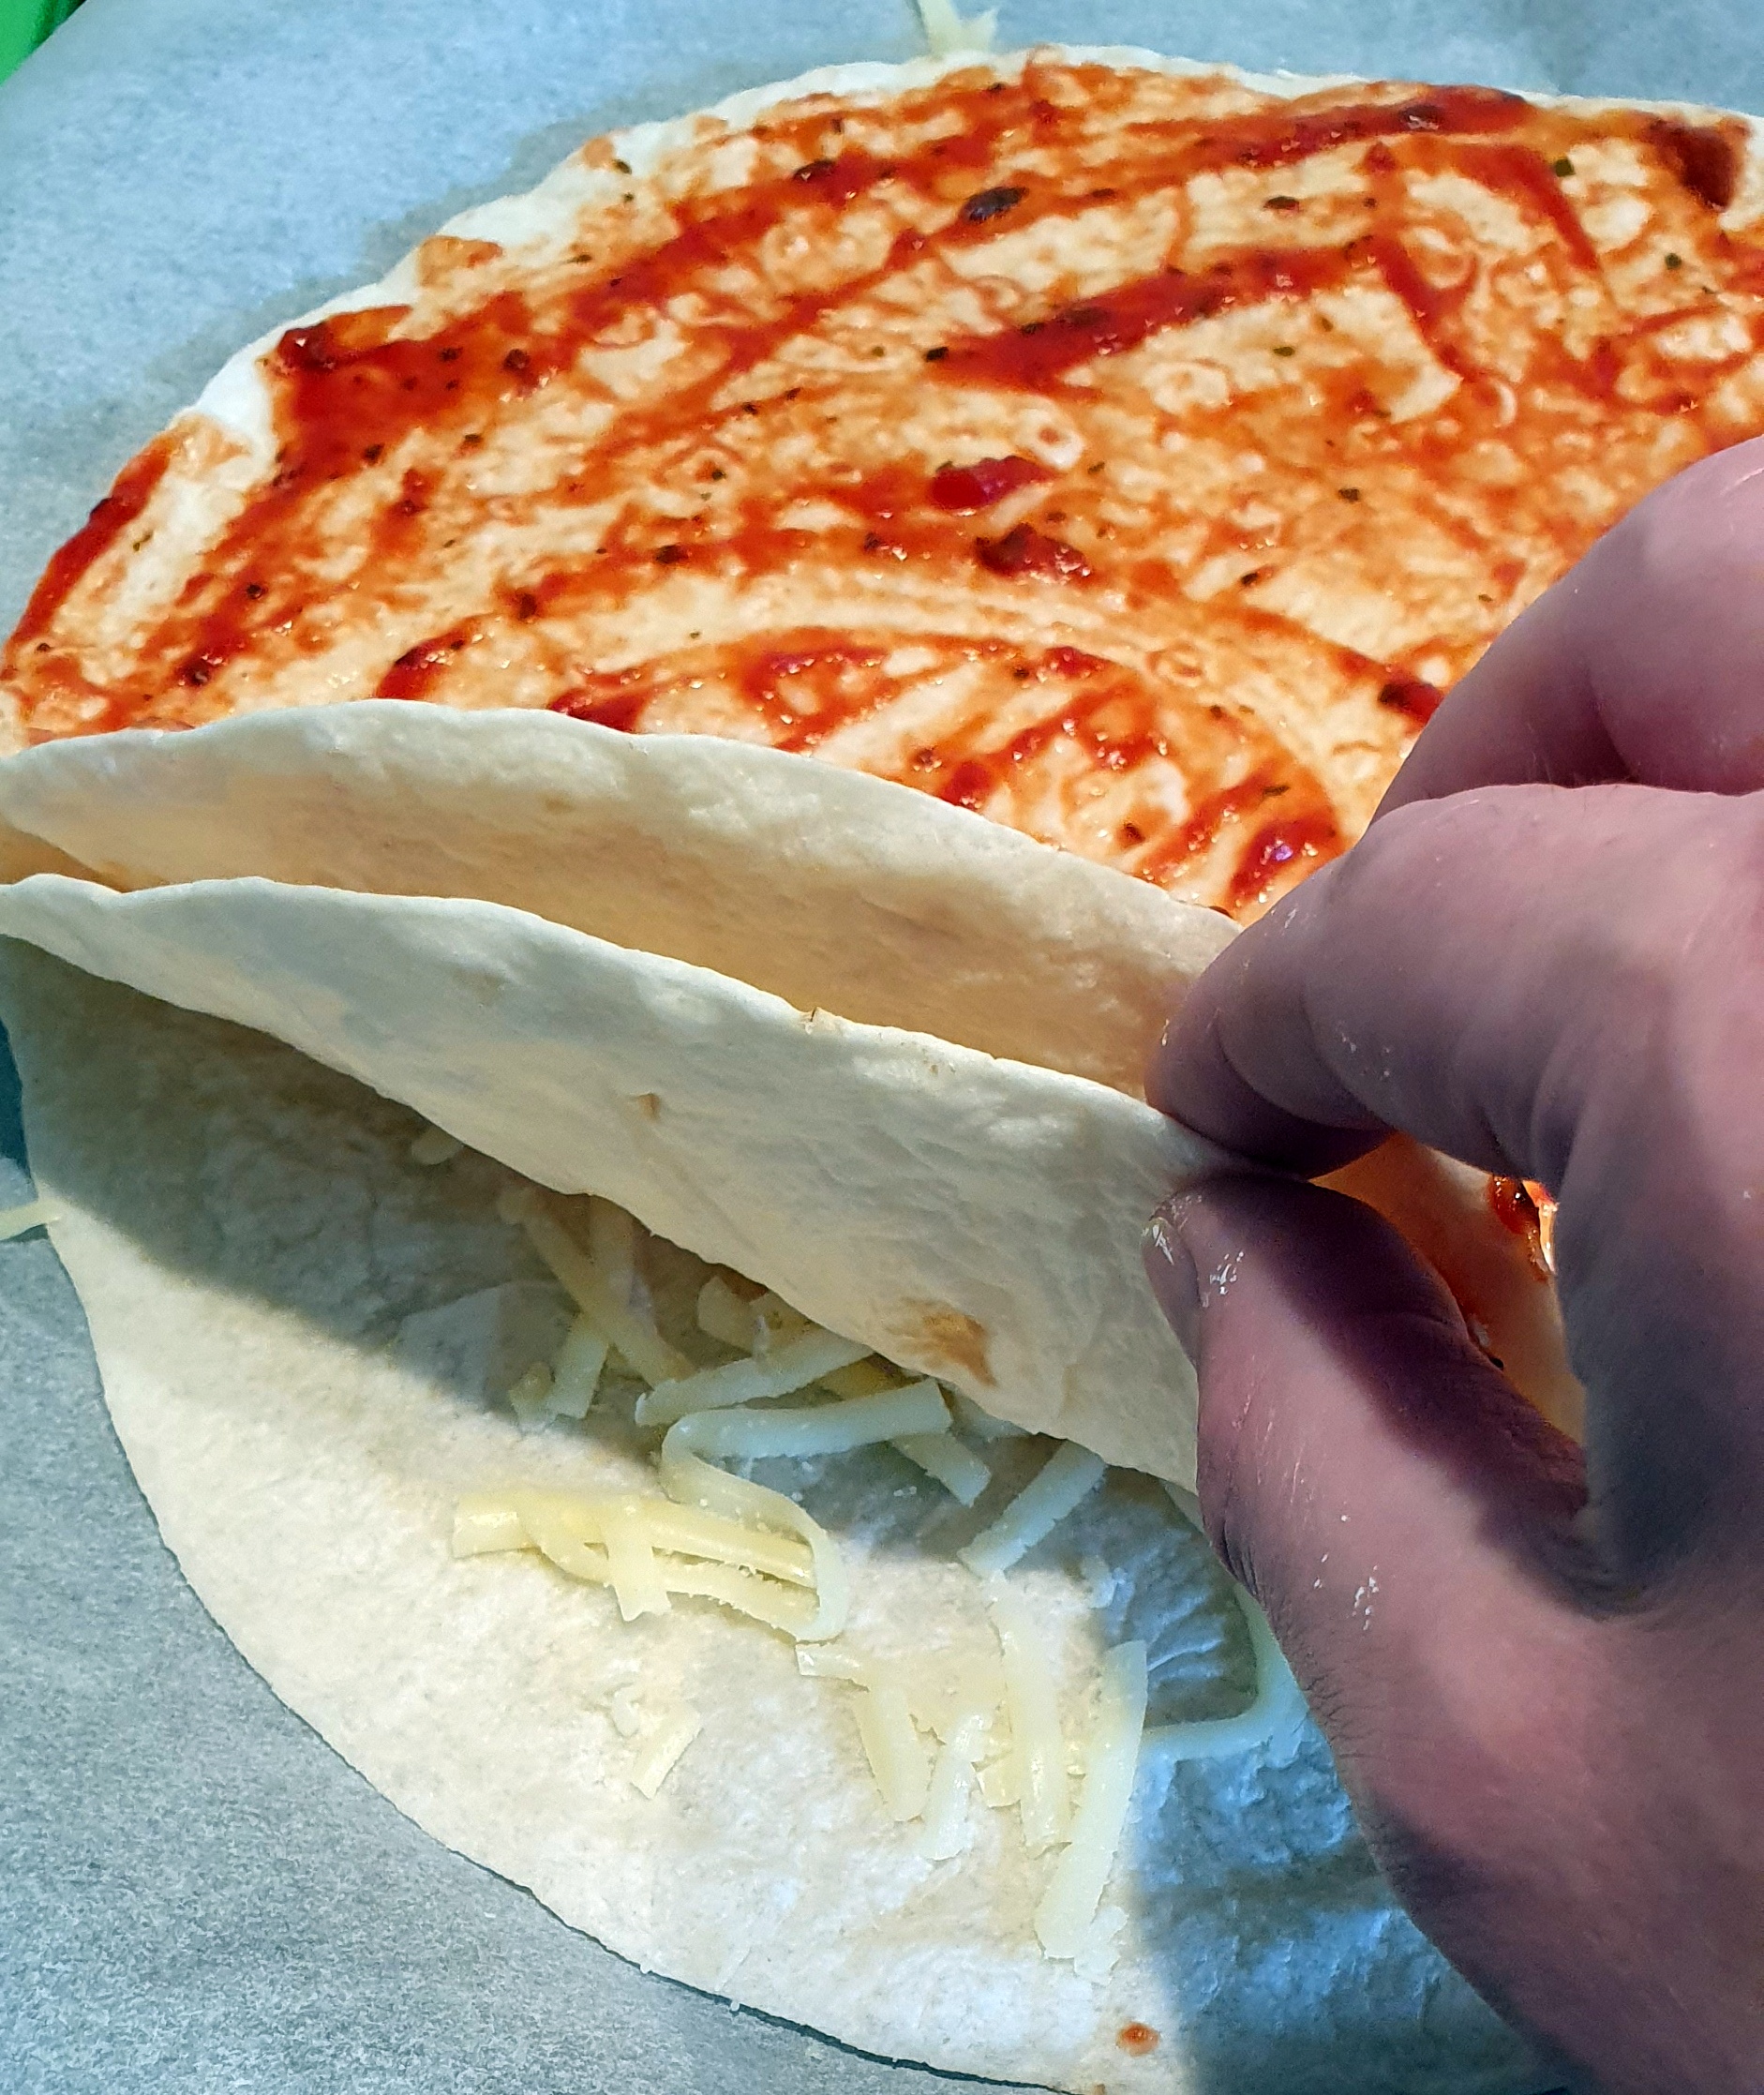
View recipe: Stacked Wraps Pizza BasesI love to make my own pizza bases but sometimes I get stuck for time. Normally when this happens I buy pizza bases from my local baker but there are shortages at the moment.
All I could get were some soft wraps. No problem, I simply stacked them 3 deep, using cheese to bind them together.
The top layer got the piaza sauce:

Spinach and cheese (grated mozzeralla amd cheddar) was the next layer .
Next up was the toppings:

Into the oven, hot and fast:

Enjoy,
PK
Here are more pizza posts and thrifty cooking ideas:
-
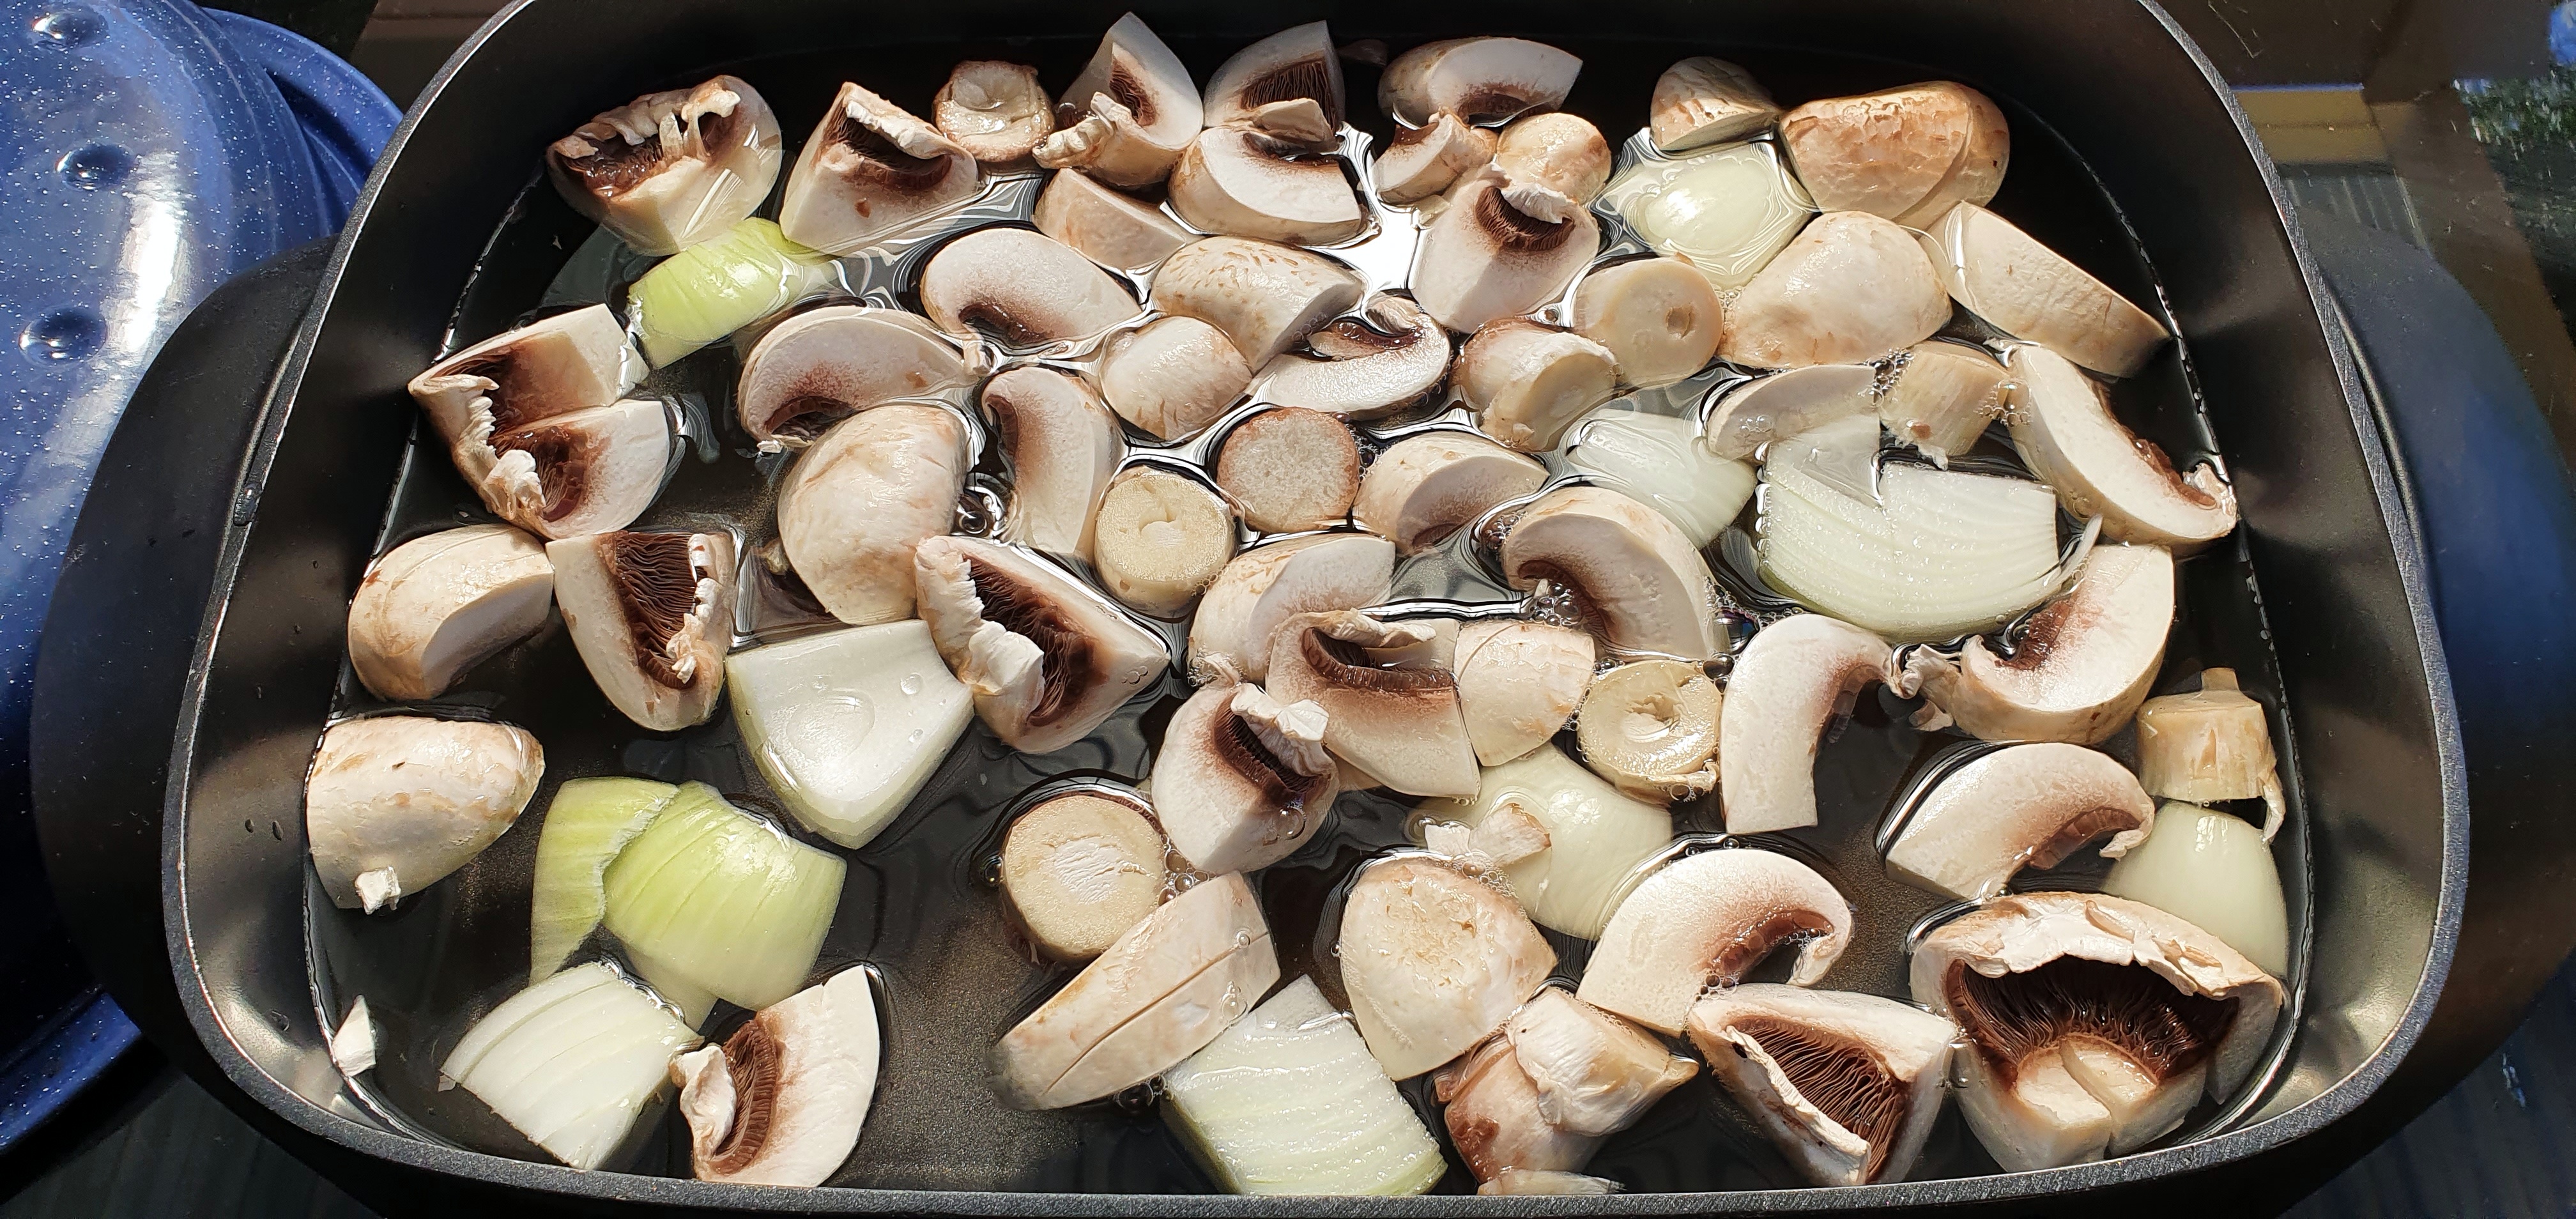
Condensed Mushroom Broth From Scratch
View recipe: Condensed Mushroom Broth From ScratchI love making this simple mushroom broth concentrate. Easily stored as cubes in the freezer it brings depth to soups, stews, pastas and the like. The ingredients are simple, 3l of water, your mushrooms of choice, an onion and several pinches of salt to get the flavours going.
Note: Takes about 8 hours in a slow cooker and around 4 hours in an electric skillet.

Steps
- Preparing ingredients
- Simmering
- Straining
- Storing and using
Equipment
- 1 chef’s knife
- 1 soup pot or electric skillet
- Small meshed sieve/strainer
Ingredients
- 3L water
- 1 brown onion, halved
- 6 – 8 large white mushrooms, rough chopped
- Salt, a small amount to bring out the flavours
Preparing the ingredients
Gently rinse the mushrooms to remove any dirt, then chop them into large pieces.

Peel the onion then slice in half. Add everything to your slow cooker pot or skillet and add 3l of water.
Simmering
Slowly reduce the liquid, at a simmer, until you have about 1.5 cups remaining. Remove the onion and the mushrooms.

Straining
You don’t have to but I strained the broth using a fine mesh.

Storing and using
If you are using a portion in the next few days, simply pour some into a reused glass jar and pop it in the fridge.
Otherwise, you can use an ice cube tray to make handy to use portions.

Chuck them straight from the freezer into your dishes, for that flavour boost.
Enjoy,
PK
Here are some more stock making posts and kitchen related thriftiness :
-
Condensed Chicken Bone Broth From Scratch
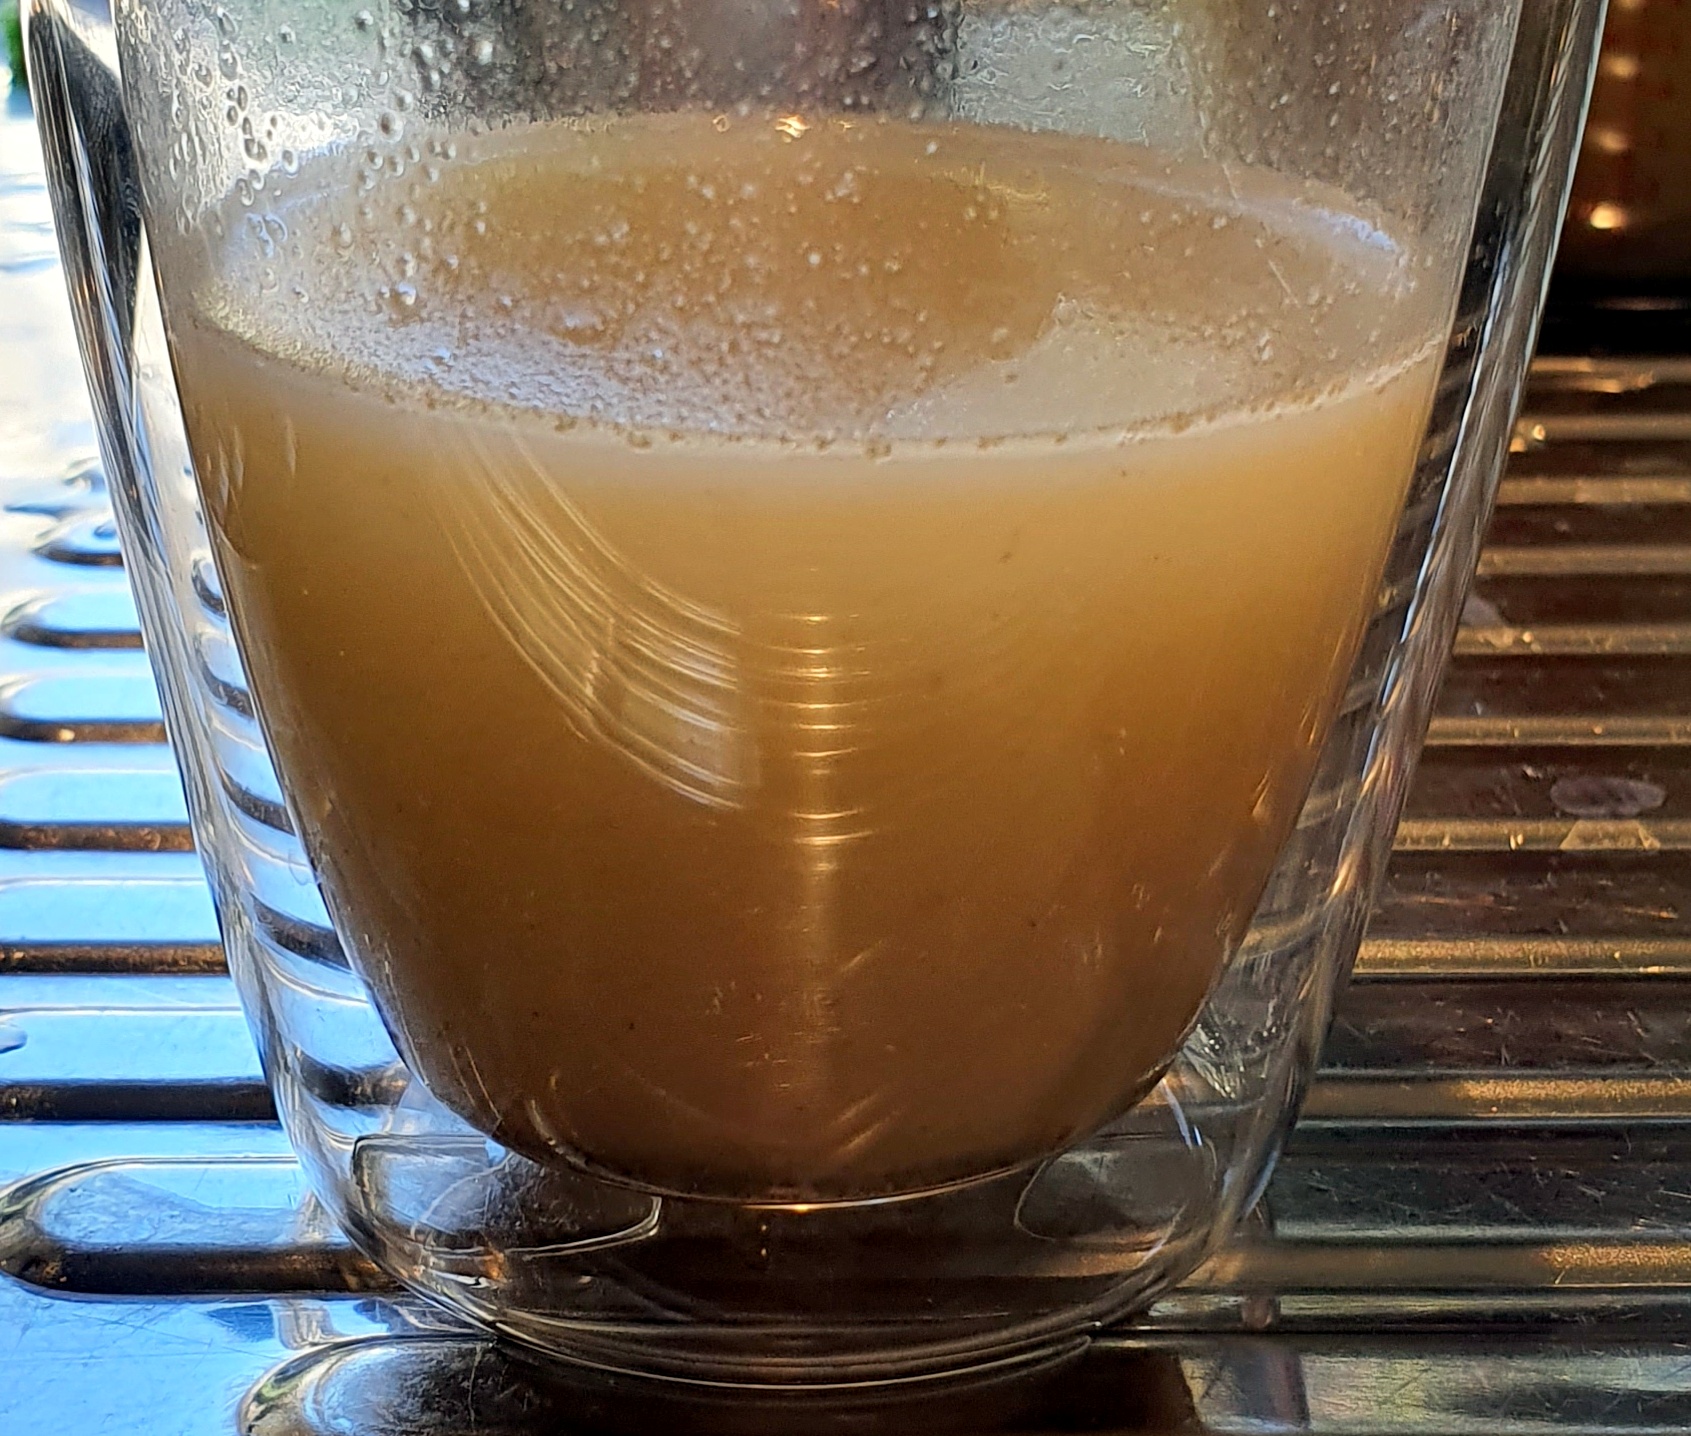
View recipe: Condensed Chicken Bone Broth From ScratchThis simple chicken bone broth is slowly reduced, over the course of a day, into a protein and collagen rich flavour boosting concentrate. Easily stored as cubes in the freezer, I make it anytime I get enough chicken frames. The flavours are kept simple, just chicken bones, one onion and several pinches of salt to get the flavours going.
Note: Takes about 8 hours in a slow cooker.
When chilled it will set and keep for a several days in the fridge:

Steps
- Preparing the frames
- Simmering
- Straining and removing fat
- Storing and using
Equipment
- 1 chef’s knife
- 1 slow cooker
- Small meshed sieve/strainer
Ingredients
- 3L water
- 1 brown onion, halved
- ~4 chicken frames or the equivalent in mixed off cuts
- Salt, a small amount to bring out the flavours
Preparing the frames
- Blanche all of the chicken frames to get a cleaner bone broth.
- Peel the onion then slice in half.
- Add everything to your slow cooker pot and cover with water to the max limit.

Simmering
Slowly reduce the liquid you have about 2 cups remaining. I used my slow cooker for 8 hours and then a high simmer until I got the consistency I was after.

Straining and removing fat
I use a fat seperating jug to remove the skim of fat you will get as the liquid cools. Then you can use a fine mesh to remove any small bones and the onion.

Storing and using
If you are using a portion in the next few days, simply pour some into a reused glass jar and pop it in the fridge.
Otherwise, you can use an ice cube tray to make handy to use portions.


You can then defrost the cubes, add some water and hey presto, you have liquid broth.

Enjoy,
PK
Here are some more stock\broth making posts and kitchen related thriftiness :
-
Plastic Lids For Canned Food
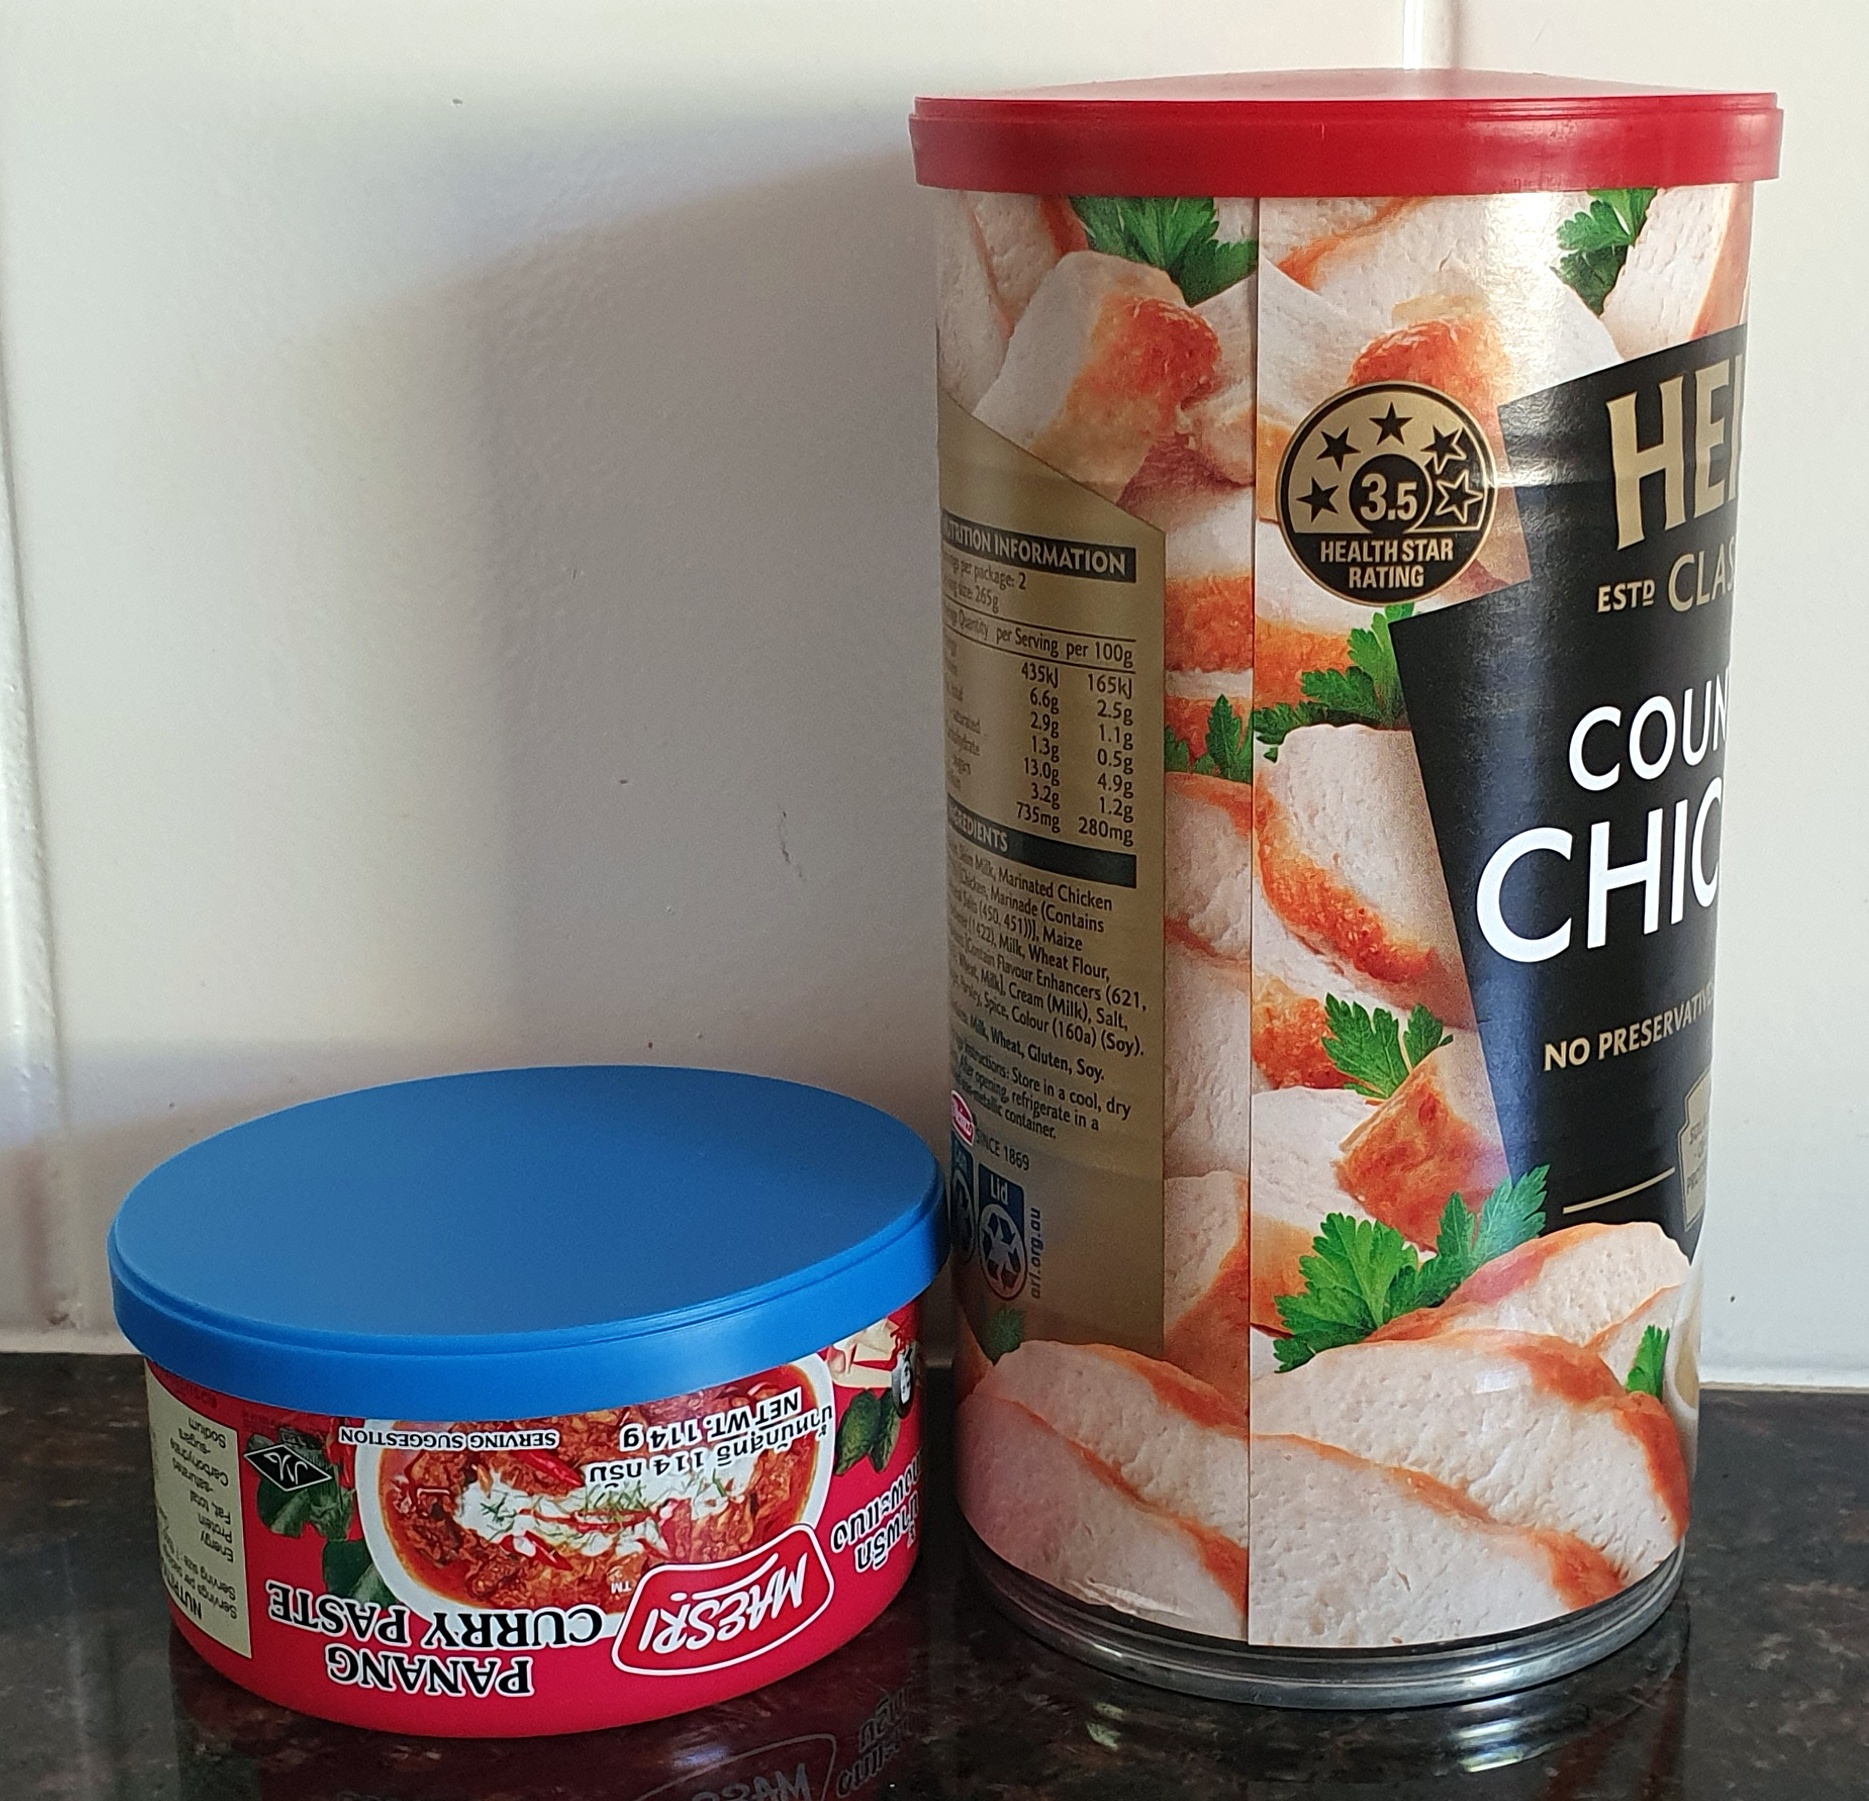
View recipe: Plastic Lids For Canned FoodIn an endeavour to reduce my soft plastic use I have invested in these reusable and recyclable plastic lids to cover cans.
By popping a lid on a partly used food can I am able to store the remaining contents in the fridge without using cling film or an extra food storage container.
They clean easily with a soapy cloth so no need to chuck them in the dishwasher. I even use them to transport leftover tuna and soup, in the can, from home to office for that mid-arvo snack.

Unused soup and curry pastes last longer:

Also great for pet food cans.
Enjoy,
PK
Here are some more equipment reviews and kitchen kit:
-
Pork Belly Air Fryer
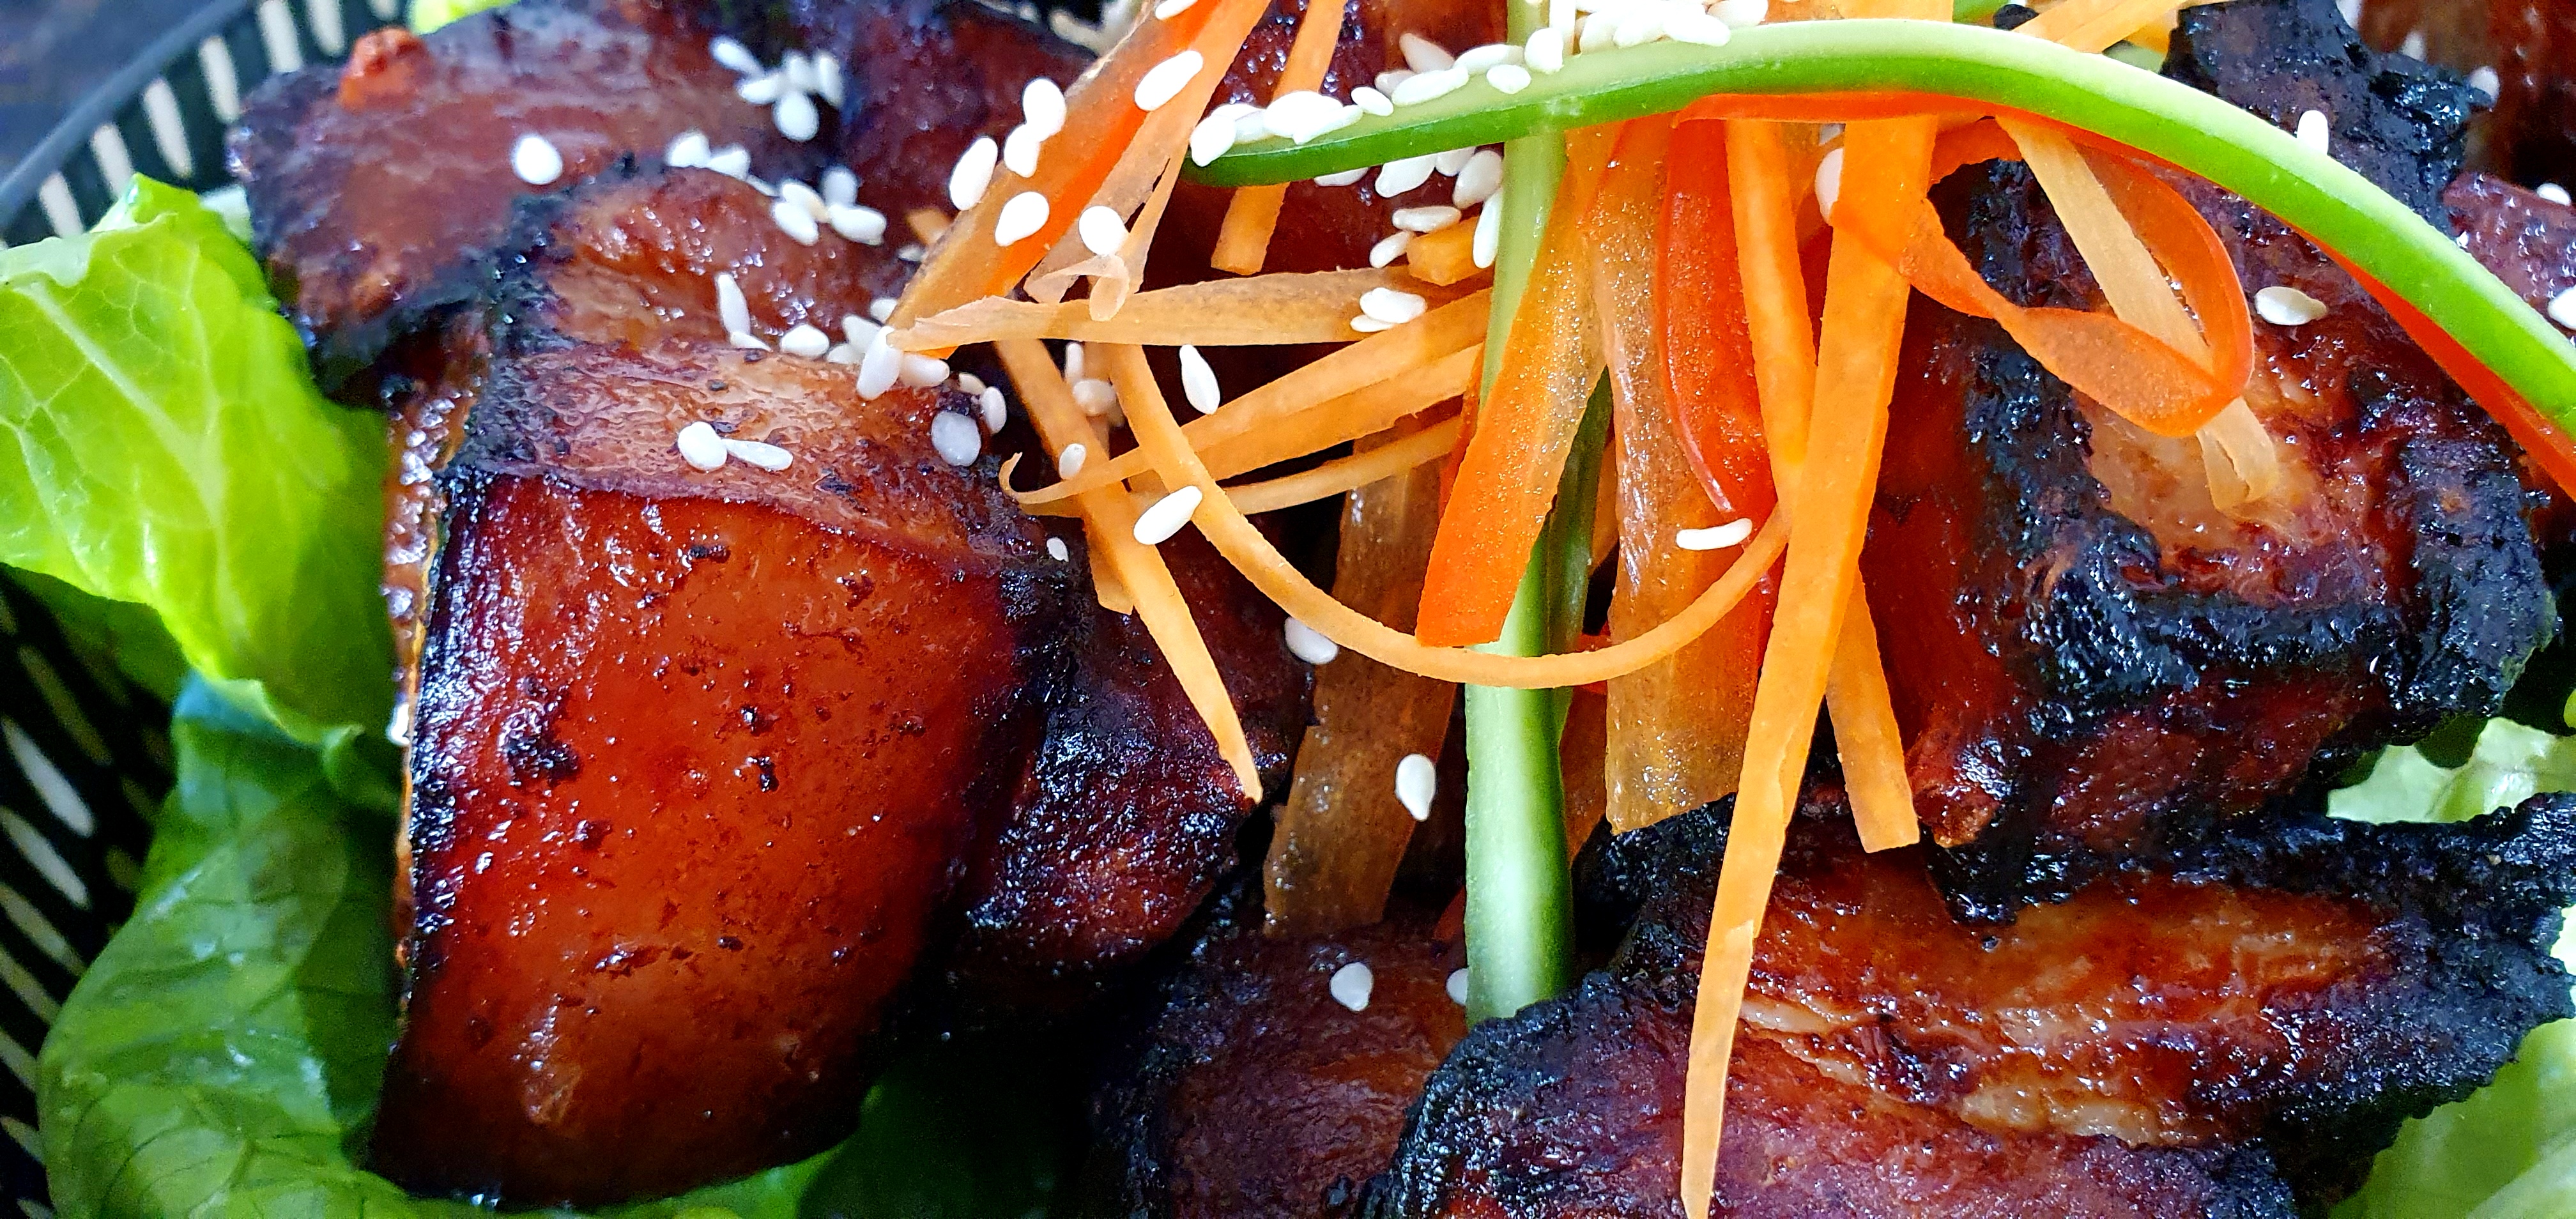
View recipe: Pork Belly Air FryerCheck out this super easy Asian styled pork belly recipe. With a few simple ingredients and my air fryer I turned out this punchy little salad.

Simply
Cut your pork belly portion into cubes.


Then drizzle with dark soy and garlic infused olive oil. Add some black pepper and salt then marinade for several hours in the fridge. I also add sugar sometimes for it’s glazing properties.

Pop the cubes into the airfryer and cook for 15 – 20 minutes, turning them over once or twice.

Serving
Fried pork goes well with so many other ingredients. Salads, rice, potatoes, everything 🙂

Enjoy,
PK
Here are more air fryer recipes and meals featuring pork:
Grow It, Catch It, Cook It
Tasty food, made simple, for everyone.