Tag: cheese
-
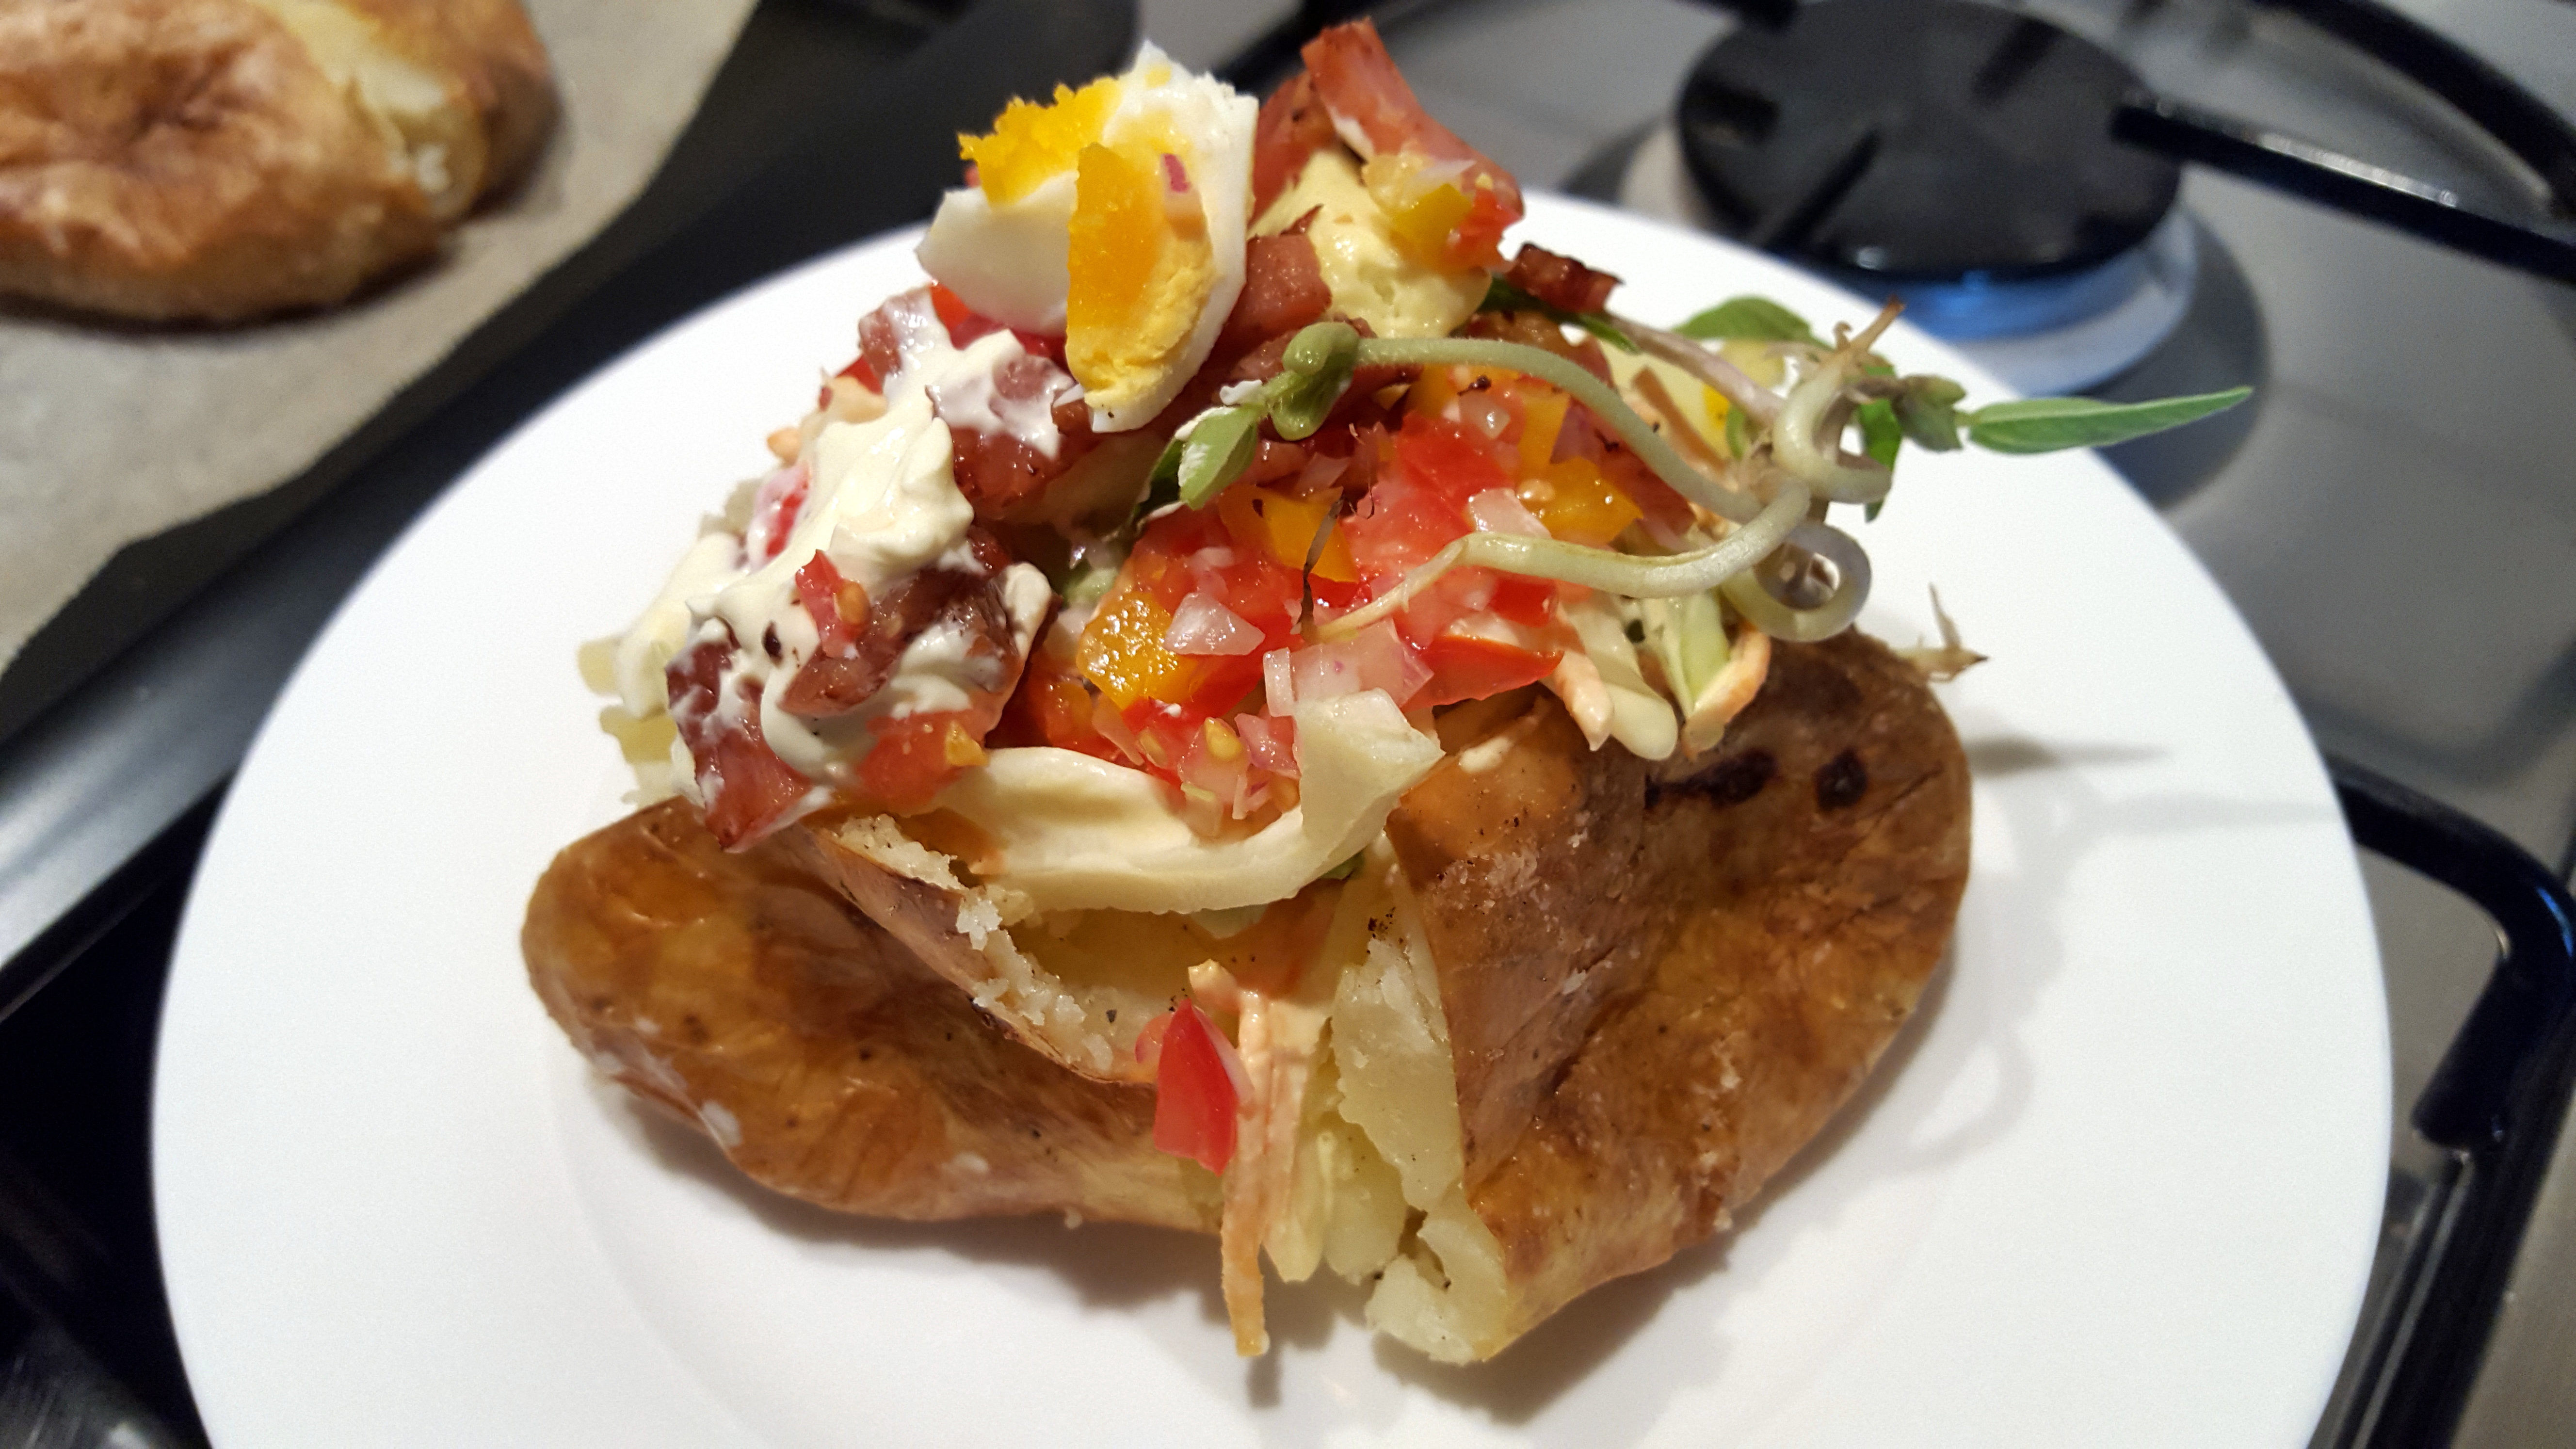
PK’S Easy Oven Baked Potatoes
Perfectly crisp on the outside, fluffy in the middle, baked potatoes are perfect for a Perth winter night. This is a great meal for enjoying with friends and family. You can build your own topping as you go so it is very family/guest friendly. There is nothing better than eating with your hands as you chat away.
I suggest 1.5 medium potatoes per adult and a few more for tomorrow’s lunch.
Everyone has their favourite potato variety that you must use for baked potatoes. However, I have found that you can make perfect oven baked potatoes from most varieties.
STEPS:
- Prepare and cook the potatoes
- Prepare your toppings
- Serving
You will need:
- Ingredients:
- your favourite potatoes
- table salt
- ground black pepper
- your favourite toppings, sauces and condiments.
- Equipment
- paper towel
- a chopping board
- a long sharp knife
- an oven dish or oven rack
- several plates to serve the toppings
Prepare and cook the potatoes
Steps:
- Pre-heat your oven to 200 degrees Celsius.
- Scrub each potato to remove dirt, eyes and deeper imperfections.
- Dry them thoroughly using the paper towel, this is important for the crispy finish.
- Spray each potato with olive oil spray and dust them liberally with salt and pepper.
- Pop them on the oven rack (or oven dish) making sure there is space between them.
- Cook for about 1 hour (longer depending on your oven or if you are using really big potatoes). I test the largest potato at this stage. If it is ready the others are too.
Before:

After:

Prepare your toppings
Steps:
- Harvest, chop, slice and gather your favourite toppings
- Put them on plates in the middle of the table so your guests can build their own potato.
Here is what I used. Sour cream, cheese and coleslaw are must-haves in my family:

Serving
I can’t remember where I read this but it is the most important part of the process.
Just before serving the potatoes, you need to first cut them, then squeeze them with your thumbs and forefingers (to break up the insides) and then flatten them out a bit. This will let the steam out and stop the potato skin from going soggy. You will also have a great base to load the toppings onto.
Here is a video of me doing just that whilst trying not to burn my fingers:
Here are a few of my favourite combinations:
They don’t freeze well but they do make a great lunch the following day:

Enjoy,
PK
Here are more potato dishes and winter warmers:
Written by
·
-
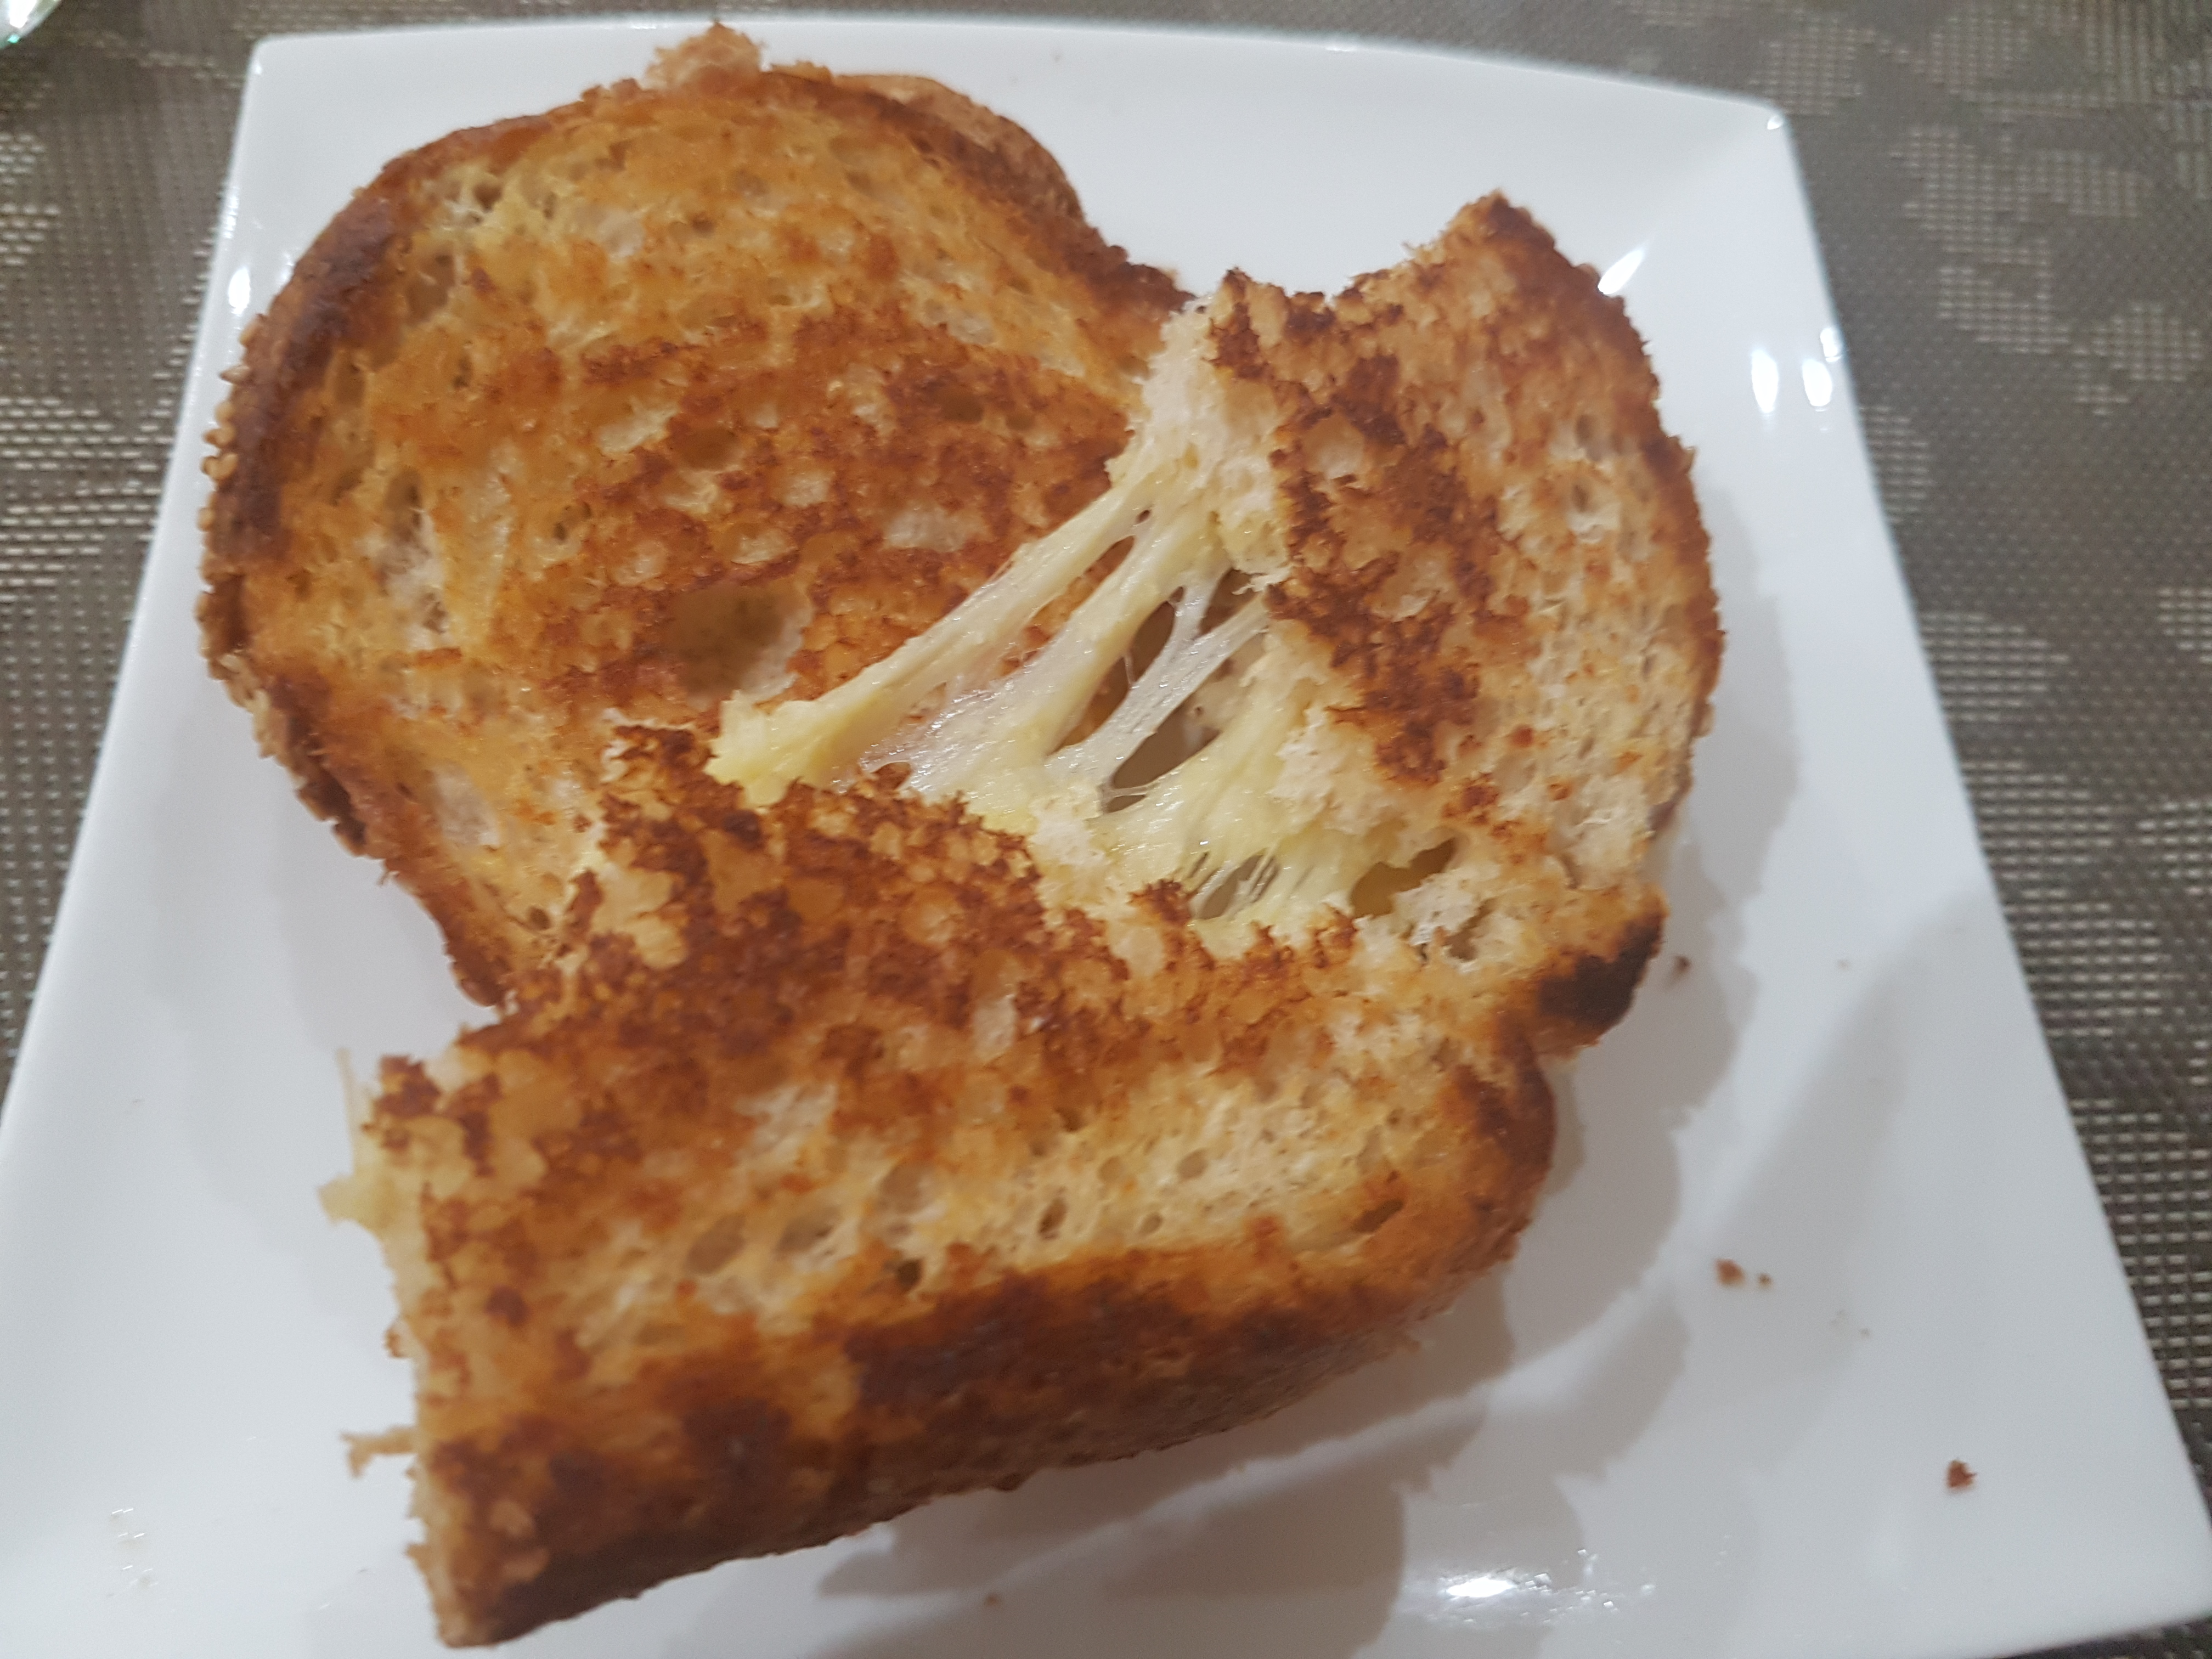
Welchy’s Ultimate Cheese Toastie
As a kid, the ultimate treat was one of Mum’s cheese toasted sandwiches. This wasn’t just your run of the mill, use-a-toaster type of toasted sandwich though. Mum perfected the Ultimate Cheese Toastie in the fry-pan! Buttery, toasted, crunchy goodness on the outside with superbly melted and stringy cheese in the middle…served with you know…a heaping side of motherly love.

First off, I’d start with a range of cheeses. I chose Cheddar, 4 cheese blend and Parmesan. Pick any cheese you like though really, Gruyere, Mozzerella, anything that melts well. I then cut up some fresh bread and butter and we’re ready to go!
Ingredients/Utensils
- Fresh bread
- Butter
- Cheeses (a few slices/enough for a sandwich) – Cheddar, American, Gruyere, Mozzarella, Parmesan, Four Cheese mix, whichever you prefer/have handy.
- Frying pan
Method
1. Butter both sides of the bread. Put a dollop of butter in the pan too for extra buttery crunch!

2. Place one side of the bread into the pan. Layer with the cheddar, then the four cheese mix and top off with the Parmesan. Allow the bread to fry in the pan, usually about 30 seconds. Use a spatula to lift the corner and check if it’s browning. Once it starts to brown, add the lid of the sandwich and flip!

3. Fry the second side for 30 seconds to 1 minute, or until nicely browned.

And you are done!
This recipe isn’t much, it’s not overly difficult, and can be made fairly quickly once you get the hang of it. Great to eat wrapped in some parchment paper as you race out the door, or as I prefer, at the table with a glass of ice cold milk. Enjoy…!

Written by
·
-
Welchy’s Ultimate Fry Pan Cheese Toastie
As a kid, the ultimate treat was one of Mum’s cheese toasted sandwiches. This wasn’t just your run of the mill, use-a-toaster type of toasted sandwich though. Mum perfected the Ultimate Cheese Toastie in the fry-pan! Buttery, toasted, crunchy goodness on the outside with superbly melted stringy cheese in the middle…served with you know…a heaping side of motherly love.
Look how simple the ingredient list is:

First off, I’d start with a blend of cheeses. I chose Cheddar, Kraft’s 4 cheese blend and Parmesan. Pick any cheeses you like though, Gruyere, Mozzerella, Havarti, anything that melts well. I cut up some fresh bread and butter and we’re ready to go!
Ingredients/Utensils
- Fresh bread
- Butter
- Cheeses (a few slices/enough for a sandwich) – Cheddar, American, Gruyere, Mozzarella, Parmesan, Four Cheese mix, whichever you prefer/have handy.
- Frying pan
Method
1. Butter both sides of the bread. Put a dollop of butter in the pan too for extra buttery crunch!

2. Place one side of the bread into the pan. Layer with your selected cheeses. Allow the bread to fry in the pan, usually about 30 seconds. Use a spatula to lift the corner and check if it’s browning. Once it starts to brown, add the lid of the sandwich and flip!

3. Fry the second side for 30 seconds to 1 minute, or until nicely browned.

And you are done!
This recipe isn’t much, it’s not difficult, and it can be made fairly quickly once you get the hang of it. Great to eat wrapped in some parchment paper as you race out the door, or as I prefer, at the table with a glass of ice cold milk.
Love Welchy,
Here are some more snacks and more Welchy posts”
Written by
·