Tag: soil improvement
-
Garden Auger Veggie Bed Makeover
Gardening in Perth means you are going to get acquainted with a quartz sand that repels water and is low in the good stuff most plants love.
You can add wetting agents and fertiliser as a short term fix for the water issue but without adding organic matter and some clay your vegetable beds won’t retain nutrients and water for long.
I have to admit that my normal soil improvement routine is sub par. I normally add a bit of compost, worm castings and manure to the very top of my beds and just under the roots of transplanted seedlings.
This is a step in the right direction but for new beds or tired old ones we want to get organic matter to more than just the top lens. I wanted to do better but didn’t want to have to dig the whole bed out and start again.
So I bought a garden auger drill bit (from Bunnings and made by Sutton Tools) for my cordless drill to get down to the bottom of the bed and break up compacted soil and old roots.
See the before and after:

The process is uncomplicated and surprisingly fun:
- Attach the bit
- Drill into the sand as far as the auger will go
- Pull the auger up and out
- Fill the resulting hole with organics (compost, manure etc), minerals ,(rock dust, egg shell, blood and bone etc) and a little bentonite clay
- Cover over with soil/sand
- Mix in compost and manure into the top layer
- Water the whole bed thoroughly to level it out
- Let the bed rest for a week or so.
Look at the sand (light grey color) that came up from the bottom of an established bed:

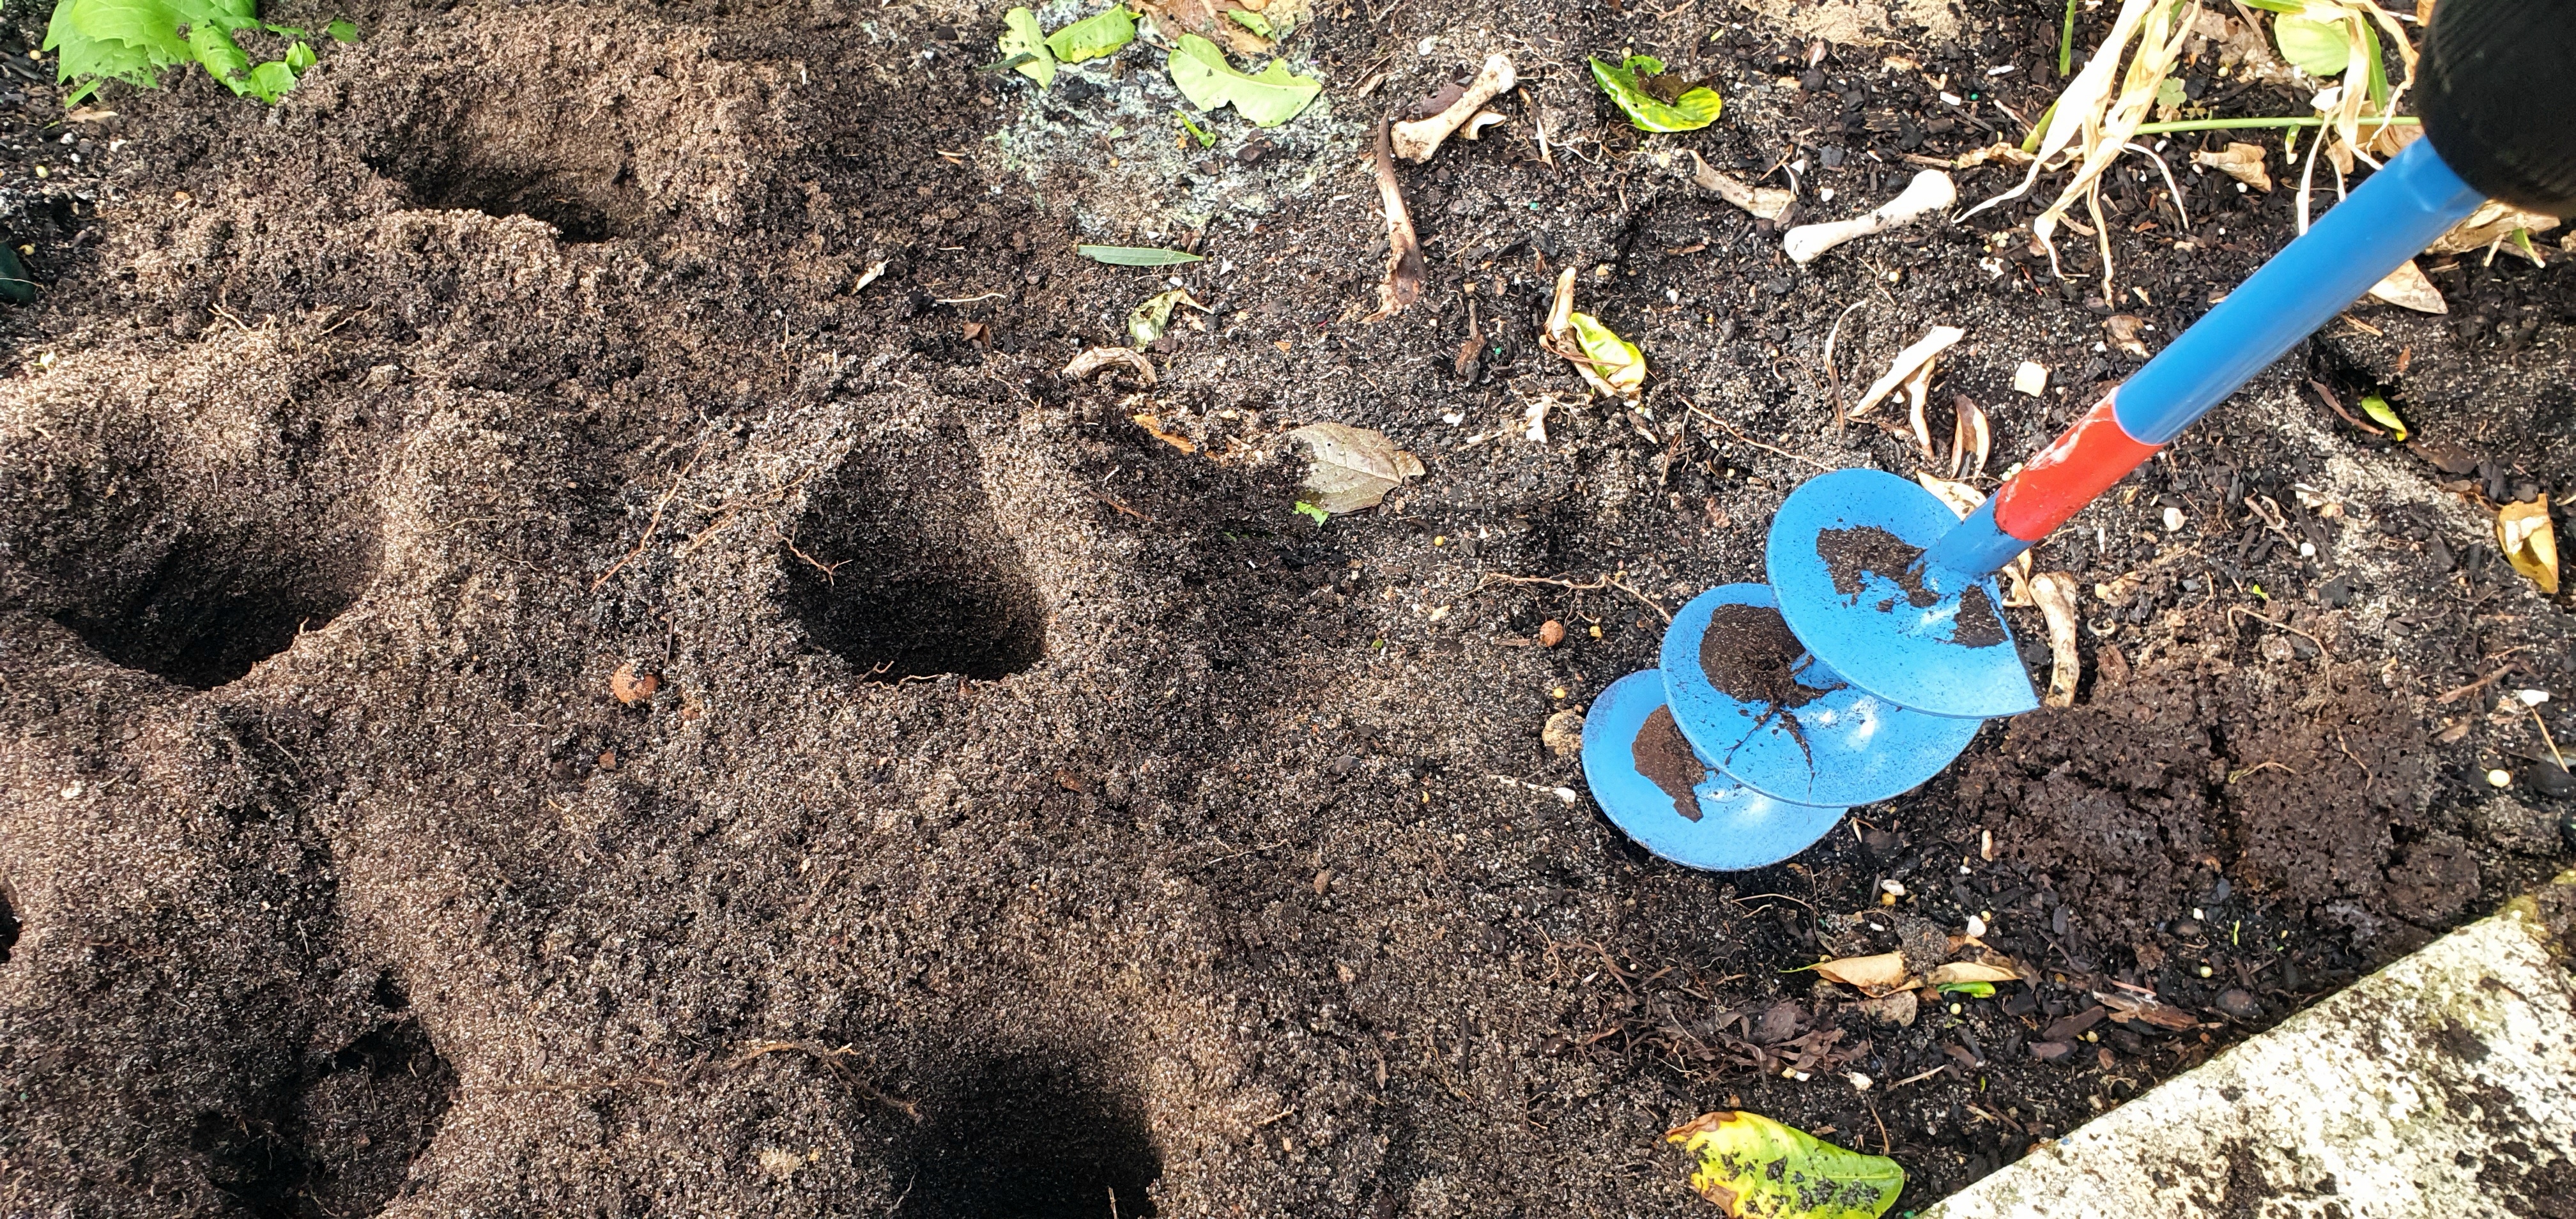
Neat little holes you can use to get nutrients down deep:

The holes are about 800 nn deeo and 50mm wide:

Mix in some more goodness to the top layer the deeper the better, with your pitchfork:

Now the soil is light and fluffy to a deep level and ready for planting:

Enjoy,
PK
Here are some more of my reviews:
Written by
·
-

Reuse, Recover: PK’s Bone Meal
I want to reuse and recover as much as I can in my kitchen and gardening activities. So it is only natural that I wondered what I could do with the bones left over after cooking. Some of them go into my worm farms but as my young family is eating more and more meat every day that is only a part solution :).
Some happy Googling later I came across lots of websites showing you how to make home made blood and bone meal. Using blood and bone meal to improve soil is as old as time due to its slow release of nitrogen and phosphorous. For those nutrients to be available to plants though requires slightly acidic soil and I find (even here in Perth) that my “improved” garden beds always meet that requirement.
One of my favourite television shows and websites (Gardening Australia) also informed me that blood and bone meal has a complete lack of potassium. So I added a small amount of potash as they suggested. See http://www.abc.net.au/gardening/stories/s1503292.htm.
Most of the bones I am using have already been cooked once and then recovered to make stock (see my chicken stock post here) and are hence nice and clean. I then bake them on low for a few hours and I do this in my Weber after cooking a roast. I don’t waste any fossil fuels.
This makes them hygienic and brittle enough to break apart in your hands. When I have enough of a collection I feed them through a corn grinder and store the meal until I need it.
This is the clean bones being baked and stored:
The grinding:
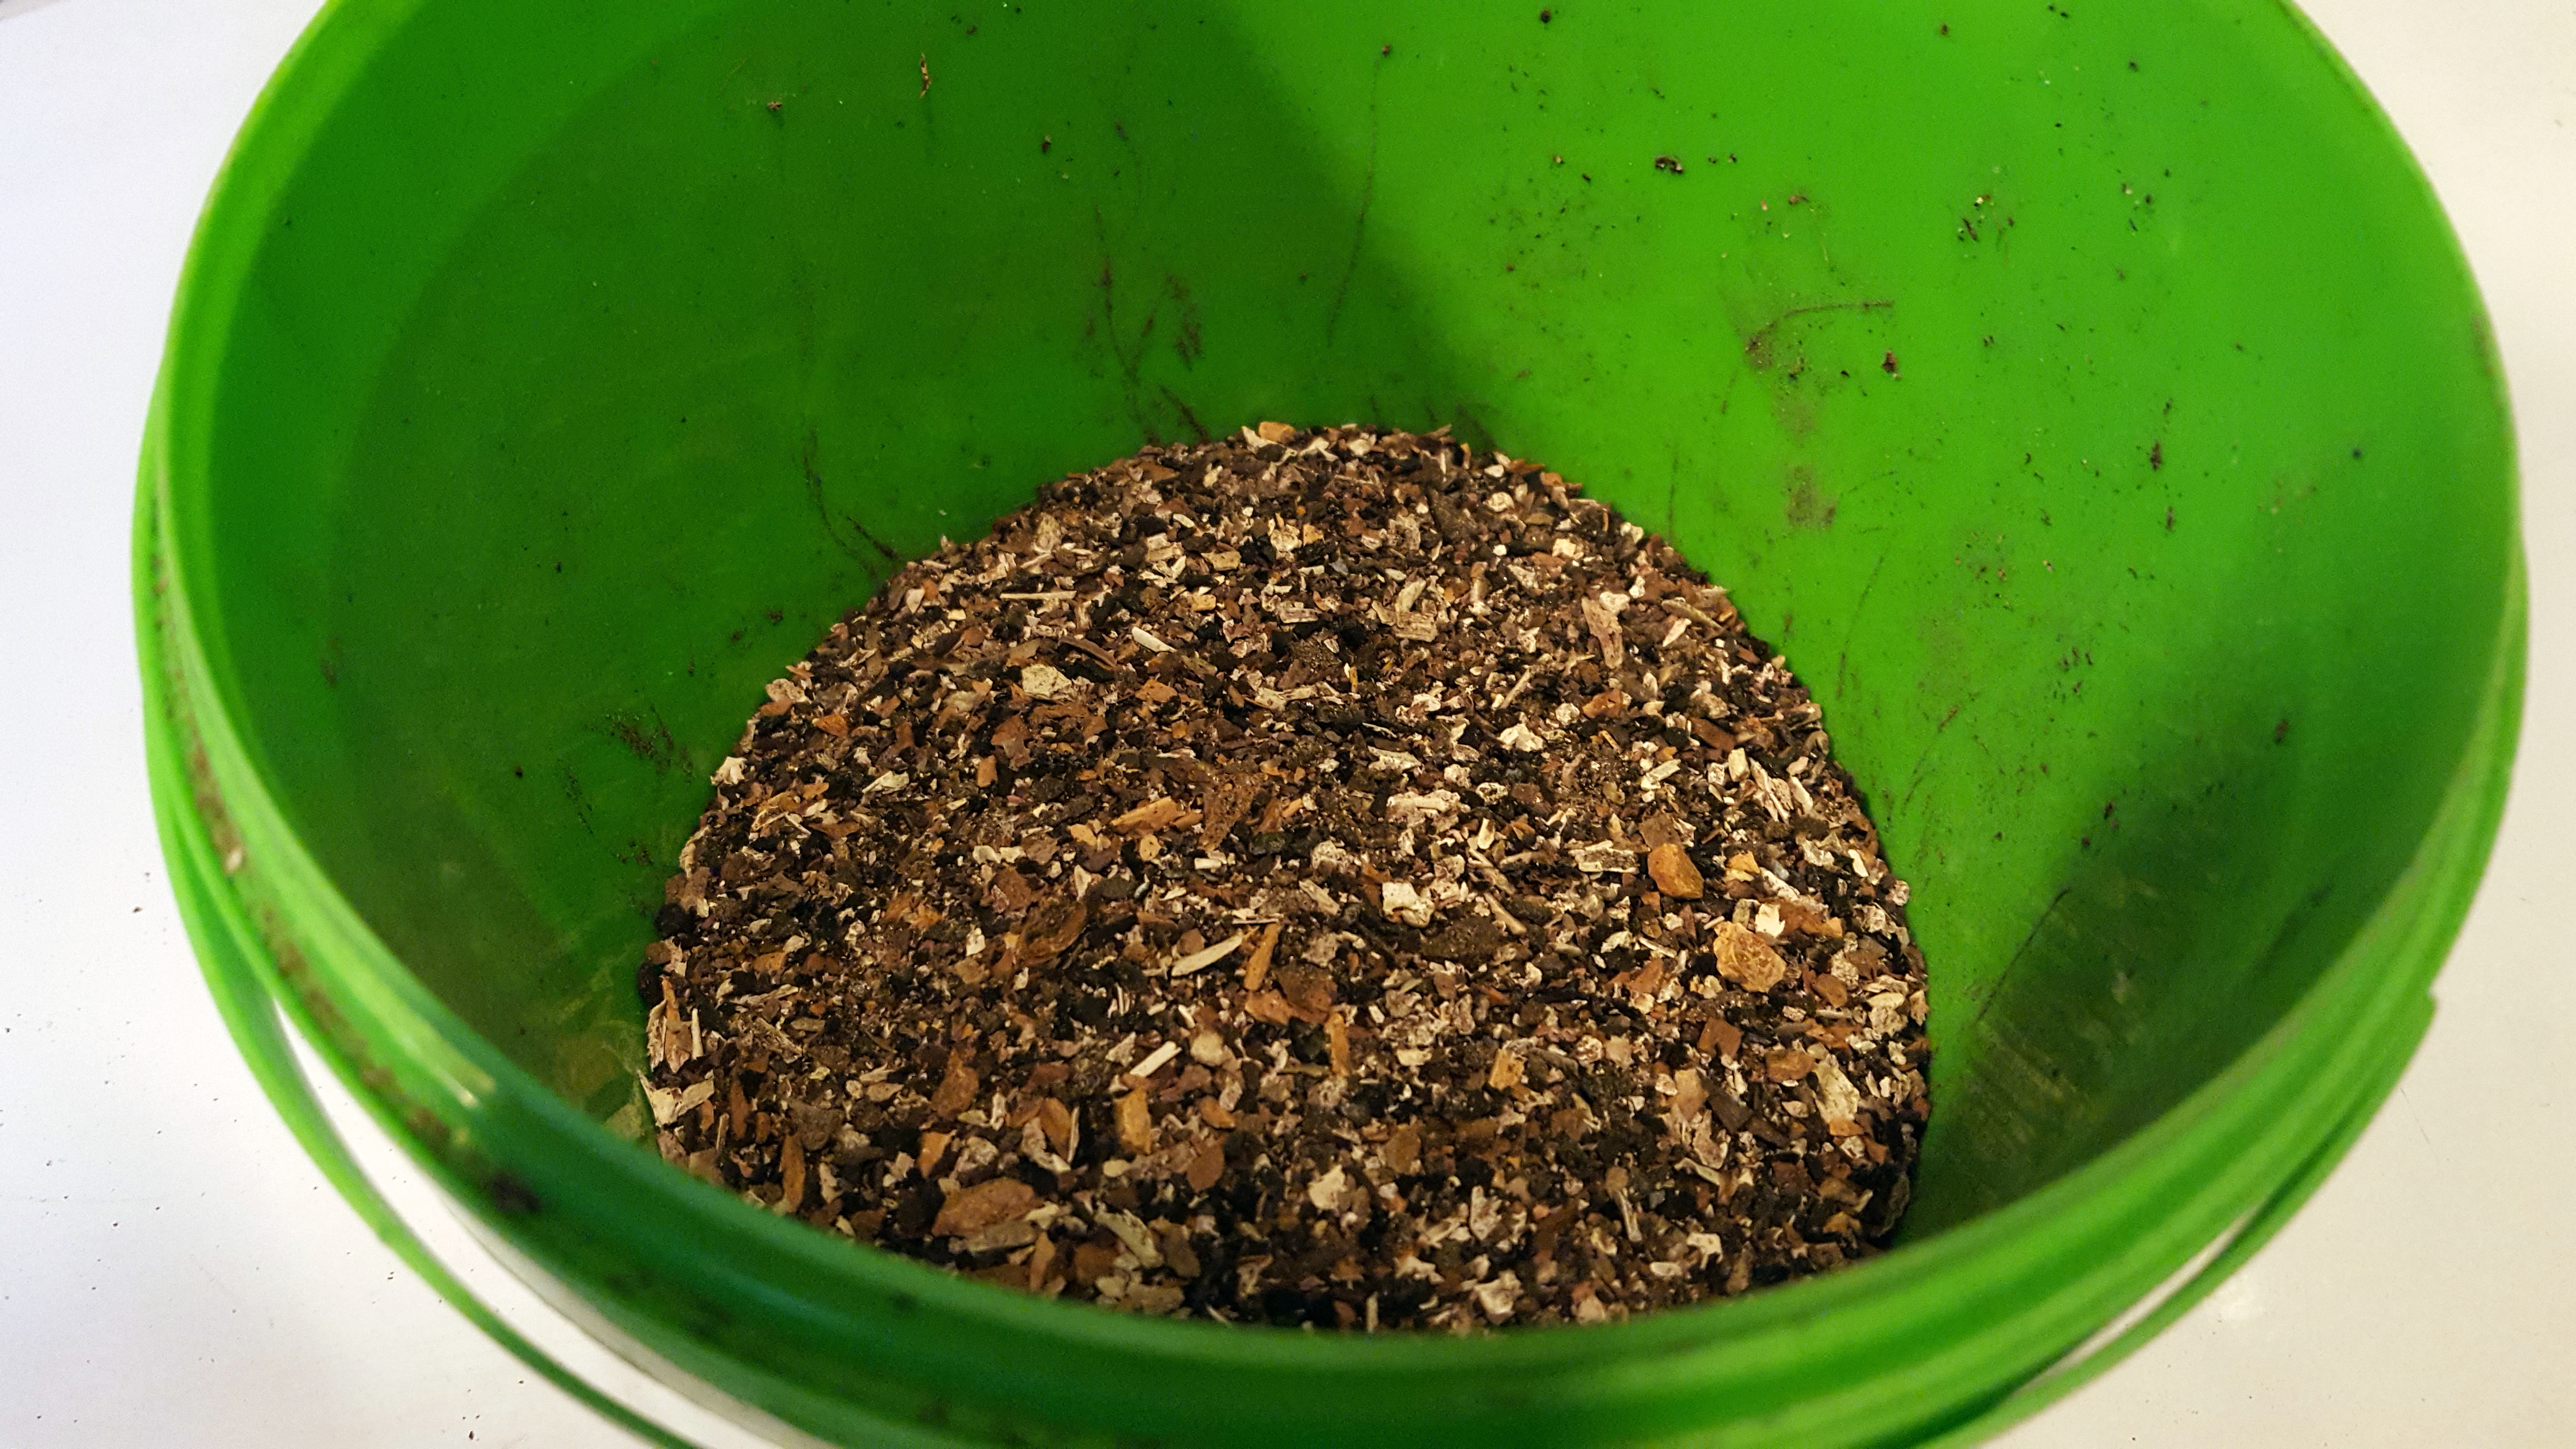
The result:
- has variable sized particles (great for varying the release of the nitrogen, phosphorous and calcium)
- has almost no aroma bar a mild earthy smell
- stores well in a sealed dry container.
As I mentioned above, I also add a small amount of potash granules to the meal to counter the lack of potassium. We now have everything we need for healthy plant roots, bodies, fruits and metabolism.


Of course, be careful when dealing with any soil improvement medium. We have a strict hand washing policy after gardening and also carefully rinse all produce. I wouldn’t put anything in my garden that I was the least bit worried about and neither should you.
Cheers,
PK
See more of the ‘Recover, Reuse’ series here.
Written by
·
-

PK’s First Worm Farm Tray Change
Today I harvested my first lot of worm castings from my worm farm. It took about 6 months for this first batch but now the farm is cranking along. Even with all the vegetable waste the kitchen garden makes and scraps from the kitchen, I am only just keeping up with their appetite.
Just look at how many worms are exposed just turning over one small section of the active tray:
I had expected a lot fewer worms to be in the bottom tray as there is no food in there but I have read that they are mad keen explorers so I assume that is why.
The casings feel so earthy and rich with absolutely no smell of decomposition. I can’t wait to work it into my vegetable beds. Oh and a scoop for each of the pot plants too.
If you don’t have a worm farm what are you waiting for :),
PK
You can see my other worm posts here.
Written by
·
-

PK’s Worm Farms
Although this is my first ever worm farm, I am already hooked and singing their virtues.
Written by
·