Tag: spicy
-

Bish’s Burning Mango Salsas
A long time ago I was in Darwin for work and had a few extra days to explore a place I now think of as one of my favourite Australian cities. One of my fondest memories was going to the markets and sampling food that was really unique – fusions of different cultures and tastes I’ve struggled to find anywhere else.
One of the strongest memories of taste was of some dried mango that was dusted with chilli and salt. I’ve not seen this for a while, and with my mother in law giving me a bag of mangoes the other day I decided to embrace my inner Top Ender and see what I can create.

Salsa 1: Mango Salsa with Chilli, Lime and Salt
Take your bounty of mangoes and remove all the flesh from the fruit – as much as you can! I cut the cheeks off and then score the flesh, invert the skin and slide the chunks off (make sure to let the juice dribble in as well, don’t lose that!). Then separately, take a mortar and pestle, and crush up some dried chillies (I still have some really hot birds eye ones from a crop a year or so ago, so I use two for about a small bowl of fruit), and chuck them into the mango chunks. The final two touches – salt (a pinch for a small bowl, but start light and add more if you need to), and some zest of a lime and the juice (about ½ a lime’s worth for a small bowl).


Salsa 2: Mango Salsa with Balachaung
The second one is a bit of a cheat. I am quite fond of a condiment called balachaung, which is a sort of dried relish of dried shallots, garlic, shrimp, salt and chilli. It is a super tasty, hot, salty topping that works a treat on leftovers like fried rice. I get mine from the local Asian supermarkets (pretty much my basket always has some “sweet meat”, a can of soy bean milk and a can of “grass jelly drink”. I’ll have to take PK shopping there sometime…

Repeat the steps above to get the fruit cut up and into a bowl, and then sprinkle the balauchaung on top of the mango. That’s pretty much it – but be careful that you don’t overdo this one.
Serving
Both of these salsas are pretty good by themselves (or on crackers or something), but they also are a pretty good accompaniment to seafood like prawns… which is how we’re going to eat these ones tonight!

Bish
PS pair this dish with Craigo’s NoRecipe BBQ Prawn Skewers
Here are more posts by Bish and uses of chillies:
Written by
·
-

Cooking with Super Hot Chili Peppers
A chili expert on Facebook gave me this great tip as I am afraid of cooking/eating any of the super hots that I am growing. See my chili post series here.
He said suggested that I dry any super hot chili whole and store them away.
You then add a whole dried chili to the oil (that you are going to cook with) once it is heated in a pan. Once the oil is infused you remove and dispose of the chili itself and get on making your dish as normal.
Enjoy,
PK
Related Links:
- See more FoodHacks here
Written by
·
-

Selby’s Easy Camping Chilli
Hey PK, I saw you were asking about ‘no recipe’ recipes and it made me think that mine would definitely be chilli … there are a few reasons for this, it is great sharing food, it’s pretty easy to adapt for vegetarian, vegan and gluten free friends and it can also be eaten with rice, in tacos or nachos … here’s my camping kitchen soft taco version tonight from Emu Park in Queensland, Australia.
I don’t want to make out this is anything like authentic Mexican chilli but my versions always have at least kidney beans, tomatoes, capsicum, onion and are seasoned with paprika, cumin and garlic.
Tonight I added beef mince and corn to the chilli and we had fresh mashed avocado, sour cream, cheese, lettuce and tomato to add to our soft tacos.

Selby
Written by
·
-

PK’s Cheaters Red Curry Paste
Here is my, unashamedly, unauthentic red curry paste :).

I use it to make Thai Red Chicken Curries and also Tom Kha Gai (one of my favourite south-east Asian soups).
Please read PK’s Curry Paste Kit before you get going and also ramp the chili factor skywards if you are allowed to. You will notice that I use a blender because I am a lazy cook. However I prefer the chunkier look of the paste if you use a mortar and pestle.
One last thing, I would love to use Kaffir lime zest instead of common limes but my tree never seems to fruit. I think it has something to do with what it is grafted to.
You will need:
- Ingredients:
- 1 Tbsp whole coriander seeds
- 0.5 Tbsp whole cumin seeds
- 1 Tbsp rock salt (add more if you want a more authentic taste)
- 0.5 tsp whole black peppercorns
- 1 Tbsp powdered kashmiri chili (add more and use whole chilis if you want a more authentic taste and look)
- 3 coriander roots
- 7cm of pickled galangal root
- 5 garlic cloves
- 3 lemongrass stalks, freshly harvested, leaves removed
- 1 large red shallot
- 1 Tbsp dried belacan (shrimp paste)
- 1 Tbsp lime zest (I used about 2 small limes to get this much)
- a dash of lime juice
- a dash of water (add less or more depending on your desired consistency)
- a dash of olive oil or garlic infused olive oil (I think you can skip this if you are using a mortar and pestle)
- 2 Kaffir lime leaves (sorry everyone, I know this is really not the done thing traditionally)
- Equipment
- a chopping board
- a sharp knife
- a serving bowl
- a wet blender with a very small bowl
- a dry spice mixer
- a medium frypan (for dry roasting the spices)
Make the paste
I love bringing everything together before I start cooking. The ingredients in this dish are so visually appealing and the aromas are simply amazing.

Steps:
- Dry roast the 1 Tbsp whole coriander seeds, 0.5 Tbsp whole cumin seeds and the 0.5 tsp whole black peppercorns.
- When cooled, pop them in you dry spice mixer and pulse to a rough consistency.
- Chuck the rest of the ingredients (at least roughly chopped) in your wet blender:
- 1 Tbsp powdered kashmiri chili
- 1 Tbsp rock salt
- 3 coriander roots
- 7cm of galangal root
- 5 garlic cloves
- 3 lemongrass stalks
- 1 large red shallot
- 1 Tbsp dried belacan
- 1 Tbsp lime zest
- a dash of lime juice
- a dash of water
- a dash of olive oil or garlic infused olive oil
- 2 Kaffir lime leaves

Storing
This paste freezes well in a small container or snap-lock bag. I prefer to make it in just enough of a quantity so I can use it fresh in a dish.
Enjoy and please send me your tips,
PK
Written by
·
- Ingredients:
-

Easy Thai Beef Salad
I love southeast asian salads. They are a feast for your eyes and your taste buds. The range of flavours is so diverse, you will never get bored of them.
The key to a good beef salad is a great dressing and a good cut of beef that is thinly sliced and not over cooked. I hope you enjoy making the nam jim dressing and building the salad at the table like my family does. 🙂
Notes: I have shown my timing preferences below for serving the salad with warm beef slices. Of course, if you prefer cold meat in this dish, you can make them in any order and well ahead of time. Oh and don’t forget to bring your steaks out of the fridge a little earlier so they are approaching room temperature as they go in the fry-pan.
STEPS:
- Make the Nam jim dressing
- Roast the rice
- Gather the salad ingredients
- Cook the beef steaks
- Serving Suggestions
You will need:
- Nam jim Ingredients (repeated here for your shopping list):
- 1 tsp powdered kashmiri chilli
- 5 coriander roots (cilantro)
- 3 garlic cloves
- 2.5cm piece fresh ginger root
- 3 Tbsp fish sauce
- 3 Tbsp lime juice
- 1 Tbsp palm sugar
- Roasted Rice Ingredients
- 100g of basmati or jasmine rice
- 1 Tbsp of rock sea salt
- Salad Ingredients
- several large cabbage leaves (1 per person)
- 2 cups baby spinach leaves
- 1 handful of coriander leaves and stems
- 1/2 large red capsicum
- 1/3 of a burpless cucumber
- 1 red shallot
- 1 spring onion
- 6 cherry tomatoes
- 1 cup bean sprouts
- 1 handful of mint leaves
- 1 medium carrot
- 1 handful of snow peas
- your favourite fresh chilis (optional)
- unsalted peanuts to taste (optional)
- Steak Ingredients
- small eye fillet steaks (1 per person)
- ground black pepper to taste
- table salt to taste
- kecap manis or soy sauce (optional)
- Equipment
- an oven tray
- a mortar and pestle
- a chopping board
- a small serving bowl for the roasted rice
- a large salad bowl
- a large frypan
Make the Nam jim dressing

Steps:
- Make the Nam Jim dressing as per PK’s Favourite Nam Jim Dressing.
Roast the rice
Steps:
- Pre-heat your oven to 200° C.
- Spread the rice grains across an oven tray and cook for about 15 minutes or until golden brown.
- Remove them from the oven and allow them to cool.
- Grind 1 Tbsp of rock sea salt in a mortar and pestle.
- Add the cooled roasted rice grains to the mortar and pestle and grind to your desired consistency.
- Add the finished product into a small serving bowl.
Gather the salad ingredients
Steps:
- Wash and dry all of the vegetables.
- Put the cabbage leaves aside, you won’t need them until serving time.
- Keep the 1 cup of bean sprouts aside for the same reason
- To a large salad bowl add:
- 2 cups baby spinach leaves
- 1 handful of hand torn coriander leaves and stems
- 1/2 red capsicum fine sliced (deseeded and pith removed)
- 1/3 of a burpless cucumber sliced and quartered
- 1 shallot fine sliced
- 1 spring onion fine sliced
- 6 halved cherry tomatoes
- 1 handful of hand torn mint leaves
- 1 medium carrot fine sliced (I use a potato peeler to make thin strips)
- 1 handful of hand torn snow peas (chop the ends off each first.
Cook the beef steaks

Steps:
- Preheat your fry-pan and add a splash of olive oil. You could barbecue them outside of course but I prefer a fry-pan when cooking eye fillet steaks.
- Cook the eye fillet steaks to medium rare and allow them to rest, optionally adding a bit of kecap manis or soy sauce at this point.
- Thinly slice the cooked steaks.
Serving Suggestions
Steps:
- Place a whole cabbage leaf on each plate.
- Fill to the brim with the salad ingredients.
- Add the beef slices.
- Throw some bean sprouts over the top.
- Serve along with the roasted rice and Nam jim dressing, sliced fresh chillis and unsalted peanuts.
Enjoy,
PK
Here are more southeast asian inspired cuisine and salad posts:
Written by
·
-
PK’s Coriander And Garlic Sauce
I first had this sauce (store bought) when I was in Darwin 2016.
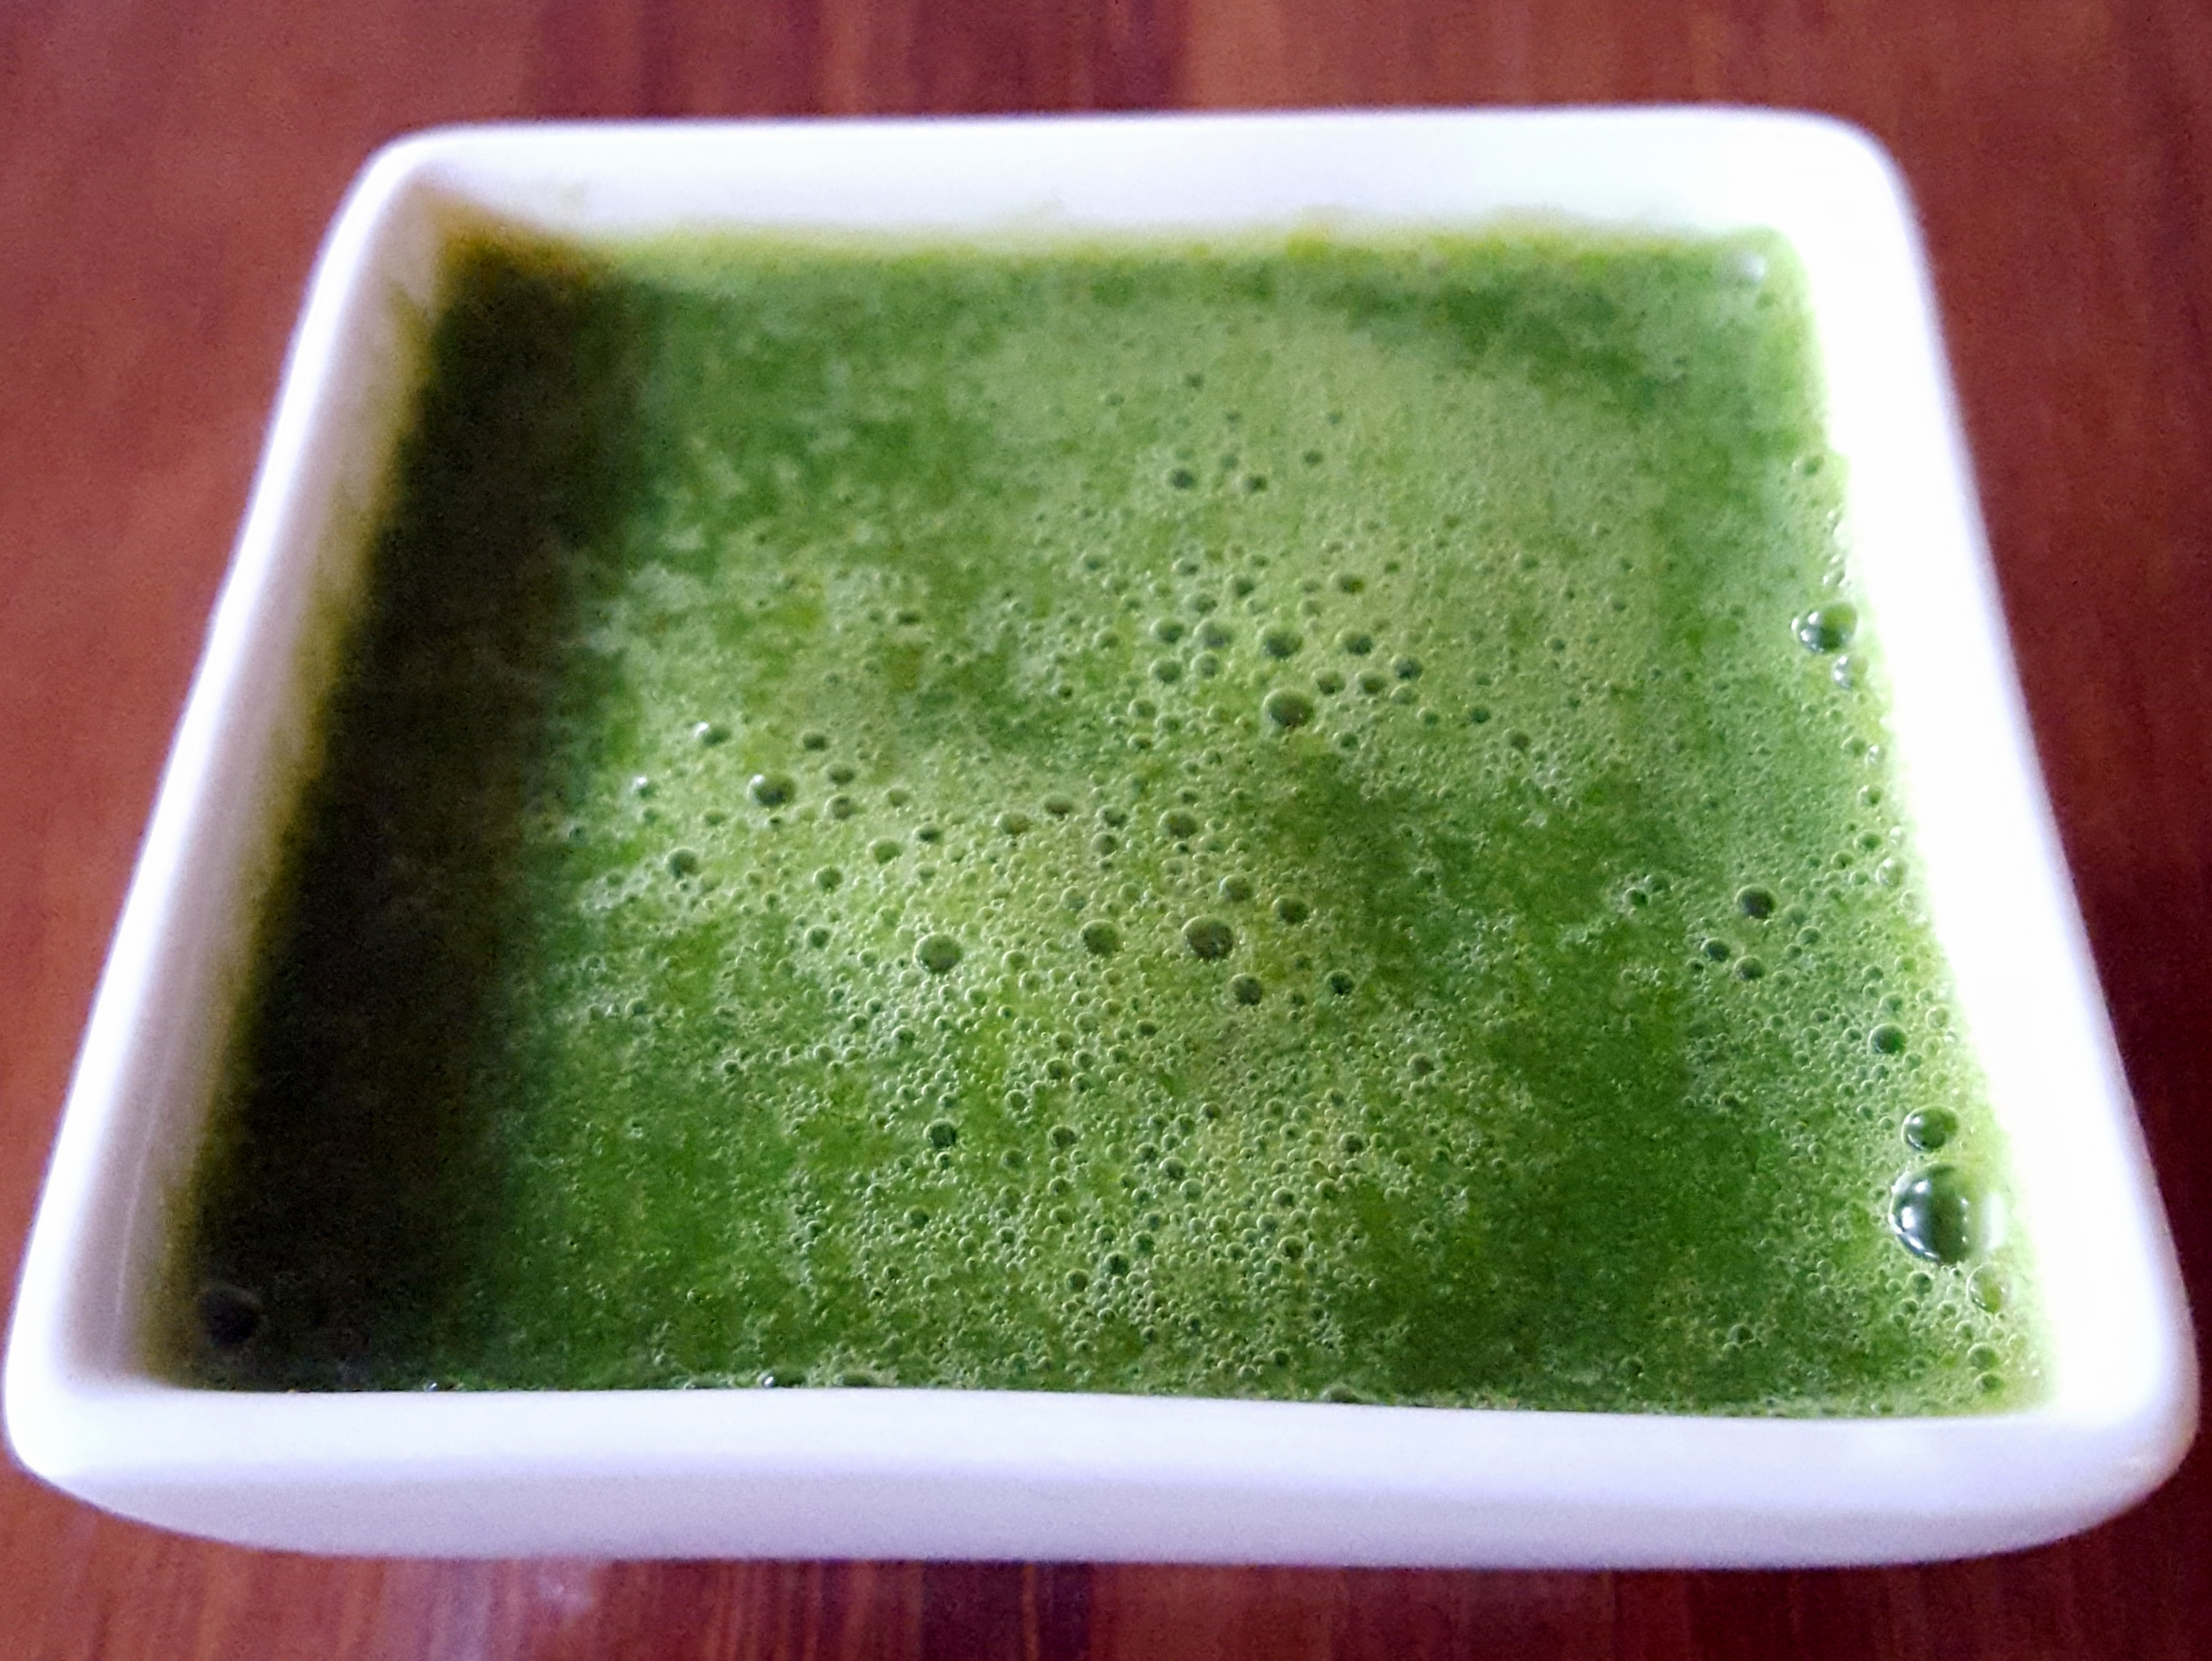
It is simple to make but it packs a real astringent wallop. I used this recipe originally from http://www.tarladalal.com/ (this site is amazing FYI) and I am going to experiment a bit with the amount of garlic and sugar . I also blended it the first time and I think that made it too potent :).
It goes great drizzled on a green or your Asian salad of choice. You can even use it as a dipping sauce for spring rolls and the like.
You will need:
- Ingredients:
- 1 Tbsp brown sugar
- 2 cloves garlic
- 1 Tbsp coriander leaves (cilantro)
- 1 Tbsp fresh green chilis
- 0.5 Tbsp fresh lemon juice
- 2 tsp white vinegar
- 2 Tbsp water
- Equipment
- a chopping board
- a long sharp knife
- a medium sized bowl
- a serving bowl
- optional: a wet blender with a very small bowl
Make the sauce

Steps:
- Rough chop the 1 Tbsp worth of coriander leaves and add them to a bowl.
- Peel and finely chop the 2 garlic cloves. I use the knife to gently smash the garlic clove first to make it easier to peel. Chuck this in the bowl.
- Finely chop the 1 Tbsp worth of green chilis and (you guessed it) add it to the bowl.
- Squeeze about 0.5 Tbsp of lemon juice and add this to the bowl along with:
- 1 Tbsp brown sugar
- 2 tsp white vinegar
- 2 Tbsp water
- Now you can either mix the sauce with a fork or optionally blend it in the wet mixer for a few pulses.

Enjoy,
PK
Written by
·
- Ingredients:
-

The Easiest Coriander And Garlic Sauce
Coriander based sauces provide a real flavour boost to your dishes. I love drizzling them in everthing from salads to steaks and potato side dishes, If you give the ingredients below a whizz in a blender (rather than a fine chopping) you will get an amazing dipping sauce for spring rolls and the like.

I used this recipe originally from http://www.tarladalal.com (this site is amazing FYI) and I am going to experiment a bit with the amount of garlic and sugar.
You will need:
- Ingredients:
- 1 Tbsp brown sugar
- 2 cloves garlic
- 1 Tbsp coriander leaves (cilantro)
- 1 Tbsp fresh green chilis
- 0.5 Tbsp fresh lemon juice
- 2 tsp white vinegar
- 2 Tbsp water
- Equipment
- a chopping board
- a long sharp knife
- a medium sized bowl
- a serving bowl
- optional: a wet blender with a very small bowl
Making the sauce

Steps:
- Rough chop the 1 Tbsp of coriander leaves.
- Peel and finely chop the 2 garlic cloves. I use the knife to gently smash the garlic clove first to make it easier to peel.
- Finely chop the 1 Tbsp worth of green chilis.
- Pop those ingredients to a bowl.
- Squeeze about 0.5 Tbsp of lemon juice and add this to the bowl along with:
- 1 Tbsp brown sugar
- 2 tsp white vinegar
- 2 Tbsp water
Now you can either mix the sauce with a fork for a a crunchier sauce or blend it in the wet mixer for a few pulses.

Enjoy,
PK
Here are some more sauces, condiments and dips along with other cooking staples:
Written by
·
- Ingredients:
-

Rick Stein’s Garam Masala
I use Rick Stein’s garam masala in so many dishes it isn’t funny. This uniquely south asian spice blend is earthy in taste and aroma. The blend is so verstile though and enhances the dishes of many cuisines.
Sure, you could buy a garam masala from the shops. MasterFoods makes a really good one that I grew up with but making your own means that the spices haven’t lost their aroma and you get to personalise the blend.
Rick Stein says “Even more important than the mix is having them freshly roasted and then ground” and of course, he’s right. It is a bit of extra effort but a pleasurable experience. The resulting spice mix lasts for months in an airtight container.
Steps:
You will need:
Roast the whole spices
Pop all the spices (except the nutmeg) in a hot pan and keep them moving the whole time. Safe to say that if the smoke alarm goes off, you have dry roasted them too long or too high :).
Experiment a bit, with the goal being more the release of the spices’ aromas in my opinion, rather than a change in their appearance.
Mill the spices
Once cooled, transfer everything to your blender or mortar. Grate the nutmeg (or like me use shop bought ground nutmeg, oops) separately and to the mill. Run the mill in quick bursts until you get the consistency you like. Then store in an airtight container.
For more Rick Stein recipes click here.
Enjoy,
PK
Written by
·